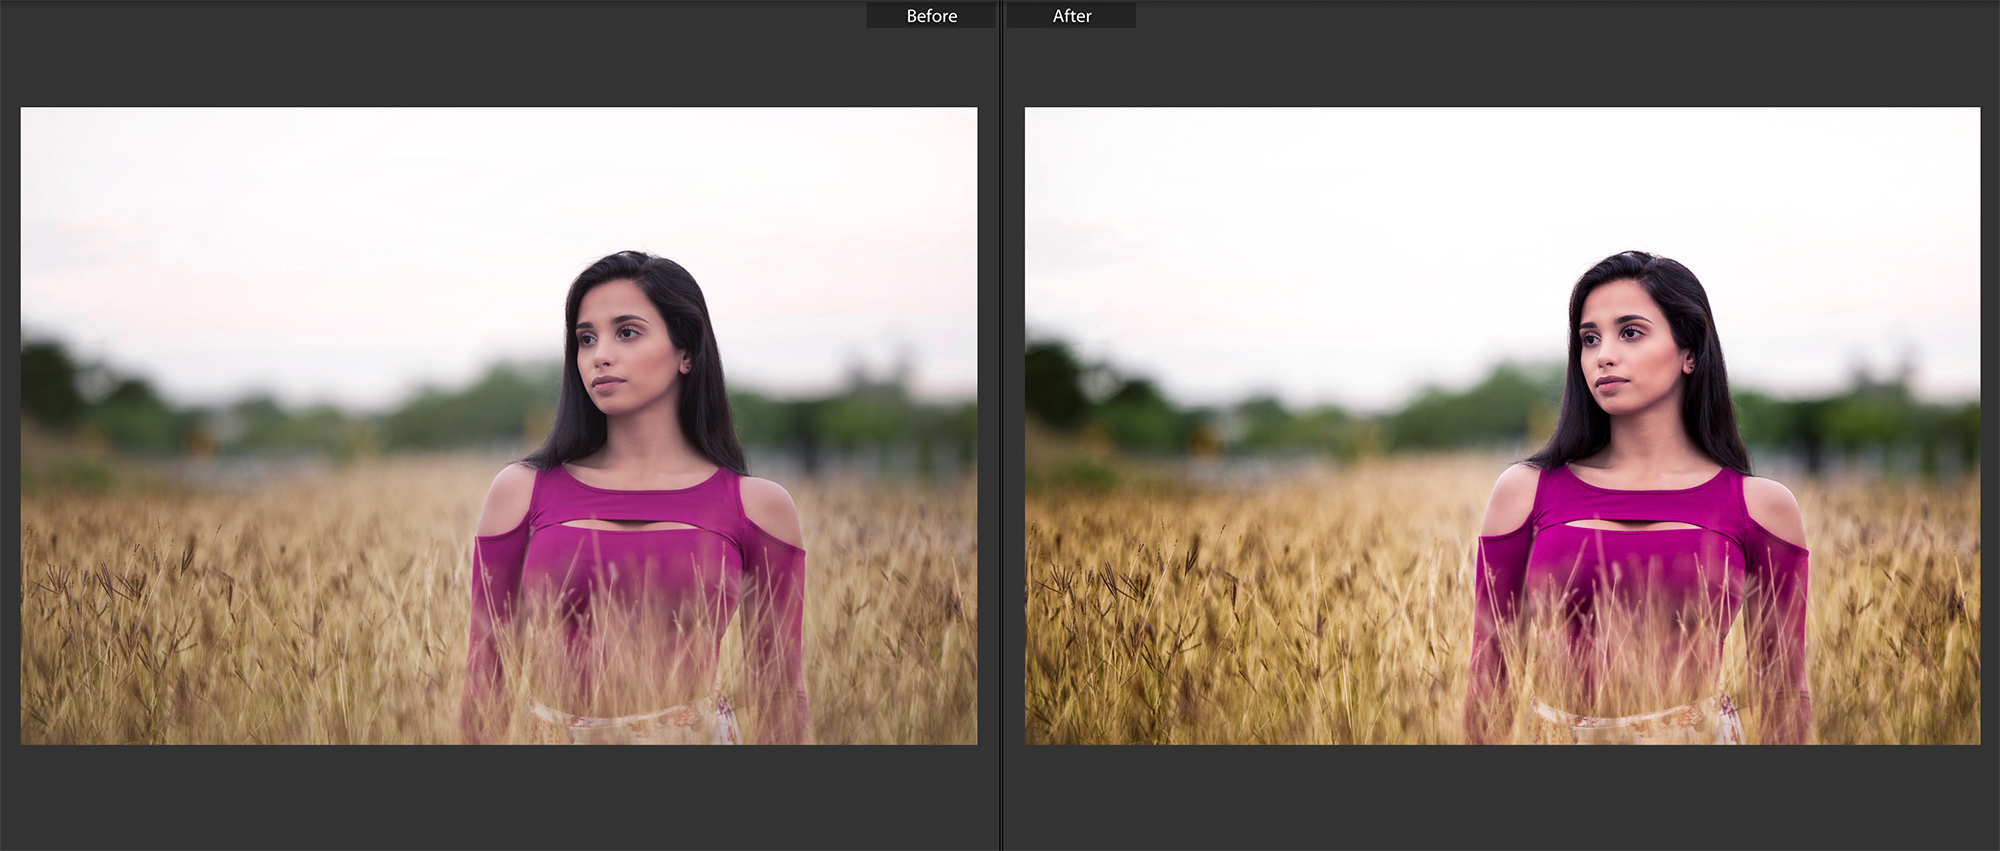
You have probably heard the general advice in photography that you should almost always shoot in raw format. Why? Simple – raw files hold a lot more information than jpegs so you can do more with them in post-production.
The problem is that when you open up a raw file, it's often pretty drab, even when you have that perfect, bell-shaped histogram (meaning you exposed your images properly). Don't sweat it, that is perfectly normal for raw files to look a little dull.
So what can you do about it?
Well, in general terms there are a few common edits that help most raw files pop a little more, though you should defer to your personal judgement primarily. Also, the type of image you took will have a massive impact on how you decide to edit it (landscapes versus portraits for example). But these quick little Lightroom edits will probably help.
- Whites Slider – Hold down the option key and take the white slider to the right until you start seeing blow outs – then back to the left slightly so you don't keep the blow outs.
- Blacks Slider – Hold down the option key and take the black slider to the left until you see clipping. Then back to the right so you don't keep the clipping.
- Clarity – Jack it up slightly to give a little punch to your mid tones. It should increase contrast in those areas primarily.
- Vibrance – Bringing up the vibrance will increase the intensity of the more muted colours. Don't go overboard.
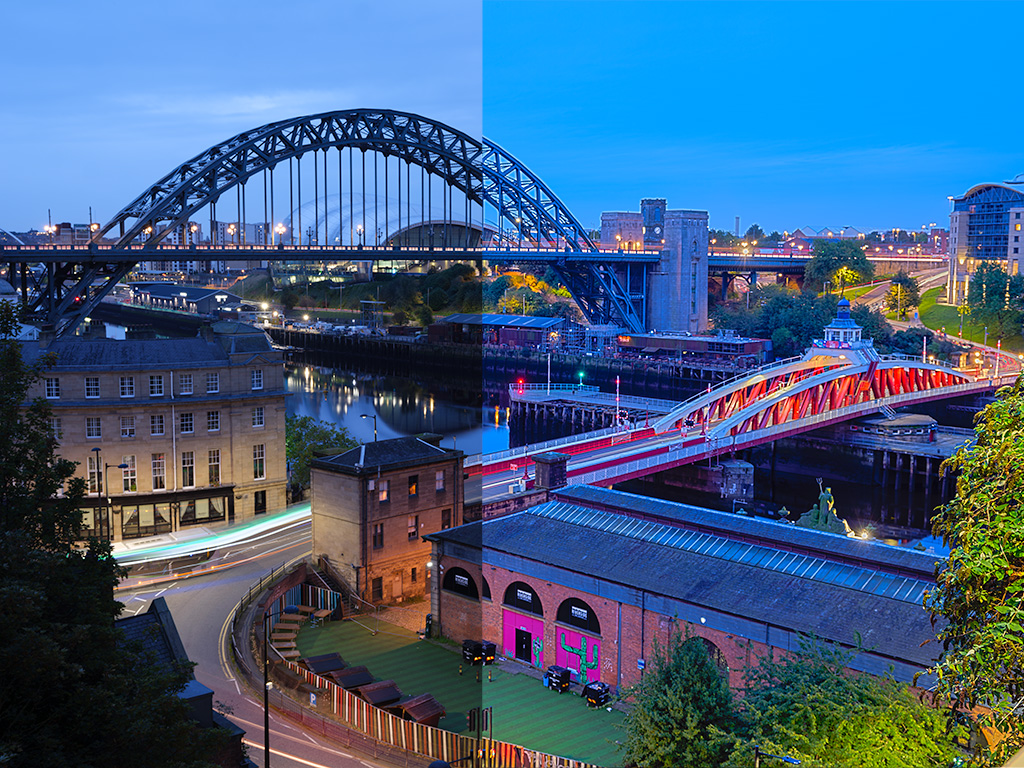
- Saturation – Bringing up the saturation will increase the intensity of all colours. Go easy with this one. What does this do? Nothing extreme, just a bit more punch, like this:

That's about it in general terms. You don't want to go crazy with any of these ideas – it's just a general way to give a little more punch to most raw files. As always, use your own creativity to build on this.
And if you really want to dig deeper, you might want to take a look at Effortless Editing by Josh Dunlop that goes right down the rabbit hole and takes a look at a lot of very specific edits you should be considering.


