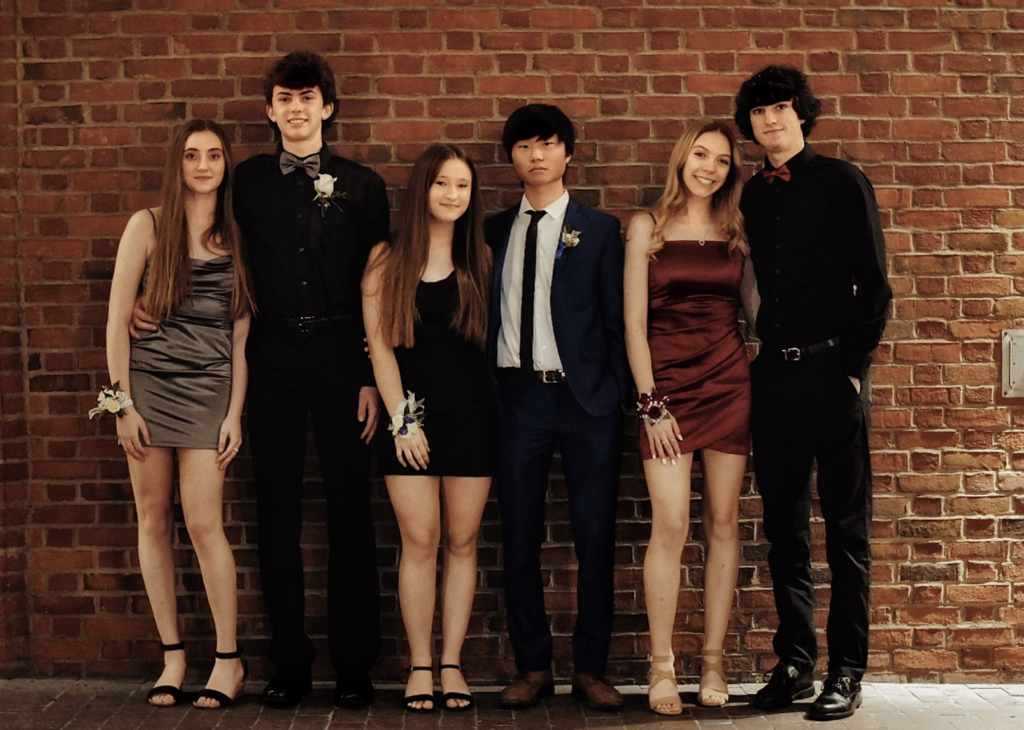
At some point in your photography learning career, you've likely encountered the Brenizer Method. The Brenizer Method, also known as the Bokeh Panorama, is essentially a panoramic shot. Unlike a classic panoramic shot, you are actually taking a portrait with the aim of making the depth of field shallower and widening the angle of view.
The technique involves shooting several photos in order to achieve a shallower depth of field after the photos are stitched together. It isn't an easy task; a lot of trial-and-error is involved when you start out, but the results can be quite pleasing.
The technique was developed by Ryan Brenizer (or simply made famous by him – there is no way for me to tell for sure!) and is now widely recognized as the Brenizer Method.
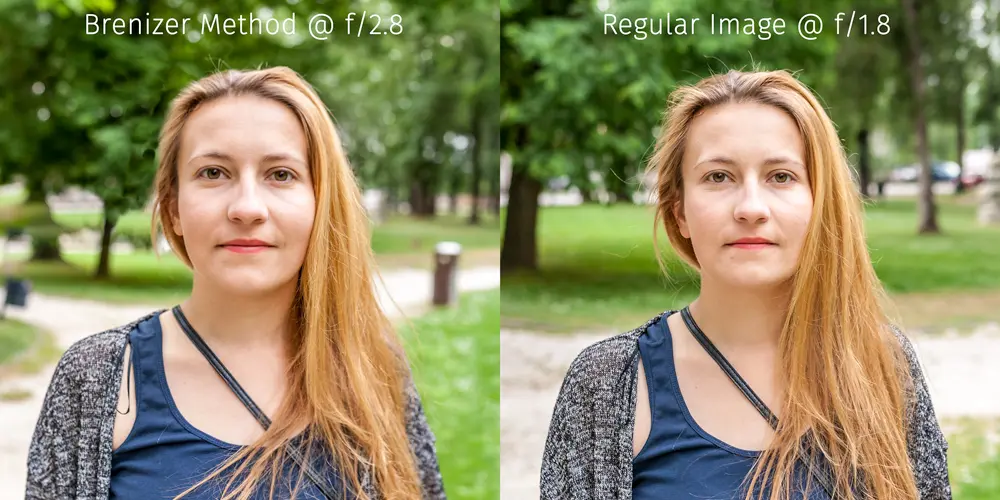
Pros: The Brenizer Method allows for a shallower depth of field, often simulating lenses with apertures wider than f/1.2, while using lenses with f/2.0. This method has a unique look in which you can control the bokeh distortion of the images you shoot. You can have a whole body shot with enough bokeh to make the background silky smooth. The resulting image is often much higher in resolution, and depending on the starting image resolution, it can easily reach 50-60 megapixels.
Cons: This technique is really hard to master. It requires the subject to stay still for 10-30 seconds while you take the shots. The photos have to be stitched in post-process, and one or two failed key shots can make the stitching impossible. Also, you can’t really know how the image will turn out until you stitch it. While stitching, be prepared for some weird distortions which you’ll have to fix by hand.
Shooting
Shooting a Brenizer Panorama isn’t an easy task and it will take loads of practice before you learn how to do it right, and even then you’ll have to hope that Lightroom or Photoshop will do the stitching properly. The trick is to shoot in a spiral fashion, starting from the portrait. Make sure you capture most of the face(s) in the first shot in order to avoid them being distorted in the stitching process since that is the hardest part to fix.
Before you start shooting, make sure your camera is set to Manual, with the white balance set to manual, as well since you want the settings to be exactly the same in each shot to avoid tonal differences. Photographing Brenizer Panoramas with auto focus between each shot will be a total disaster. What you need to do is either focus manually or lock the focus after the first shot. On my Canon, if I focus and hold the shutter release button half way down, the focus will remain the same between each shot. That means that if I press the key half way down to focus, once the camera confirms that the focus is in place, I’m pressing the button all the way down to take a picture, but between each picture I never release the button completely, instead I keep it pressed half way down. On some cameras there is af lock button which will keep the focus locked and make this a bit easier.
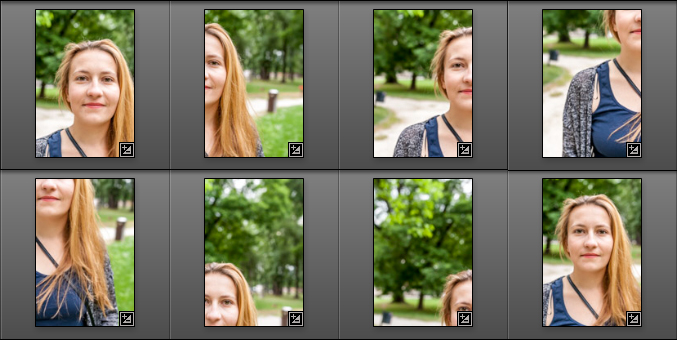
Additionally, since your focus is locked, make sure you don’t move forward or backward with the camera so you don’t move your camera out of focus. If possible, back yourself up against a wall or something similar so that you don’t change the distance between yourself and your subject. Or, if you can, use a tripod with the head released so that you have free range of motion around the axis while keeping the camera in a relatively stable location.
While capturing the images, make sure that you do so as quickly as possible. If your camera has a small buffer (as mine does) you will have issues. While you wait for the buffer to unload the images on the SD/CF card, your subject can move, you can move, the light can change, and all sorts of other issues can arise. Therefore, make sure that your camera can handle shooting one to two frames per second for at least ten seconds so as to avoid any complications.
Additionally, make sure that the images overlap in at least 30-40% of the areas to help make the stitching process more accurate. This way, there is less discoloration from the vignetting, as well.
It is recommended by Ryan Brenizer himself that the lens have a total focal length of 85 mm or more. I did mine with the Sigma 18-35 mm f/1.8 at the long end (effectively 56 mm) and it turned out to be a bit difficult, so I’d stick to what Ryan Brenizer recommends.
Stitching
Once you've captured the photos, upload them into Lightroom 6 (instructions for older versions of Lightroom are detailed in the next paragraph), and select them all. Then follow this sequence: right click -> Photomerge -> Panorama. Even though the panorama mode is fairly basic, it does a decent job. If that doesn't work for you, then try stitching them up in Photoshop.
If you’re stitching the images in Photoshop using Lightroom 6 and older Lightroom versions, you will first need to apply the highlights & shadows recovery on the RAW files since Photoshop will return a .TIFF file, not a RAW file. Select all the images in Lightroom, make sure that the Auto Sync is on, and apply all the edits necessary (including lens-correction). After you have done that, follow this sequence: right click -> Edit In -> Merge to Panorama in Photoshop. Once the images are loaded in the panorama dialog in Photoshop, tick the Geometric Distortion Correction box. I've found that it gets better results that way.
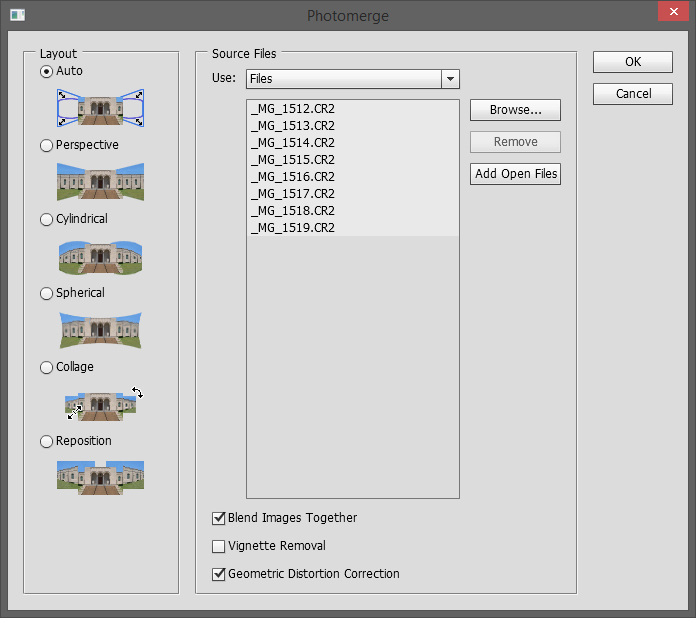
At the end of the stitching process there will be imperfections which you’ll have to fix manually, and there is a chance that the image will be slightly distorted, which also you’ll have to correct manually. Every image I attempted had some nasty barrel distortion and a bit of a perspective shift, but after some tweaks with the lens-correction algorithms, I managed to bring it back to the natural look.
Summary
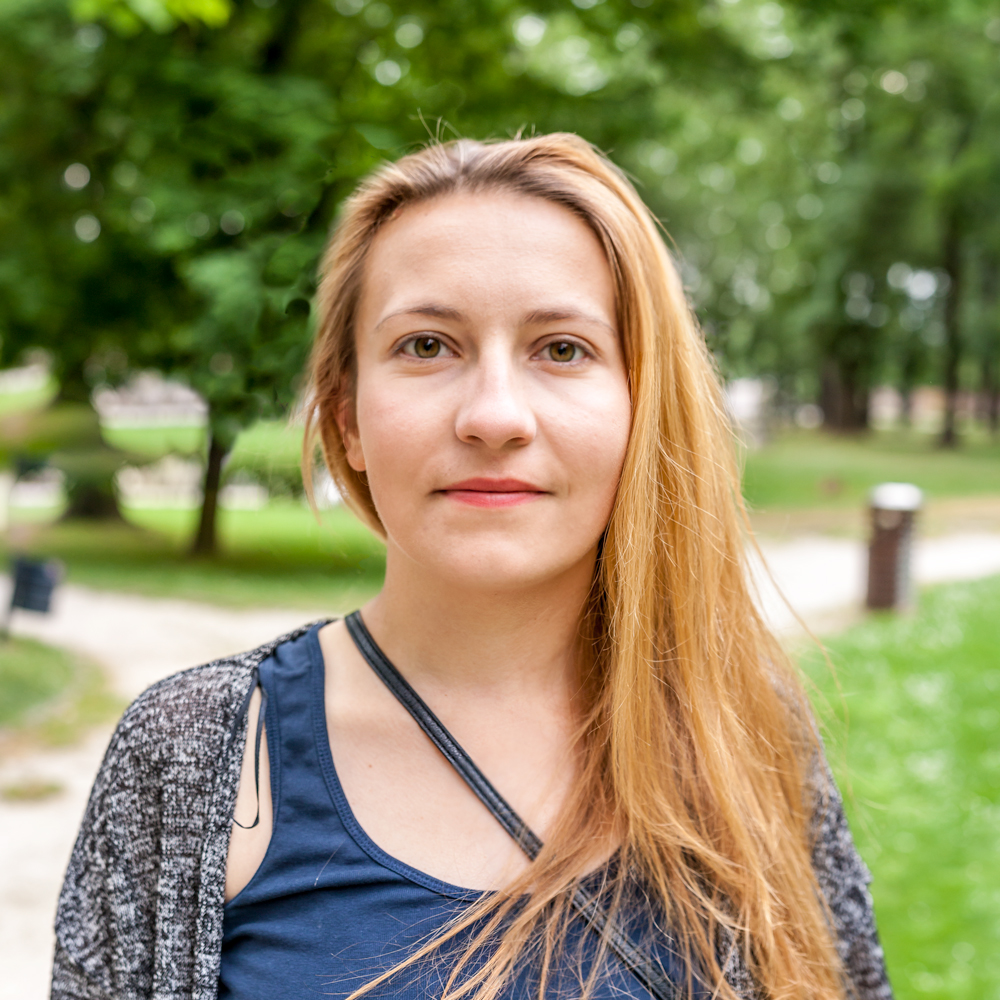
Don’t be discouraged if you fail the first dozen times because it really takes some practice to get it right. Find something stationary that you can photograph over and over again until you get it right, and just start getting practice there. A week or two later, you’ll be able to do it without any issues.

5 Comments
Great description of the method. Try it soon.
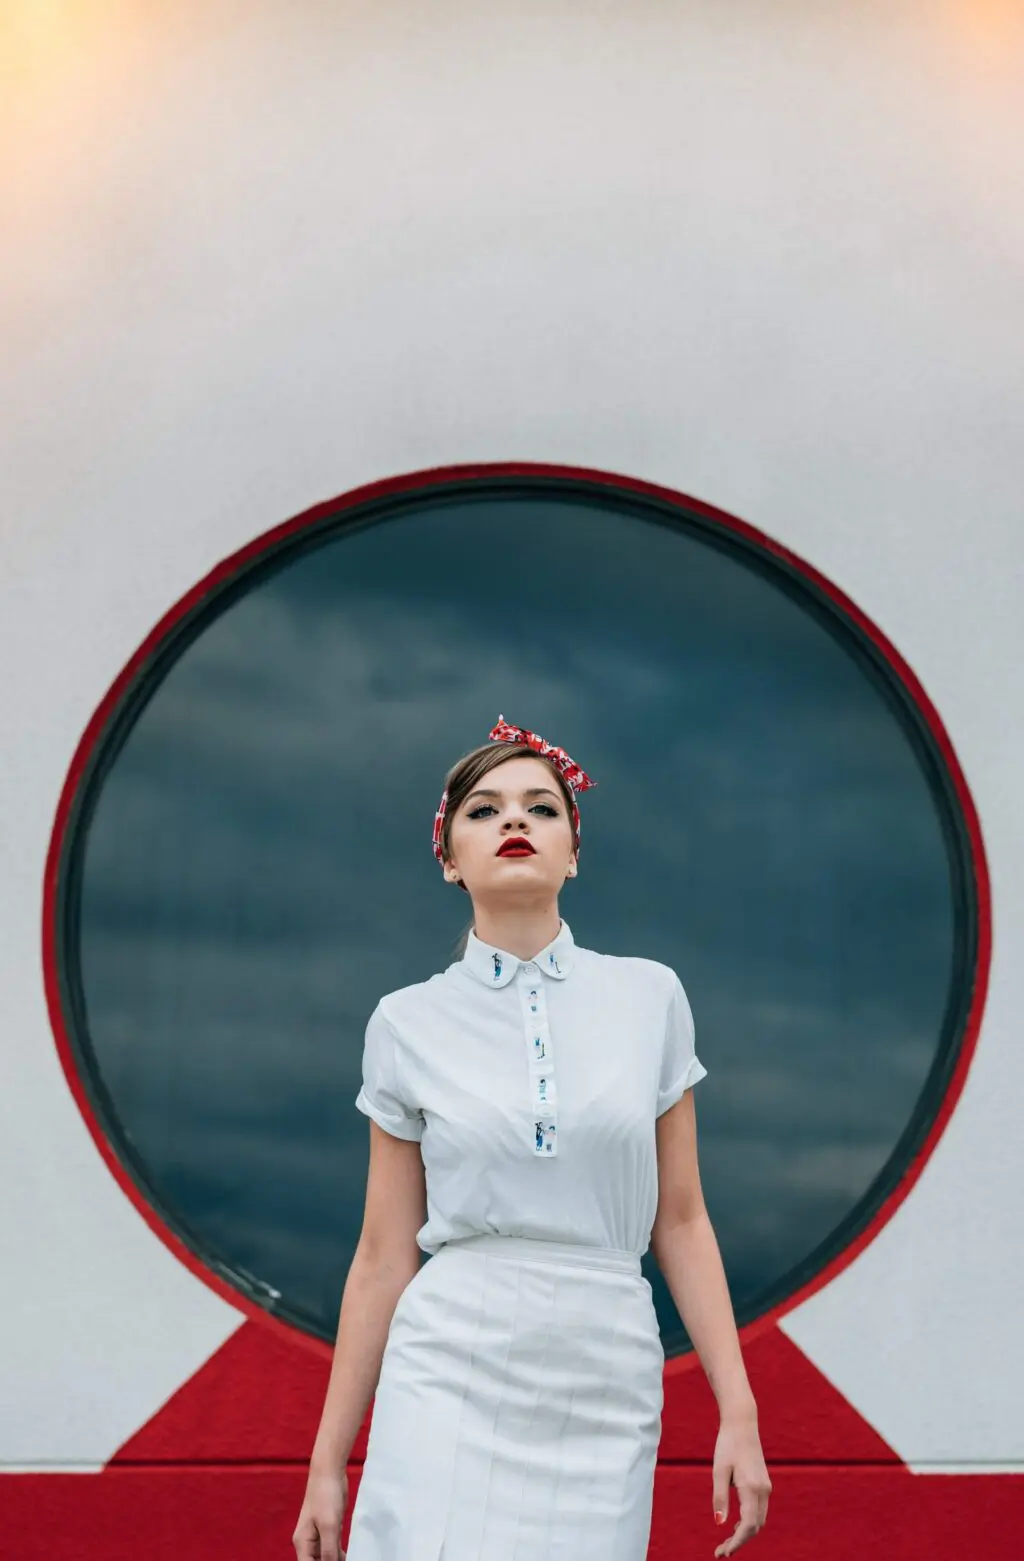
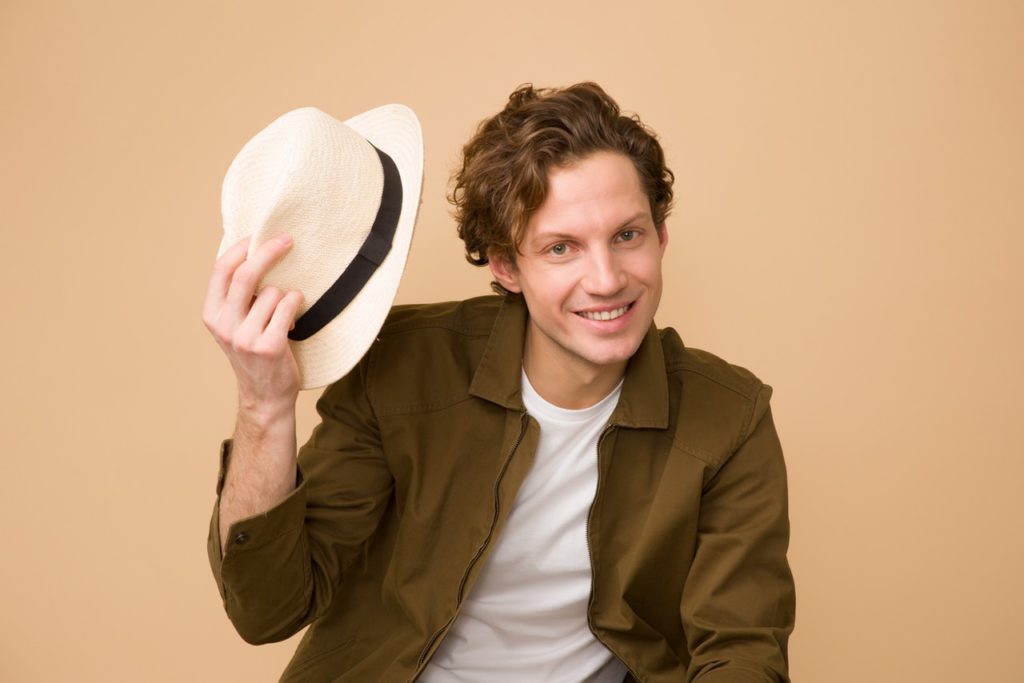
Looks like you missed the point here for using the Brenizer method. The Brenizer Method allows you to shoot wide-angle photos with a shallow depth of field in the foreground and background, something that you would normally only be able to do with a large View Camera. The example that you’re showing above can be done with any portrait (85mm) lens at it’s widest aperture cropped up close to produce a head-shot. Also, your normal shot above is the better shot because it exhibits less facial distortion(the Brenizer example above has distorted the subjects face.
Try it again with a wide angle shot to see this effect in all of it glory…
My version of the Brenizer Method follows:
Link not working.
That’s a lot of trouble to go to to make faces distorted.
Compare the two photos. The “B-method” photo shows a bulbous nose, a jowly jawline and puffy cheeks because of the use of a wider than optimum lens used too close to the subject. It’s not a flattering photo of an attractive lady.
This is a lesson in how to make photography difficult. Just use the correct focal length lens and limit your DOF. It’s easy. It’s how it’s been done for over a hundred years.
No, the Brenzier method isn’t to enable shooting portraits with a wide angle, it’s to enable shooting wide angle with a portrait lens, without stepping back and losing the narrow DOF. The reason for the facial distortion is because the author uses an 18-35 instead of the recommended 85.