Nearly every photographer tries to develop the skill of capturing sharp and crisp images. Whether a beginner or professional, you just know when you hit that sweet spot. However, when we try and recreate it, we often fall back to blurry or sharp, but not quite there, images. Now, if you’re a wizard with camera tech, you may not suffer from this. But, for everyone else, even with our technological advancements, it’s important to better understand what’s going on under the hood. This way we’ll hit that sweet spot of sharpness every time.
Let’s go over seven important camera controls and devices, and some practical tips for crisper shots.
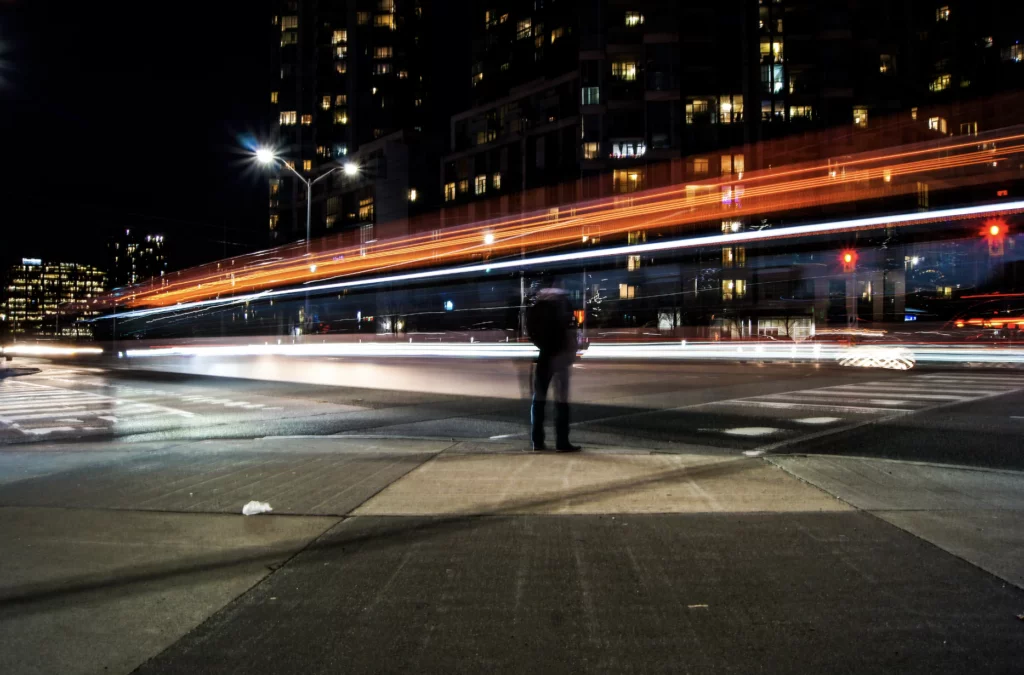
Photo by Ashan Avi
How to Choose the Appropriate Shutter Speed
Our first control is shutter speed. Shutter speed, simply put, is the amount of time the camera’s sensor is exposed to light. The faster the shutter speed, the shorter the exposure time, which can capture fast-moving subjects and reduce shake (blur caused by movements of the camera or the subject). This does lower the overall brightness, so it is important to adjust other settings for that. A slower shutter speed, on the other hand, lets more light into the sensor for longer. Brighter pictures, but a higher risk of blur caused by movement.
Some tips for shooting:
- Work with the situation. If you’re working with fast-moving subjects, increase your shutter speed to freeze the action. For stationary objects, a slower shutter speed may be usable.
- Try out a tripod! This helps if you’re shooting with a low shutter speed. It reduces shake and holds the camera still for long exposure shots.
- A rule of thumb is to keep your shutter speed reciprocal to your focal length. For, say, a 50mm lens, you’d use a 1/50 sec shutter speed. That said, this is just a guideline for sharp shots, and you’re free to break it how you wish for creative shots!

Photo by Wan San Yip
How to Set Your Aperture
The aperture controls your lens’ opening size. Normally, this is talked about when dealing with depths of field and focus but this ties directly into the first control. A smaller aperture (higher f-number) gives greater depth of field but requires longer exposure time. Inversely, a wider aperture (lower f-number) reduces the depth of field. If you take nothing else away from this guide, keep both your aperture and shutter speed in mind.
Some tips for shooting:
- Consider your subject’s placement in the scene. To isolate a subject from the background, use a wider aperture and focus on the subject.
- For landscape photography, try this guideline: move 2-3 “f-stops” from the maximum aperture provided by your lens. A stop means either doubled or halved the amount of light let in—so 1 stop down is half, and 2 stops up means double and double again. You’ll generally fall into the f/8-11 mark with this which can be great for sharper images.
Note: A lens’ “sweet spot” is unique to each lens and can usually be found by a quick Google search. It is the aperture at which that lens produces its sharpest images and usually falls between f/8 and f/11.

Photo by Share Grid
Setting the ISO for Sharper Shots
Our next control is ISO. ISO determines how sensitive the sensor is to light. Higher ISO helps with shooting low light conditions but can introduce noise. On the other hand, lower ISO values produce cleaner shots with less noise but may need slower shutter speeds or wider apertures (depending on how well-lit your environment is).
Some tips for shooting:
- Where possible, use lower ISO values (around 100-200). Higher tends to increase digital noise. Start with the lowest and increase it as necessary until you get the right amount. Many modern cameras can take high ISO photographs with minimal noise, but there is still a trade-off present.
- If higher ISOs can’t be avoided, you can use the de-noising tools most modern editing software have. Losing detail is hard to avoid at this stage, but it can save an otherwise grainy photo (unless that’s what you’re aiming for). It’s best to start with a photo with as little noise during this—or avoid noise entirely, if possible.

Photo by Maxime Dore
Autofocus And Manual Focus
Modern camera focus systems are like your sidekick. They offer both doing the work for you (autofocus), or letting you take the reins (manual focus). If you choose autofocus for your shots, you have quite a few options: single-shot, which picks a focus point and locks it in; continuous, which does as its name implies; and automatic, which picks either based on whether the subject is moving or not. Instead, if you go for manual, you have Direct Manual, which allows fine adjustments after autofocus, or good ‘ol regular manual (with some tools like MF Assist!).
Some tips for shooting:
- Try manual focus, if it can be helped. Manual gives you the most control, letting you sharpen your subject as much as you want.
- If you’re shooting moving objects, either Continuous or Automatic Autofocus can help a great deal with keeping your subject in focus.
- The eyes are the window to portrait photography. Focusing on your subject’s eyes manually can ensure the rest of the body will be in sharp focus with adjustments (if the body is aligned in shot, of course).

Photo by Bence Boros
Image Stabilization
A lot of loss in sharpness is due to image shake. Thanks, in part, to the film industry, we have a lot of options for digital and non-digital image stabilization. There are three kinds: optical image stabilization (OIS), electronic image stabilization (EIS), and mechanical image stabilization (MIS).
Many flagship smartphones, like current iPhone models, have EIS and OIS directly built into their camera, using a gyroscope to check if the phone is moving or not. And if you dislike digital corrections, there are a plethora of physical stabilizers.
Some tips for shooting:
- Enable your image stabilizers if either your camera or lens offers it—best if done in conditions where camera shake is a problem.
- If you’re using a tripod and are getting odd shakes, it may have mechanical stabilization activated and could be compensating for nonexistent movement. Turn it off and check if that’s the culprit!

Photo by Kiran CK
Use a Remote Shutter Release
If you’ve tried taking still shots before, pressing on the shutter button may have been quite annoying from the little shake it introduces (even with a tripod!). You can purchase a remote shutter release for your camera if this is an issue for you.
Many phones and digital cameras have a shutter release timer that can be used to the same end.
Some tips for shooting:
- Use a remote shutter release for long-exposure shots, macro photography, or any situation where absolute stillness is critical and you don’t have the hands of a surgeon.
- Set the timer! Almost all cameras have a timer option, and, if you don’t have a remote shutter, setting it to delay a few seconds can buy you enough time to make minor adjustments or let any vibrations subside.

Photo by Ishon Studios
Maintenance
And finally, maintenance. Any number of factors like a dusty sensor, dirty lens, or malfunctioning hardware can significantly impact the clarity of your images. Perform regular cleanups and tests—you don’t want your shots blurry during critical moments, after all. Take care of your camera and it will take care of you.
Some tips for quality:
- Get high-quality lenses. You don’t need to be expensive with your gear, but, if you have money to spare, high-end lenses generally produce crisper results. “Glass before bodies” is the general guideline!
- Use a microfiber or lens cloth when cleaning. Many camera lenses and kits come with at least one of these. Regularly clean your gear from any smudges, dust, fingerprints, etc. Optimal performance is key to sharper photographs.
That’s all for the most important bits when it comes to sharp images! To recap: keep in mind shutter speed, aperture, ISO, and focus. If you have money to spare, look into image stabilization options, remote shutters, and higher-end lenses. And don’t forget to keep your gear clean! With these seven elements, you’re ready to get that “oomf!” feeling when you hit the perfect spot of detail and crispness. Happy shooting!
Further Reading:
- 10 Of Our Best Links On Camera Craft To Master The Gear You Have
- Back Button Focus – How it Can Transform Your Camera Craft
- 10 Huge Factors That Affect Image Sharpness
- The Best Lens For Portraits In 2023
- Does Image Sharpness Come Down To The Lens Or Camera?
- 10 Tips For Taking Sharp Photos With Your Camera


