There comes a time in every photographer's journey where they want to learn how to photograph portraits. In a perfect world that would mean a controlled environment with specialty lighting and beautiful backdrops. The reality is most photographers don't have access to a studio or prefer to shoot outdoors. Today we are going to take a look at how to capture stunning outdoor portraits with the proper camera settings and some different lenses to try!

Location, Location, Location
When it comes to outdoor portrait photography, a common thought is that location is the most important factor. While location can play a major role in composition and storytelling through the lens, there are other things to consider. Most photographers' goal is to capture that magical portrait in-camera with minimal editing needed after. That is why camera settings are so important to learn how to use to capture those magical images. Let's dive into some different camera settings to start learning what can help to decrease the post-processing time and energy.

Which Camera Mode To Use?
Most modern digital cameras have multiple modes when it comes to taking photographs. Sometimes it's on a menu to change, others have dials to select the mode. The most common modes on digital cameras are Program (P), Shutter Priority (TV), Aperture Priority (AT), and Manual (M). Believe it or not, there is a time and place for all of these settings even for professionals. Now we're talking about outdoor portraits, so which camera mode should you use? Let's break down each mode.
Program (P) mode is always the most tempting mode to use. Let the camera decide how to set the shutter speed and aperture so all you have to do is press the button. Shutter Priority (TV) mode does what it sounds like, allowing the photographer to set the desired shutter speed and the camera will automatically set the aperture to compensate for the shutter duration. Aperture Priority (AP) mode is the opposite of Shutter Priority. Instead of setting the shutter speed, the photographer sets the depth of field through the aperture. Manual (M) mode as it implies is completely up to the photographer to select the settings.

More Than A Mode
Aside from the camera mode, there are extra settings that can be used to help capture the perfect outdoor portraits. Things like ISO and white balance can all play a part in getting that ideal shot.
ISO
You may be familiar with the term ISO when it comes to photography, but for anyone who isn't, ISO directly affects the lightness or darkness of an image digitally whereas the aperture and shutter speed affect it physically. ISO usually starts at a low number like 100 and with modern cameras can reach over 12,800. The important thing to remember is that lower ISO will provide less digital noise. Higher ISO will start to create digital noise that becomes more noticeable the higher the number is. In most cases keeping a lower ISO will lead to a clearer final image.
White Balance
White balance is talked about in terms of color temperature. Photos can either be warm, neutral, or cold in terms of white balance. Most of the time auto white balance (AWB) is the default on a camera. That means the camera will try and figure out what is actually supposed to be white and adjust the rest of the color temperature to match. When shooting outdoors it is best to select either daylight, shade, or cloud depending on your environment. Color temperature can also be set manually using the Kelvin scale. Daylight is around 5,500K while overcast and blue sky tend to be toward 7,000K. Lower Kelvin ratings have an orange tone and higher ratings have a blue tone. If the white balance isn't right in the camera, it is an easy fix in post-processing.

Things To Be Mindful Of While Shooting Outdoors
Taking portraits outdoors has the potential to create some amazing photos, but there are some things to be mindful of so that the shot isn't ruined. We will talk through a few scenarios and what to keep in mind if you find yourself in that situation.
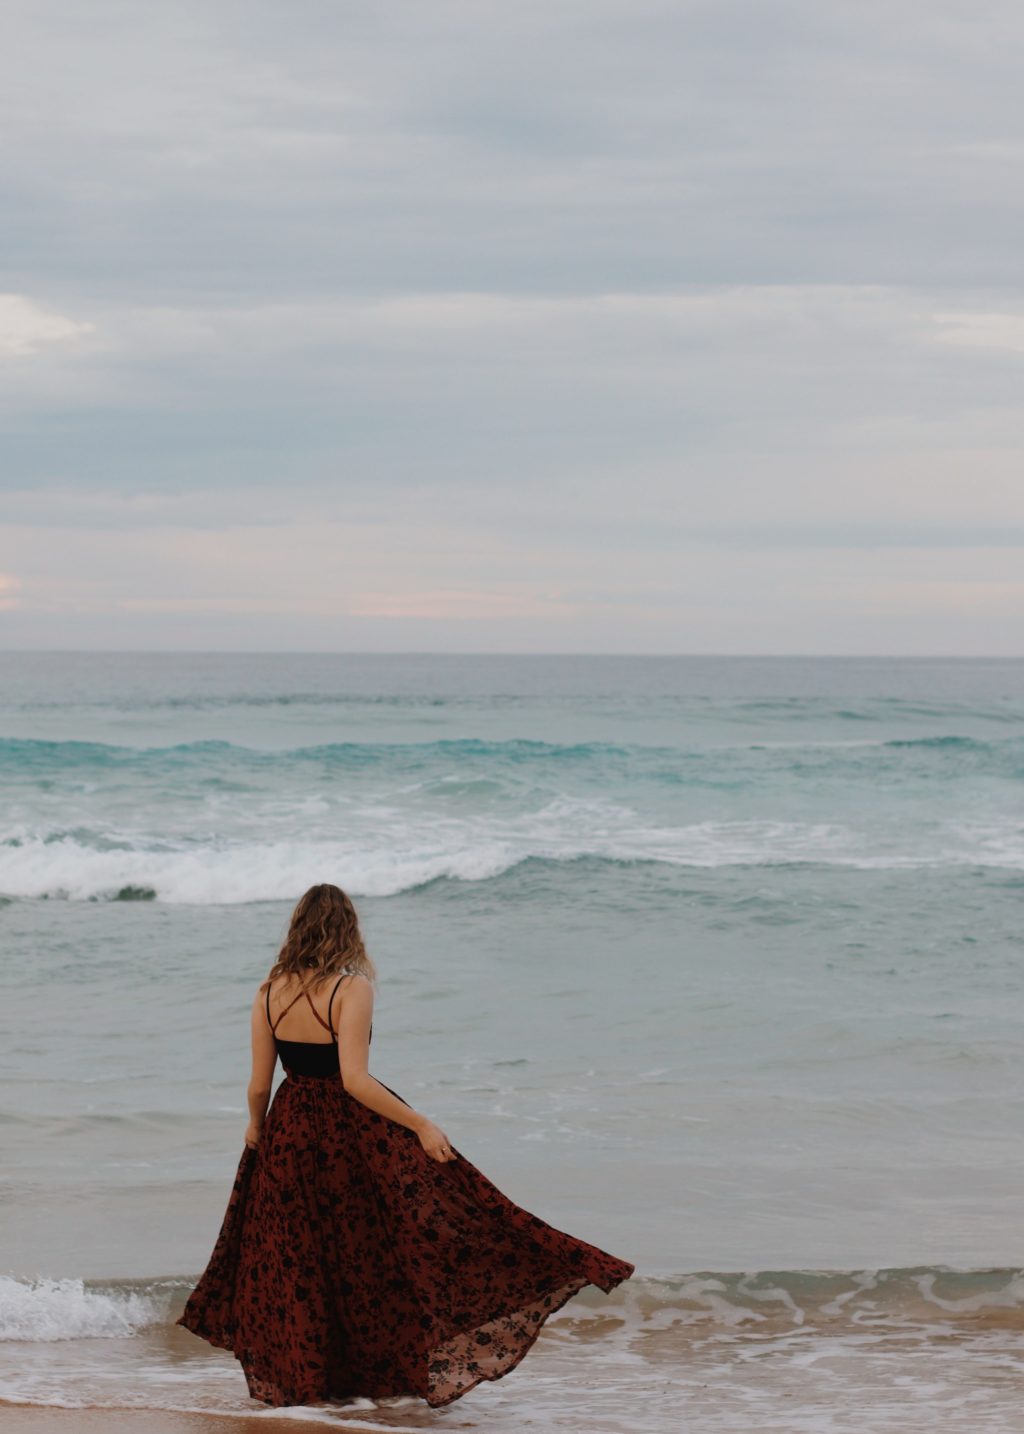
At The Beach
A popular location for portrait photography is at the beach or by a body of water. Something to keep in mind while shooting there is to keep an eye on your exposure. It is very easy to overexpose the sky and blow out the background of your image. At times using an additional flash on your subject, even if daytime, can help you expose the sky and background while still having the required light to keep your subject the highlight of the photo.
In The Forest
Contrary to an open environment like the beach, a forest can be an extremely magical place but tends to have lower lighting. The branches from the trees will block out natural light leading to darker images. To prepare for the lower light, having your aperture wider or raising your ISO can help to create a more even composition. The time of year and plants may also change the color tone of your image, so playing around with the white balance in-camera can help to limit required edits after a shoot.

Exploring A City
Picking an urban environment has a lot of options of creative backdrops. Shadows tend to be the biggest issue in cities due to all the buildings. To work around the harsh lighting changes between sun and shadow, changing the time of day you photograph can be a great resource. Getting up early to have a blue hour photoshoot or planning for just before sunset during the golden hour can add an extra layer of magic and soft lighting to your portraits.

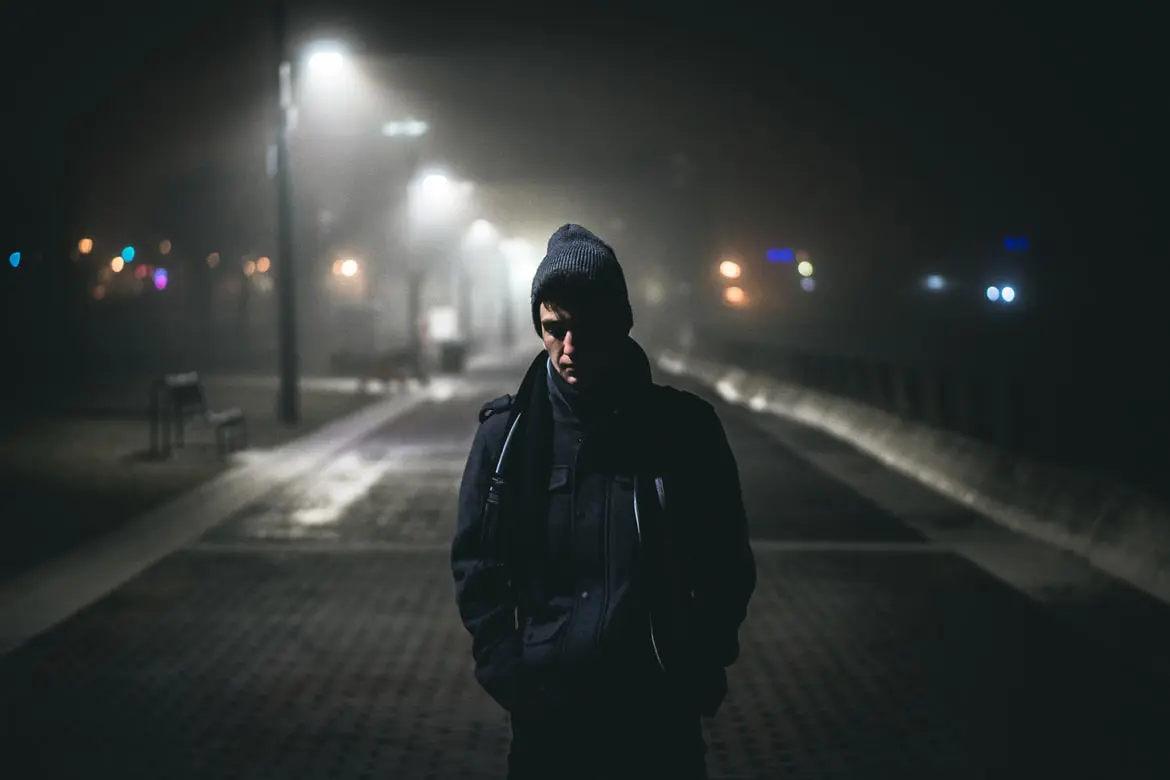
At Night
The darkness of night can allow for some added effects that can be captured with your camera. If it is just getting a bit dark, slowing your shutter speed and picking a wider aperture can help compensate for proper exposure. If you want to create unique portraits, light painting is a popular technique as well. Pick a long exposure shutter speed, use a LED light to move around your subject, and add a momentary flash to freeze your subject to create some artistic outdoor portraits.

Hopefully, this outline of various camera settings and techniques has been helpful and you feel empowered to grab a camera and start taking on outdoor portrait photography!


