Sharpening, noise reduction, adding contrast, adjusting color temperature — these are all pretty basic modifications and are all a routine component of virtually every photographer’s workflow. Sometimes, however, you find yourself faced with the need (or the desire — borne, perhaps, of curiosity or boredom) to do something a little more extravagant with an image. Say, something like changing the color of a single object in an image.
Describing a change of color as “extravagant” might actually be a bit hyperbolic given the ease with which it can be done in Photoshop. So, if this is something you need or want to learn how to do, follow the steps below.
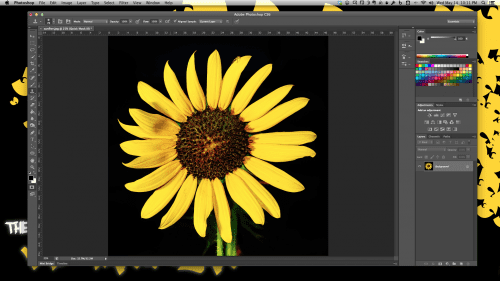
1. Open your image.

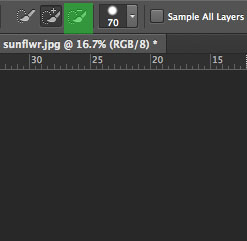
2. Go to the toolbar and click on the Quick Selection tool.

Select the object for which you intend change the color (in this example, I'm selecting the yellow flower petals). The Quick Selection tool makes it easy to select just the item you want by looking for similar colors, tones, and textures. If the selection doesn't go exactly how you want, simply click the subtract from selection option and redo the stray selection.

Don't forget to switch back to add to selection if you're not done selecting your object.
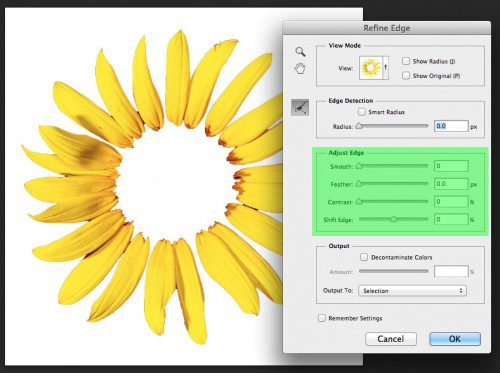
If further improvements are needed, right-click and choose refine edge; paint along the edges that need refinement. You can make more adjustments with the Adjust Edge sliders.

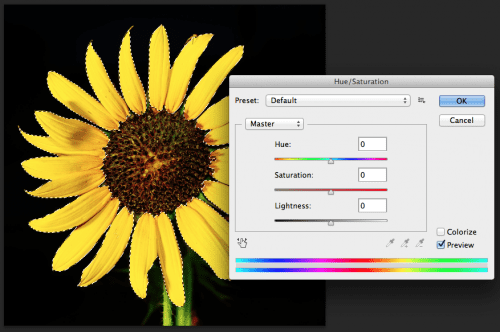
3. Now it's time to change the color. Go to Image > Adjustments > Hue/Saturation. Adjust the Hue and Saturation sliders you've got the color and saturation level you want.

You can make additional changes by going to Image > Adjustments > Color Balance. Adjust shadows, mid tones, and highlights.
4. Go to Select > Deselect. This will get rid of the outline around your image. And you're done!

Now a disclaimer: this method is not the only way of changing the color of an object in Photoshop. There are a dozen other ways to ultimately achieve the same thing. You can use the Color Replacement tool, the Selective Color process (Layer > New Adjustment Layer > Selective Color) or the Replace Color process (Image > Adjustments > Replace Color). And the process outlined here, of course. Depending on the image you're working with, one of these techniques may be a better option than the other; you might even pick a method based on your comfort level. I find the technique described above to be relatively quick and painless and it allows for a good amount of control, so it is my go-to technique for most of my recoloring needs. Your mileage may vary, but if you've never tried it give it a spin and see what you think.


