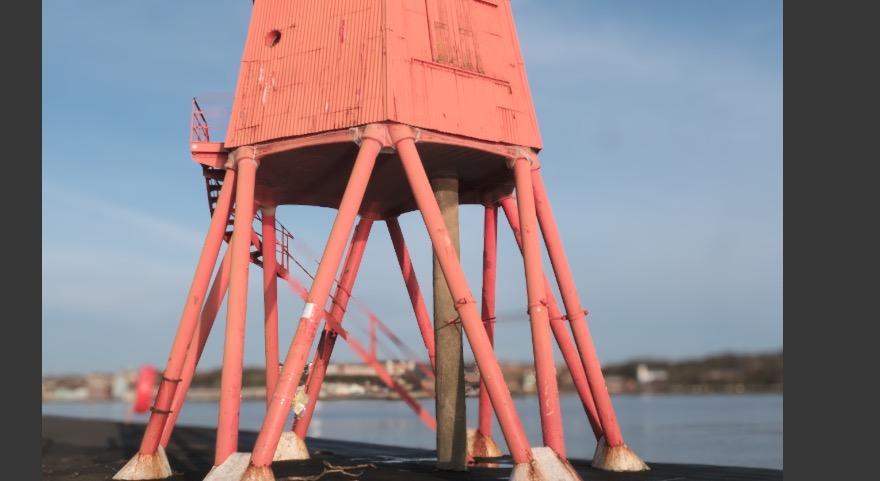
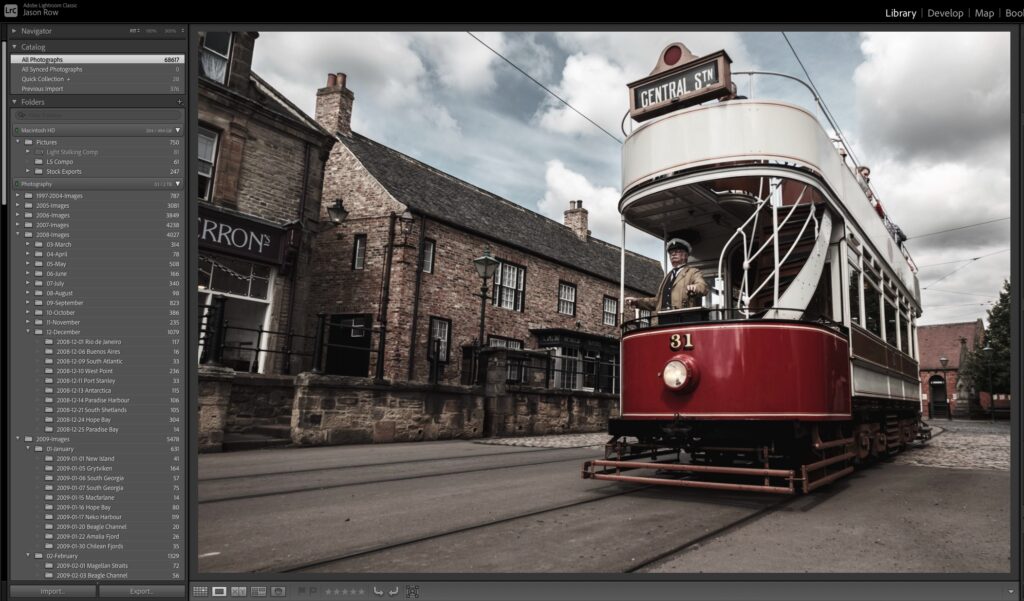
We all take flat, lifeless looking images from time to time. Poor light or weather or even shooting Raw can give us images that lack contrast and punch. In all these cases it is possible to recover that lack of contrast in post production, returning life and punch to the image. To many starting in photography and Lightroom, the obvious choice to boost contrast is the contrast slider. Even the most basic editing suites have such a tool. However, as tools go, it is somewhat of a sledgehammer, lacking the finesse that other options we have. Today we are going to look at better options for boosting contrast in Adobe Lightroom.
The Black and White Sliders
The first way we can boost contrast is using a combination of the Black and White sliders in the Basic section of the Develop module in Lightroom. We do this in conjunction with the histogram. Slide the black slider to the left until the left edge of the histogram is about to spill over the side. Move the white slider to the right until that is about to spill over the right side. What you will see is a big improvement in contrast but overall your image may be too dark or too light. You can now use the shadows and highlights tool to correct for the mid tones exposures. As you do this keep a keen eye on the histogram to make sure you are not pushing to far past the limits.
Note: It is generally considered good practice to make sure your image's histogram is not stacked against either the left (shadows) or right (highlights) side. To do so means you are losing detail in absolute black or absolute white pixels.


The Tone Curve Tool
Tone curve works in the same way as curves in Photoshop. It is a very powerful way to boost contrast. The tone curve tool is strangely hidden away in its own tab further down the Develop Module. You can boost contrast but darken blacks and lighten whites. To do this, select a point on the lower right of the graph and slowly drag it downwards. Always keep and eye on the histogram as you do this. To boost the whites, select an area to the top right of the graph and slowly slide upwards. You can add further points to the mid areas to correct the exposure in the midtones.
Another way to use the tone curve is to use the dropper tool. By clicking on the discrete circle in the top right of the Tone Curve tool, we can select tonal areas and correct them. Having pressed the tool, move the curse over the tonal range you wish to correct and drag up or down.
Lastly at the bottom of the Tone Curve tool is another option, Point Curve. Clicking on this reveals quick presets for medium and strong contrast adjustments.
The Clarity Slider
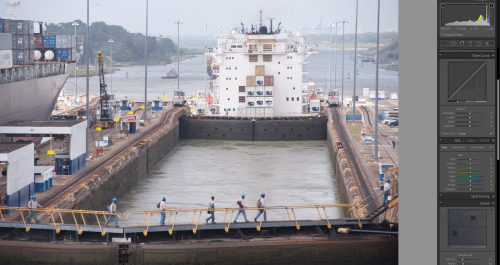
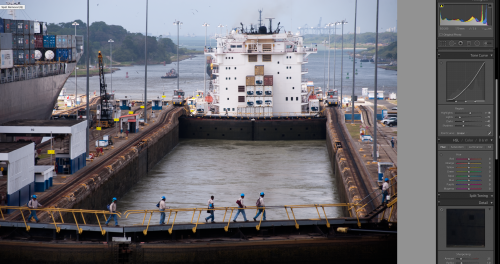
A relatively recent addition to the Lightroom arsenal of post production tools, clarity is a more subtle version of the contrast slider. It’s subtlety comes from the fact that its effects contrast only in the midtones of an image and not the darkest and lightest regions. That makes it very useful for dull, uniformly flat images where the bulk of the exposure is “bunched up” amongst the middle regions of the exposure.
Like the contrast slider, it can be a bit of a sledgehammer if pushed too far, causing artefacting in areas of high contrast. It is a tool best used in conjunction with others such as tone curve and the black and white sliders.


The Dehaze Tool
This is another fairly recent addition and one that is limited to the subscription based version of Lightroom, Lightroom CC. Dehaze tends to boost contrast in the darker regions of the image, spreading the histogram towards the left end of the graph. Used sparingly it is a powerful tool for giving a subtle boost to image contrast but pushed too hard it can completely ruin the look of an image. It is found in the Effects section of the Develop Module.


Selective Contrast
There will be times that you want to boost contrast in selected regions of your image. You can use Black/White, Clarity and Dehaze tools in combination with the selective editing tools in Lightroom. These are, graduated filter, radial filter and adjustment brush. The same rules apply using these contrast tools on selected areas, watch the histogram and don’t push the tool too far. Artefacting, blown highlights and shadow noise are the potential issues if you do go beyond the limits.
Lightroom gives us many different ways to boost contrast in our images. The above are probably the best known and most powerful. For simple quick edits, the contrast tool itself does a reasonable job but if you wish to have more control, the black/white and tone curve tools are probably your best options.
If you would like to up your game in Lightroom and see how I edit my images from beginning to end before I submit them to stock agencies, you might be interested in my Bruges Raw video where I take a raw file and show every edit I do.

