It's Not All About Saving a Dime Here and There…
Your photos should be awesome. When they're lacking that piece of “essential” gear, learn some DIY. As a photographer you know by now that getting your images to stand out from the rest is what it's all about. Not only that, you want to improve too.
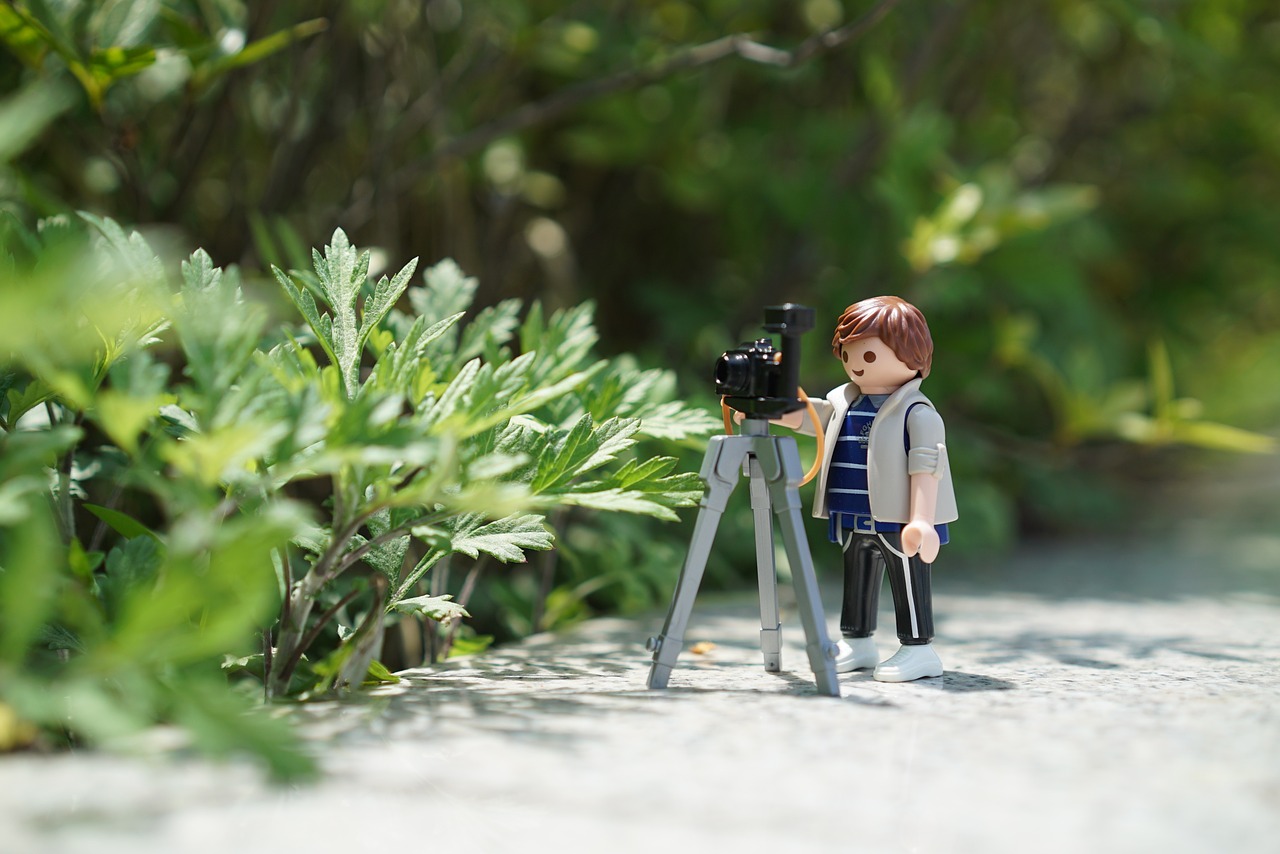
I'll speak for myself here, but when I'm stuck and need a piece of kit and quick and if it's a choice between buying (for a one-off job) or seeing if I can save some $$$, then I'll go for the latter. I'm not tight with cash, but I view photography as an investment and so everything I buy I want to be of the highest quality I can afford. And therefore last.
In my world (and I'm certain others share this) less is in fact, more – two lenses of high-quality glass is my preference over 4-5 “okay” lenses just because they suit a particular focal length I am missing.
Photographers look out for one another and enjoy sharing their knowledge and experience, thus everyone gets a slice of the pie. We've got some quick tips here for those times when you've got to think on your feet a little and have to resort to makeshift tools! If you're stuck, there's often a DIY solution.
DIY Photography Hacks
Sunglass filter for shade blends
Great first tip and super easy – no DIY gluing and handicraft skills needed! If you're looking to reduce glare or improve color saturation & contrast, this is quite a neat tip. No, it's not a replacement for an ND or Circular Polarizing Filter, but when it's all you've got it could just make the unusable image, usable.
A Knife Blade for a Reflection Effect
Easy with the blade here, remember that nice piece of glass you have on the end of your camera? Just bear that in mind. This is another great quick tip for reflecting light into your camera's lens.
Give it a try and see what kind of reflection effects you're getting – it should prove pretty cool. As far as DIY photography hacks go, this one's more for fun, but the pocketknife will always come in handy!
Your Very Own Tilt-Shift-Effect Lens…With some Vaseline
Using Tilt-Shift lenses requires some practice and can produce some magnificent results (click on that link back there to see). Sometimes though we don't want to go all-out and purchase one but try some and get some neat effects.
This is about shaking up your photography, not just heading out to shoot either a) the same kind of thing or b) hoping for the best. Try out this little trick and see what your results are like – post them in the comments with a link to your online profile.
NOTE: Don't get Vaseline on your actual lens – you'll only ruin it and then someone will be in trouble :-/
- Buy an old used UV filter off somewhere like eBay,
- Secure the UV filter onto your lens by screwing on tightly (as you normally would),
- Take a little Vaseline and smear a round circle around the edge, leaving it clean & clear in the center – use a coin or something circular as a guide perhaps,
- This then leaves the center of the lens clear – essentially creating a center spot filter,
- Get some shots – try some still life first, perhaps some fruit and see what kind of effects you're getting.
Okay, it's not going replicate a proper tilt-shift lens but you'll have a ton of fun replicating some unusual focus/depth of field effects.
Coffee Cup Sleeve Lens Hood
Now you might be thinking, oh my god – you'd have to be in a desperate situation here. Yes, you would. But if you've left yours at home and you're shooting outside particularly and this is all you've got to reduce too much flare, it's better than nothing.
Quite often you'll want to prevent things like backlight from detracting from your subject. The coffee cup sleeve idea works with just some masking tape to the end of your lens – not too much as you'll still need your zoom and focusing ring to all work properly still (dependent on your lens of course).
CD Case Rain Guard
Another tip which could really save your a$$. If the weather turns and you're no fair-weather photographer, then you NEED to protect your gear from the elements.
You're gonna need a few materials here: Some Gaffer tape, a CD case (from an old spindle of CDs – if you have one laying around) or basically a plastic circular cylinder and some polythene.
Put two together and you can extend it out as one will not be enough! Keep some of this in your gear bag – the polythene and gaffer tape at the very least.
Some quick DIY photography hacks for you, nothing mind blowing but some of these could just really save you from disaster or worse, not getting the shot! If you've got any more you think the Lightstalking community would benefit from, throw them in the comments section below.
Further Resources
- DIY Lighting Hacks
- These 4 Easy DIY Photography Hacks Actually Work
- Lightstalking's Very Own Photo Hacks Guide
- 11 Cheap And Fast Photography Hacks To Give Your Images Amazing Effects
Further Learning
Learn Fundamental Editing tips from the pros – these are seriously good steps for you to learn how to “change your photography…forever.”


