High key photography is not a common technique and is not one that will work well under any lighting scenario. It requires a specific kind of lighting set up and selective subjects to get the best results. If you are interested in capturing some high key images, then we have a detailed tutorial here that will help you get an understanding of high key photography and get started with it.
What Is High Key Photography?
If you don't know what high key photography is, we'll make sure to explain it thoroughly. This type of photography uses very bright lighting to blow out most of the harsh shadows in a photograph. High key photography has an interesting history – it was originally developed as a solution to screens that couldn't correctly display high contrast ratios. It is well-known that early film and television did not deal well with these high contrast ratios. However, over time, high key photography has become a stylistic choice rather than a solution to faulty screens.
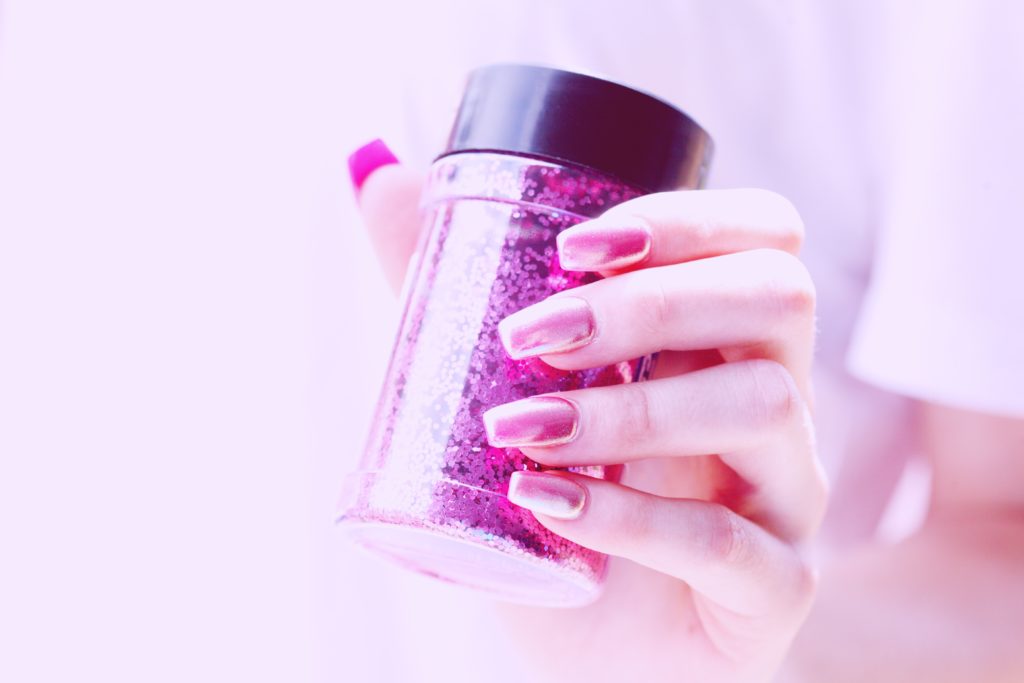
High key images, because of their brightness, convey a positive or serene mood which is great for fashion and product photography, flowers and similar subjects that are either feminine or delicate.
High key lighting was quite popular in classical Hollywood cinema because it was well suited for three-point lighting and other filmmaking traditions. It was used for both daylight and night scenes.
Why Use High Key Lighting?
High key lighting produces a pleasant outcome. Various advertisers often prefer this style of photography to help present their products in the best possible way. Even comedy shows use this type of lighting set up because it provides an upbeat atmosphere which has an immediate effect on the audience.
Eliminating shadows from photos presents the subject in a pleasing manner – such photos convey little to no drama. On the other hand, hard-edged shadows of low key photography creates the opposite feelings. If you want a rather moody and ominous scene, you should avoid high key lighting.
There are two main approaches to creating high key photos:
- Light, expose and shoot the photo with high key results in mind from the very beginning
- Rework the photo in editing so that it matches the high key style
Amateur and professional photographers use both of these approaches. However, it might be more convenient to use the first approach, especially if you're not proficient in post-production. We'll guide you through the entire process of shooting high key images so that you won't have to rework the photos too much in Lightroom and Photoshop.
Lighting Equipment For High Key Photography
Your choice of lighting equipment will depend on whether you plan to shoot your high key session indoors or outdoors. Majority of high key sessions are shot indoors because it's easier to control and modify the light in the studio than somewhere outdoors.
However, you should know that shooting indoors in high key is not easy if you don't have the proper equipment. If you need to achieve “the studio look” with a seamless white background and soft lighting, you'll need to invest in studio lighting. Getting started with this kind of lighting can be quite expensive. However, there are many choices since you don't have to buy the equipment from the most prestigious brands. Various starter kits are available from a range of brands – depending on the quality of the equipment, you can expect to spend between $200 and $2000.
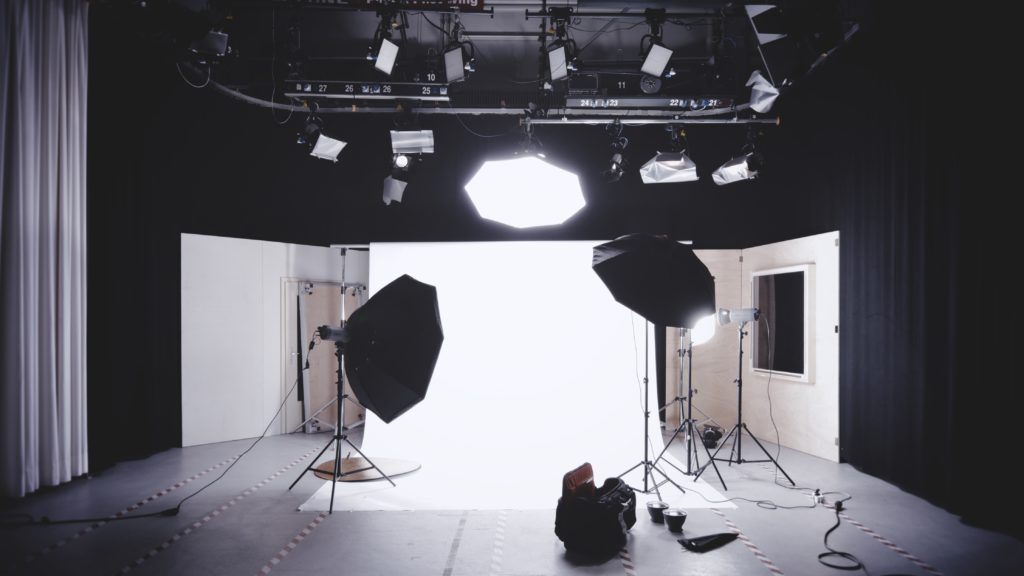
You have two main options when it comes to the type of lighting for high key photography – you'll need either continuous lighting or strobes. When it comes to continuous lighting, you can use tungsten or fluorescent lights. Tungsten lights will produce warmer looking scene while fluorescent lights will give relatively cool results. Which light to pick is a matter of personal taste, but in case you plan to shoot mainly portraits, it might be better to go for the warmer one.The problem with continuous lights is that they tend to be low-powered (unless you buy the top quality ones). This can make it difficult to pull off excellent high key photography. Strobes are more powerful and a better choice if you can afford them.
In addition to lights, you will need a few more items for your high key photography, such as light modifiers and backdrop.
To sum it up, here's the list of things you'll need for a high key setup in the studio:
- Three or more continuous lights or strobes
- optional: 3 umbrellas (to use with fill light and background lights)
- optional: 1 large softbox (to use with key light)
- simple backdrop
- radio triggers (in case you're using strobes these trigger the lights by radio signal)
Lighting Setup
After you have purchased the basic equipment for high key photography, you need to set up your studio environment. There are many ways to obtain a stunning high key image. We'll cover the most popular method of achieving this effect in photography, and you can experiment on your own once you've learned the basic setup.
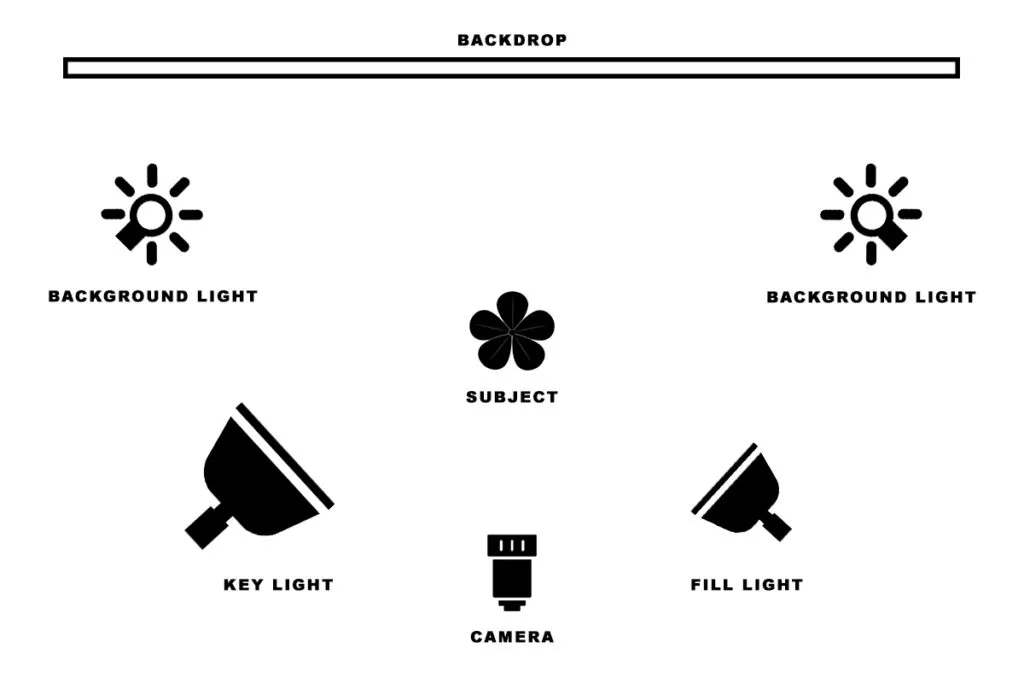
You should position your subject (model or product) in the center of the backdrop and keep the shot's frame within the bounds of the backdrop. No gaps should be visible since they will affect the exposure! After you have positioned your subject correctly, you should place a key light and fill light. The key light should be off to one side, and it should be your main source of light. You have to make sure the lighting is flat because you're not going for contrast in this kind of setup – you should focus on brightness!
Having the key light on one side will produce shadows on the opposite side of the subject – that's why you need to use a fill light to smooth out the shadows. You can then reduce the darkness of shadows as much as possible by adjusting the strength of the key light and the fill light and the distance between them.
In case you have only two lights available, they will produce a greyish, shadow-filled background. You need 3 or 4 lights for high key photography since you want to have a solid white background without any shadows. Bring an additional two lights and point them at your backdrop to eliminate shadows. Make sure the light isn't bouncing off your backdrop (angle the lights properly!) because this can cause unsightly halos around the subject.
Window Light In High Key Photography
In case the studio setup seems to be too complicated or not affordable for you, you can create high key images differently. For instance, you can use window light and alter it with a reflector or fill-flash. This type of high key photography is quite popular and gives superb results. Portrait and wedding photographers often take advantage of this style because it can be achieved with minimum lighting equipment. You need to overexpose the background and light the subject with fill lighting.
You can shoot high key photography outdoors too – the best way to do this is to get a solid background, white or yellow, and bring it to a place with lots of indirect light. A simple white sheet placed in the shade will work perfectly as your background.

Camera Settings
When it comes to camera settings for high key photography, they are pretty straightforward. It shouldn't be hard to get them right, even if you're an amateur photographer.
It can be really useful to have a lens with a wide aperture if you plan to shoot high key images. These lenses let in more light compared to kit lenses. An excellent choice would be a 50mm prime lens – these are available in f/1.8 and f/1.4 versions.
Start with a low ISO (between 50 and 200) in a bright environment with an aperture that's wide enough to give you a really bright scene. However, you should feel free to use a narrow aperture (such as f/11) if you're not aiming for a blurry background.
When it comes to exposure, you should lengthen it to brighten the scene as much as possible without blowing out the highlights (high key doesn't mean badly exposed!) or causing blur from camera shake, or model movement. To prevent blur from camera shake, use a tripod.
A rule of thumb is to set your shutter speed so that the image is overexposed by a few stops (usually 2 or 3). It's safe to start with overexposing your image by two stops. Once you've done it, analyze the image and shoot again if you aren't satisfied with the results. You can also shoot in aperture priority and use exposure compensation to bump up the exposure.
High Key Photography Editing
High key images certainly won't be perfect straight out of the camera – they require editing and fine-tuning even more than regular photographs. Editing in high key photography can be used to clean up problem areas and lighten up and even out the background. You'll notice that it's quite hard to get a perfectly even background, especially if you're not using professional lighting.
When you import your high key photographs into Lightroom for post-processing, you might notice that you didn't overexpose them enough or that you simply couldn't remove certain lines or textures you wanted to eliminate. To fix such issues, increase the exposure and lighten the shadows even more, but don't blow out the highlights.
Be aware that composition matters a lot in high key photography. Using a lot of negative space will help your subject stand out in a rather simple and clean way, which is perfect for product photography. In case you didn't think about negative space while shooting, you can go through the image in Photoshop and paint in white where you think blank spaces should be. It's quite easy to do so – you just need to open your image in Photoshop and create a new layer to paint on. After you've done that, select the paintbrush tool and white as your paint color. Adjust the opacity, flow and hardness of your brush as needed.
If you're a Lightroom user, you can achieve a similar effect with the adjustment brush. In the develop module, select the adjustment brush tool and then the exposure effect from the dropdown “Effect” menu. You should increase the brush exposure all the way up and start painting over the areas you want to fix. In case you're not satisfied with the result, you can create another brush and paint over the problematic areas again.
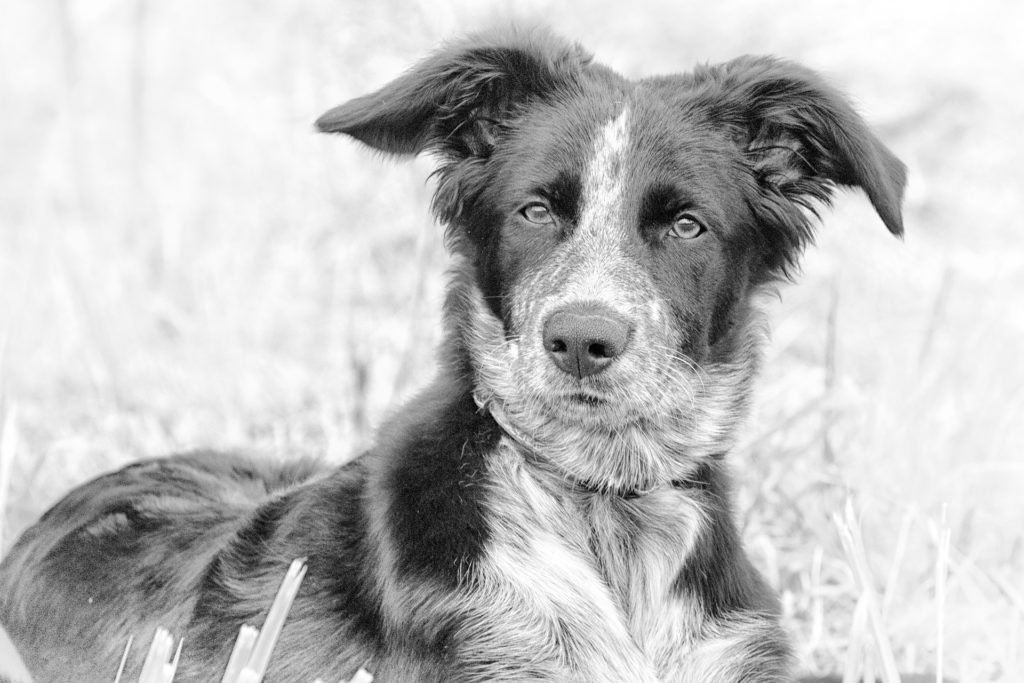
High Key Subjects
Choosing the proper subject for high key photography can be a little bit tricky, and it requires some practice. For instance, it can be challenging to capture an outdoor adventure scene or a beautiful sunset using the high key technique. The same goes for portraiture – there are people who simply don't look interesting or attractive when shot in high key.
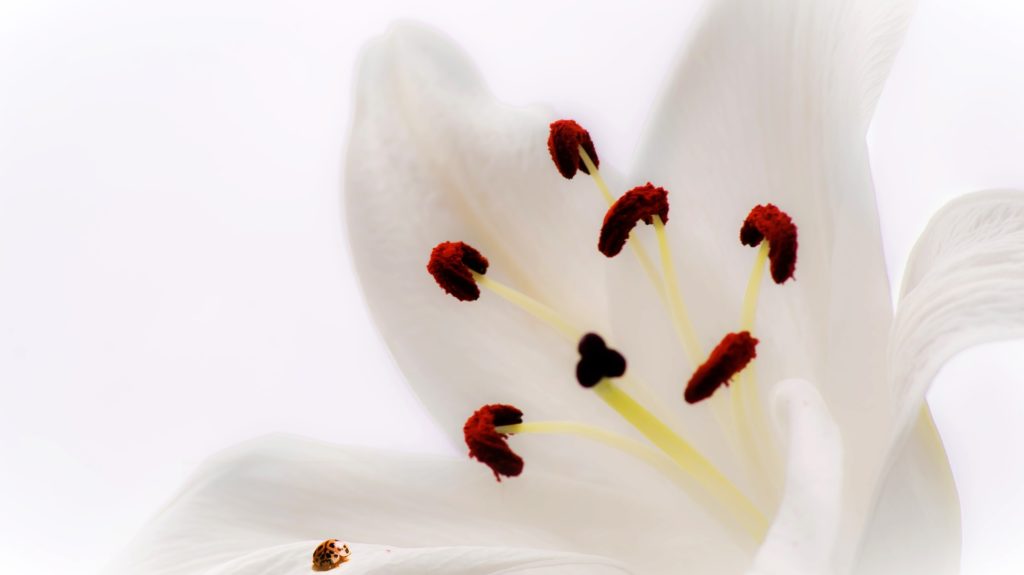
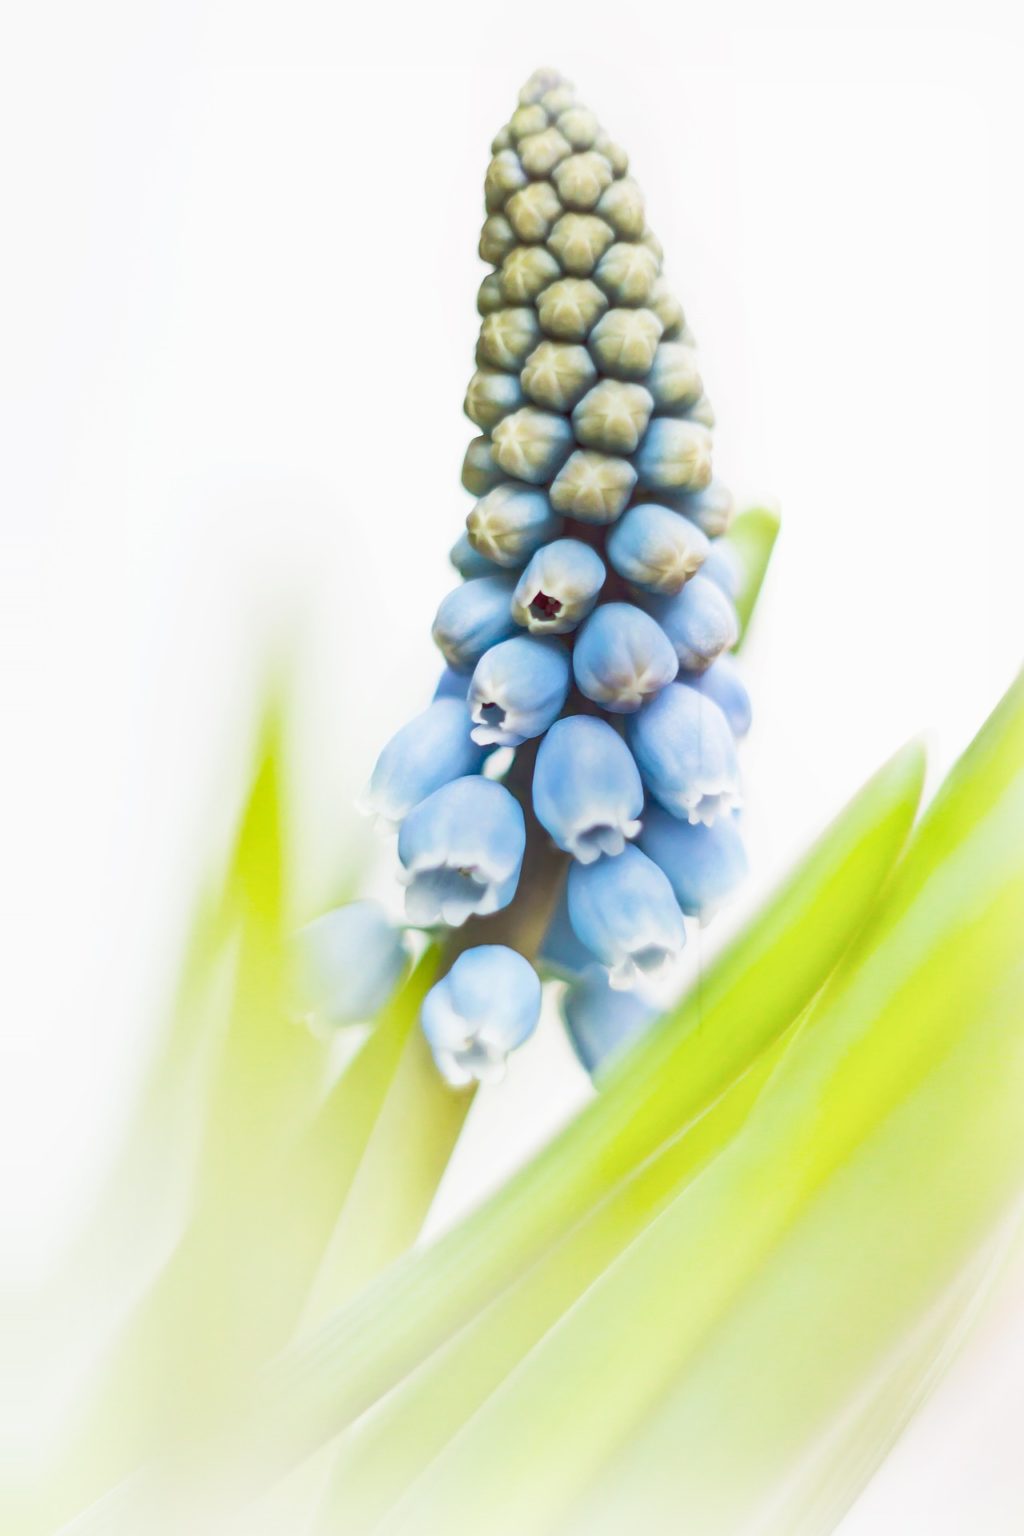
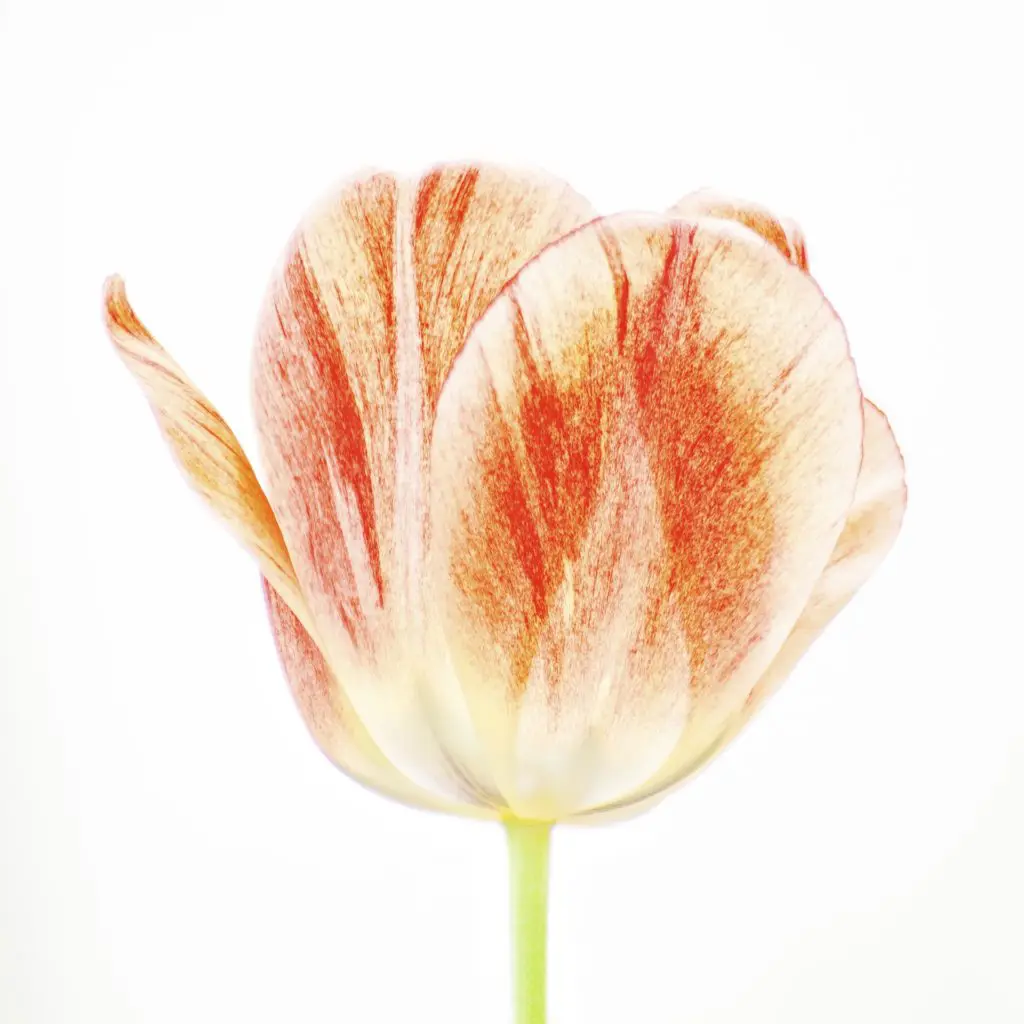
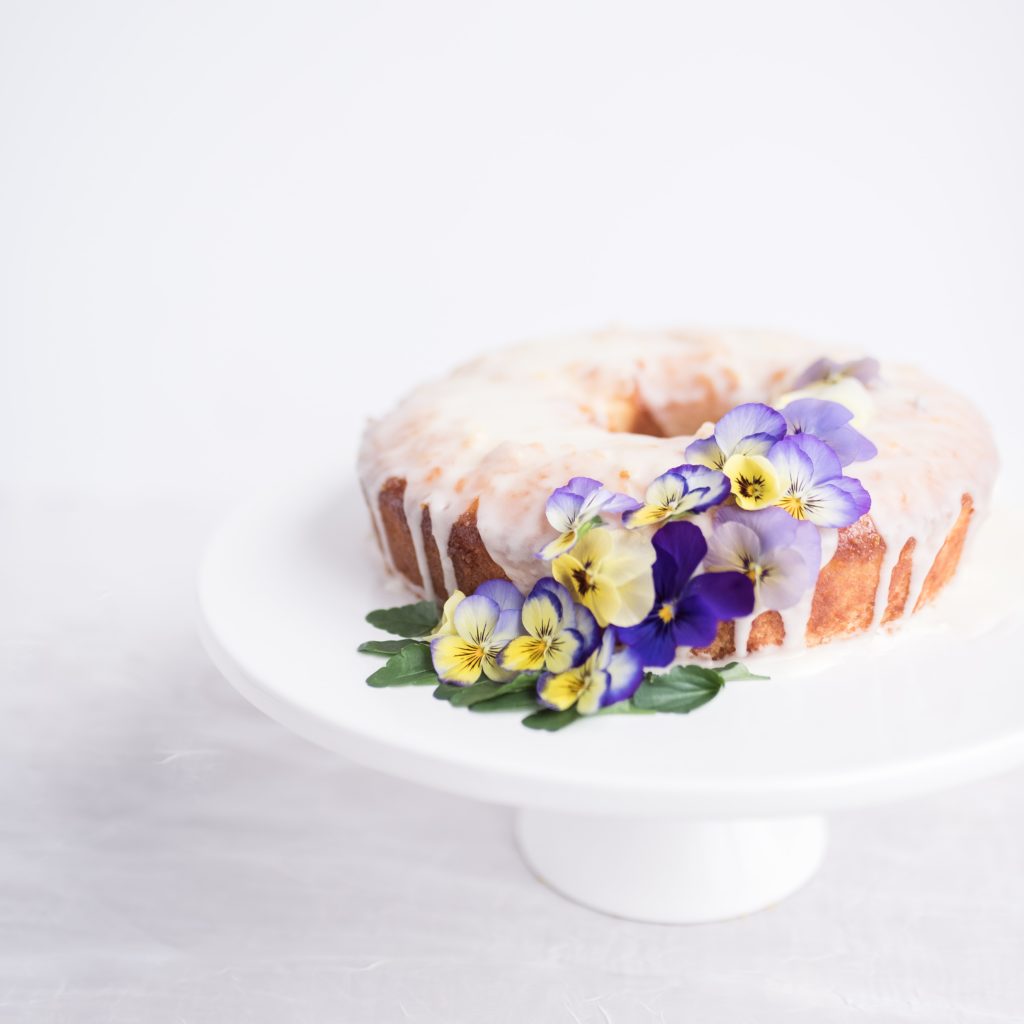
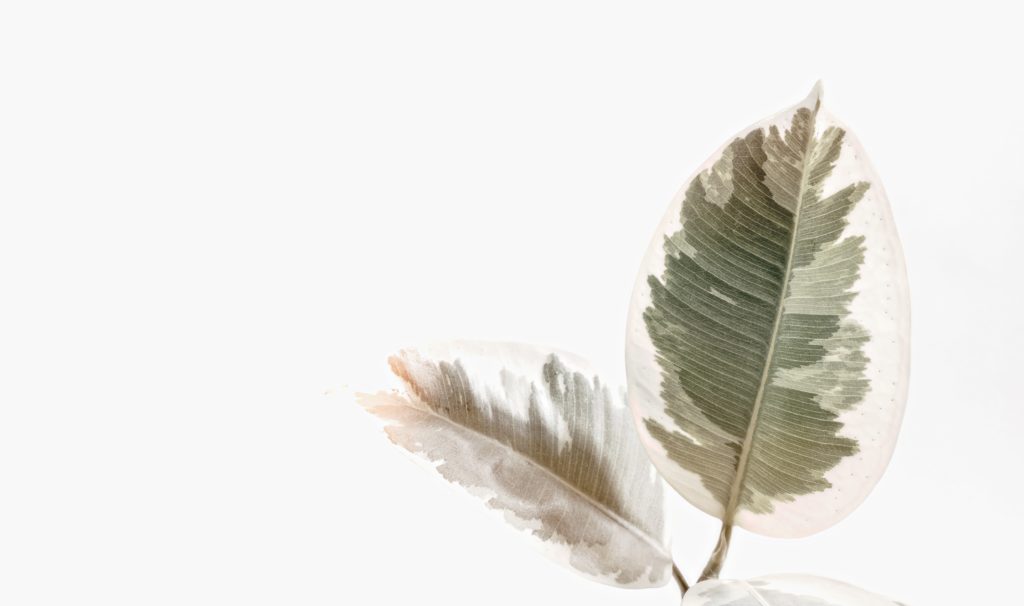
The best way to practice this type of photography is to start shooting subjects that tend to look good in high key. Plants are definitely one of them – anything with leaves, flowers, or roots will look amazing in high key if appropriately shot.
Check out these great examples of high key photography of plants:
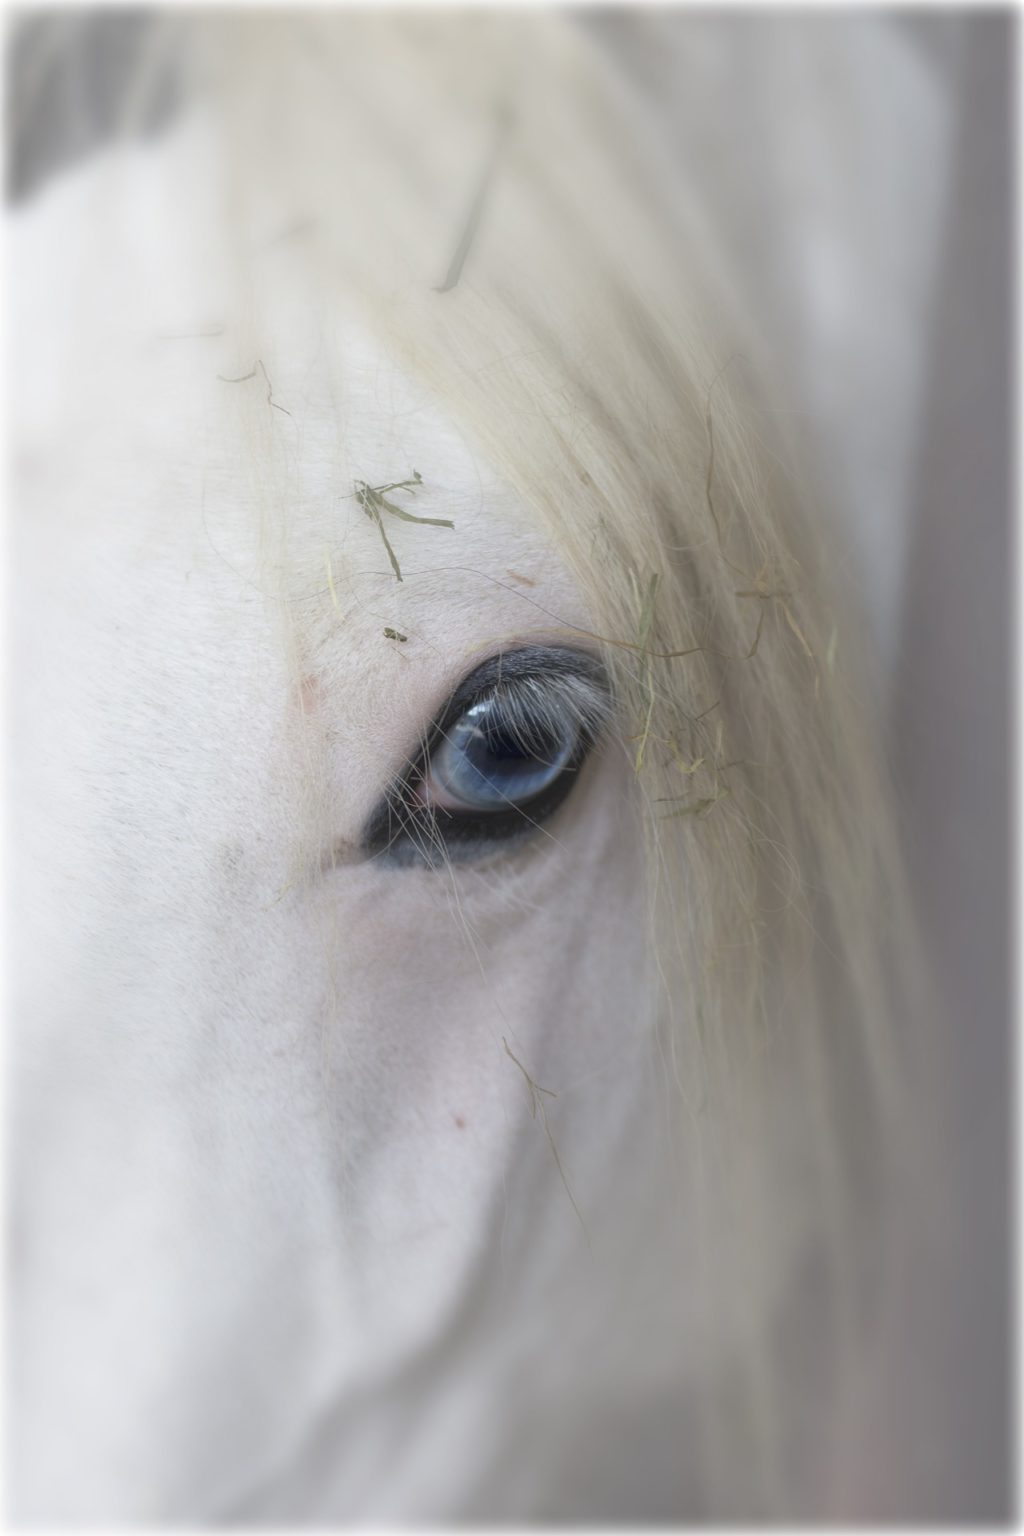
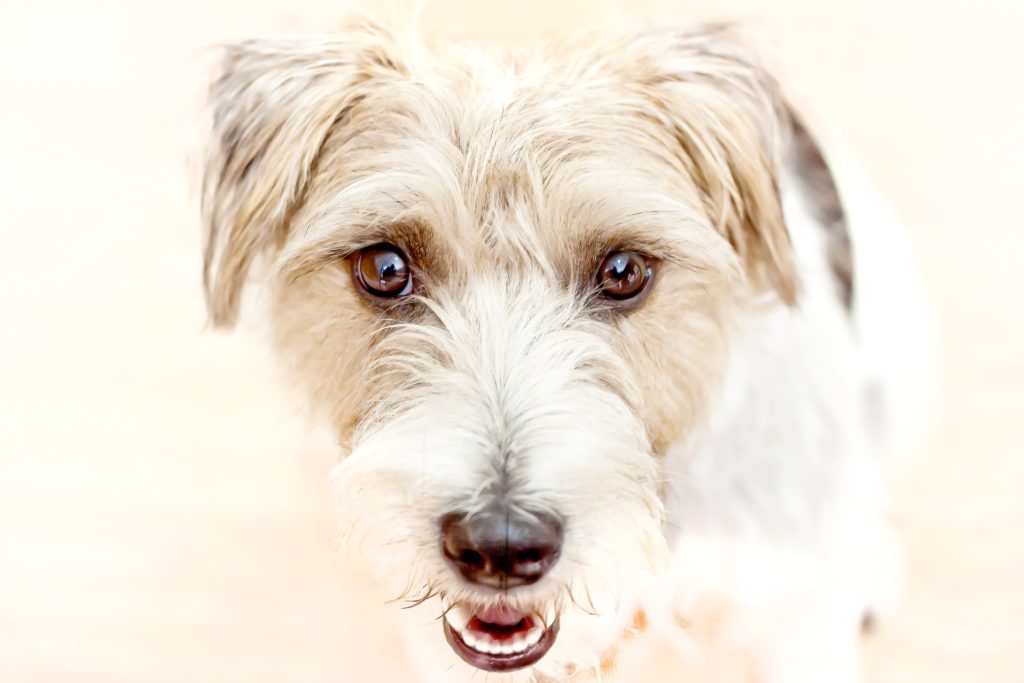
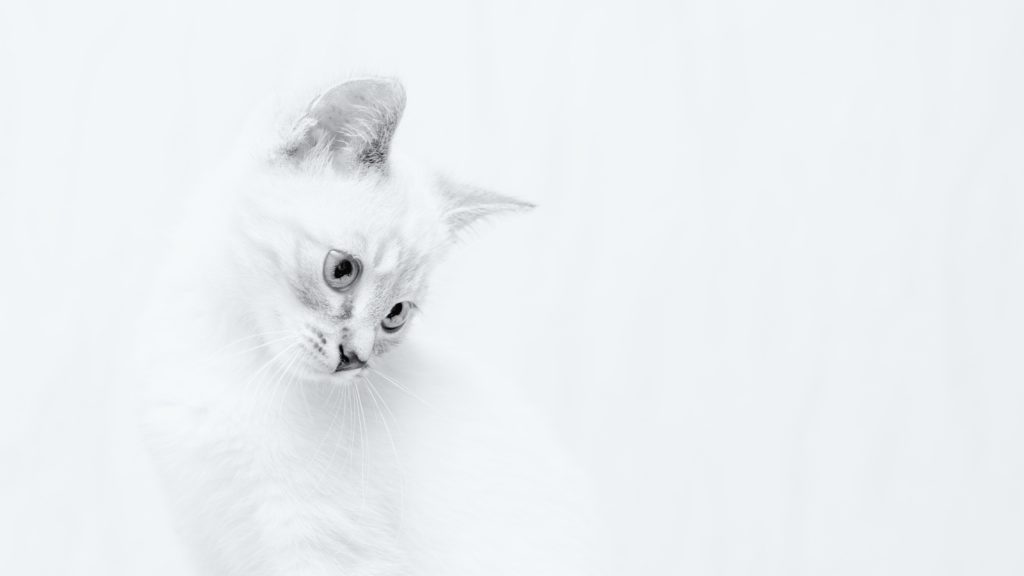
Another great subject for high key images are babies and young animals because this style of photography enhances their pure and fragile beauty. Here are a few examples:
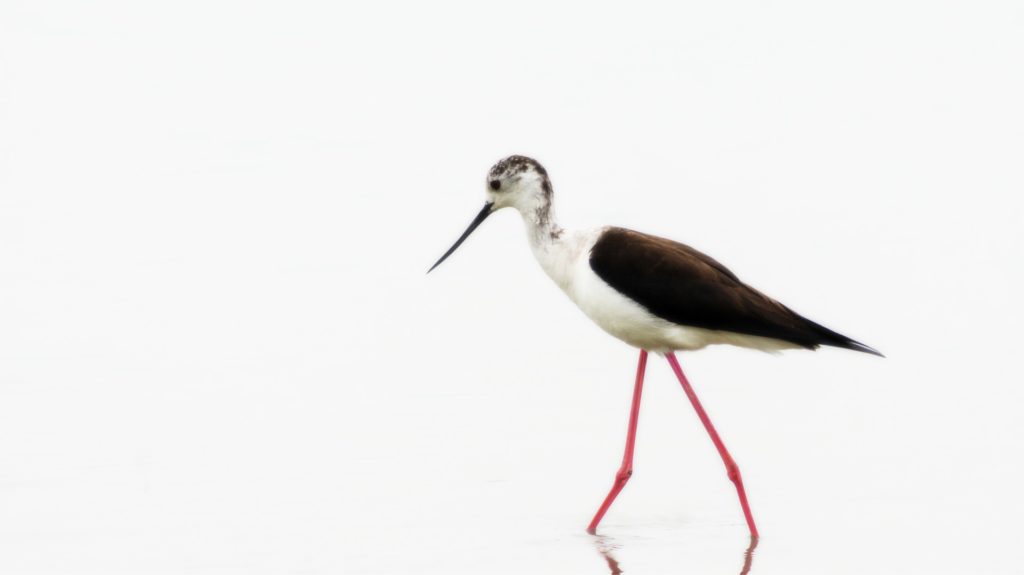
Wedding and fashion sessions can also benefit from a high key approach, especially when they are shot in minimalist surroundings. Pay attention to the simple yet radiant beauty of the following images:
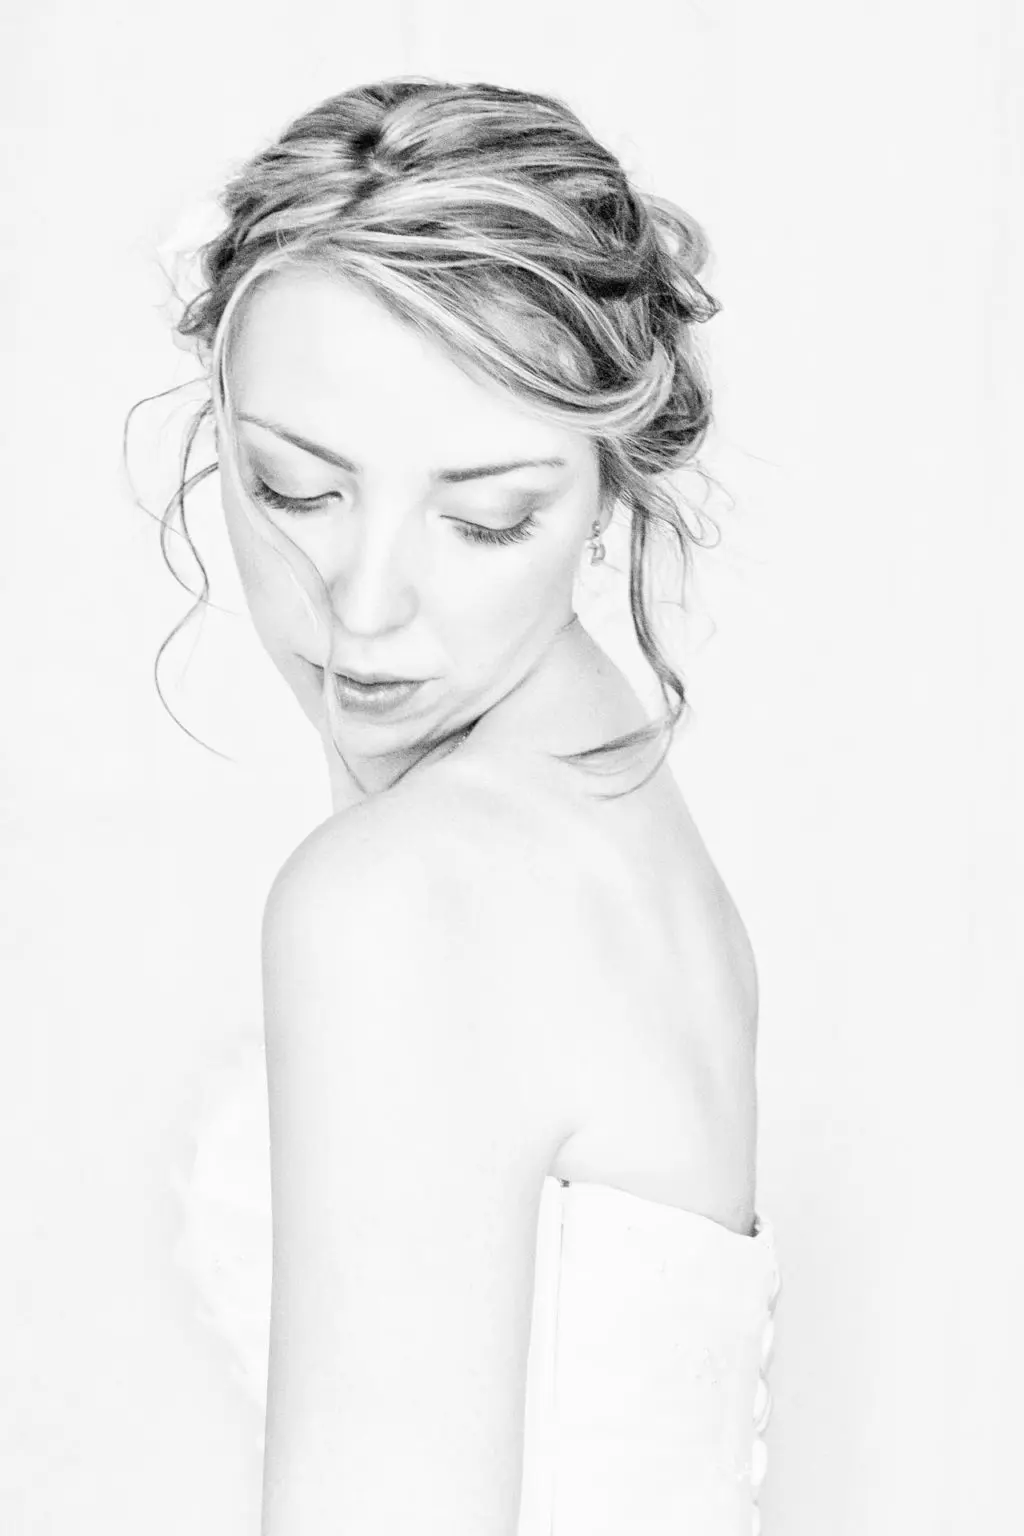

Bear in mind that one of the most difficult things to do in high key photography is to separate your subjects and single them out as the main idea of your photo. In case you're not using a simple white background, you will most probably have to move around a lot. Try various perspectives and ideas to single out the subjects of the photo creatively. This can require a lot of effort, sometimes, but the results will be rewarding.
High Key In Landscape Photography
As you already know, high key images are relatively easy to achieve in an environment where you have full control of the lighting. This means that being able to make high key shots of landscapes is a serious challenge. You have to work with the available light, have an eye for landscapes that will look good in high key, and then use your camera settings to get the best shot you can.
High key landscapes can be very poetic, and they usually work best in black and white. However, they can sometimes work well in color, especially if you decide to desaturate colors in editing.
If you're experienced in shooting long exposure landscapes and you already own a neutral density filter, you can make amazing high key landscapes by shooting lakes or other large bodies of water. You will need a very long exposure (usually more than 20 seconds) to give the water the snow-like appearance!
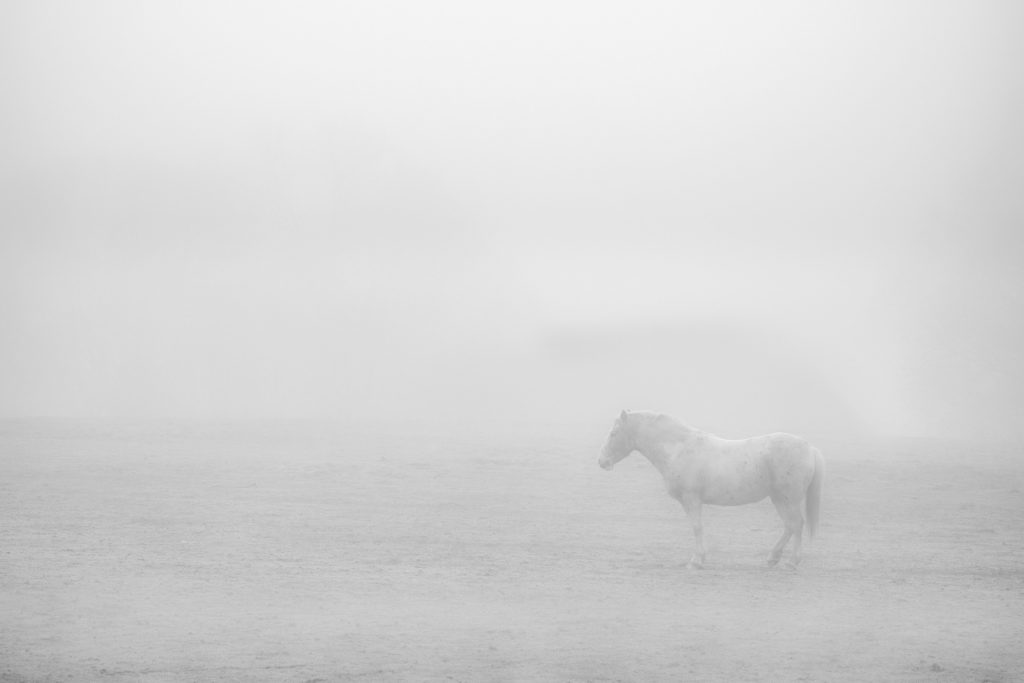
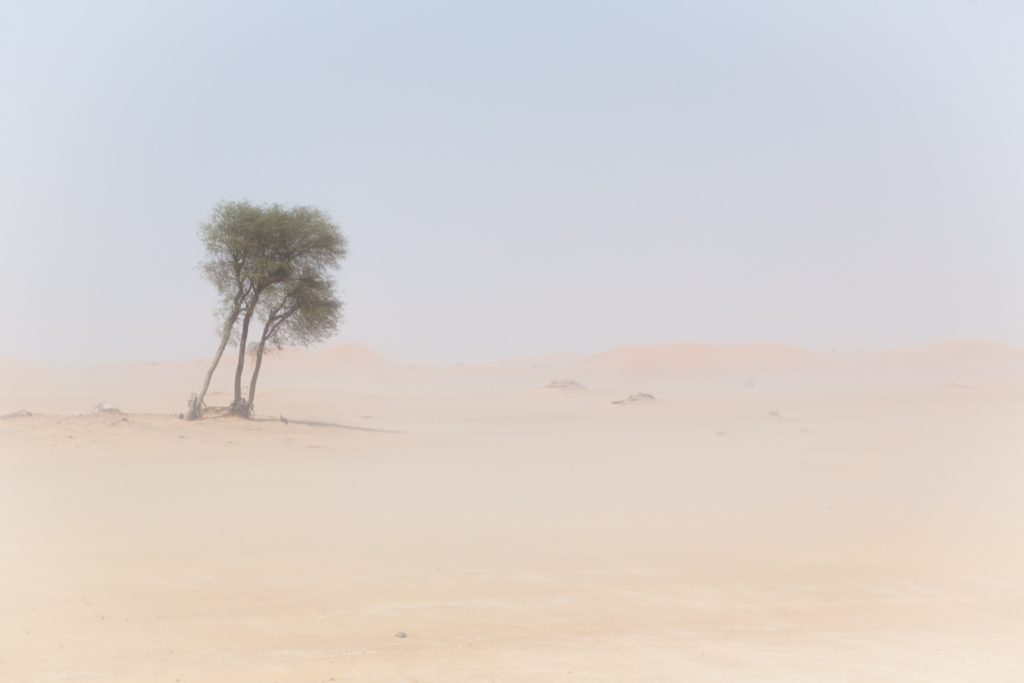
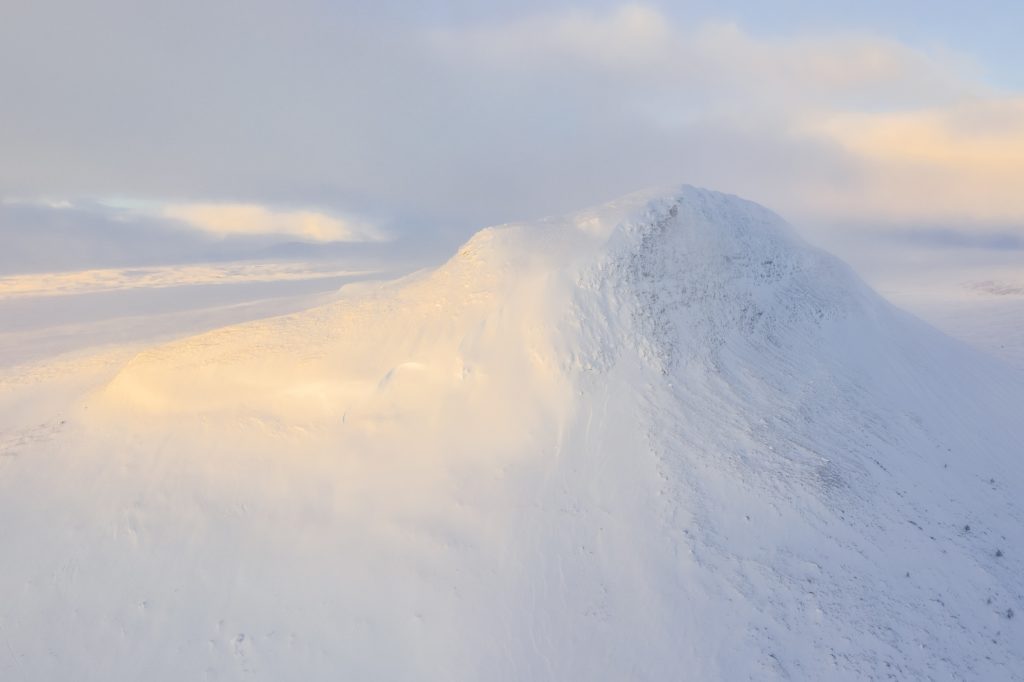
Other great environments for high key landscapes are deserts and snowstorms. Check out these gorgeous examples:
Conclusion
To sum up, high key photography seeks to eliminate harsh shadows and surround the subject with a bright environment. It is generally used to convey an upbeat, funny or sublime atmosphere, but it can be manipulated to communicate many different moods and concepts.
If you want to dedicate yourself to high-key portraiture or product photography, studio lighting is a must!
Awesome External High Key Tutorials
In case all this wasn't enough, we'd like to share a few handy resources on high key photography:
- High Key Studio Lighting for Small Spaces – Not everyone has a huge space to take their portraits. With this tutorial, learn how you can create the perfect lighting for high key portraits in a limited space.
- Black and White High Key in Photoshop – If you have a great image already that you'd like to convert to a high key black and white, this tutorial will show just how to do it.
- How to Edit High Key Photos – Post-processing workflow for high key images. This particular lesson is a video tutorial using Adobe Lightroom.
- Stunning High Key Portrait Tutorial – Many times, high key photography washes out the detail and gorgeous texture of an image. Learn how to preserve or add them in here.
- High Key Photography – Setup and Lighting for the Perfect Shoot (Video) – This is a quick video tutorial detailing the equipment, setup, and lighting for a basic DIY high key studio.
- High Key Photography Anywhere (Video) – How to create a studio photograph no matter where you happen to be. Very useful for those photos “ruined” by the background!
- Create High key photos in Adobe Lightroom – Turn a decent image into a professional-quality high key photo very easily. This is another tutorial in Lightroom.
- Setting up Lightroom Presets for High Key – Yet another Lightroom tutorial. This time, learn how to make the high key post-process workflow easier by setting high key presets.
- High Key Camera Techniques – How to create high key photos the easy way – by starting with your camera. Learn some basic techniques to get great base images before worrying about post-processing.
These tutorials will give you a great starting place for creating the perfect high key images in almost any situation. If you think we have missed any good tutorials on high key photography, then feel free to post a link to them below.



8 Comments
I’m pretty sure “high key” and “blown out” are different.
Eye
https://www.flickr.com/photos/sendall/4939604141/sizes/l/in/set-72157624712416553/
Model: Jamie Wise (before he became a famous model)
https://farm5.static.flickr.com/4094/4939604141_b0425e6ec2_b.jpg
Model: Jamie Wise (before he became a famous model)
tk, it isn’t about blowing out the subject — except for that shot of the eye (which is cool). It’s about properly exposing the subject — i.e. with contrast — but blowing out the background using light and a narrow subject depth of field. See how that young man’s face is already washing out at his ears, and the hair behind that is just a silhlouette. The focus is on his eyes and the DoF is wide enough to include his nose, lips, and chin. Tip: A tighter shirt, maybe a T-shirt with v-neck, would also have washed out because those wrinkles which provide shadow and depth would disappear.
I tend to agree with a lot of the comments that these aren’t representative of quality high key images – here a tutorial that I’ve been following recently –
If you have a white background, you do not need to overexpose it to make it look white! Just expose it at the same f/stop your camera is using. Overexposing the background will just cause it to reflect light into the lens, causing flare and washed out subject outlines. Compare the skin tones and detail in this picture compared to the others.
Usually when I attempt high key photography it just looks blown out and has put me off doing it more, looks like I need to just practise.