Modern cameras and in particular mirrorless cameras have some pretty amazing tools built into their viewfinders and LCD screens, but are you using them to their full potential?
Long gone are the days of split cirque focusing and a meter needle. Today’s cameras have an almost overwhelming selection of indicators and tools. Sometimes it’s difficult to know which ones to use and which to switch off. A cluttered viewfinder can actually be a handicap to creativity, the numbers, lines, flashing warnings all drawing our eye away from the actual task of composing the image.
So with that in mind, what are the viewfinder tools that you really should be looking to use? Today we will find out, above and beyond the basic exposure and focus tools.

Setting Your Viewfinder/LCD Up.
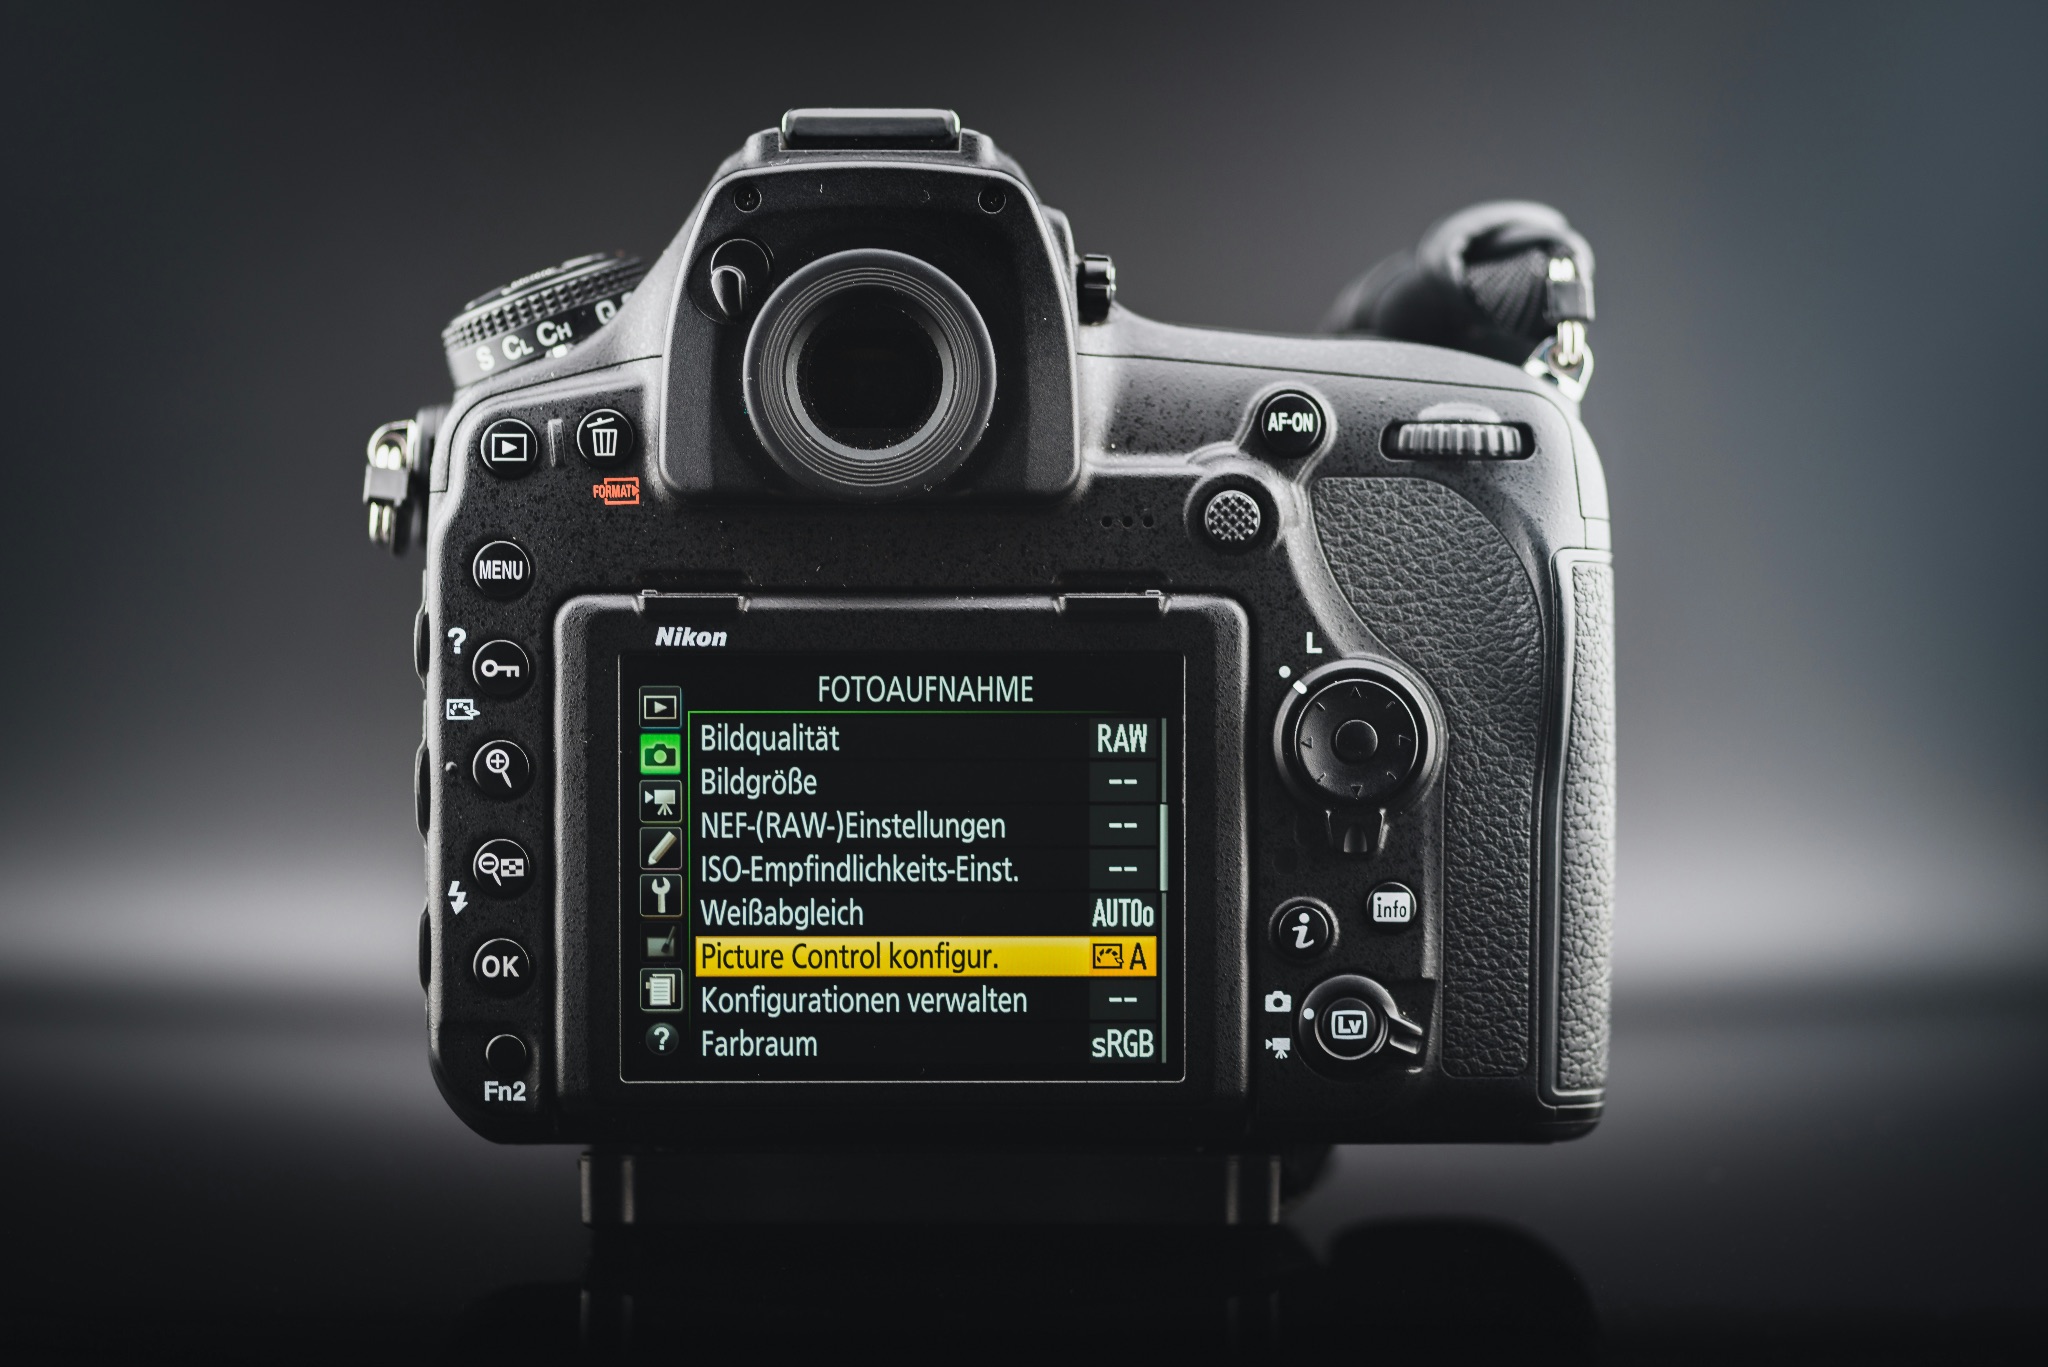
Before we go too far, let’s have a brief look at how to set up your camera’s viewfinder tools. On most modern cameras this will be done through the setting section of the menu system. You might find that the menu is split into two sections, one for the LCD and one for the viewfinder. This will almost certainly also be split into shooting mode and playback mode. For this article we will be concentrating only on the viewfinder tools for shooting.
As every manufacturer is different, you will need to refer to the owner's manual to set your camera up. There is one other control, however that is common to most modern cameras. That is the display button, most often found on the camera back. This will allow you to cycle through various LCD/Viewfinder modes, from a full on, information loaded screen, all the way to a clear screen showing only the scene and basic exposure information. It’s worth getting familiar with that button as it can really help your creativity, to remove a lot of extraneous information before you fire the shutter.
So, let’s take a look at some of the tools you should be using.

The Histogram
Histograms have been with us since the early days of digital but they remain one of the most important tools. A histogram is a graph that shows the distribution of light in the scene you are shooting. The left side shows the dark and shadow areas, the right the whites and highlights. If either side is slipping off the edge of the graph, you have clipping.
A low contrast scene will have a fairly flat looking graph with light distributed evenly whereas a contrasty scene will have large peaks in particular places. Our aim is always to try and keep the exposure within the confines of the graph, particularly on the right or highlight side.
It’s important to know that most histograms are based of a JPEG rendition of the scene, so their may be more information available at either end if you shoot RAW. The more experience you get with your camera, the more you will be able to judge that extra leeway.
Most modern cameras show the histogram as luminance only plus individual RGB channels. For most purposes, showing just the luminance is fine.

Horizon Level Tool
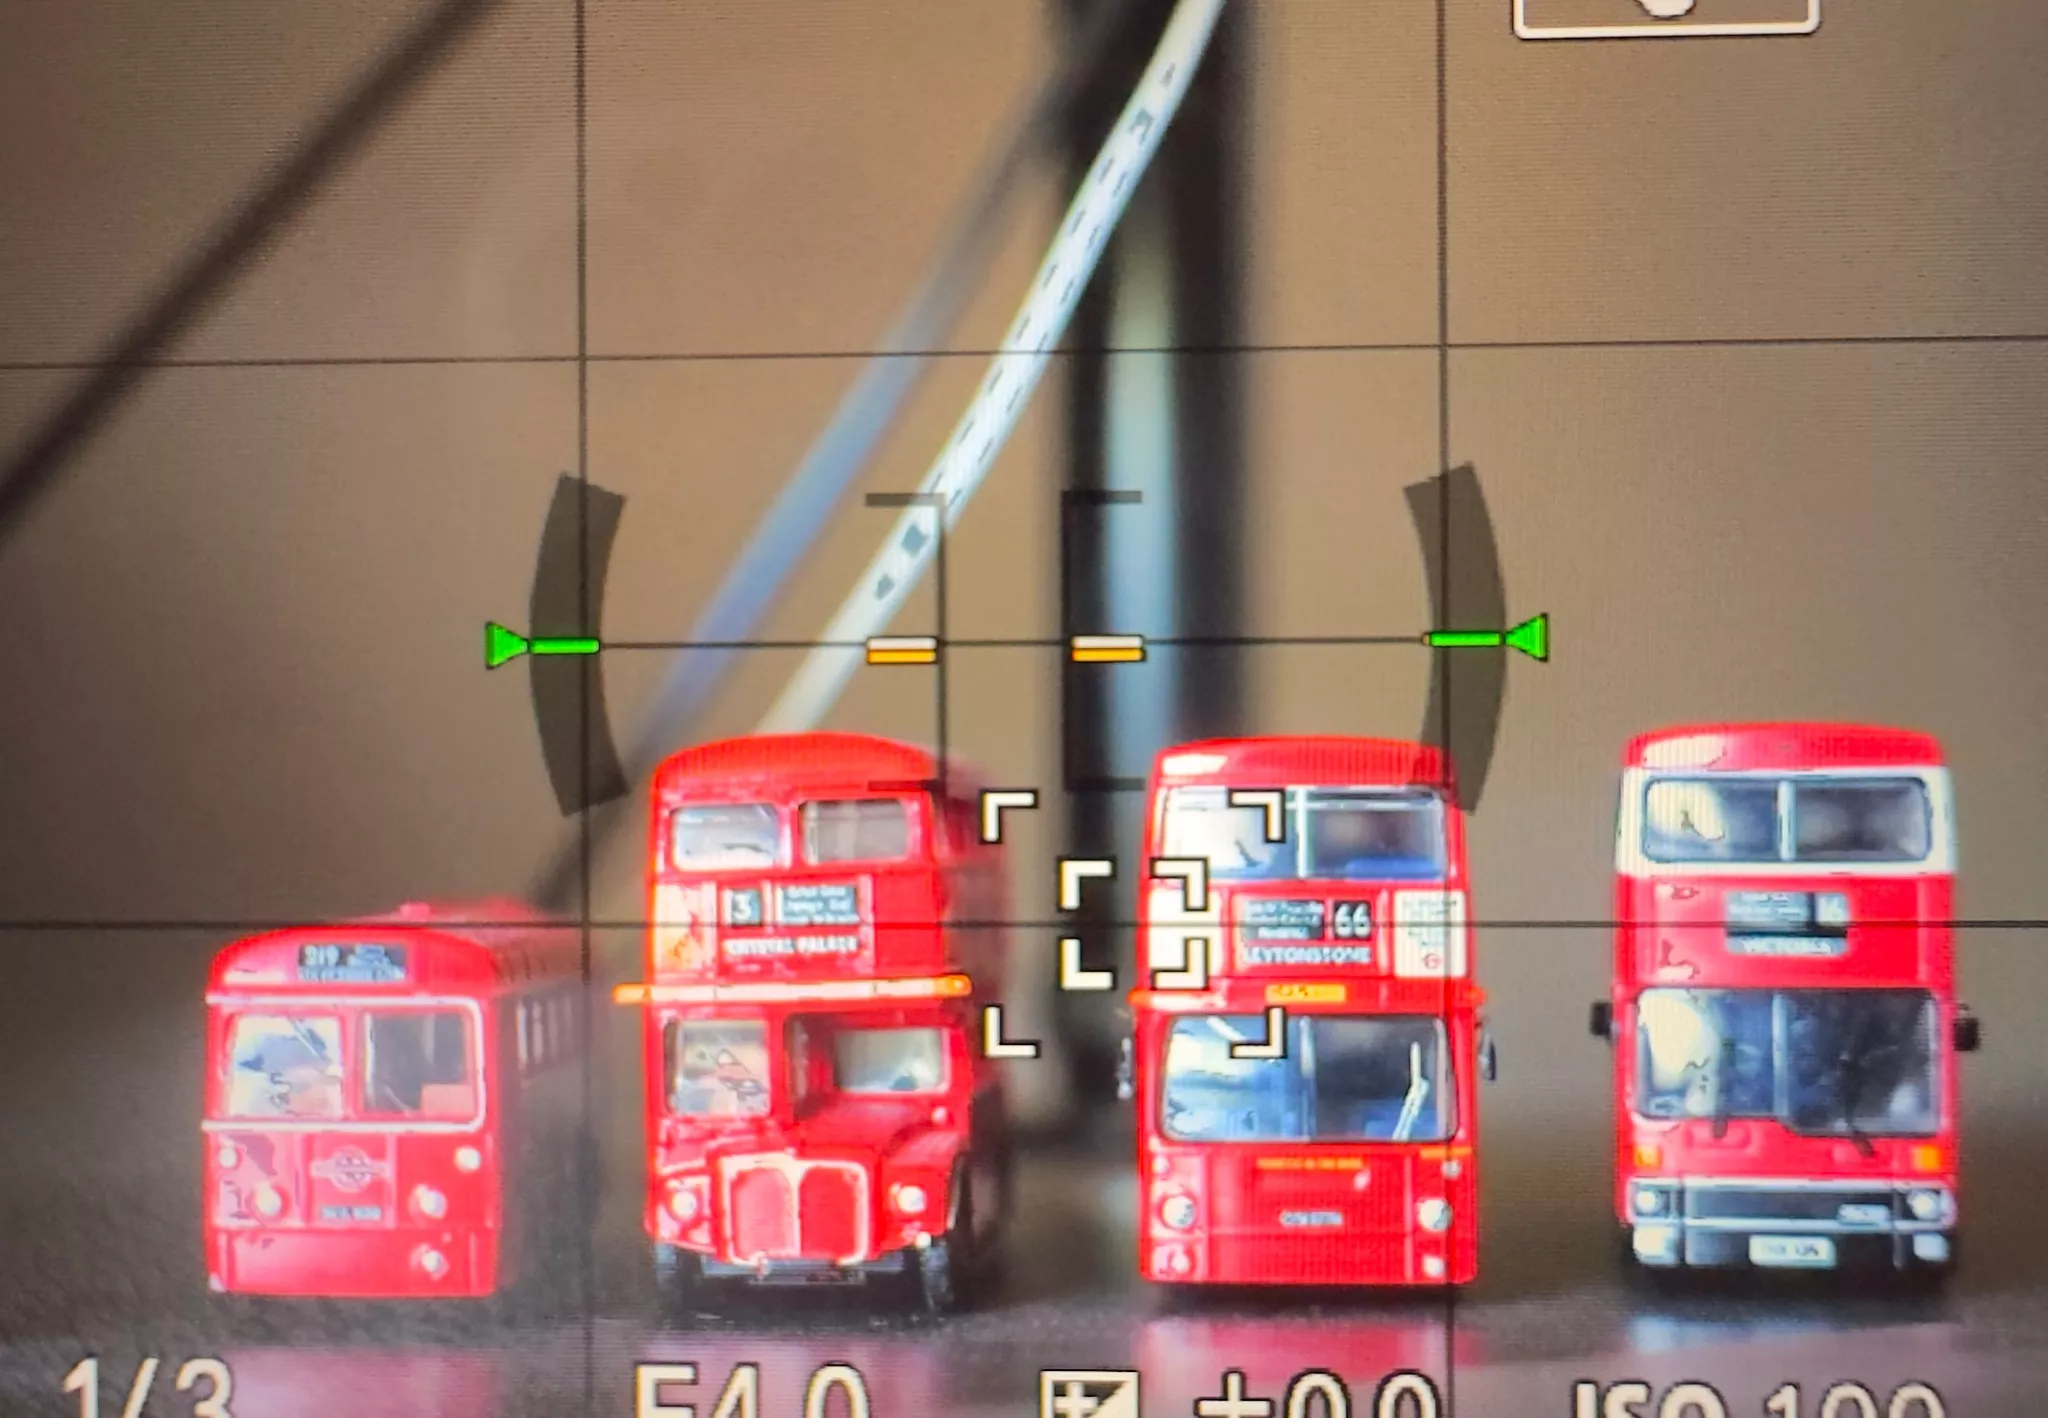
Another really useful and often underused tool is the level horizon indicator. This is a digital spirit level that shows up in either the LCD or viewfinder and allows you to make sure your horizon is perfectly straight. Many higher end modern cameras now have 3D levels. These will show not only if your camera is tilted left or right but also the pitch, whether it's pointing up and down. This is really useful when trying to avoid converging parallels.
I tend to leave my level indicator on all the time as it’s fairly unobtrusive yet extremely useful. On some cameras the level fades out when the camera is not moving.

Focus Peaking
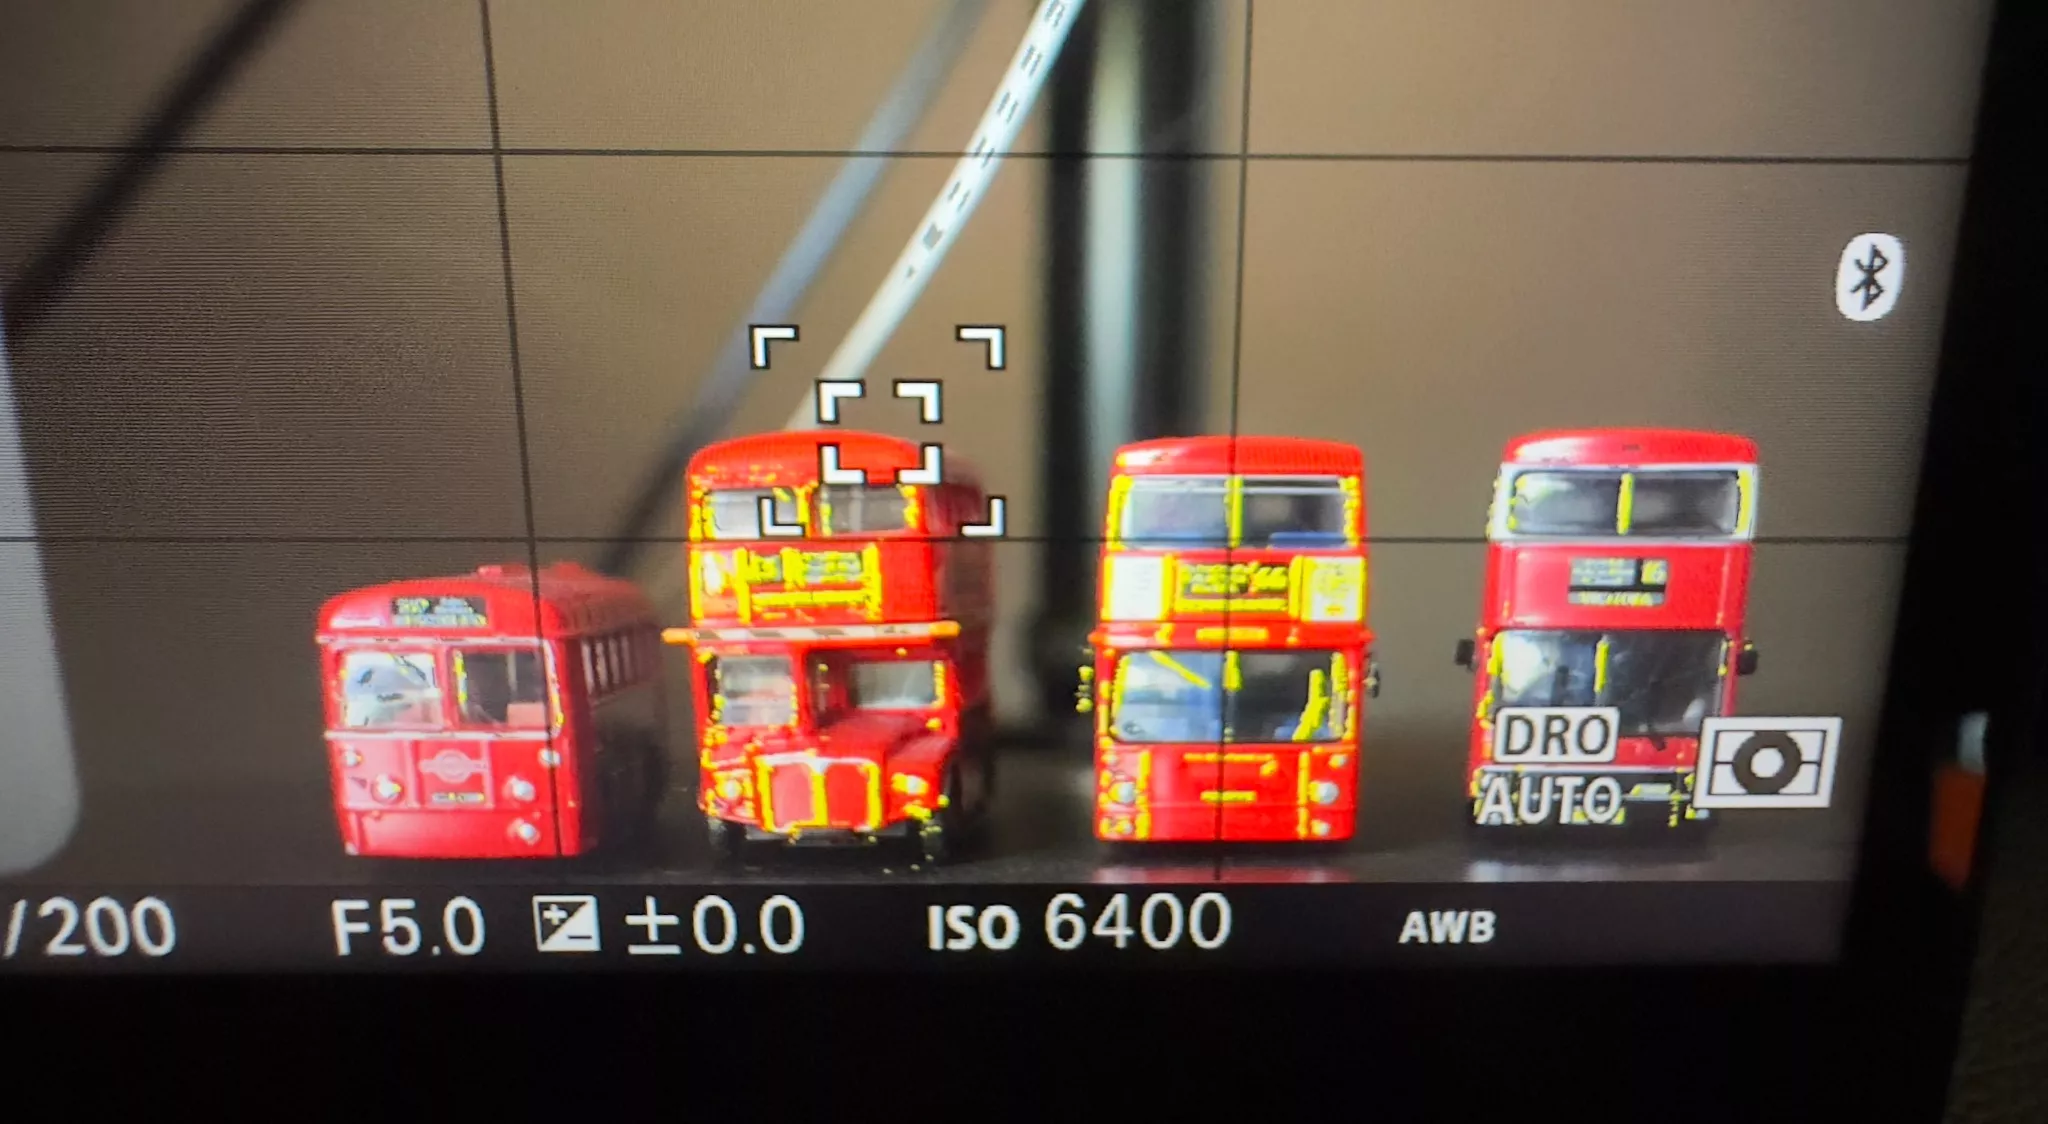
Whether you shoot manual or autofocus, focus peaking is a really useful tool to have. It displays a colour map in the viewfinder picking out the points that are in full, sharp focus. This is really useful not only for nailing the exact focus but also for checking the depth of field as it clearly shows the focused areas in front and behind the subject.
Focus peaking can usually be tuned to a specific colour and intensity. Personally I have my focus peaking colour as yellow with a medium intensity. This gives me a very good indication of focus without becoming too intrusive.

Compositional Grids
Whilst there are no fixed rules to composition, there are certainly quite a few guidelines. Fortunately, our cameras contain at minimum a grid showing thirds and often more. They are projected as very faint outlines over the screen allowing the photographer to line up his subject in a more accurate way.
Whilst most cameras will have a thirds grid, others might include the golden ratio, larger grids such as 24 square and video oriented grids such as 16:9
Personally I leave mine set to the standard thirds as it is easy to judge most other compositions using the thirds as a base.
Zebras/Highlight Indicator
These two tools are very similar and based on video shooting. They can however be very useful for stills photography. The highlight indicator simply flashes black in the areas that are beyond the right extreme of the histogram. They can be very useful in high contrast scenes, showing all the areas in the scene where the highlights are clipping.
Zebras are very similar but a little more controllable and as the name suggest place black and white stripes over the areas of excess highlight. They also do not flash and so can be much less distracting.
The controllability comes from the fact that you can set a percentage at which the zebra will start showing.
At 100% it will only show when the highlights are actually clipping and beyond the scope of recovery. However you can set lower percentages such as 80% which will start showing when highlight areas are getting too bright but not actually clipping.

Our viewfinders have become extremely powerful tools not only in determining focus and exposure but also composition. With so much information available it is easy to get overwhelmed to the detriment of creativity. However, the tools I have mentioned above are, in the main, unobtrusive and extremely valuable. Combined with an intelligent use of the display button, they can make shooting a much more intuitive and informed experience.


