When you take up photography, one of the first things you are going to want to do is figure out how to hold a camera properly. And while not everyone necessarily needs to hold the camera the same way as each other, knowing why you are holding it a certain way and what you are trying to achieve by doing so will serve you well (and is the reason most experienced photographers do actually end up holding their DSLRS more or less the same way).
What are we trying to achieve with the grip when holding a camera?
Mainly, we are trying to minimise camera shake and the potential for photos that are less sharp due to movement.
And while we will probably be talking in absolutes for the sake of brevity, we need to remember that there are plenty of circumstances that render this discussion moot. For example, a large strong person can generally hold things more steady due to that strength than a weaker person. A person carrying a light camera will probably be able to hold it more still than a person with a heavy camera.
Then it comes down even further to personal circumstances – are you steady handed or a bit shaky? All of this matters when talking about holding cameras. Keep it in mind as you read.
Moving on…
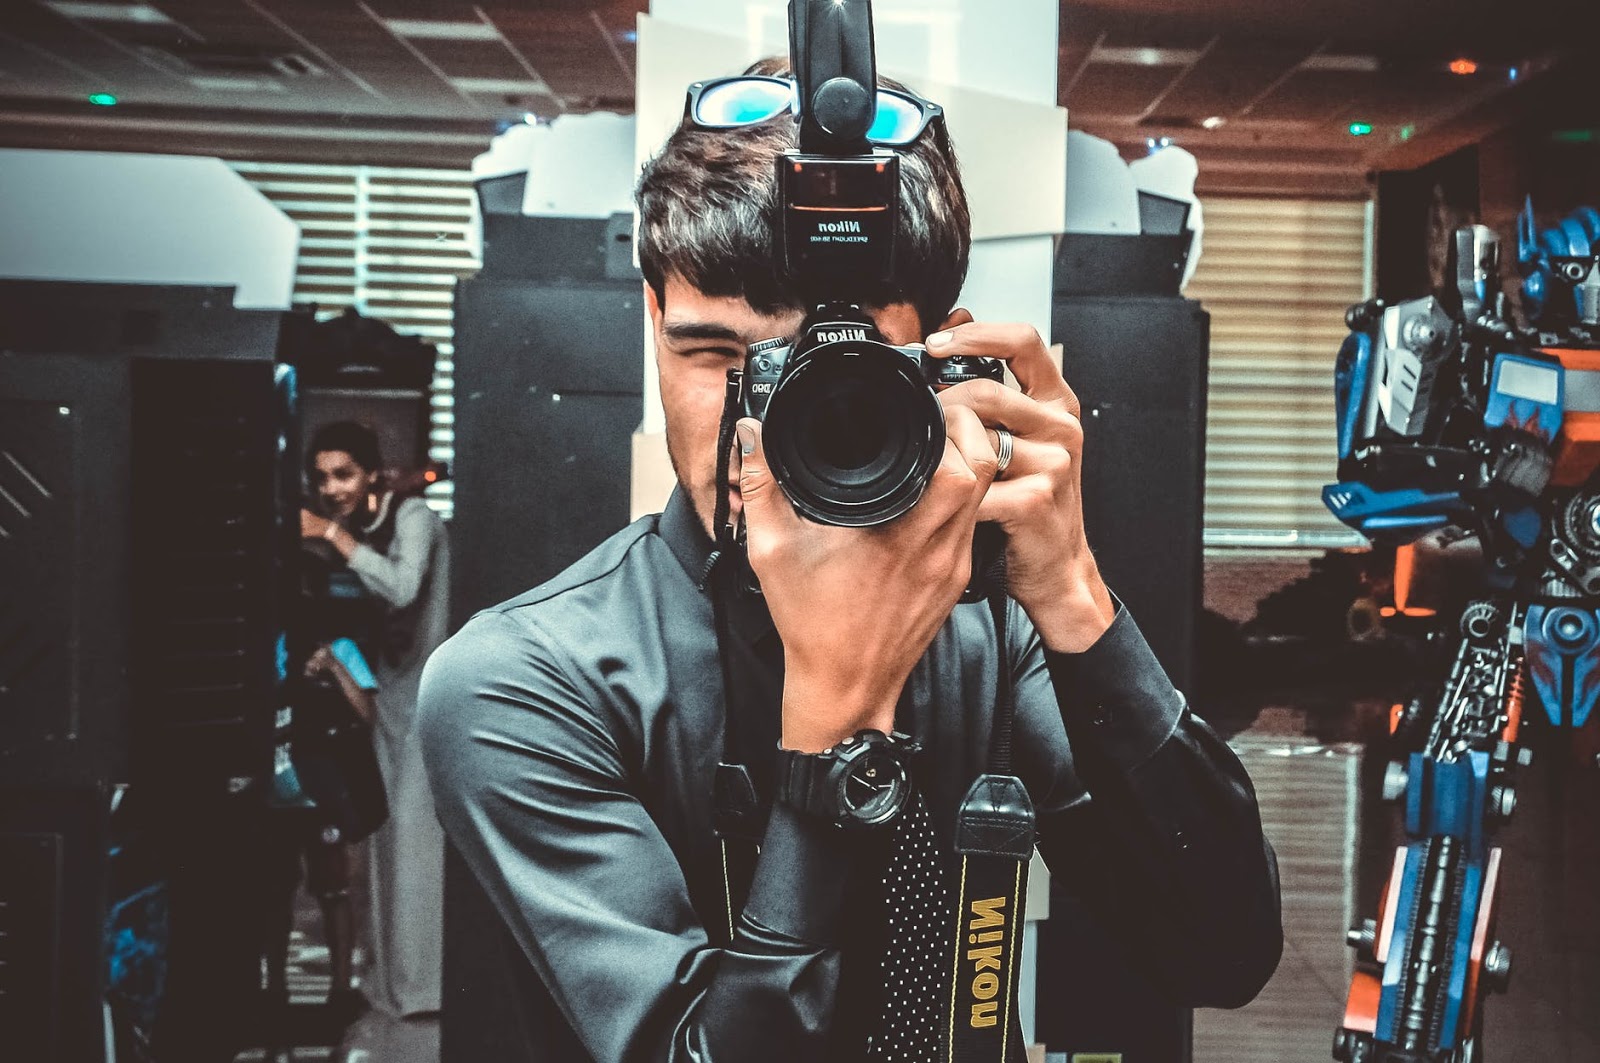
Ok, so all things being equal, let’s start with the classic way of how to hold a camera – SLR or DSLR. Take a look at this photographer’s grip.

The things to note about how this photographer is holding their camera:
- Their hand is under the lens supporting it
- The elbow of the supporting arm is tucked into their body for more support
- Their left hand has free access to most of the controls they will need to shoot (it can even let go safely)
This grip will basically give you the maximum ability to support the camera as well as the maximum ability to reach all of the controls without moving your hands. It is widely considered the best way to hold a DSLR or SLR camera for good reason. It’s probably the one you should try to emulate in most circumstances as it keeps the camera as steady as possible.
Let’s look at a few other grips.

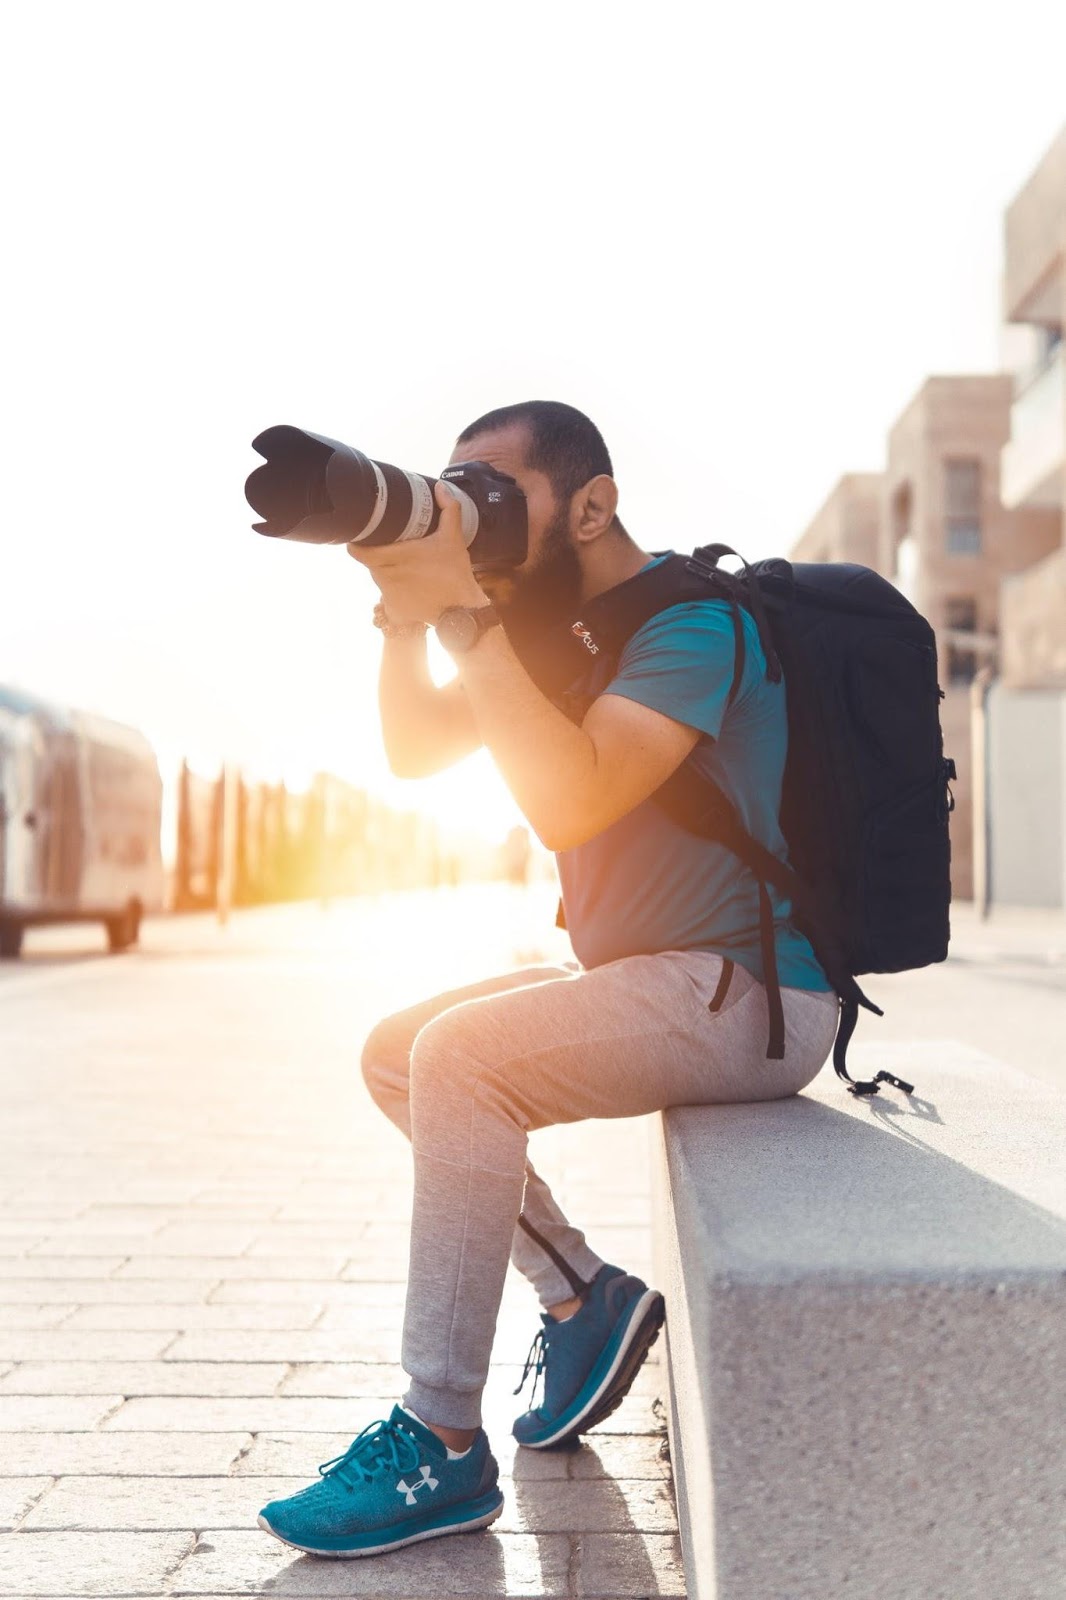
The gentleman above is holding a very heavy lens and camera almost the same way as the first photo, but notice that his left elbow and arm are away from his body. Now he looks like a reasonably strong guy so the shots are probably fine, but if you’re swinging a 70-200mm lens and full frame camera around for more than a few minutes you are going to get tired with this grip. That is when your images start to suffer with camera shake.
Try to get that elbow and arm locked in on your body if possible.
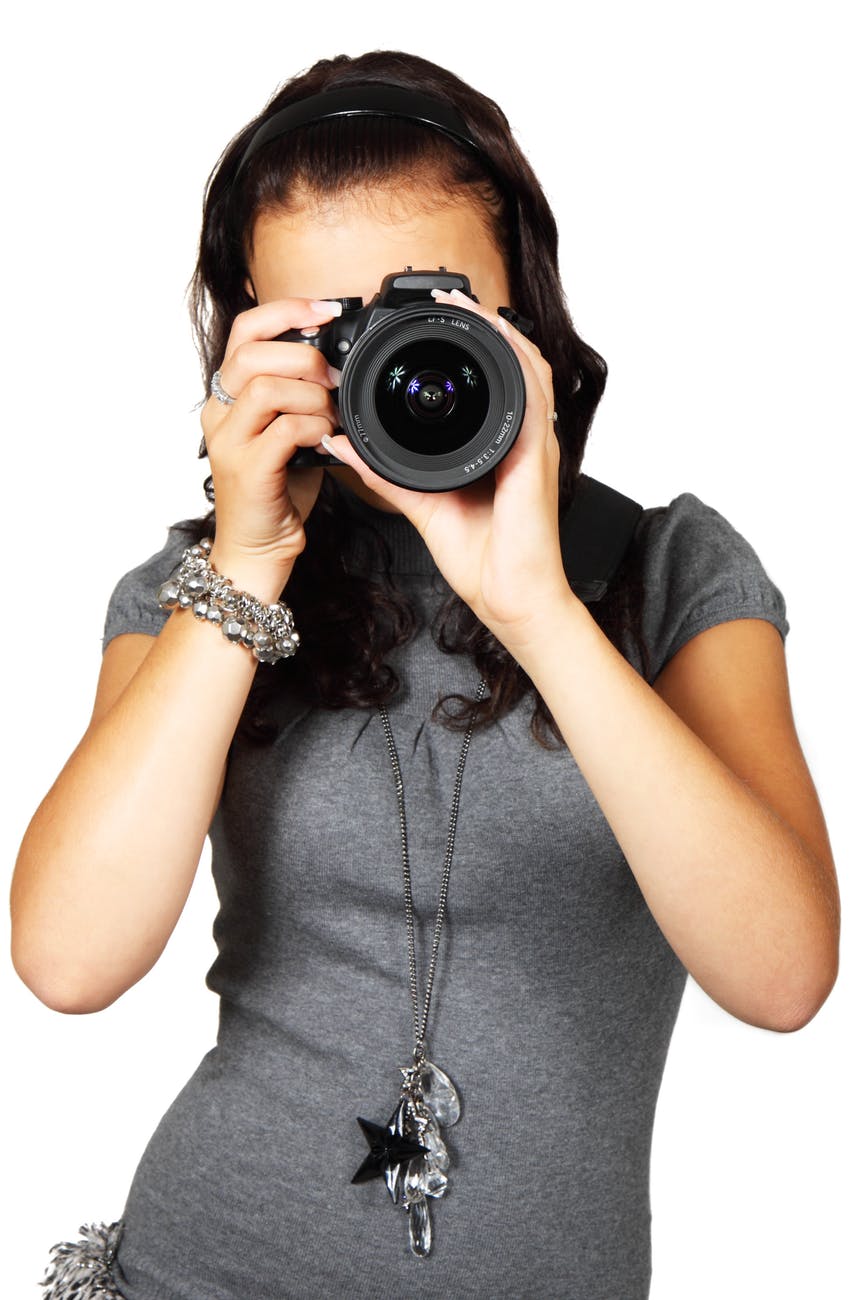
Now, take a look at this grip below:

The problem with this grip is that the photographer’s thumb is taking all of the weight of the camera. It will almost certainly result in camera shake which may in turn result in blurry images (depending on the shutter speed obviously).
The other issue is that her left hand does not have easy access to the controls on her lens. She would probably have to remove her hand to reach them. In doing so, you lose valuable time in getting the shot. So for those reasons, for most people, this is a grip to avoid.
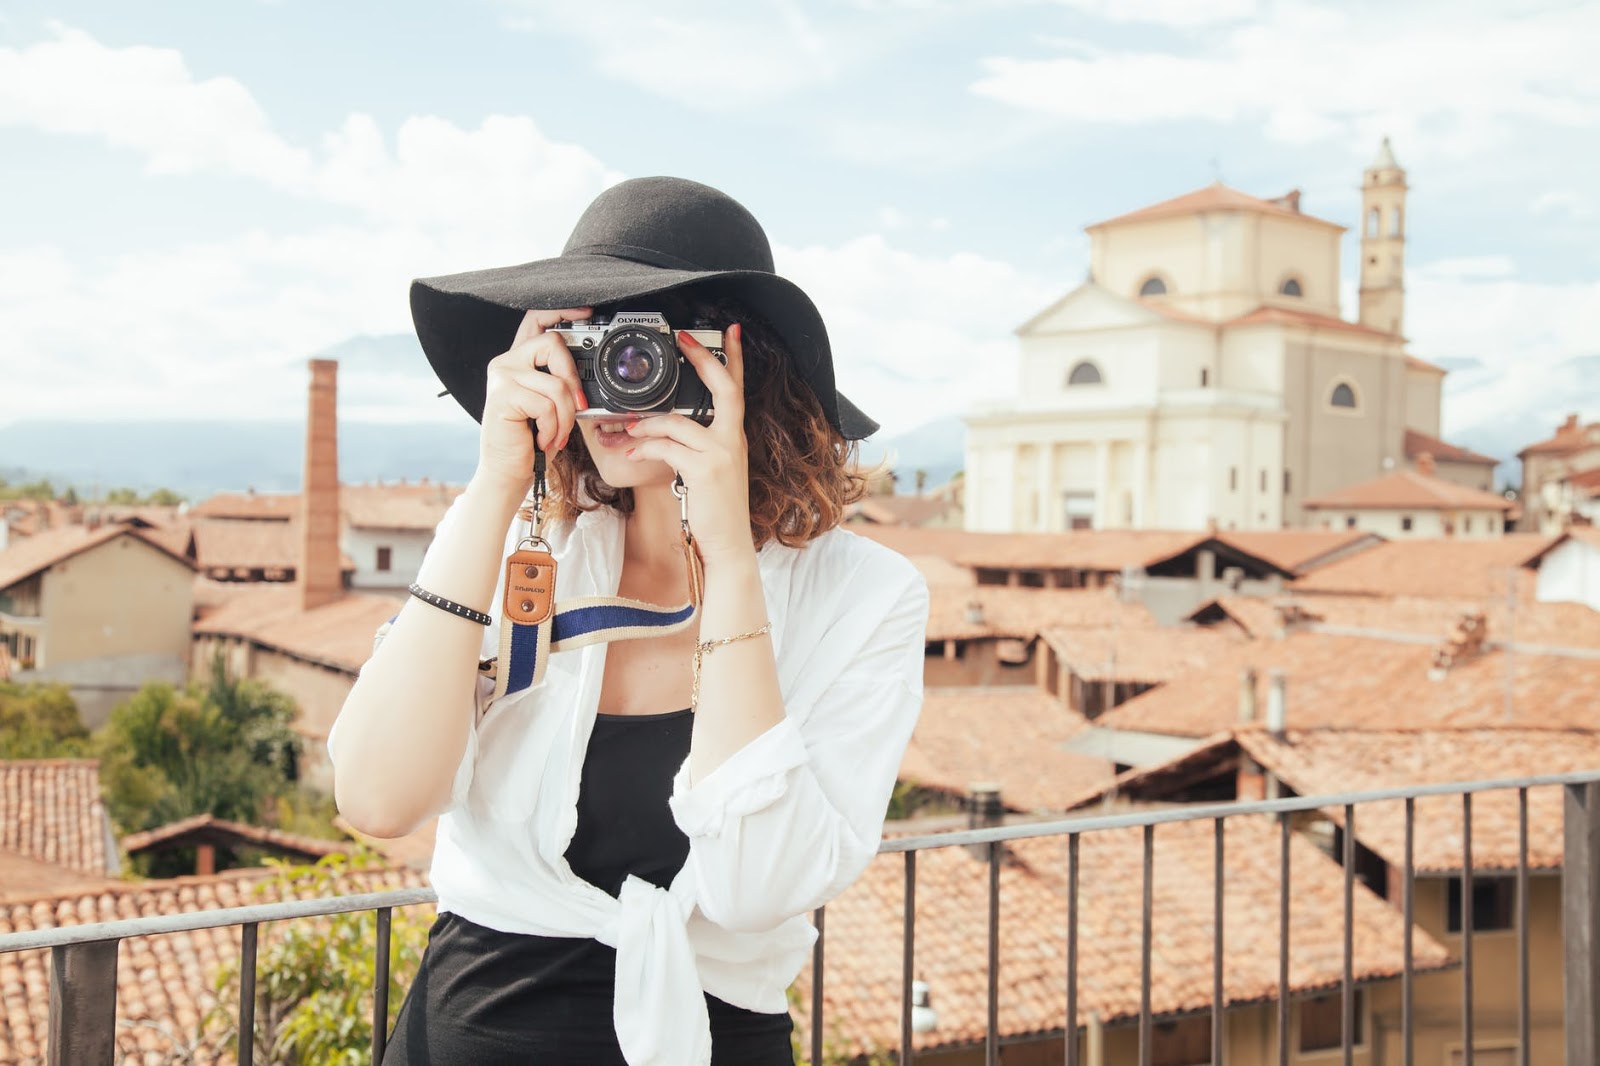
Now let’s look at a final grip that you see a lot of tourists using.

The above way showing how to hold a camera is probably fine for a fast snapshot with a light camera, but you’re going to get camera shake if you slow your shutter speed down too much. The problem with this grip is that you haven't really got maximum control of the movement of your equipment and so problems such as blurred photos due to shaking are going to crop up. The slower your shutter speed, the more pronounced these negative effects are going to be. If you put a heavy lens on the front, then the camera shake will get worse.
Secondly, you don't have instant access to the capabilities of your SLR or DSLR because you have to remove your left hand to use the controls on your lens. This is not a great state of affairs. So in general terms, this is the grip you probably want to avoid too.
Now, while you will have a hard time eliminating camera shake altogether with slower shots while you are hand-holding your camera, there are a few things you can do to minimise the problem and most of the time, it won't be any problem whatsoever.
The Reciprocal Rule
In terms of shutter speeds for hand holding, one of the best things you can do is learn the reciprocal rule for shutter speed which states that shutter speed should be the reciprocal of focal length. (1/focal length). If you are shooting at 100mm then your shutter speed should be at least 1/100th second. If you are shooting at 50mm, then your shutter speed should be at least 1/50th second.
If you use the reciprocal rule as well as learning how to hold a camera properly then your images should turn out tack sharp.


2 Comments
Hi… in the first picture it shows the photographer having his left hand near the controls. Is there a Nikon that has a left side shutter and control panel? Otherwise the article is very basic but that is great since I see so many people holding their cameras the incorrect way. Thanks
Nicely spotted. That image is reversed because it’s shot in a mirror. I will fix that up. Bloody hell, I even shoot Nikon!