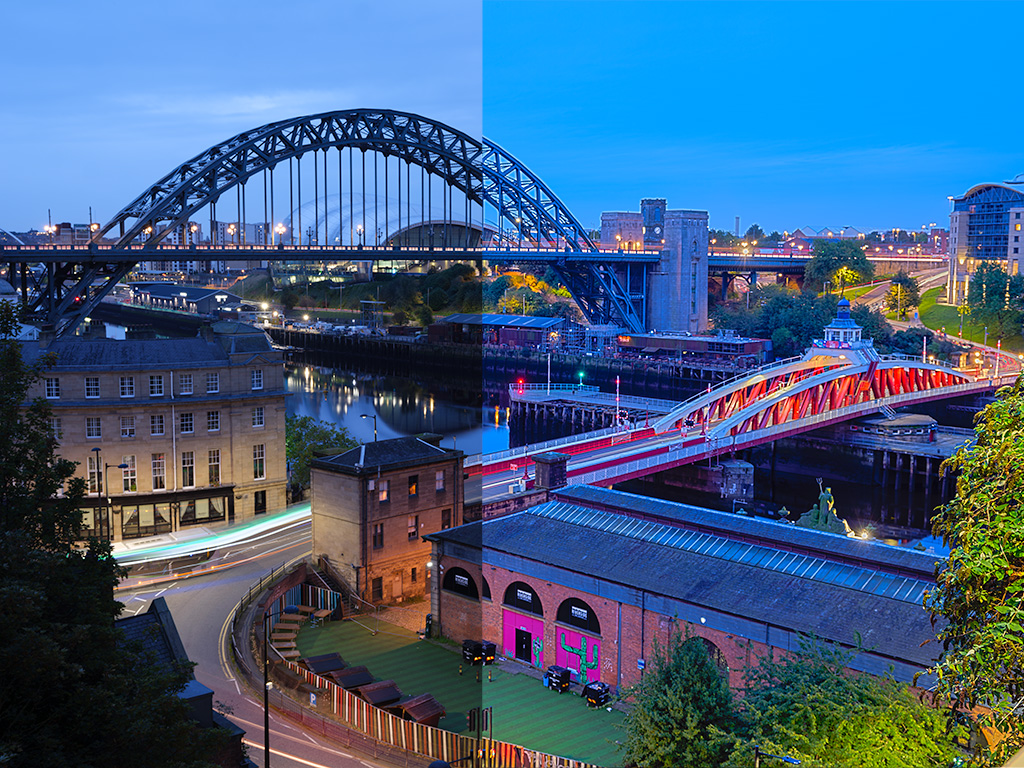
Most of us have seen those fantastic time-lapse sequences doing the rounds of the internet at the moment. The really high end ones introduce motion tracking to the scene, making the video’s even more compelling. For most of us however, purchasing and carrying around a motion tracking rig is a little beyond our range. There is however a way to fake it, using Final Cut Pro X on a Mac. Whilst fairly simple, this tutorial assumes a working knowledge of Final Cut Pro X
To create the time-lapse sequence we are going to use Quicktime 7. Although QT 10 is the current standard QT7 is still installed on the latest Macs. QT10 removed the ability to load an image sequence which is why we must use the older version.
Batch resize your images to 4000 pixels length, this is to produce the highest quality movie. I have done this using Aperture but it could easily be done with a Photoshop automation as well.
With all your images in one folder, in Quicktime 7 goto File – Open Image Sequence. Select only the first image in the folder, assuming they are in the correct order, then click open.
The next box asks you to select the frames per second, this will depend on what time interval you shot your sequence at but I tend to aim for 50 frames per second if there are enough shots.
Once selected, click on OK and the movie sequence will open in QT player. From File, select Save As, give the movie a name and from the bottom select self contained movie.
Now open FCPX and create a new event, File – New Event.
Name your event, click on import files and select the movie you just created. From the bottom left of the FCPX screen click on the projects icon.
Create a new project using the Event you just created.
Click custom settings and make sure under video Properties, Set based on first video clip, is checked. Click OK.
Now we are going to drag our movie file to the timeline. You will get a warning message saying the video properties are not recognized: here manually set the properties to 4K and the frame rate should be the one you made the original video at. You now have a very high resolution video on the timeline and depending on your machine it may not play smoothly in FCPX, don't worry too much about this, we will eventually output at a normal HD resolution.
Click on the clip in the timeline and from the viewer screen select the crop tool.
At the top of the crop screen, select Ken Burns.
You will now see a green rectangle and a red rectangle. These are the start and end points of your motion animation. If you wish to track across the picture, reduce the size of the green rectangle, by clicking and dragging in one corner, and place it to one side of the image. Make the red rectangle the same size and place it on the opposite side. If you wish to zoom, make the green triangle larger than red and place the red in the position you wish to zoom too. If you wish to reverse the zoom or track, click the reverse icon next to Ken Burns. Once you are happy with the effect click done and let the timeline render.
To export the movie, go to Share – Export Using Compressor Settings and select your preferred output, usually 1080p. Once rendered and exported you will have a high definition time-lapse with a motion track or zoom.
It is possible to create a similar effect using iMovie however due to the maximum resolution being 1080p you will get some quality loss when cropping into the image.
And here is the finished product.
Jason Row is a British born travel photographer now living in Ukraine. You can follow him on Facebook or visit his site, The Odessa Files. He also maintains a blog chronicling his exploits as an Expat in the former Soviet Union


6 Comments
Nice post Jason..great information on post-processing a time lapse.
Nice post. But this isnt called motion tracking.
Motion tracking is tracking points to get motion data for matching or stabilization.
The ken burns effect here is faking a slider move..not motion tracking.
This isn’t even a fake-slider, it’s a fake-panning. If you were using a slider you’d have points moving in relation to each other: the tree is closer to the camera than the building, so it would appear to move faster (in the case of a linear slide). In the final video here they move exactly at the same rate, making it very easy to spot as a fake.
I didn’t even know something like that was possible. I’ve sent the post to a friend of mine hows working with a Macbook. Is there similar software for PC users as well? Nice and very informative post, Jason!
Thank you
Patty D.
Wow there is so much more work involved in doing this in FCP X then it was in FCP 7.
there’s no substitute for using a motion track. Steve(above) is right, you would have multiple points moving at different speeds. the one way to really fool the viewer with out using a track is to follow something in your shot like clouds or traffic etc. and do not have anything too close in your foreground, thats a dead giveaway.
good work though, and this can also all be done in After Effects as well. also i would suggest not downsizing your images. keep them in full resolution which will give you more room to move around your shot