A dramatic cityscape is one of the powerful images we have in photography. It can convey a sense of wonder, power and beauty, often all three together. In this article we are going to take a look at how to shoot cityscapes for best effect.
The Right Time, The Right Place
This well known idiom is very apt for shooting cityscapes. Along with other types of landscape photography, position, time and weather are the vital ingredients that can make or break a good cityscape.
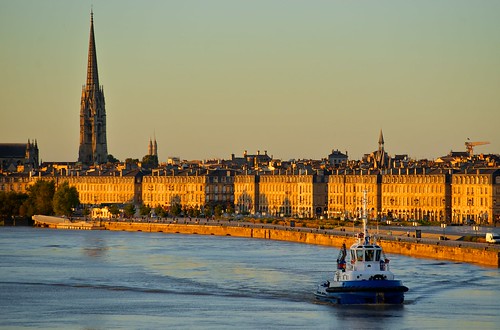
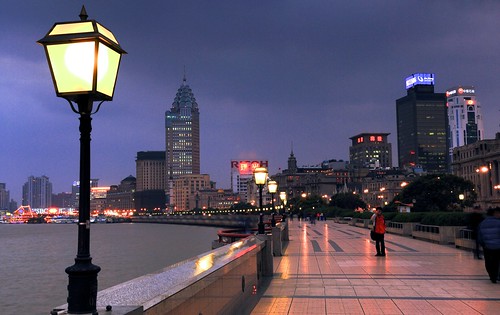
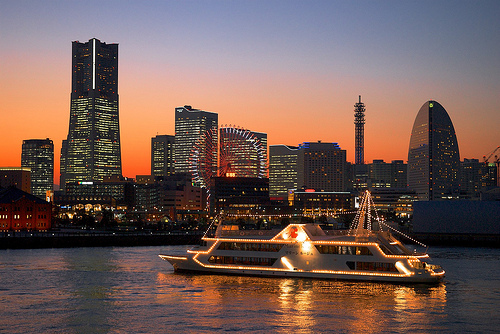
Planning is everything, first you need to scout your location, then you need to analyze the route of the sun across your scene. As with much outdoor photography the best time to shoot a cityscape is during the Golden hours, however, big brightly light cities can also look awe inspiring during the Blue Hour, that hour after the sun sets when the sky is a deep, rich blue.
If you are shooting for instance a medieval city, you will want to shoot in the dawn or dusk light where the soft yellows will give the scene a timeless feel. If your scene is a more modern, dynamic place, the hour from sunset will be a great time to shoot, the last rays of light reflecting from the modern glass and steel edifices, and the neon lights punching into the darkening blue sky.
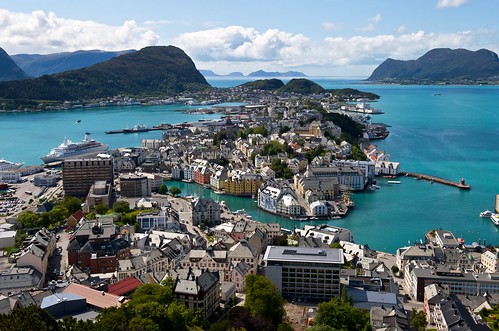
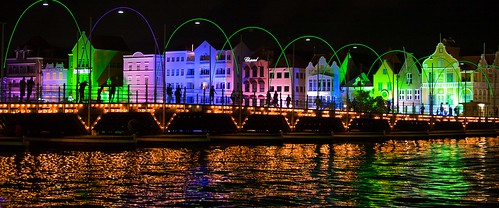
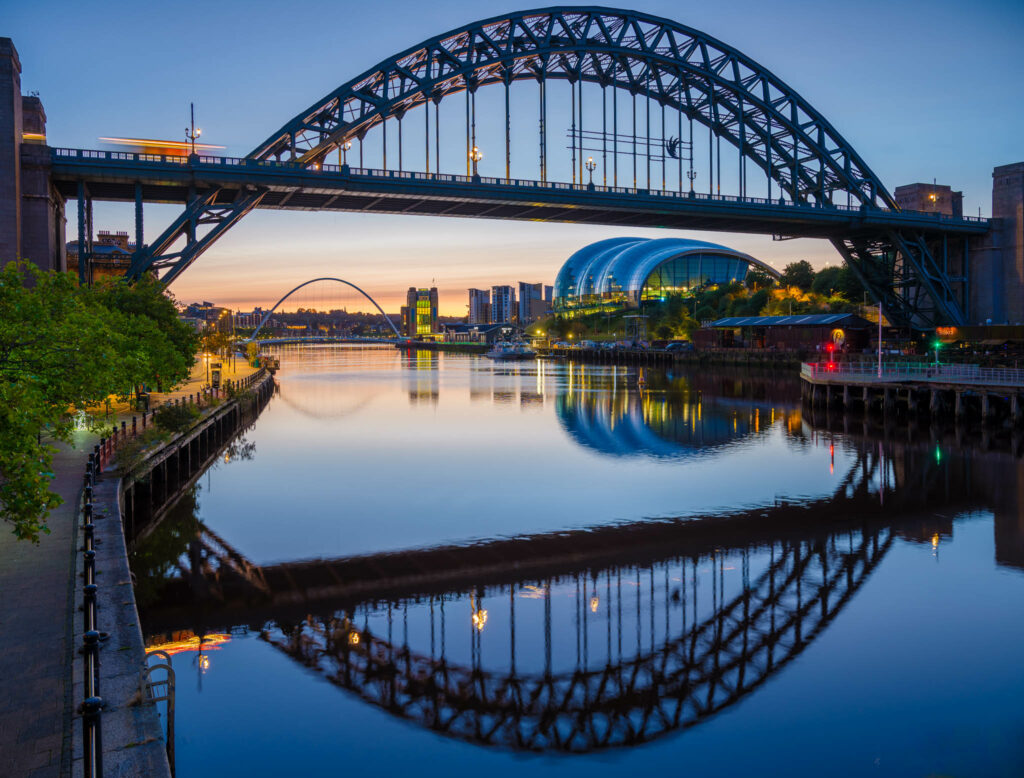
One powerful visual technique in cities, is to use a long exposure during in the blue hour. This will add headlight trails to your already brightly lit neon signs, conveying a sense of motion and dynamism to the image. Water is a great enhancer of cityscapes, many of the worlds great cities are built on an around water. Use the water’s reflections to add texture to the scene and to lead your eye to the subject. As well as water, elevation is a powerful tool in the cityscape photographer’s arsenal. Getting an elevated viewpoint can create new insights on a city and add a sense of scale.
A Sense of Scale
This is one thing that can be completely lost in even the most inspiring cityscape. Look for reference points in the foreground of your shot to define the scale of the city behind. Perhaps a boat in the harbor, or a stream of cars heading towards the city. Any of these will add both scale and dimension to your image.
Also a cityscape does not have to be a wide angle, grand scale image. By using a telephoto lens, you can zoom in and isolate specific areas on an image, that help identify the location without revealing the whole scene. For example in London you might shoot using a telephoto lens to isolate a classic red bus with the Houses of Parliament behind.
Another technique that you can use is to create panoramas by stitching multiple images together. As we said before, try to incorporate some foreground detail into the panorama to add both scale and lead the eye to the scene beyond.
Equipment for Shooting Cityscapes
Before we get to cameras and lenses, one vital piece of equipment you will need for great cityscapes is a good quality, sturdy tripod. By their very nature cities are intensely rich in detail and any motion blur caused from hand holding a camera will reduce the both the sharpness and the impact of the shot.
If you have access to one, use a remote release and if possible shoot with your camera’s mirror locked up. You are look to wring every ounce of detail out of that image.
Tying in with this, you should use your very best lenses. Wide cityscape shots are generally very linear, i.e they have lot of straight lens. Better quality lenses will not only have lower distortion but also their edge sharpness will be significantly better, increasing the detail in the image across the whole scene.
Depending on your lens/camera combination, aim to shoot at an aperture of around f8-f11. Any smaller than this and you will start to introduce diffraction, which will reduce your image quality, any wider and you run the risk of getting your foreground out of focus. On your camera, try to shoot RAW, this will allow you to not only capture extra detail in the highlights and shadows but also to apply your own, more controlled sharpening in the post production.
Cityscapes are wonderfully satisfying to shoot, but you need to be patient. Find your scene, your time of day and set up your camera. Now rather than continuously firing away, step back from the camera and survey the scene in front of you. Watch it as the light changes, and look for details that define the scene. During the Golden and Blue hours you will need to work fast but not in haste. Take only the shots that look great, this will give you more time to watch the scene for the next spectacular moment. Truly a case of less is more.

4 Comments
Good Article!
Nice article and beautiful examples!
I have a related question about cityscapes and lighting. I want to hang some photographic art on the walls of a home office. My desire is to use local city shots, but I want them to be in black & white to go with a theme of grays and blacks in the room. How would you go about something like that? Would you choose your timing as if you were working with color, or just seek out interesting shadows at different times of the day?
Thanks in advance for any tips.
Hi Mike
Black and White works pretty much the same way but it really depends on what you want to photograph in your city. If it’s modern architecture, then strong defined shadows and blue skies with nice clouds may work well, if your city is older then shooting in stormy weather can make for great shots. Think sunshine shining through dark foreboding skies. Either way, the middle of the day is best avoided.
Excellent article, just the kind of “how to” that helps us amateurs improve. Many thanks!