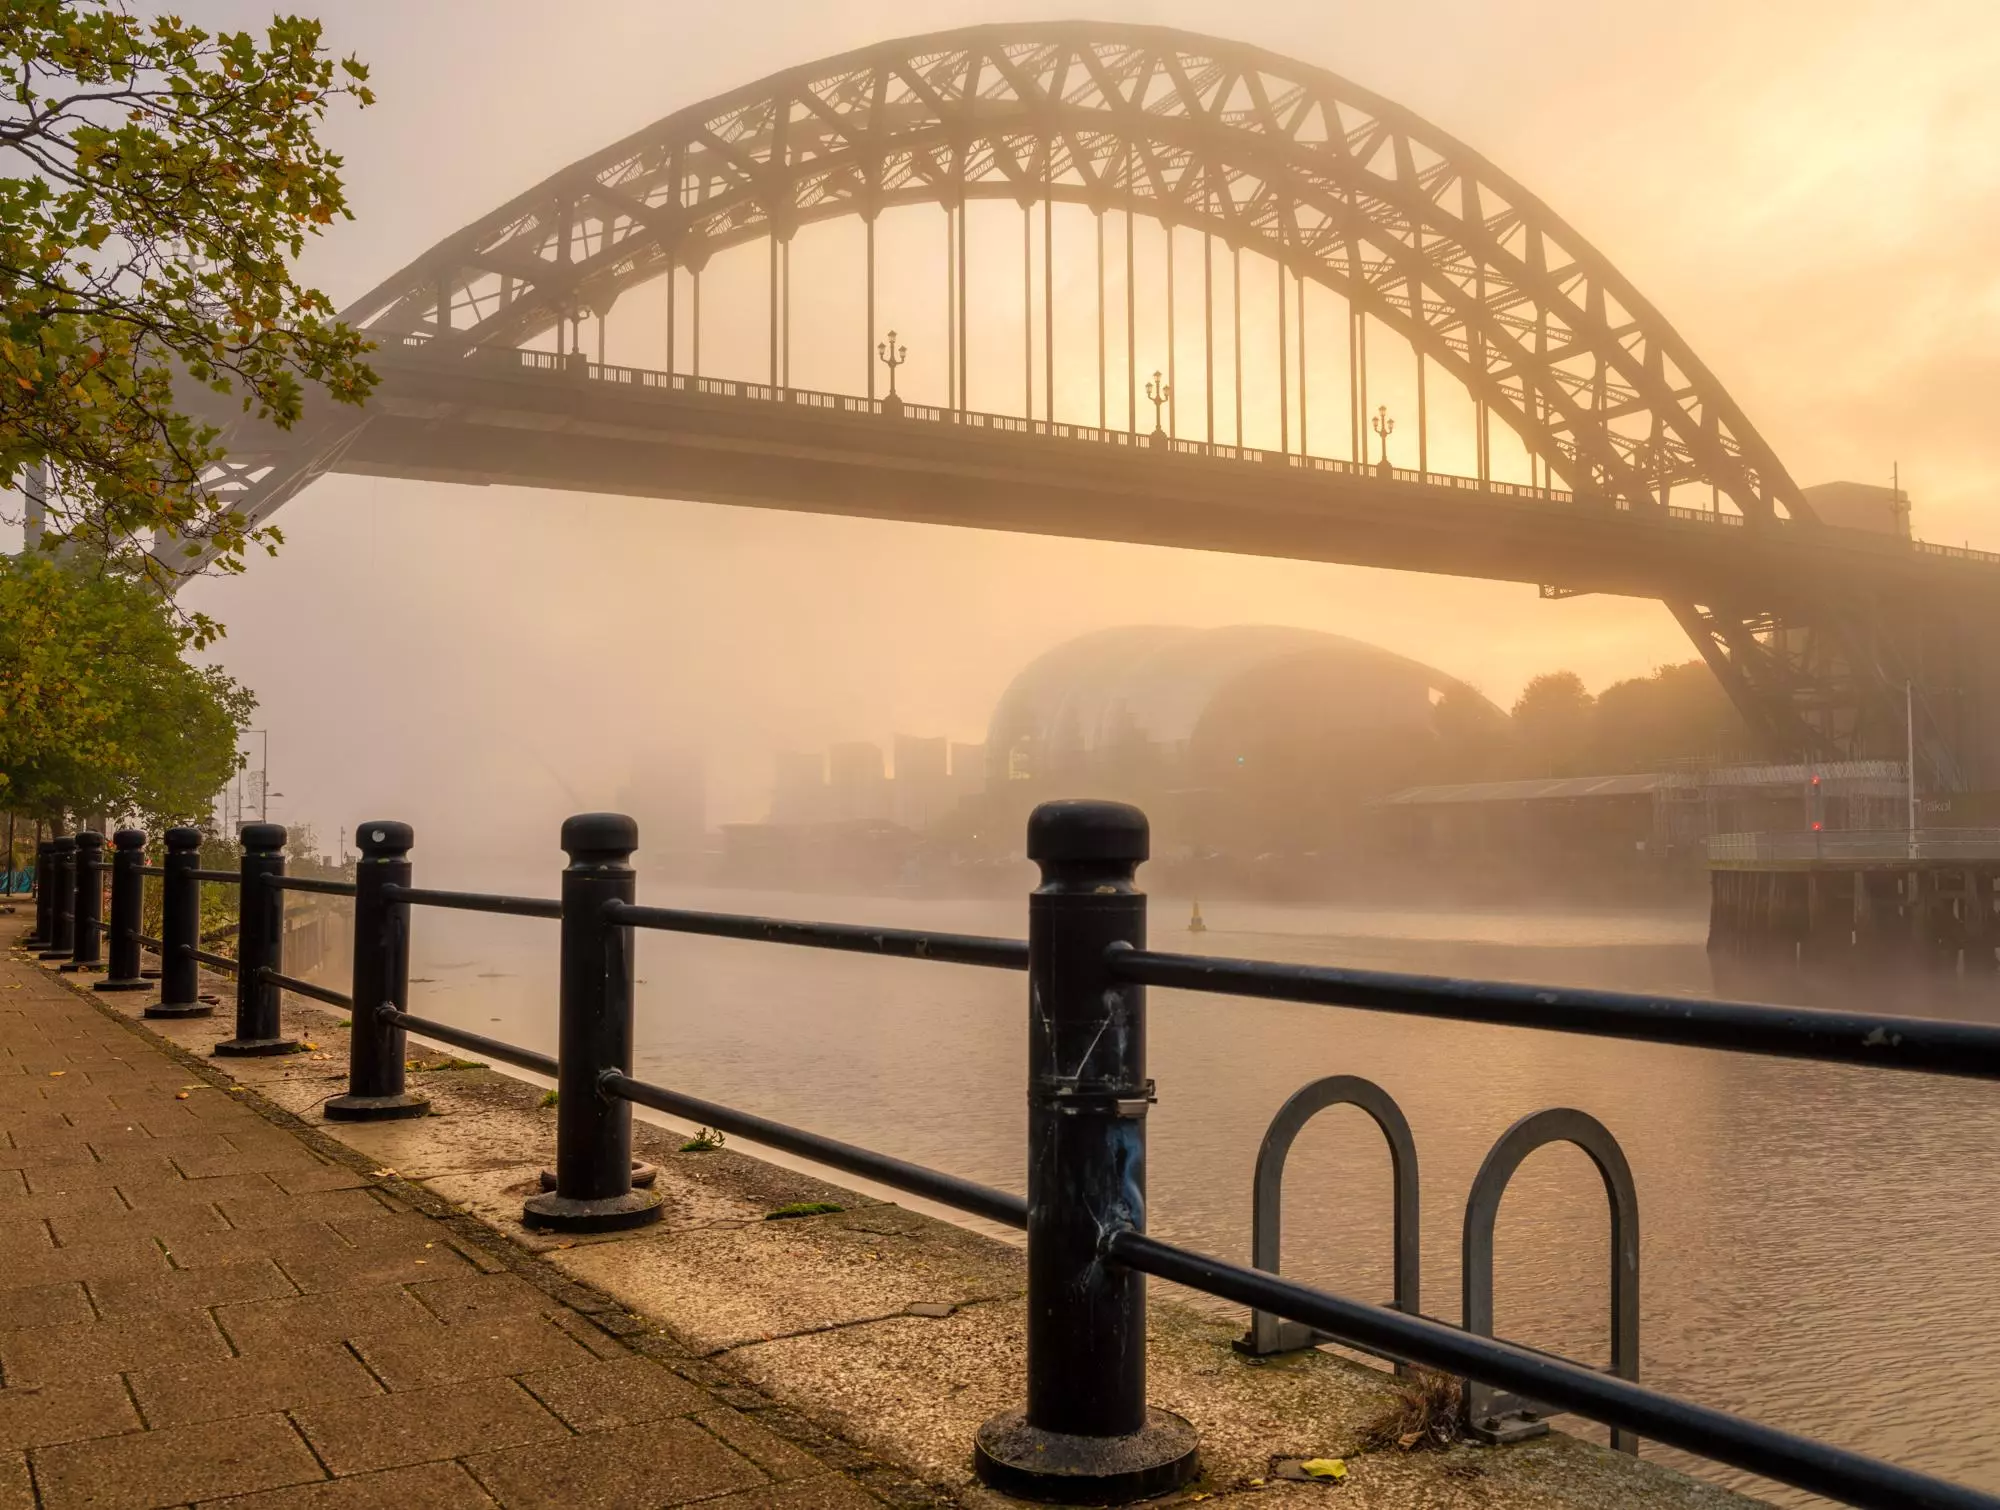
One of the very first images that I took with my new (to me) Fujifilm GFX50s was the one you see below. It was part of a series of photos shot pre and post-sunrise shots taken on the banks of the River Tyne in September 2023.
The photo is, in my opinion, one of the very best I have taken in a long time and I have received quite a few print orders for it through my website, both in the UK and beyond.
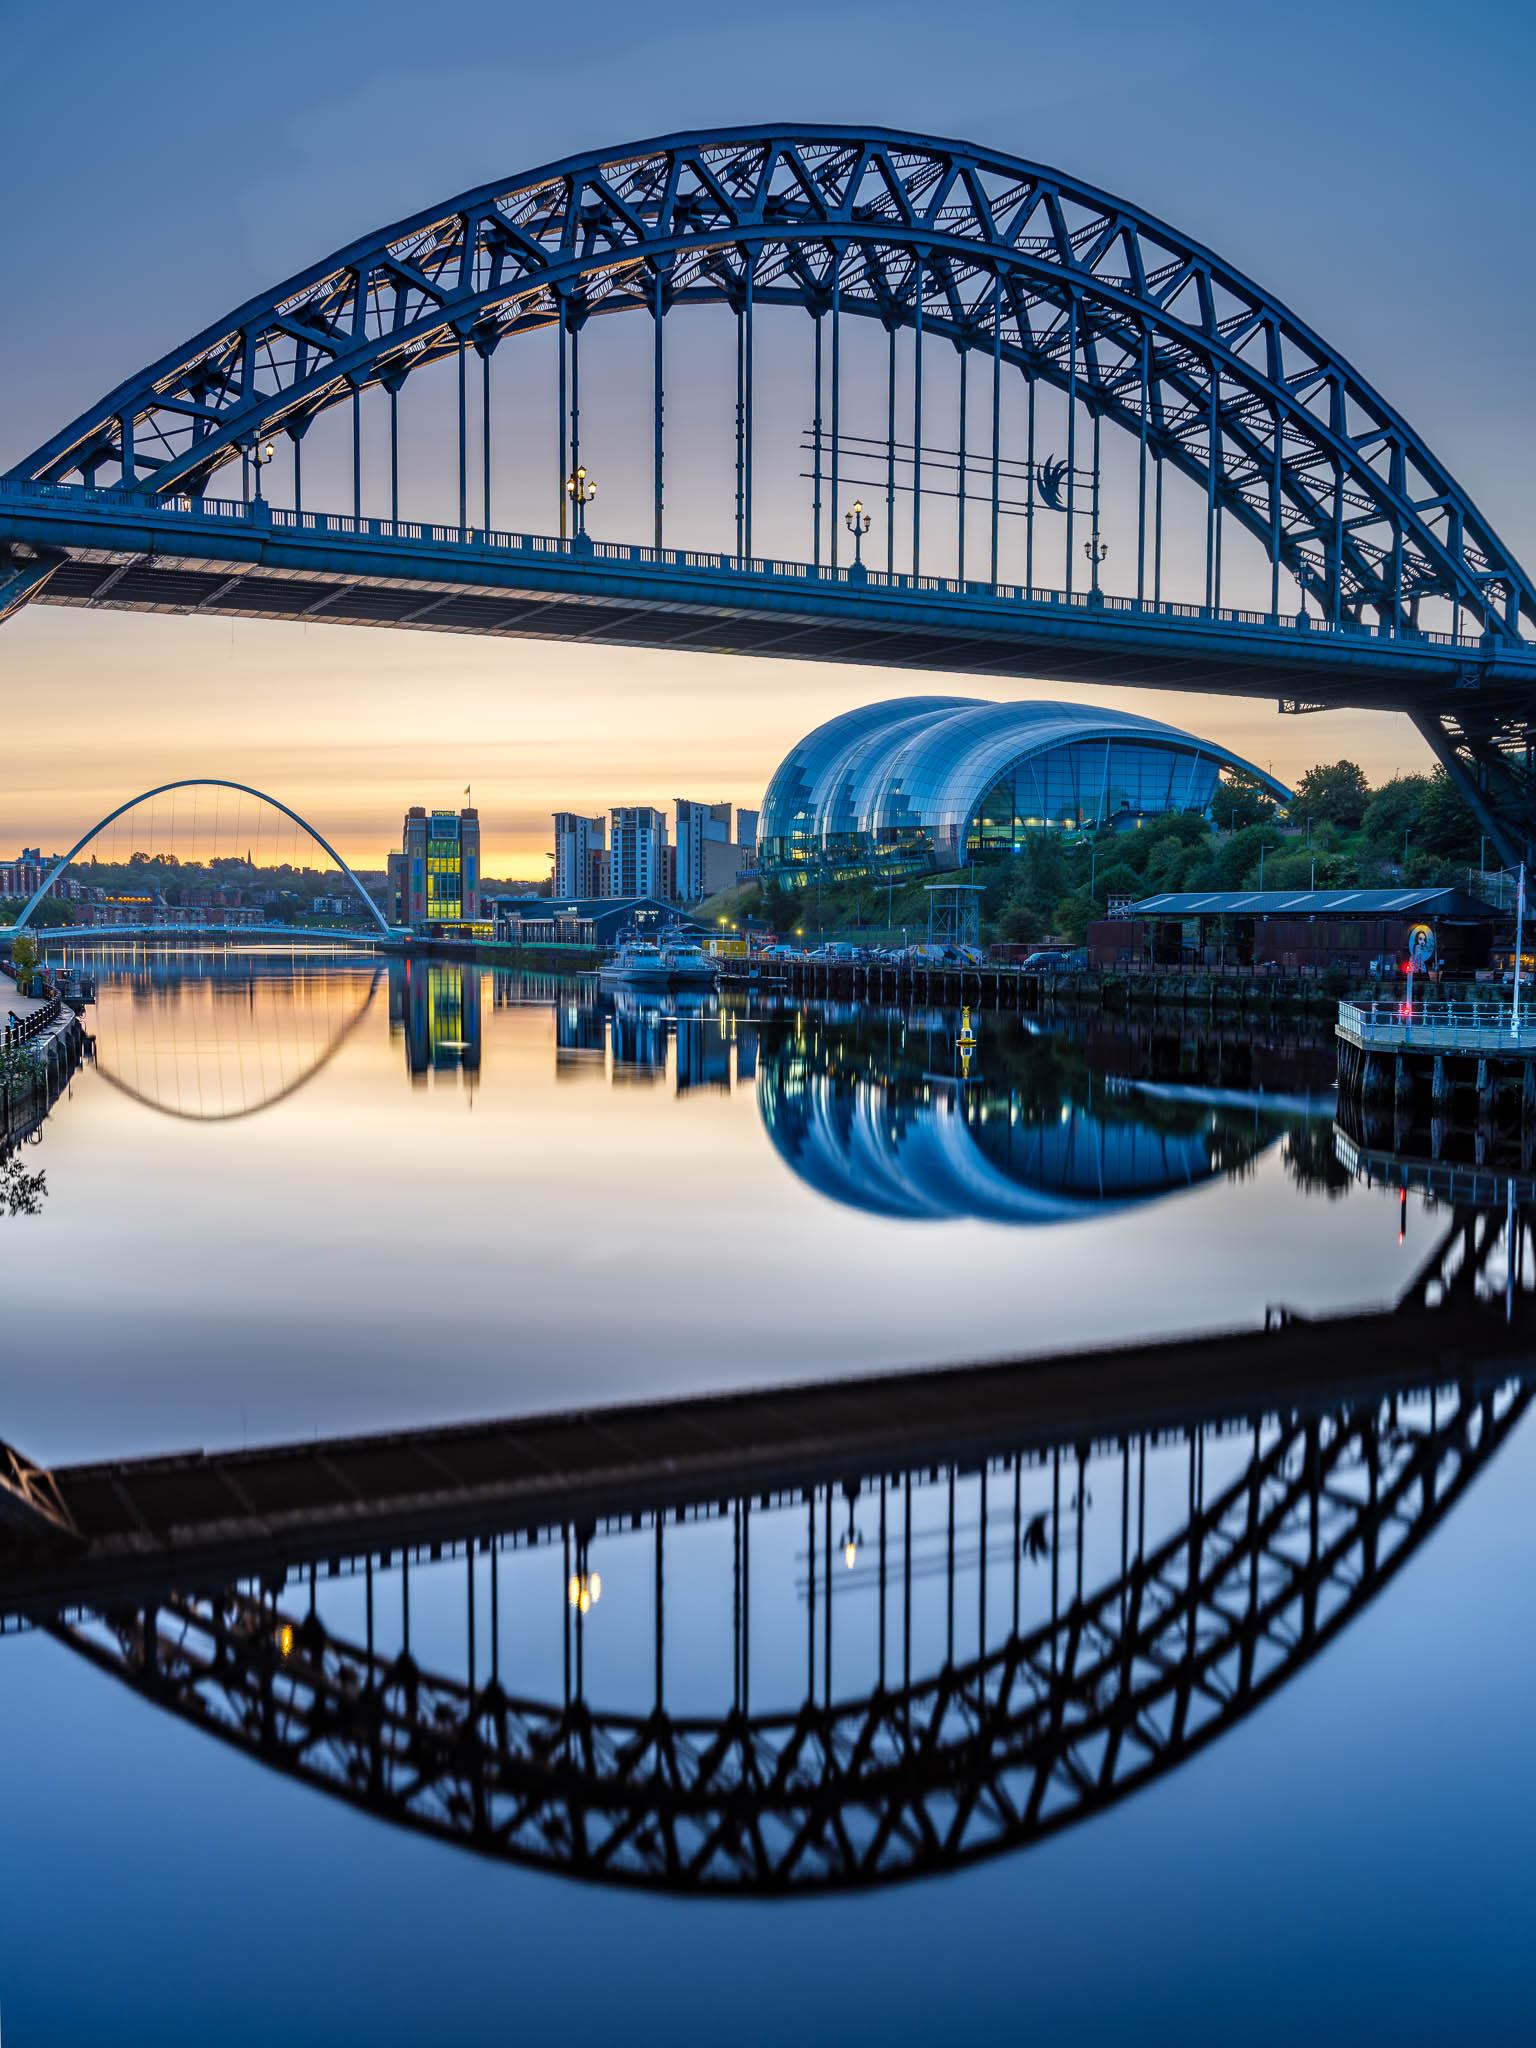
This is not, of course, how the image started life. It began with an idea, then a shoot, then the post-production. Today I want to show you how the image was created from start to finish.
It Starts With A Weather Forecast
I knew that I wanted to try and capture reflections of the Tyne Bridges if possible. I also knew that shooting towards the sunrise would give me the ideal light. However, the North East of England is not famed for its bright sunny mornings so monitoring the local weather forecast was vital.
I have a few options that I use. Apple’s IOS weather app which was derived from the now defunct Darksky app and which was well-regarded by photographers is one. The BBC weather website as it’s probably one of the best for UK weather and Clear Outside, is an excellent app that looks more specifically at cloud coverage.
The problem with weather apps is they are rarely anywhere near 100% accurate. The problem with dawn shoots is that you cannot look out the window before you go, because it’s dark. Fortunately, I only live a 15-minute drive from the bridges so I can afford to take a chance. Also, by late September the sun rises around 7.15 not 4.15 as it does in June.
The weather I was looking for was relatively clear skies, a few clouds are advantageous, clear visibility, and most importantly, high pressure. High pressure generally means low to no wind which in turn means calm flat water. Perfect for reflections. Luckily I did not have to wait too long for the right conditions.
Setting Up For The Shoot
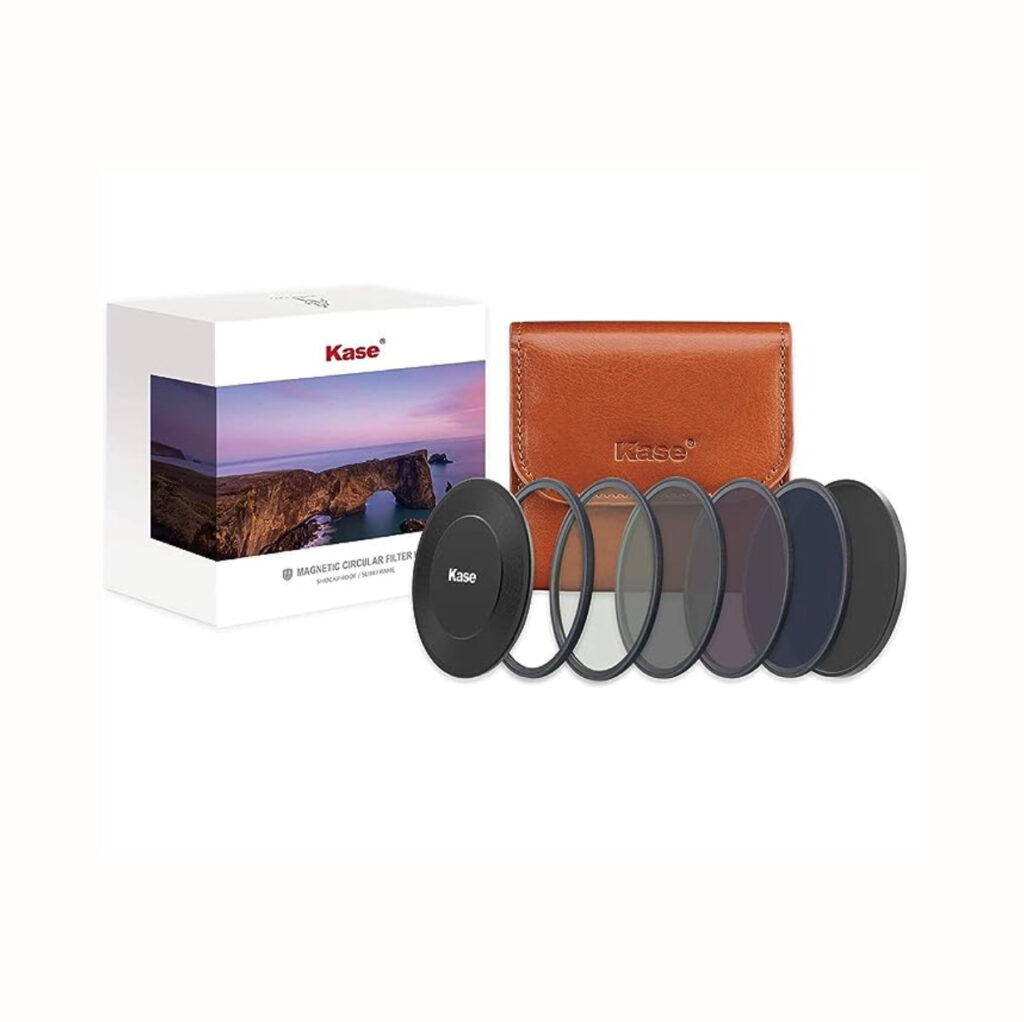
Let’s start with the gear I took with me. The camera was, as mentioned, my Fujifilm GFX50s. The lens was the Fujifilm 32-64mm f/4. With the Fuji’s 0.79x crop factor, this is similar to a 24-70mm f/2.8 on full frame. My 15-year-old Manfrotto 055 Carbon Fiber tripod was essential as was the equally old Manfrotto 488RC2 ball head. This is a pretty decent, full-size head that is more than capable of supporting the hefty GFX. Lastly along for the ride were my Kase Wolverine Magnetic Filters.
I set the camera up on the beautiful Swing Bridge, this afforded me a great view of the spectacular Tyne Bridge with the Sage Centre and Millennium Bridges in the background. The Swing Bridge sits quite close to the Tyne Bridge and I needed to go as wide as I could to get the bridge in with its reflection. The side rails of the Swing Bridge are also quite high, meaning a quite nerve-racking set up with the GFX sitting uncomfortably close to being over the water.
The conditions however were pretty much perfect. The Tyne is tidal at this point but I seemed to be there as the tide was about to change.
The reflections were okay but not perfect, but this is where the Kase filters came into play. Often we use long exposure to blur the water. However, if the water is only moving very slowly, a long exposure can enhance reflections by smoothing out any small ripples in the water.
The Shot Settings
Whilst the Fujifilm GFX50s has outstanding dynamic range, I still like to cover the bases, especially when shooting into a sunrise. To this end, I nearly always bracket my shots – a hard-drive-filling experience with GFX raws. My typical range is 5 images at ⅔ of a stop difference around the metered exposure.
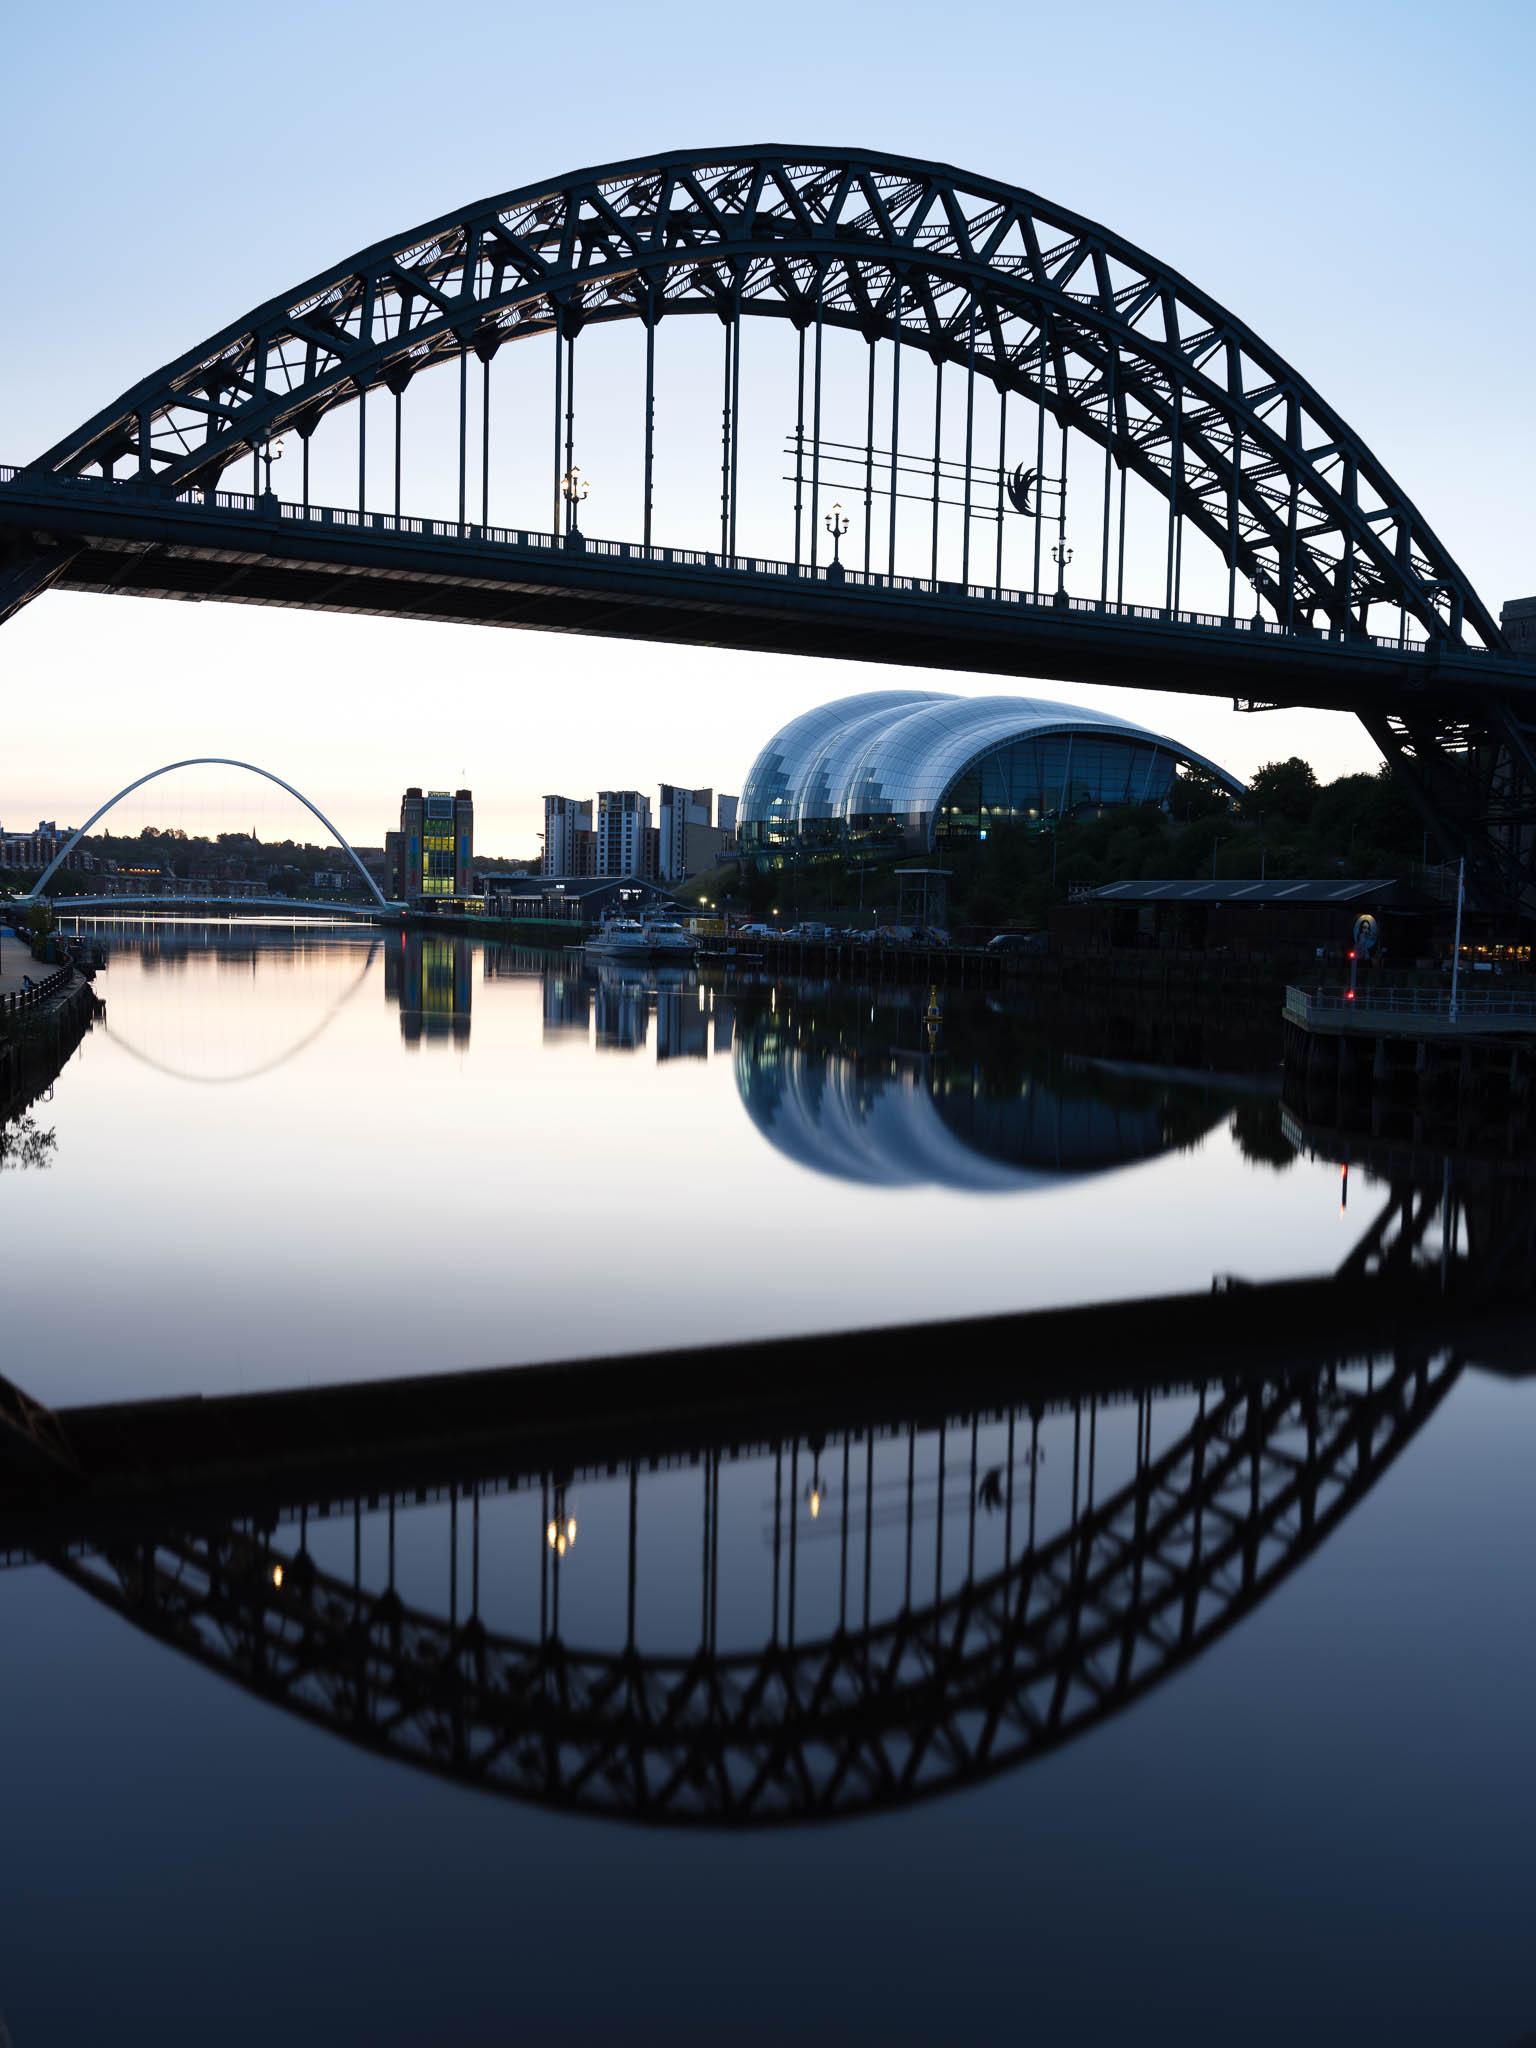
For shots like this I nearly always use manual exposure. That way I can tweak the exposure quickly according to the histogram. My midpoint exposure for the bracket was 15 seconds at f/5.6 and a base ISO of 100. A Kase ND8 was used to bring the shutter speed down a little, even though the light levels were still very low as it was predawn. The medium shutter speed of 15 seconds was enough to smooth out the river without losing the reflections.
I took multiple angles and orientations of the scene but this shot and its landscape equivalent were the clear winners. With each bracket taking two to three minutes, I was limited by time and the rising sun as to how many shots I could take.

What I Did for The Edit
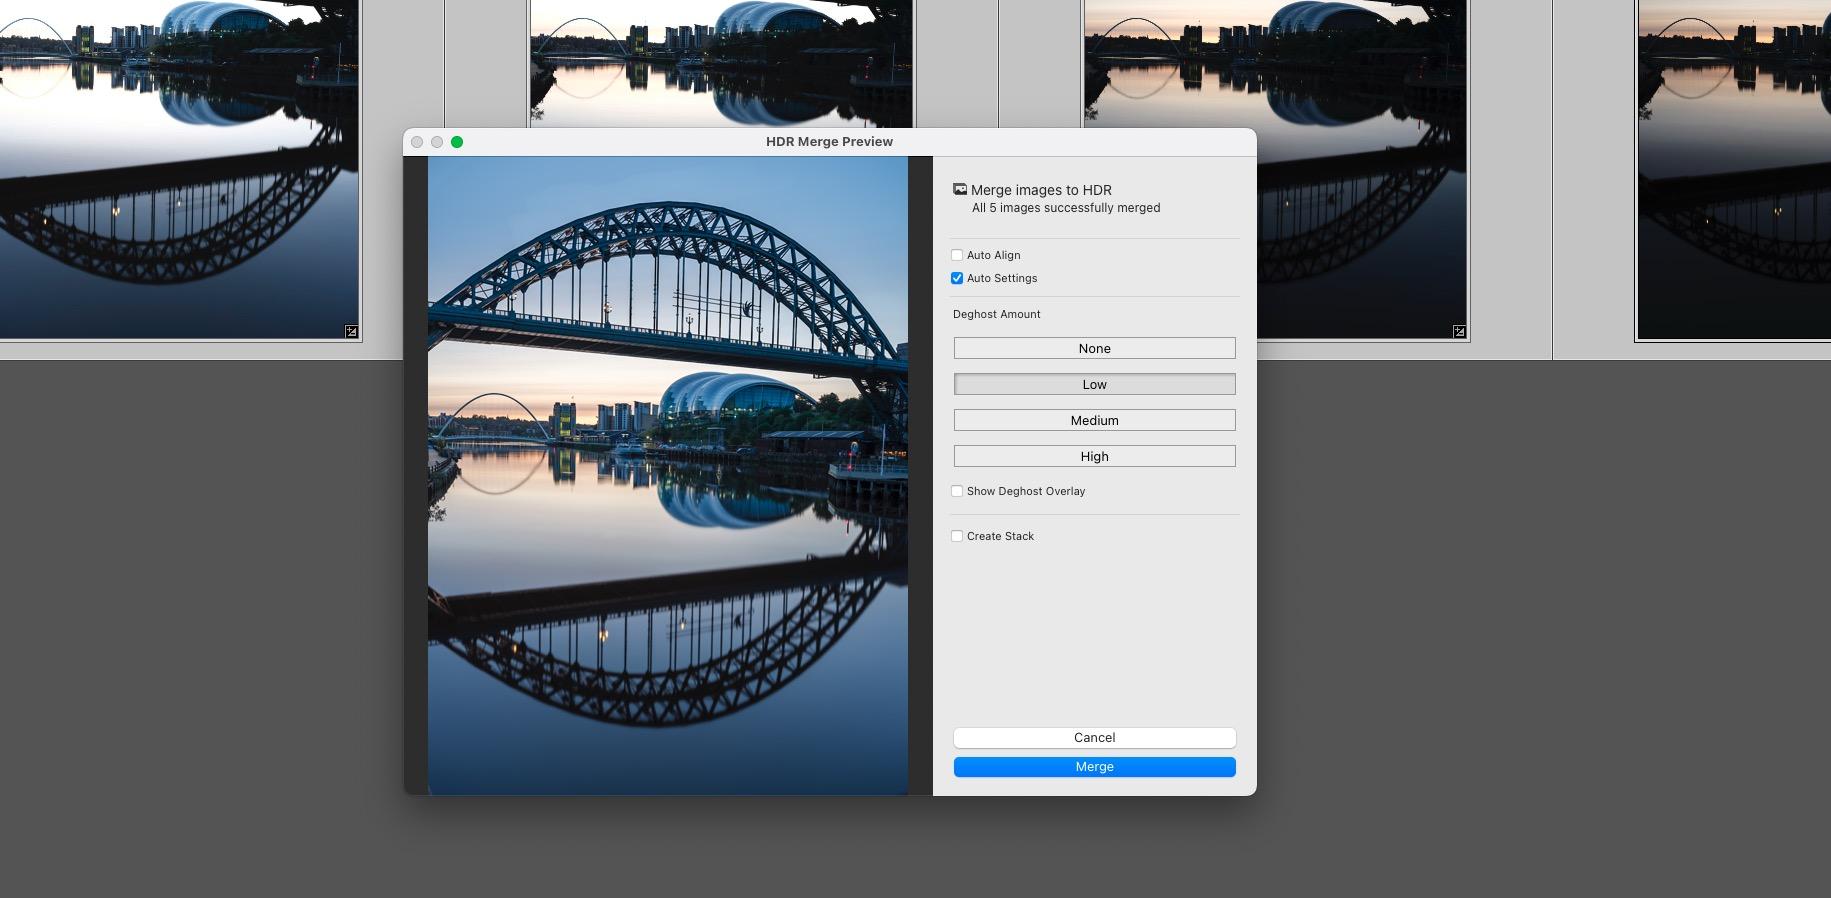
Editing was done entirely within Lightroom Classic. The first stage was to pull all the images together into an HDR Merge. With each raw being 119mb, this taxed my little M1 Mac Mini and was instrumental in my decision to upgrade it to the M2 Pro.
In the HDR Merge window, Auto Align was set off as I was shooting from a tripod. Auto settings were on. I set the Deghost amount to low. This is to remove anything like a stray bird that might be in one image but not another.
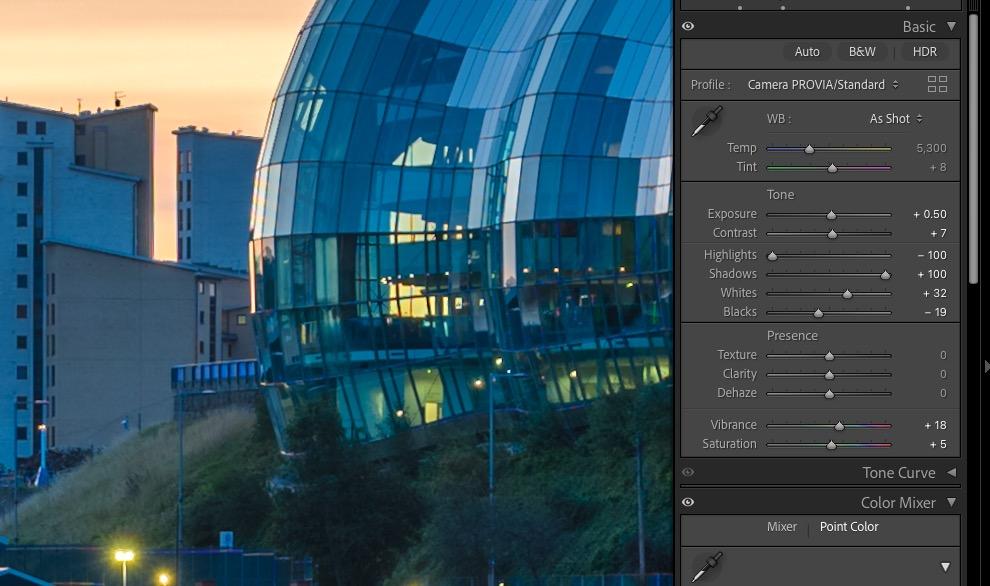
Once merged, I took the image over to the Develop module. There was little to do in the Basic section other than tweak the blacks and whites to maximize the contrast and lift the shadows a little. I also added a touch of vibrance but no saturation.
The rest of the image was completed using three masks. The first was the sky mask. For this, I reduced exposure very slightly and turned up the white balance by about 10% to give the sky a more yellow, dawn feel.
Next was a linear graduated filter over the top part of the image. I intersected and inverted this with the sky mask leaving only the bridge structure masked. I increased clarity and lifted the shadows a little on the bridge, making it stand out more.
Lastly was a hard edge linear graduated filter. This rose from the bottom of the image to the waterline of the river. The only edit I did to this was to dramatically increase clarity, which in turn punched out the beautiful reflections in the river.
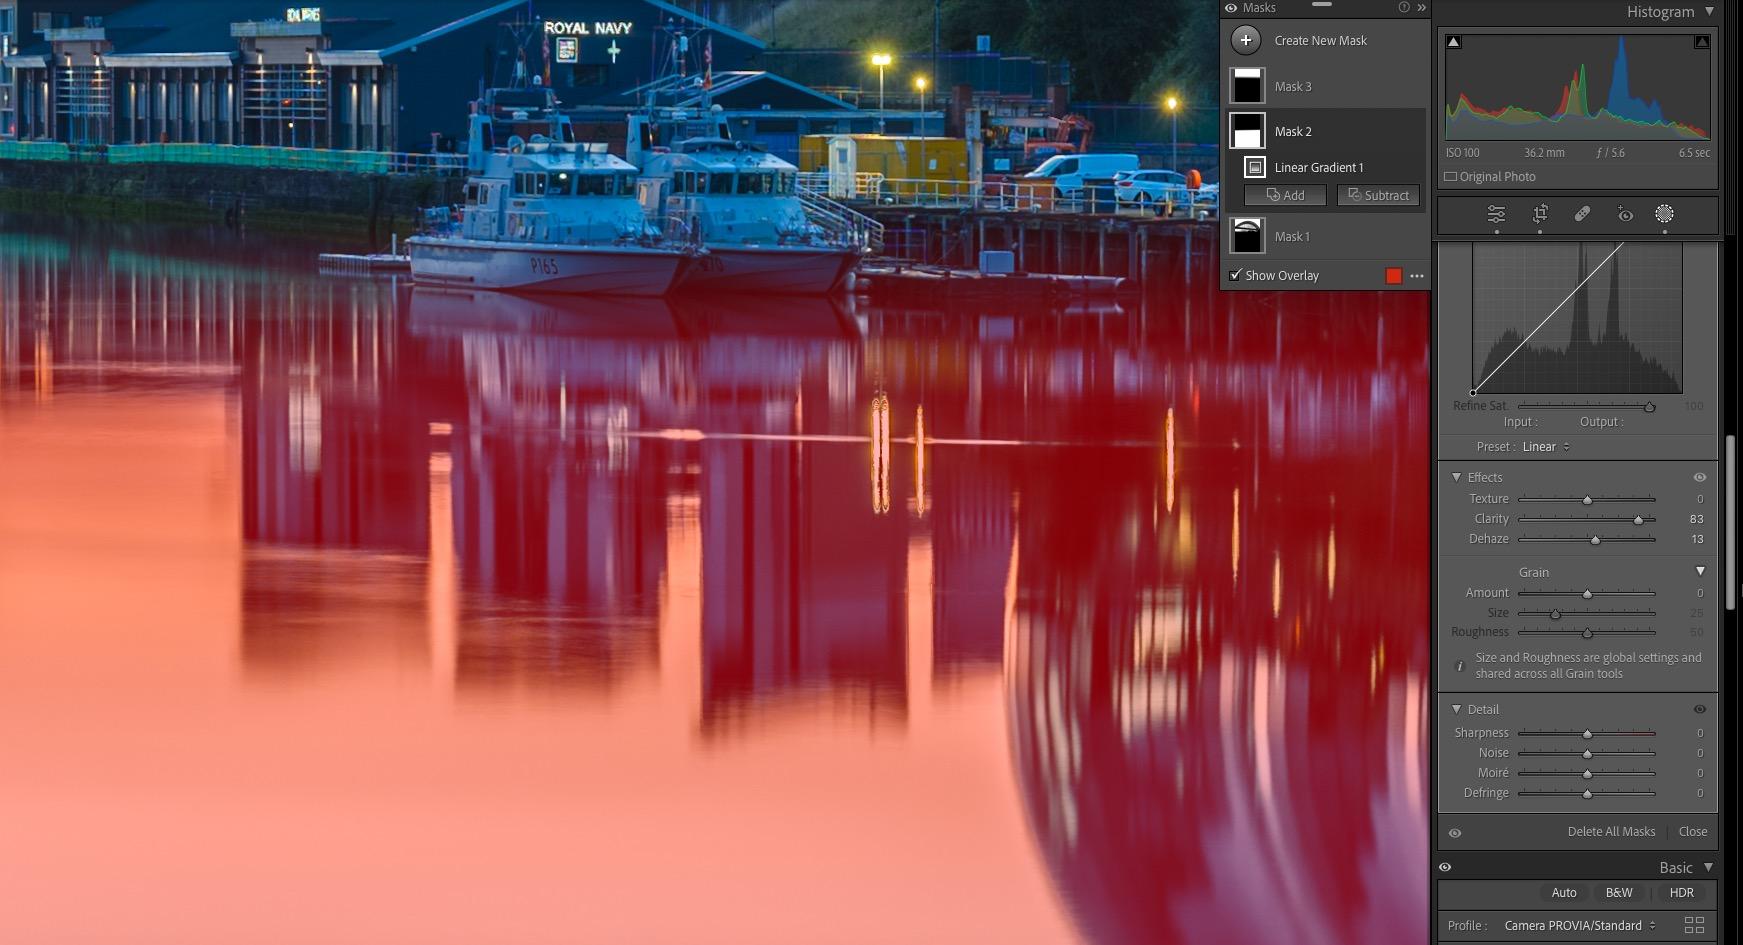
As you can see, although the image is an HDR merge, it is not massively edited. I tried to make the image look natural yet striking without overdoing the HDR effect. To that end, I think that it worked.
Summary
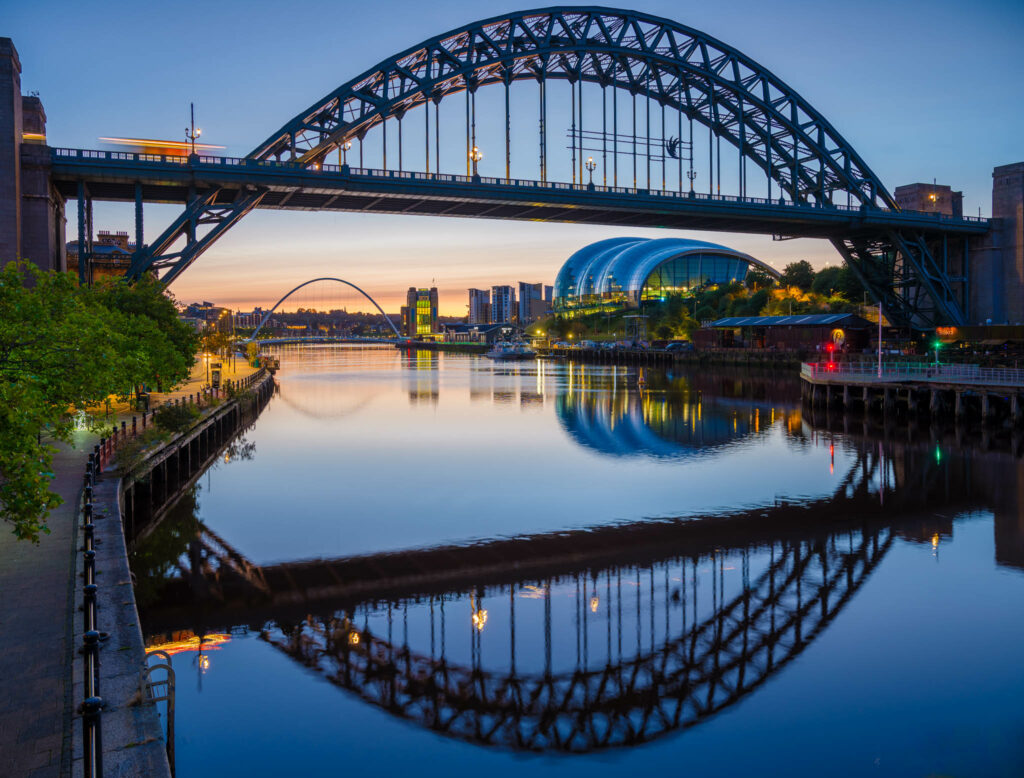
Getting a great image is often about luck. However, as photographers, we can make our own luck by planning well, understanding our gear, and using our technical capabilities to bring out the very best from the scene in front of us.
Not every well-planned shot will be perfect. Many will fail but the more you get out and shoot, the more likely you are to nail a shot such as this.


