Starbursts infuse fun, magic and impact to almost any photography. Starbursts add sparkle, brilliance and a special touch. At times, they create mood and a even a hint of mystery. Capturing and turning light into starbursts requires understanding of how specific settings work or a special filter. Using starbursts artistically happens when we combine the technical with our creative eye.
We'll highlight how to create starbursts and offer ideas for artistic inspiration when you're in the field.
How to Create Starbursts
In Your Camera:
You don't have to have special equipment to incorporate a starburst into your image. All you need is a ray or stream of light, good subjects and the right settings.
For starbursts, use an aperture setting of f/16 or higher when composing your image. With some lenses, pushing it up to f/22 may make the starburst effect more appear crisp. (Note: the larger the f/stop number, the less light. With less light, there is a point where the image becomes less sharp). Trial and error with various settings will help you determine the best settings with your current gear and desired effects.
Starburst Filters:
Another method is to use a starburst filter. These filters screw on to your lens and can product starbursts with 4, 6, 8 or more star points. Relatively cost effective, they can be purchased at your local camera store or online. Starburst filters can be purchased individually or in sets. Starburst Filters at Amazon
Which approach is better? Your preference! I personally enjoy creating starbursts using my camera and settings. Others like the consistency provided with star filters.
An Extra Technical Detail
How many rays are produced with each starburst? The number of aperture blades in a lens will determine how many rays will appear.
If a lens has an odd number of blades, the number of rays will be double the number of blades. A seven blade lens will produce starbursts with 14 rays. If your lens has an even amount of blades, the number of rays will equal the number of blades.
Shooting Starbursts
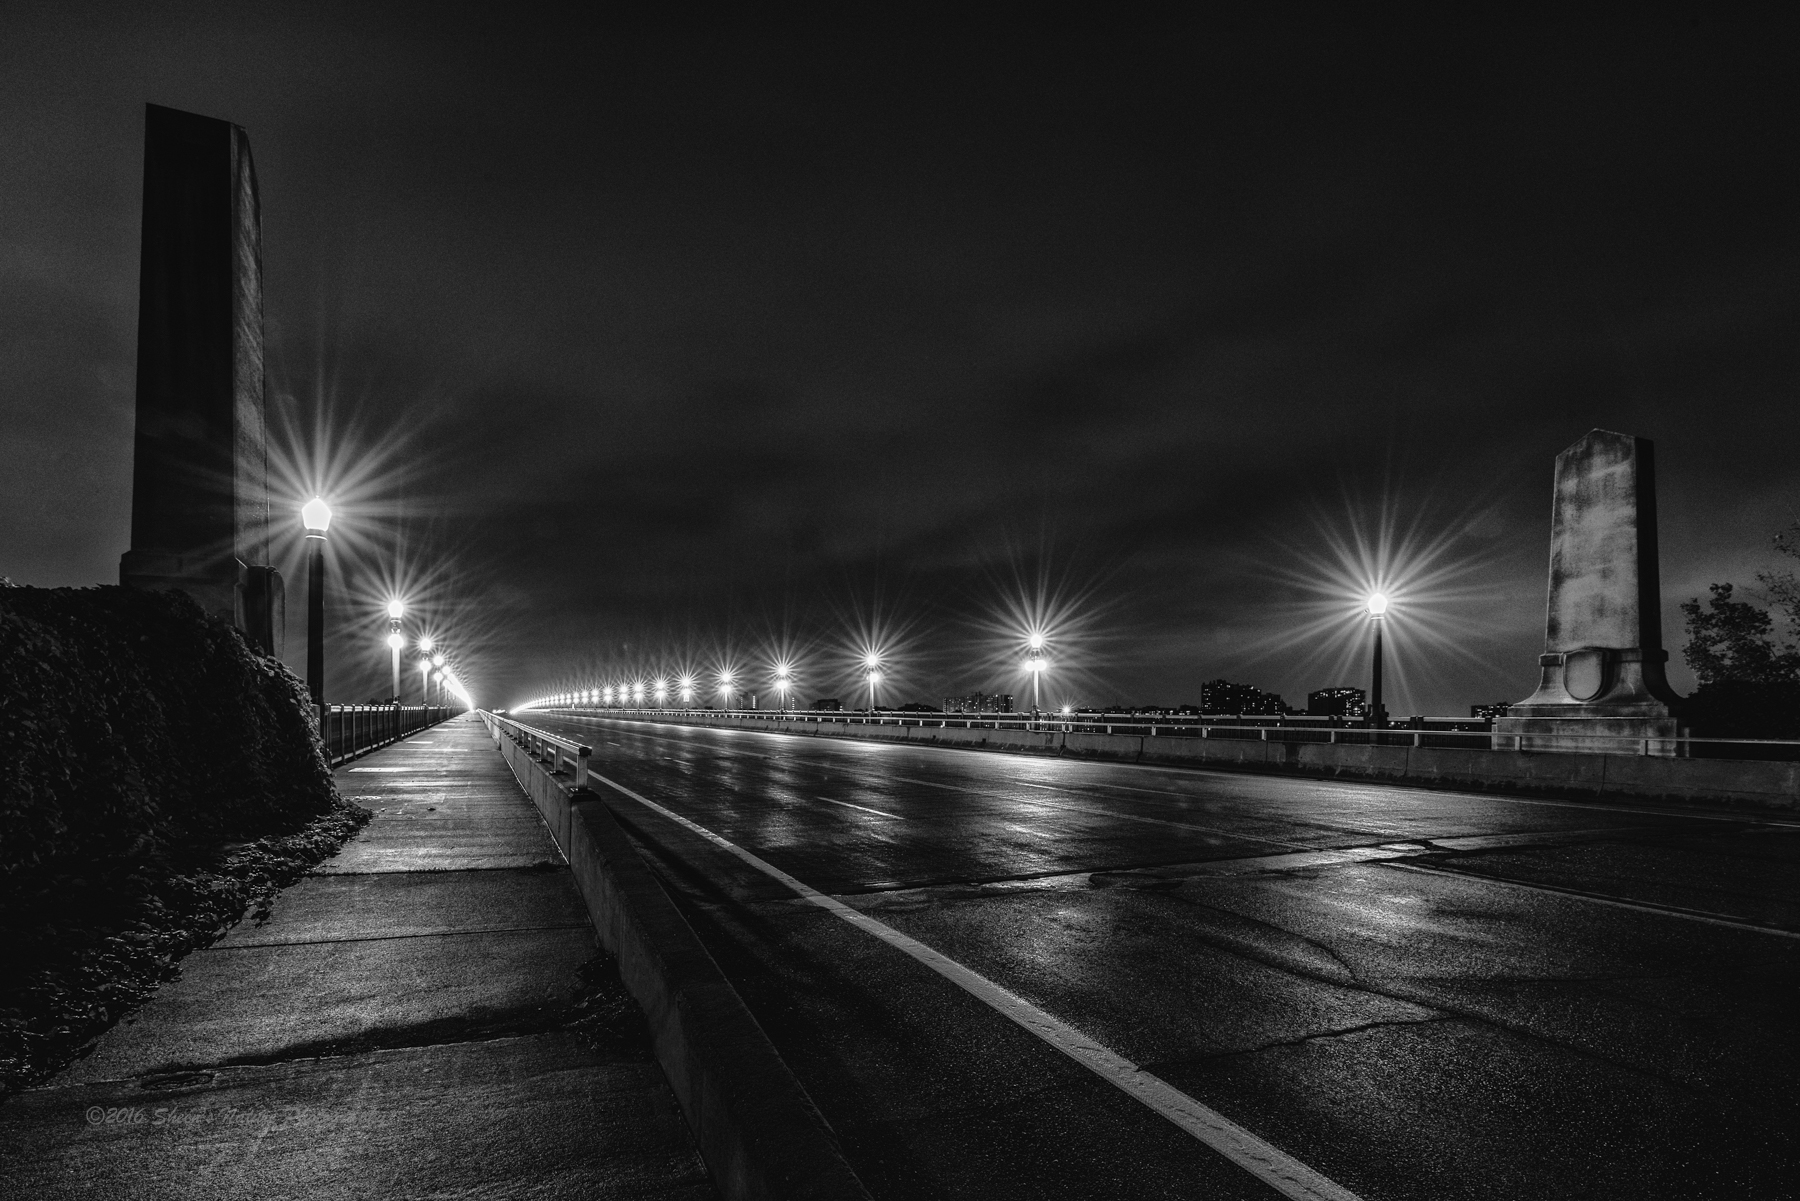
Now that we know how to create a starburst, how do you use them to add impact? This is where the fun begins! If you're a street photographer, take advantage of buildings and architecture. If landscapes are your passion, use trees and mountains to your advantage.
Well, those examples may be obvious, but that doesn't make them any less enjoyable to photograph. The good thing about starbursts? There are countless, artistic ways to incorporate them into your portfolio. Starbursts can be photographed morning, day and night. They may be the focal point of the image or a supporting cast member to your story.
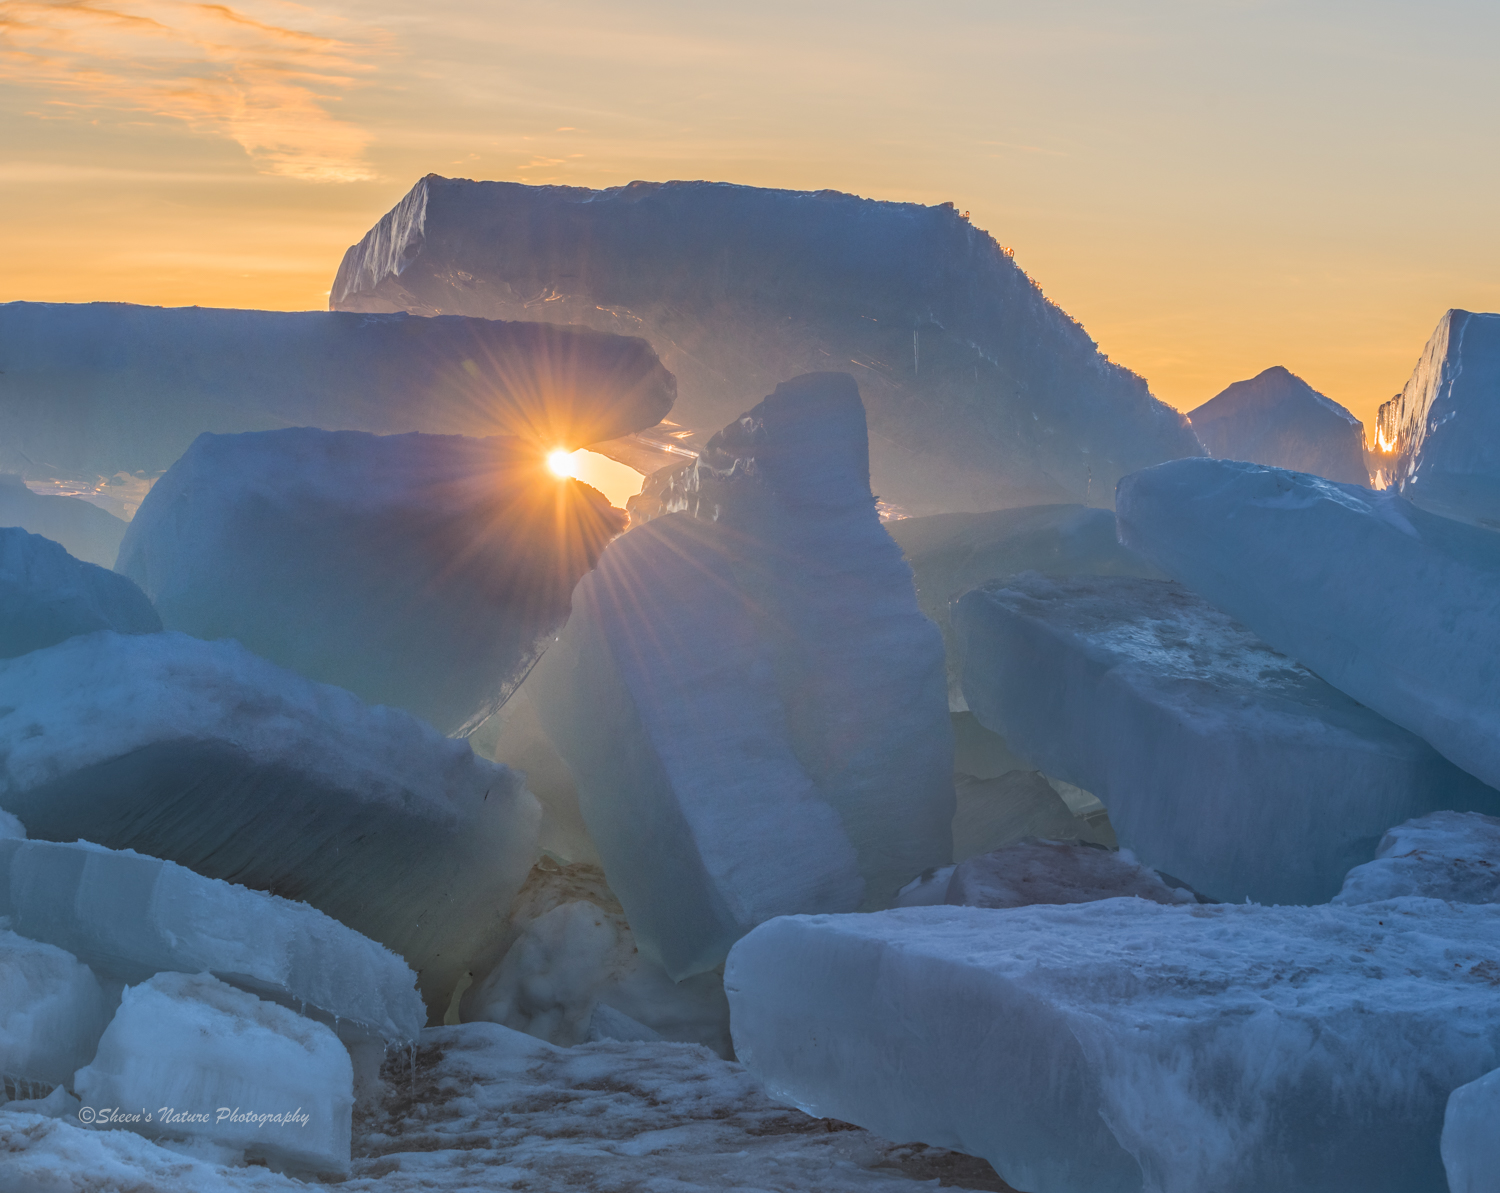
Cold as Ice
In the image below, the sunburst was photographed through blocks of blue ice. The ice blocks were created by ice breakers in the Great Lakes. The combination of the sun, starburst and backlit blue ice resulted in a warm/cool image.
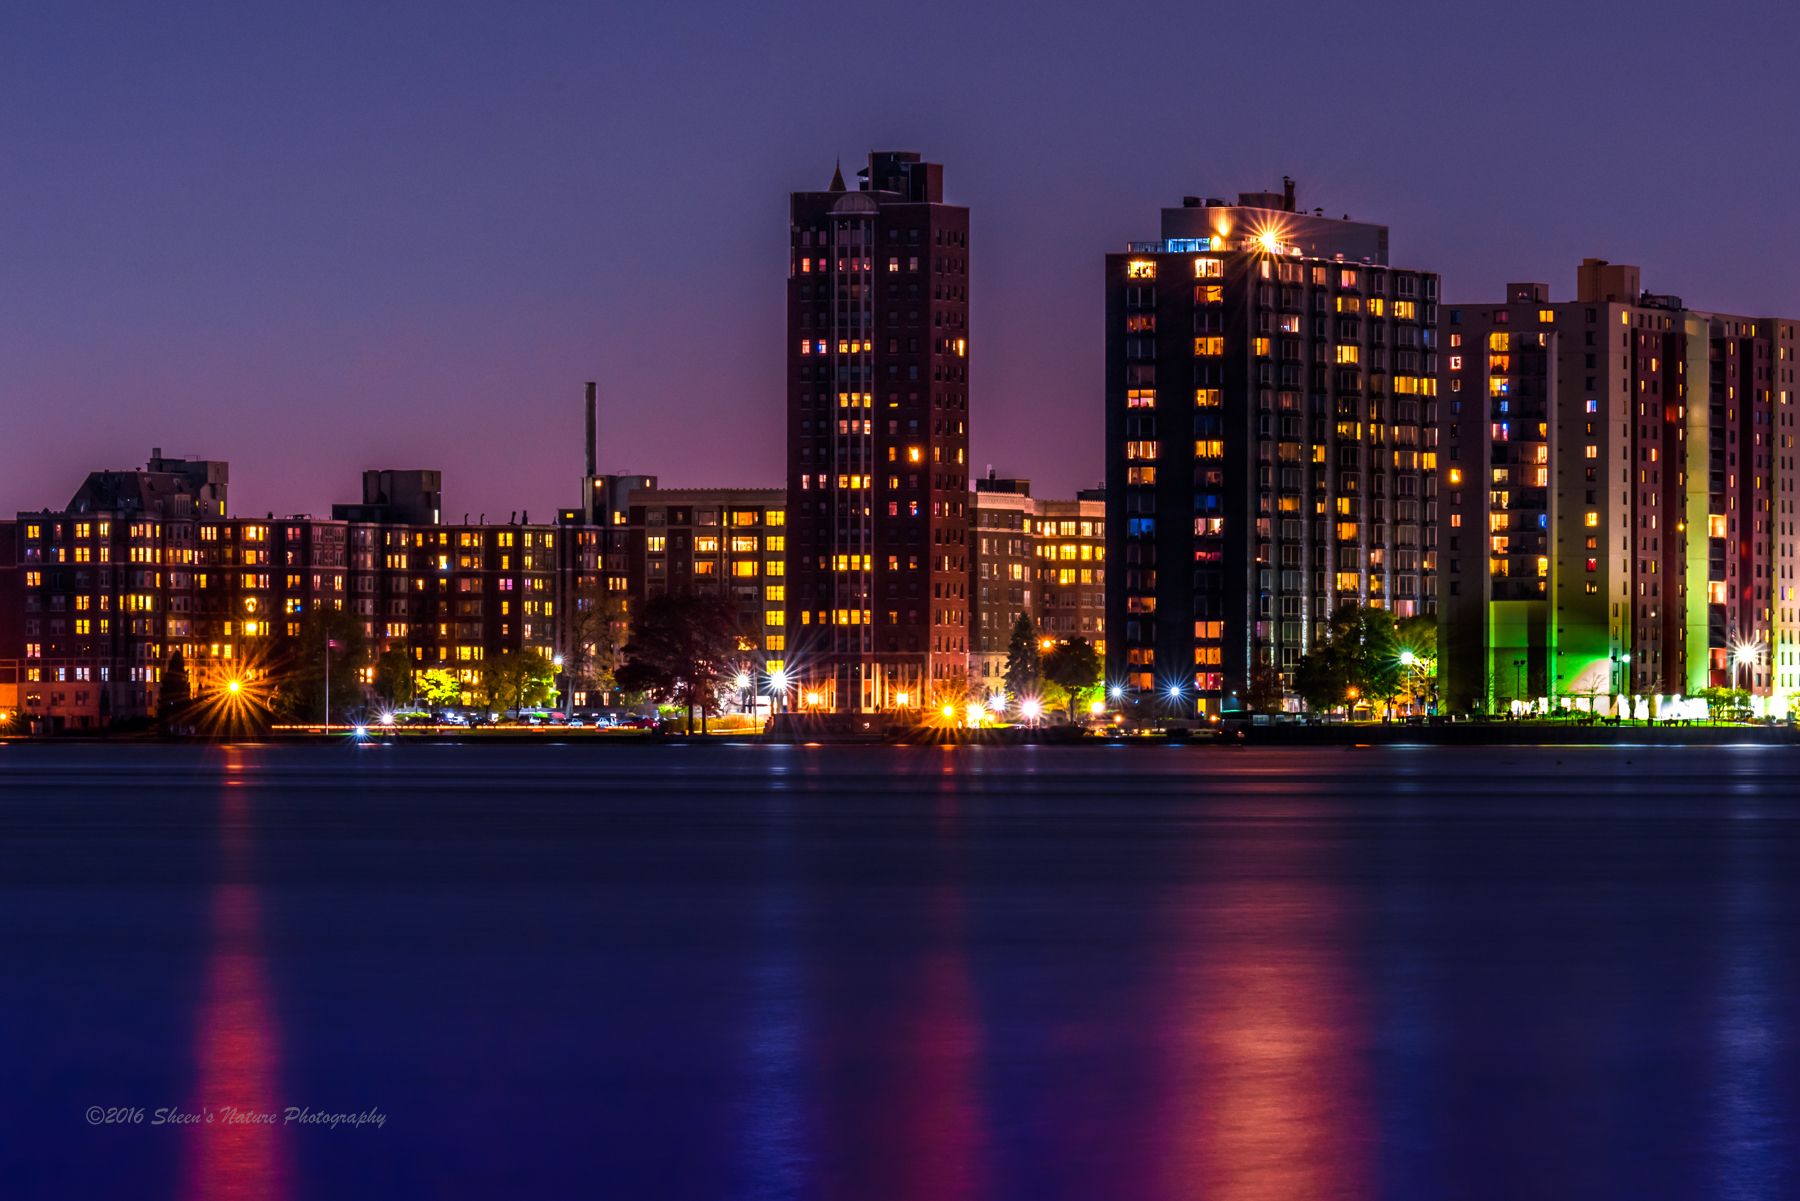
Night Lights
Starlit nights, city streets, illuminated buildings and velvety night skies make a colorful composite. The image below used an f/16 aperture and a long exposure. The small starbursts added a little something extra to the building's bright lights and soft colors on the water.
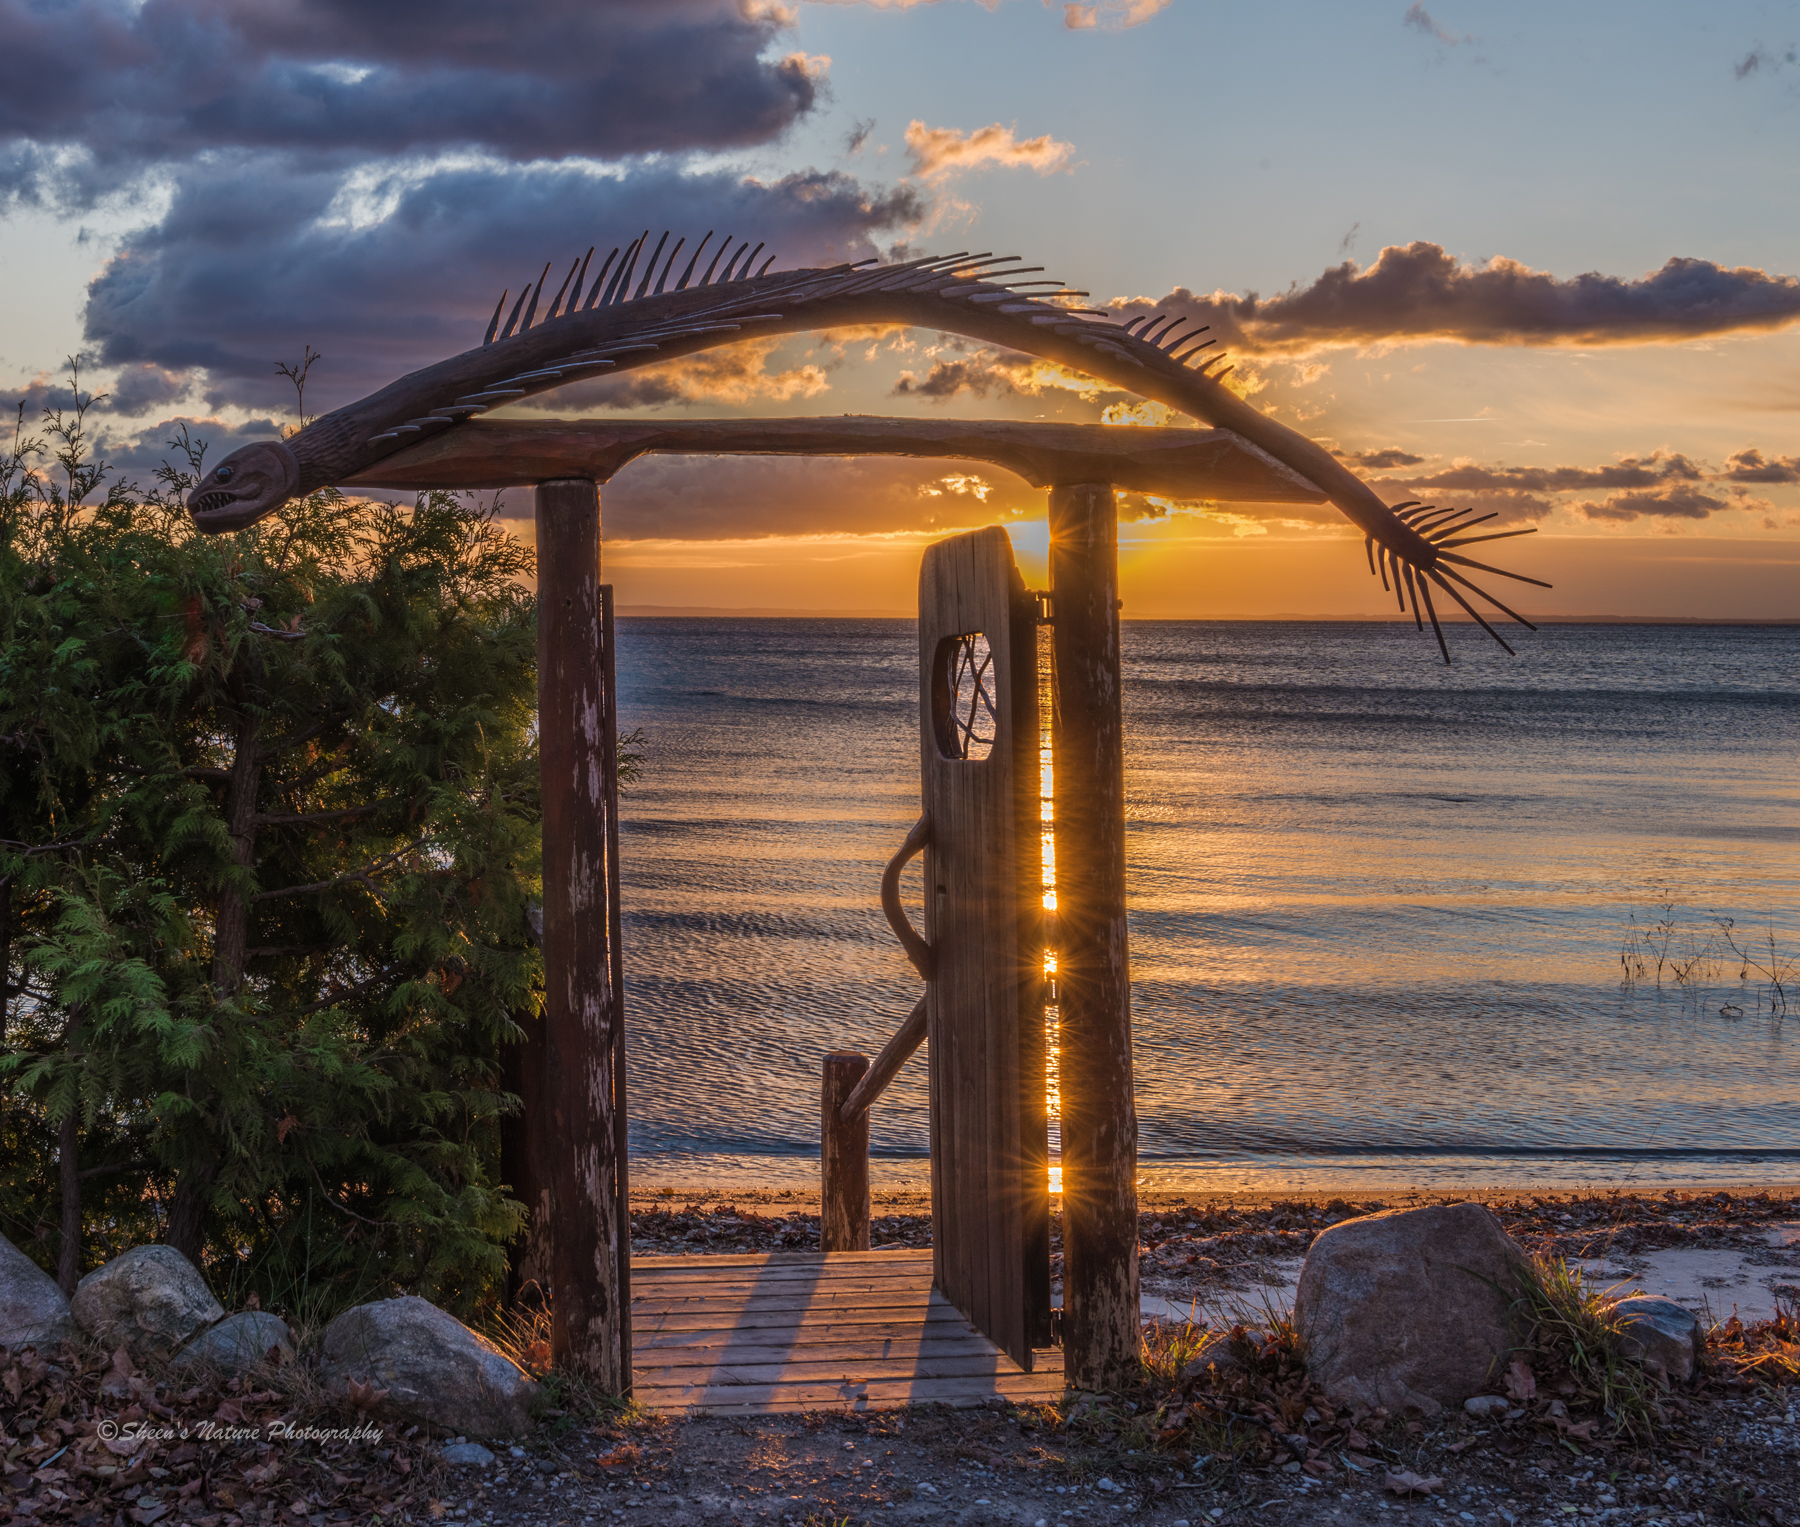
Doorway to the sun stars
Who doesn't love a good sunrise? A hot cup of coffee, a hint of fall chill and a vibrant sunrise justifies the early wakeup call.
I've driven past this fish door hundreds of times searching for the right perspective. This particular morning I saw that the sun would cast rays through the doorway. When the sun peaked through, I was in for a delightful surprise. The water and light glistened brilliantly through the crevice.
Beach remnants
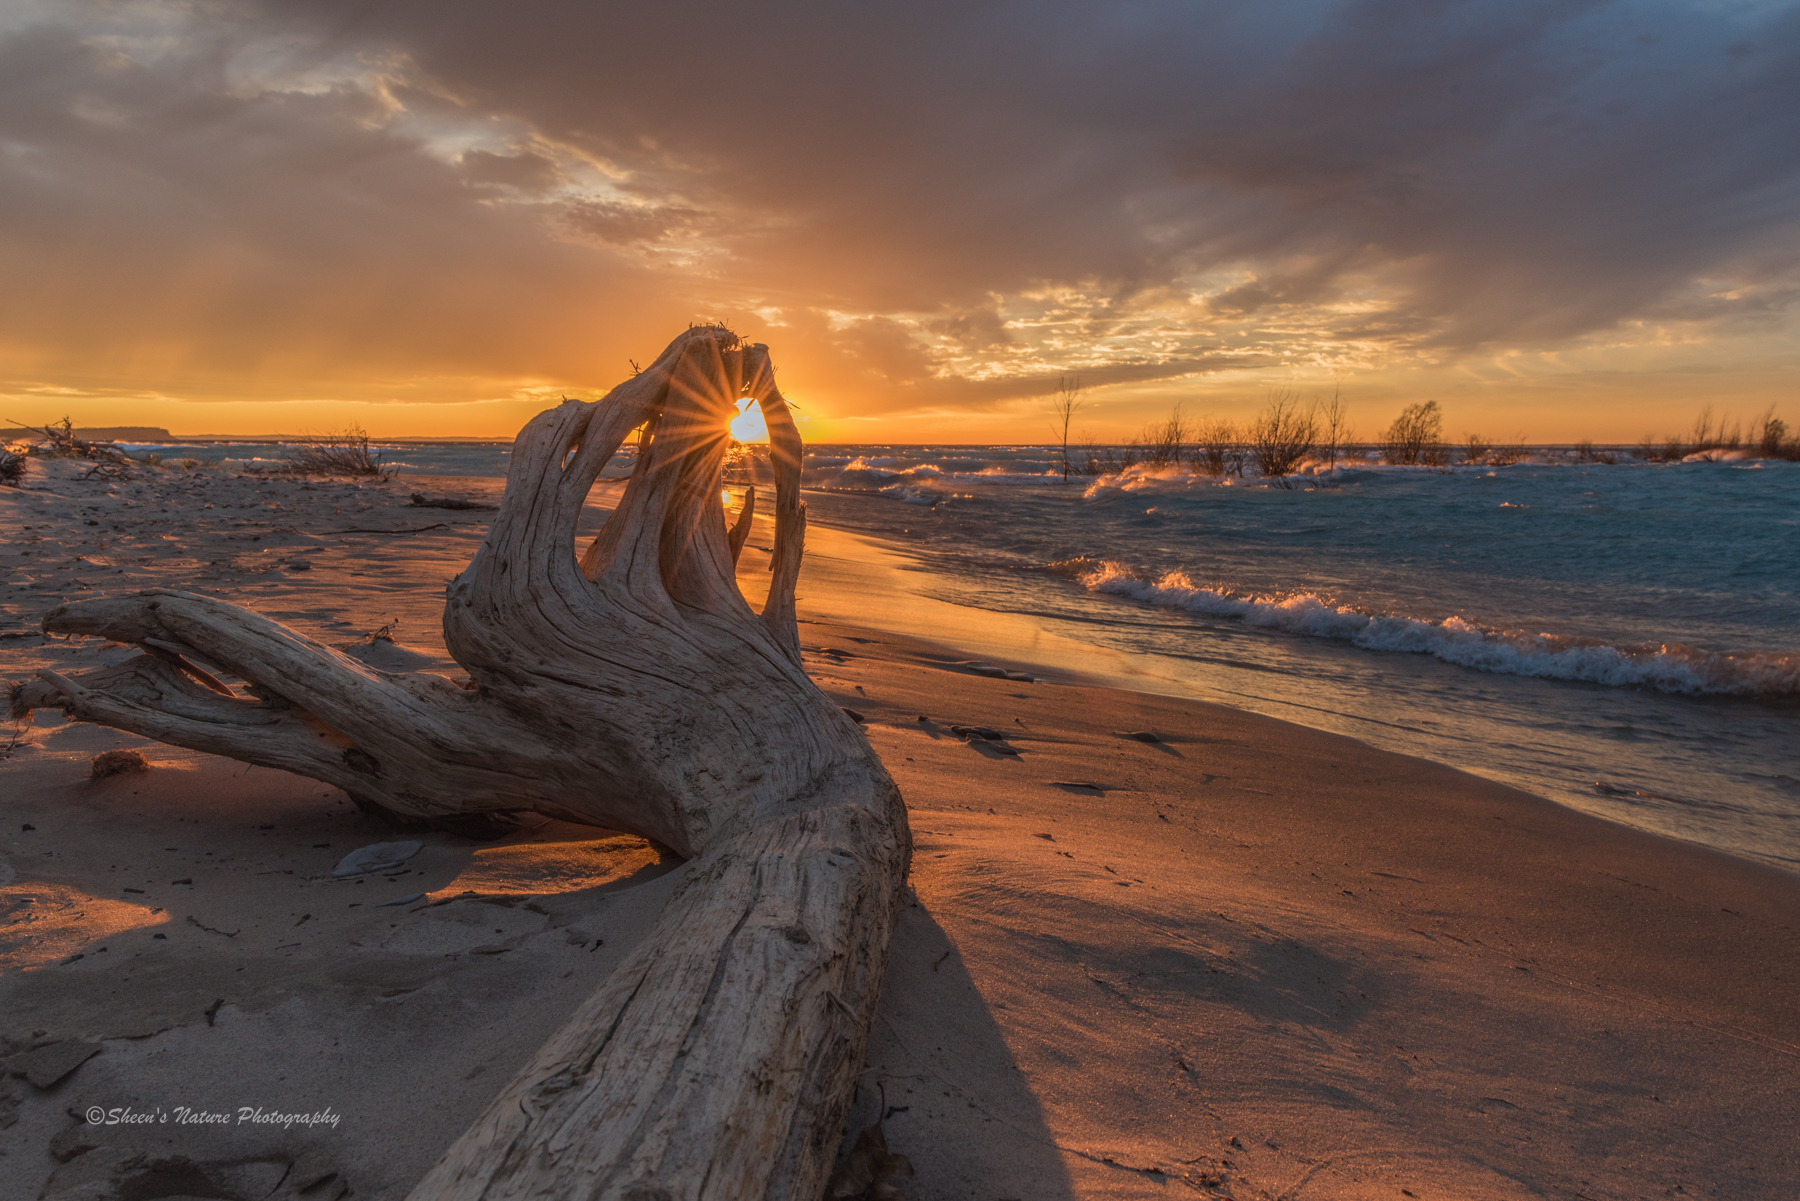
Take advantage of structures, fences, trees and other barricades of light. A hike in the woods, on the beach or a city street might inspire the use of unexpected structure. The petrified log buried on the beach served up a starburst frame in the afternoon light.
Other tools
When shooting in lower light settings, a tripod and cable release are suggested. If you don't have a cable release, you can always set your camera's timer to capture the image a couple of seconds after pressing the shutter.


1 Comment
Interesting article, thank you! Give it a go this week👍🏻