Many new photographers unwittingly fall into the accessory overload trap; you’re excited about your new camera and all the creative possibilities it presents, so you figure you should have all the available odds and ends to complete the package. A bag, a tripod, a lens cleaning kit, a good strap, filters.
Filters. This is where people have a tendency to overdo it. You don’t need one of every kind of filter in existence. Many experienced photographers will suggest that there are only two filters you will ever need for a digital SLR: a circular polarizer and a neutral density filter (there are those who also make a strong case for UV filters, if for nothing else, to protect the front of a lens from damage).
For now, we’ll take a look at neutral density filters.
What is a Neutral Density Filter?
You may have heard a neutral density filter described as “sunglasses for your lens.” It’s a common analogy and one that is used because it is easily relatable. Sometimes we just need novel concepts to be relatable.
But it isn’t entirely accurate to simply say that a neutral density filter acts as a lens’ sunglasses. As you know, the sunglasses you put over your eyes are likely to be tinted; if you were to place those sunglasses in front of a camera lens, the resulting photo would also be tinted, and that is not what a photographer is usually going after. Photographers tend to want the scenes they capture to be free of any colorcast; we want an accurate, true to life representation of the actual scene — or at least as close as possible.
So, a neutral density filter just allows us to decrease the volume of light entering a lens without altering the color rendition. A neutral density filter is exactly that — neutral in color.
The Neutral Density Filter Lexicon
There are a variety of distinct kinds of neutral density filters on the market, but something they all share is the criterion by which they are rated. Given that neutral density filters block light, they are labeled according to how many f-stops of light-blocking they provide.
Recall from the discussion on the exposure triangle that a stop represents the halving or doubling of light. A neutral density filter labeled as ND2 cuts the amount of light reaching the camera’s sensor in half; it accounts for a reduction of 1 f-stop. Similarly, the ND4 filter represents a two-stop reduction of light.
You might also find ND filters marked as 0.3, 0.6, 0.9, etc. This is a measure of what is known as the “optical density” of a filter; each 0.3 increase represents a light decrease of one stop. Accordingly, ND2 = 0.3, ND4= 0.6, ND8 = 0.9, etc.
In short, the higher the filter number (like ND64) or optical density number (such as 1.8), the darker the filter is, thus the more light it blocks.
Types of ND Filters
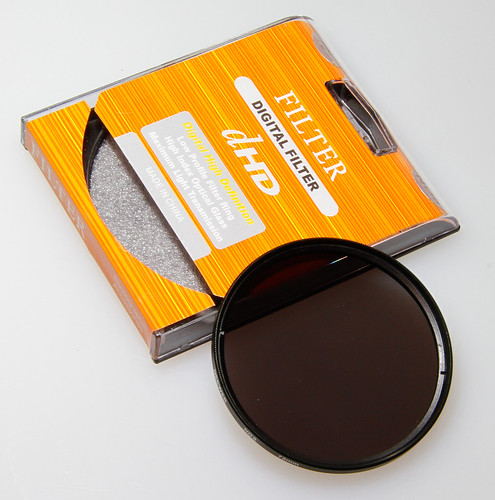
- Standard ND Filter – This circular filter is the most commonly used type of ND filter. It screws onto the front of a lens and is a popular choice due to ease of use.
- Variable ND Filter – This filter is also circular in shape, but takes the standard filter a step further by including a second “layer.” This second layer can be rotated to dial in a specific degree of darkening, up to as many as eight stops. While conveniently packing a lot into one filter, variable ND filters are considerably more costly than their standard counterparts and are prone to serious vignetting when used with very wide angle lenses.
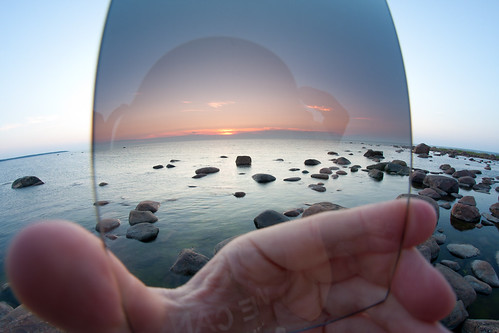
- Graduated ND Filter – The graduated neutral density filter (GND) is a staple among landscape photographers. Depending on the specific application, these filters may be rectangular, square, or circular (although circular GNDs are not frequently used). What sets the GND apart from standard and variable ND filters is that it smoothly transitions from dark to light. Typically, the darker upper portion of the filter provides 1 to 4 stops of light blocking.
Uses for ND Filters
As we have established, the job of a neutral density filter is to block light. But why would anyone want to do that? What photography situations would ever benefit from allowing less light into the lens?
The answers aren’t always apparent, especially for less experienced photographers; so let’s take a look at three situations where the use of an ND filter can be invaluable.
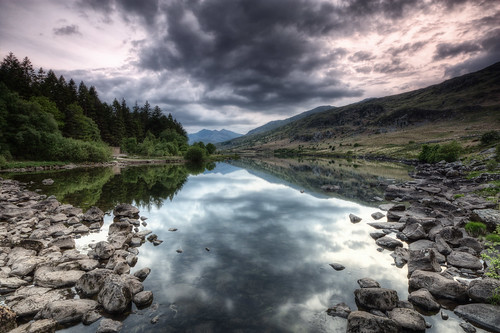
- Landscape Photography – This is probably the most common scenario in which photographers call upon their trusty ND filters — and not just any ND filter, but those special GND filters we just talked about above. The main difficulty with landscape photography arises when you’re confronted with a bright sky and a dark foreground. If you expose for the sky, the foreground will be much too dark; expose for the foreground and the sky will be blown out. Attaching a GND filter will alleviate this problem; the top half of the filter darkens the sky, gradually transitioning into the clear bottom half of the filter that allows the foreground to also be properly exposed. When using a GND filter, you will usually want to meter for the foreground before actually putting the filter in place in front of the lens.
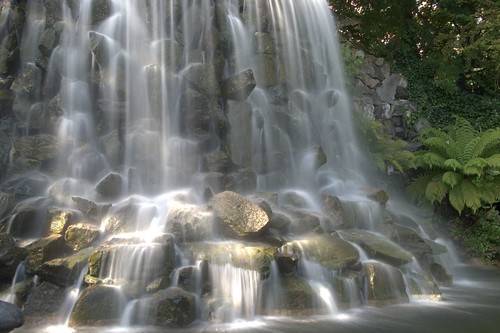
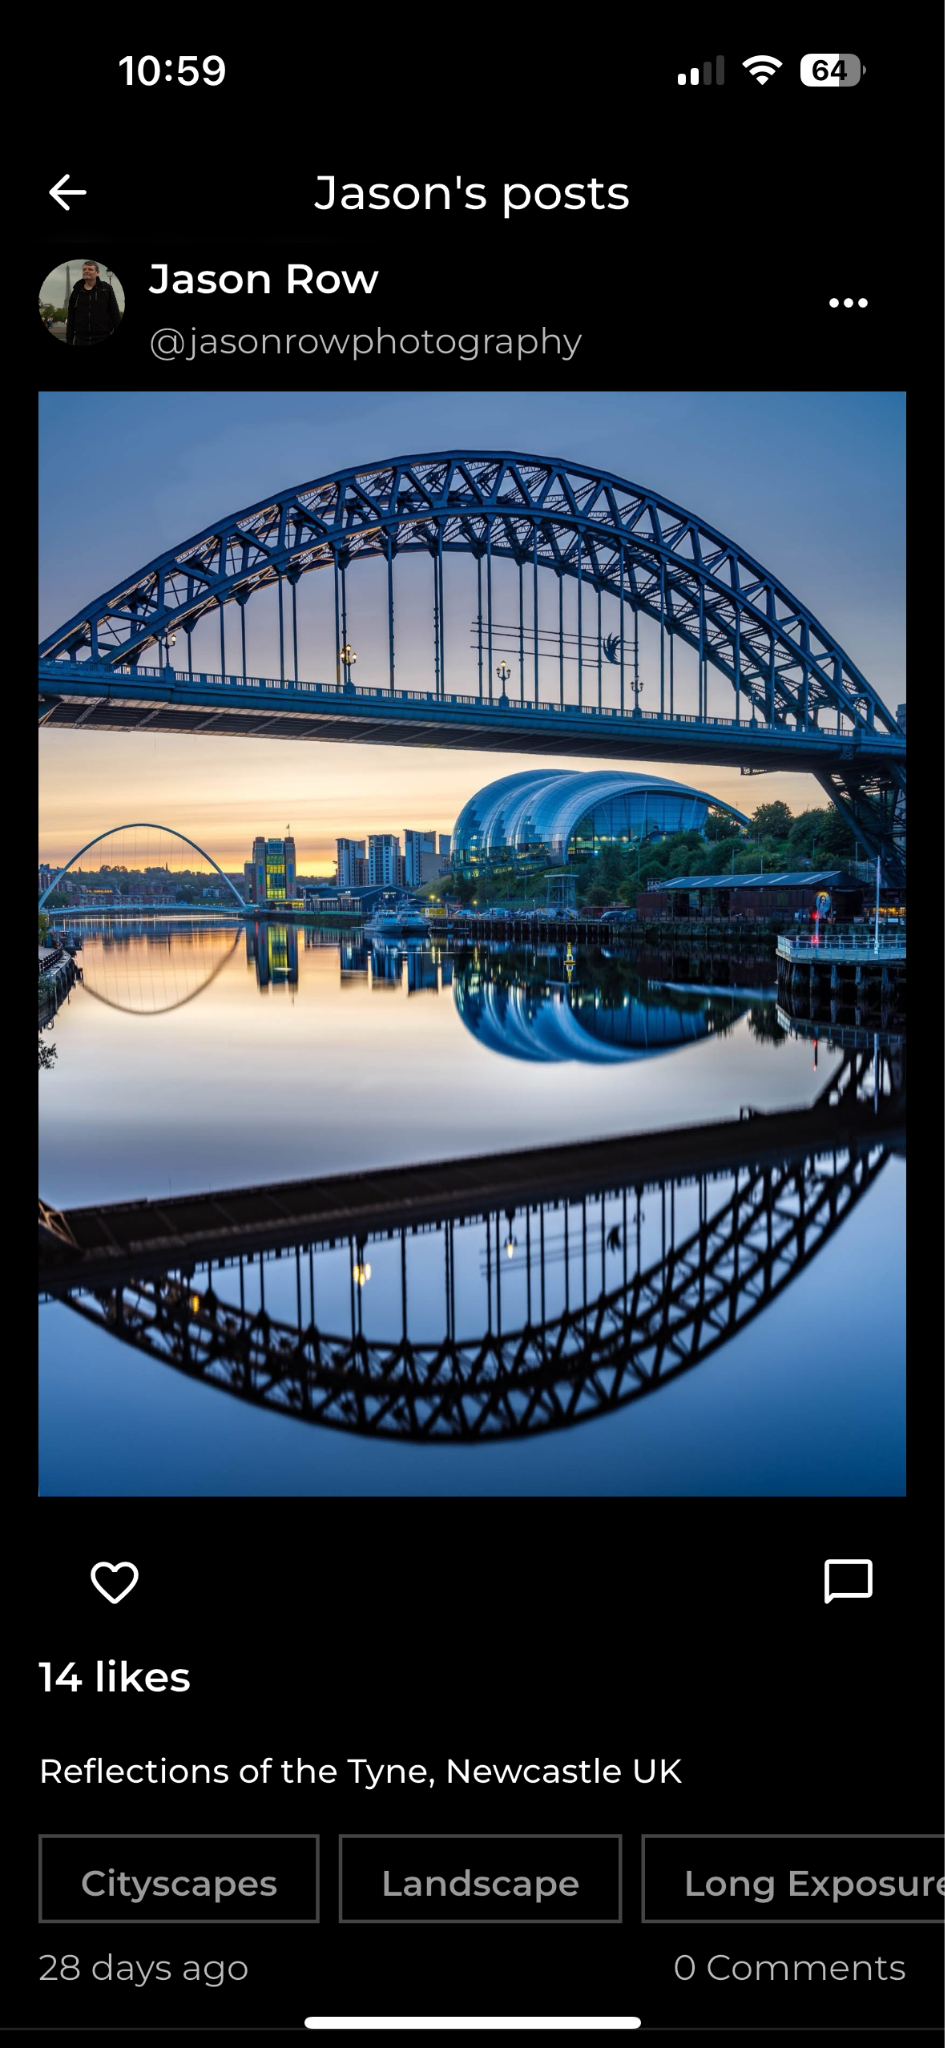
- Long Exposures – If you’ve ever done nighttime photography you know that long exposures are required to render any sort of meaningful image; the camera’s shutter simply needs to be open for much longer than usual in dark conditions. The protocols for low light photography are pretty easy to understand, but less intuitive is how to go about getting long exposures in the daytime. Of course, if you leave the shutter open too long even on a cloudy day, you’re going to end up with blown out nothingness on your LCD screen. To work with long exposures while the sun is out, you’ll need to attach an ND filter to your lens; setting the smallest aperture, the fastest shutter speed, and the lowest ISO are often not adequate measures. There are a number of reasons you might need a long exposure during the day, including capturing flowing water and giving it that silky smooth effect. Say it takes a 60 second exposure to the degree of blur you want for the water; your shot will be overexposed at that duration. So the solution is use an ND filter; this will allow you to keep the one-minute exposure while blocking the amount of light that passes through the lens. The result will be a nicely balanced exposure.
- Flash Portraiture with Shallow Depth of Field – Many portrait photographers enjoy shooting with shallow depth of field; this allows them to isolate specific parts of the face (or the whole face) from the background, while also getting pleasing, non-distracting background blur (bokeh). This is easily achieved in the controlled setting of a studio. But what if you’re shooting outdoors? With flash? It’s time to once again call on the ND filter. On a bright day, using a flash in combination with ambient light might be preferable. Under this scenario, the fastest shutter speed you’ll be able to achieve is 1/200 or 1/250 (common flash sync speeds). Of course you won’t to use a shutter speed any slower than this, as you will just be letting in more light and risking overexposure. So at a reasonable shutter speed of 1/200 or 1/250, you still must account for how to address the issue of aperture. Under these conditions, an aperture of f/1.8 or f/2 is going to let in far too much light. Putting a neutral density filter on the front of your lens and making sure the ISO is low as possible will get you what you want: an outdoor flash portrait with shallow depth of field.
Neutral density filters are easily acquired, highly versatile accessories that can add an extra dimension to your photography. They are by no means limited to the uses outlined here. It is simply up to you to use them to creatively manipulate the exposure triangle to achieve the image that matches your vision.




3 Comments
Thanks for a lucid, informative and convincing article that dispels the air of secrecy around the ND filters. I liked the article and also understood their primary uses. I shall definitely buy and use them shortly. Thanks once again.
Finally, an explanation of ND filters that I can fully understand.
I have never bought a filter because I didn’t understand their application. Thank you for “shedding light” on this for me!