The film renaissance shows no signs of abating. New film cameras, new films, and a growing analog army are all driving the return to celluloid. One of the primary reasons for returning to, or trying film, is the feeling of being in control.
From the old manual cameras to printing your own shots, shooting film takes the microprocessors out of the photographic workflow. Perhaps one of the most rewarding aspects of film photography is creating your own darkroom.
Today we are going to take a look at how to set your own black and white darkroom on a budget.
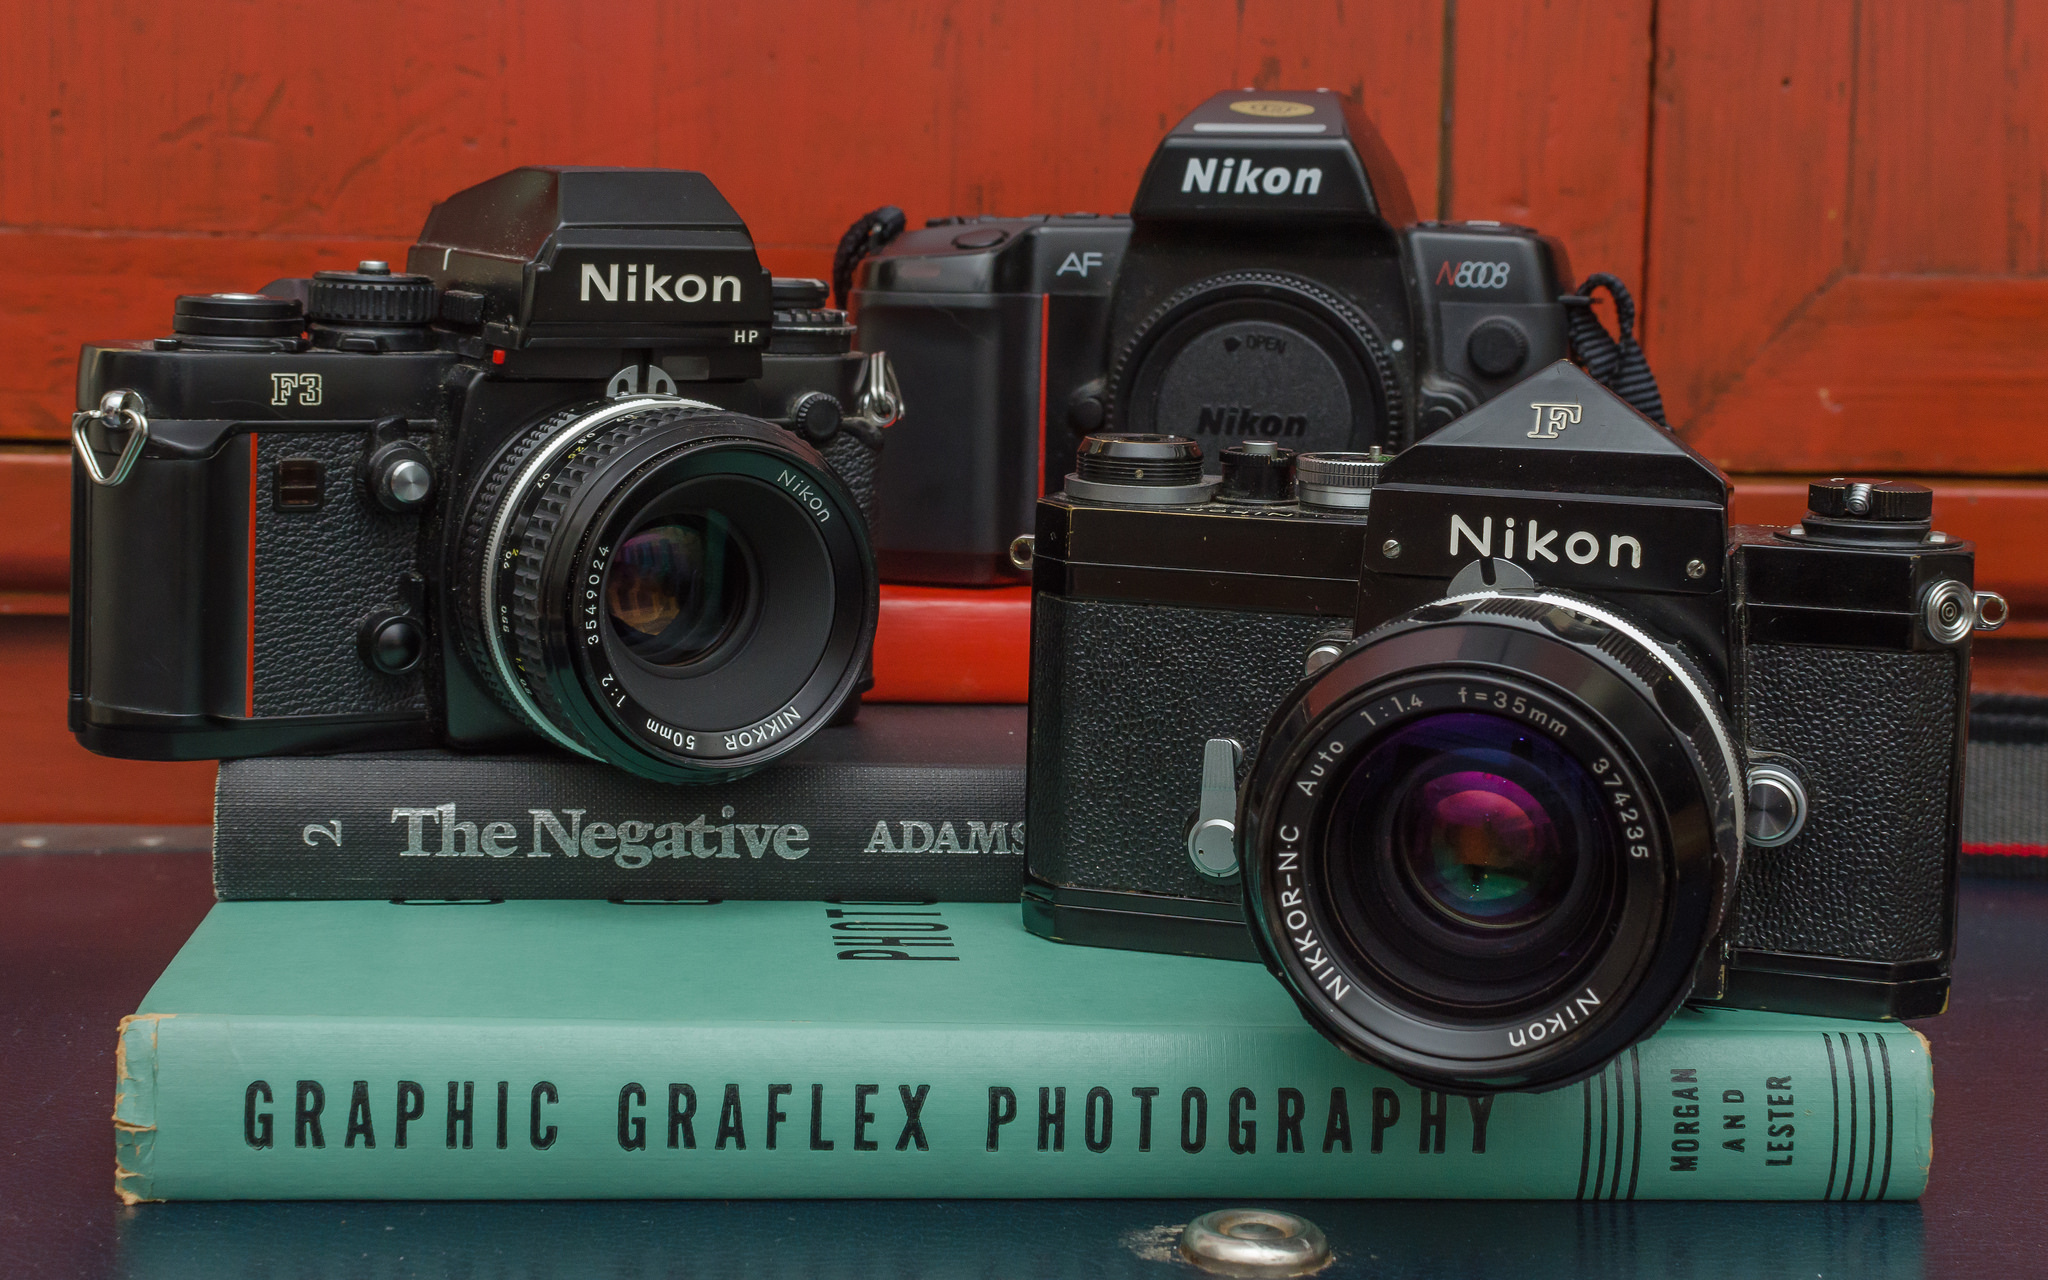
Location Location.
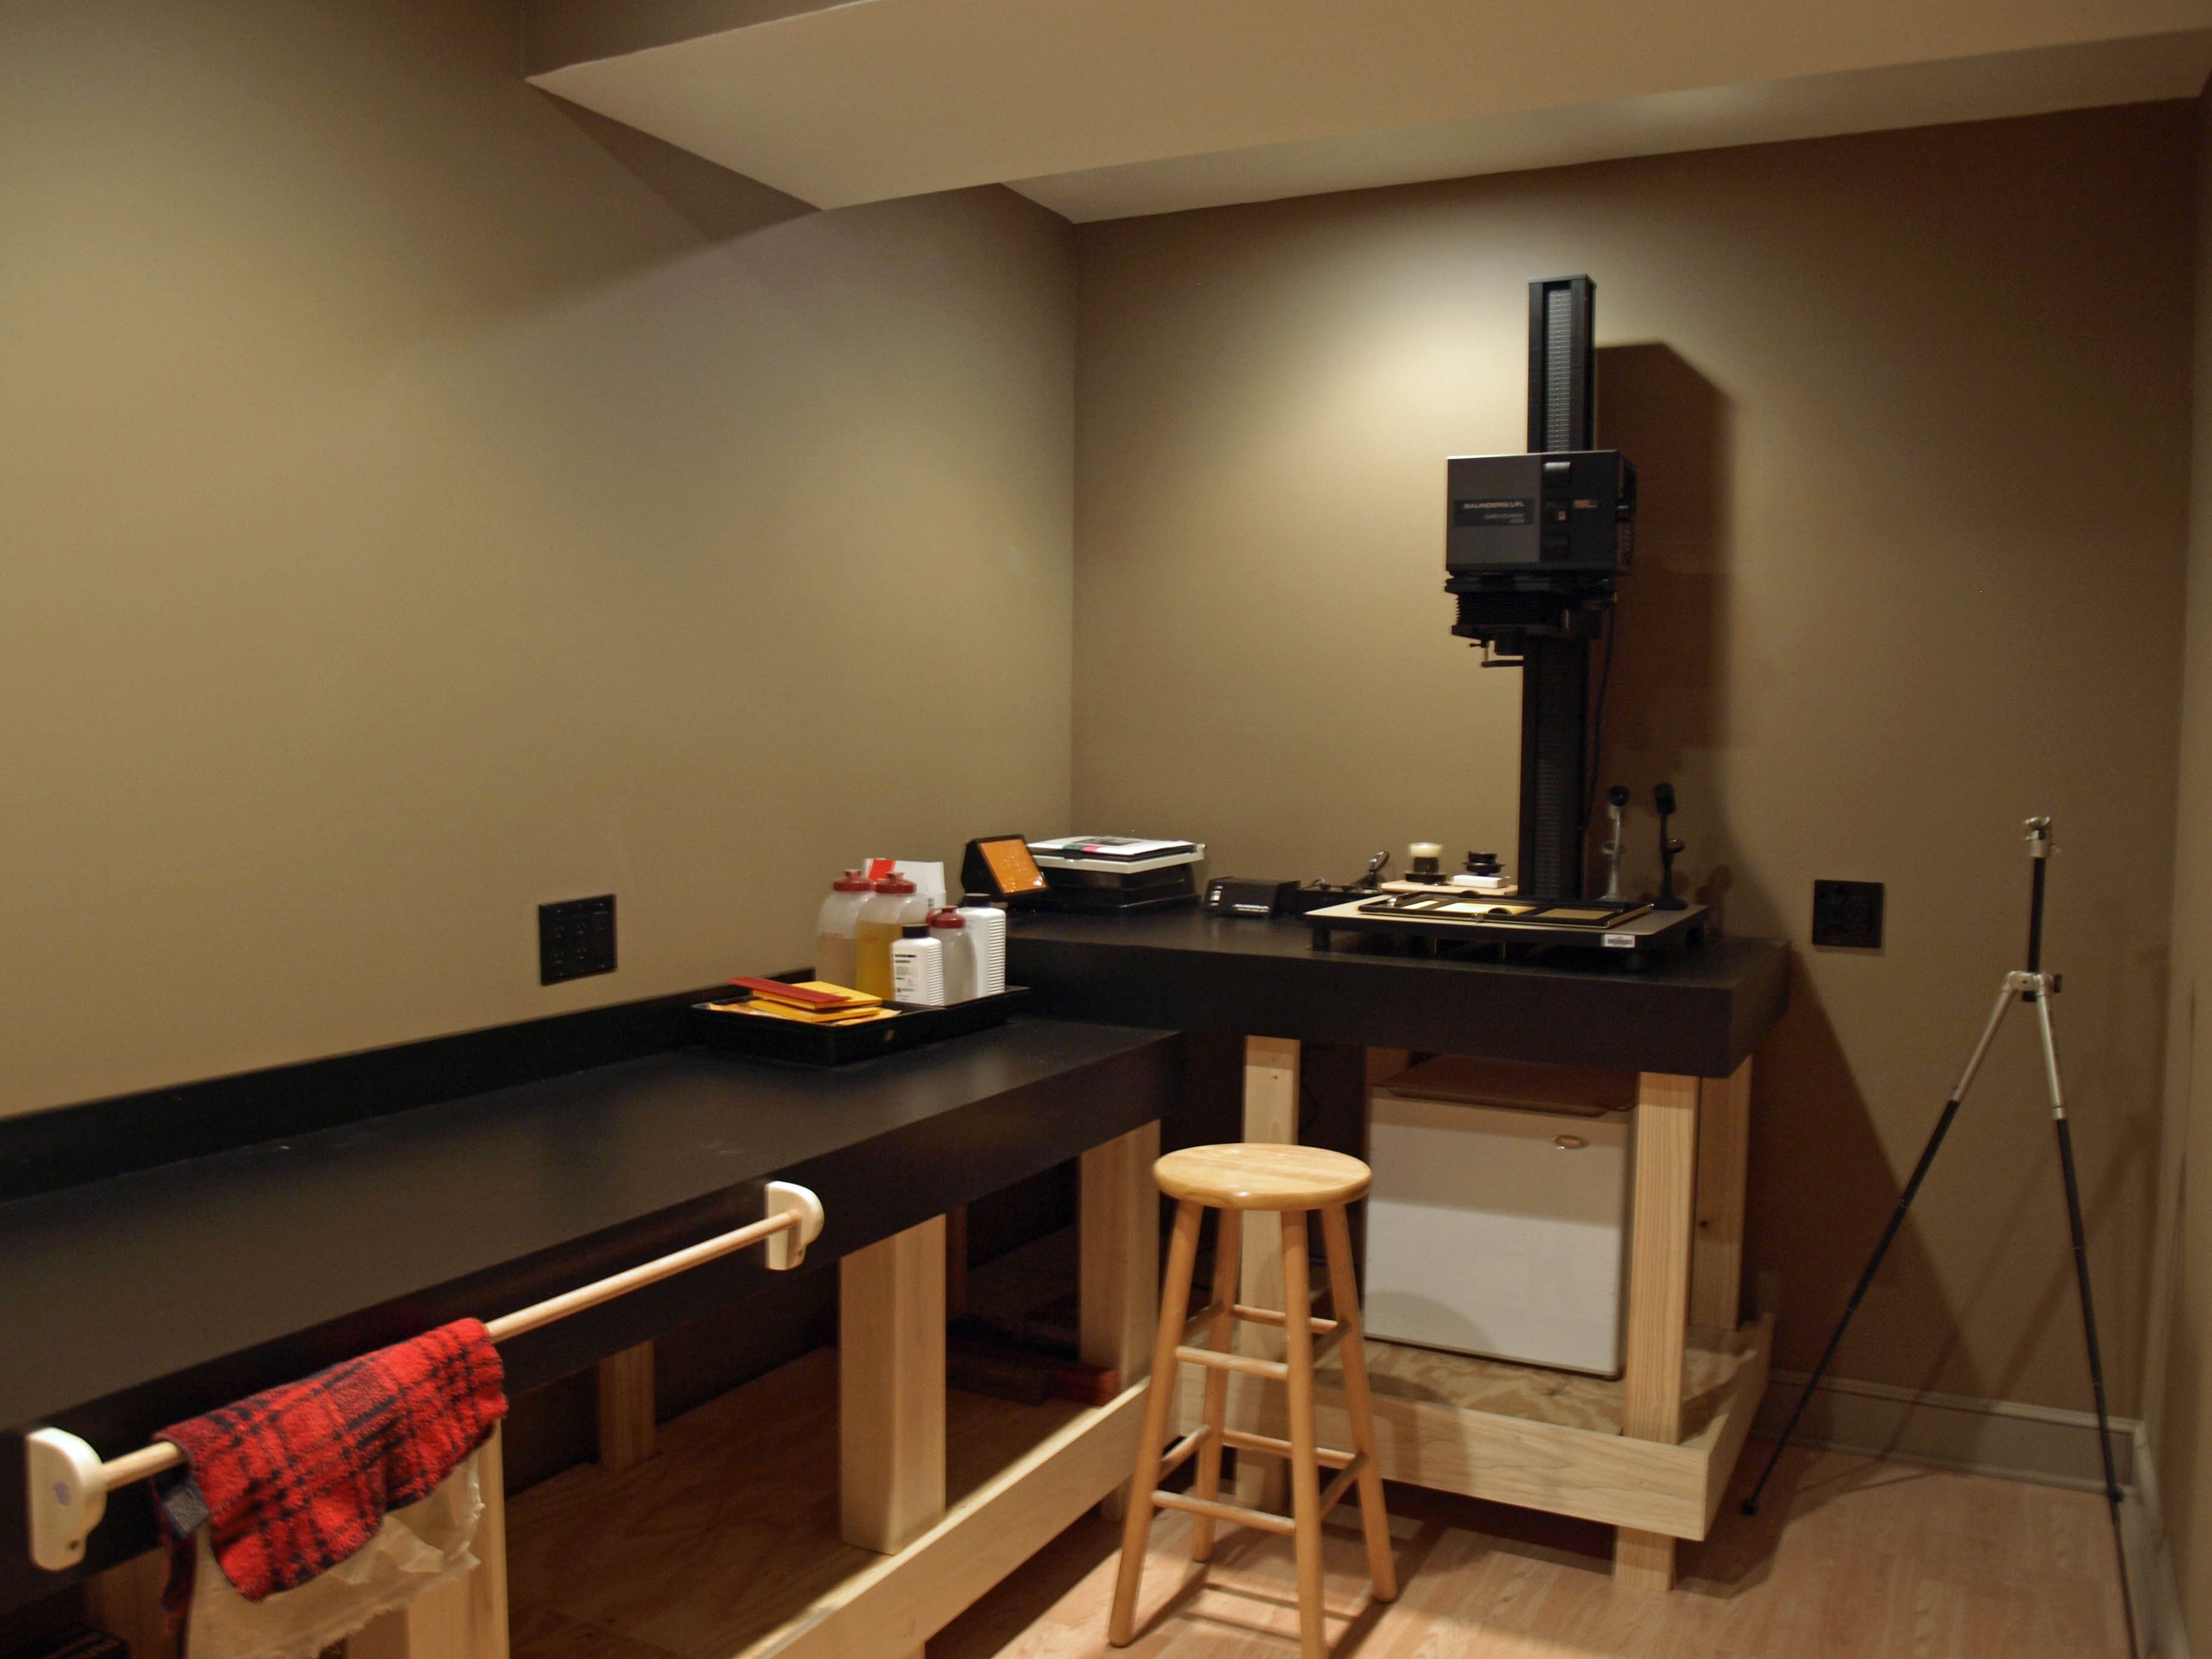
Darkrooms require some space. For many of us, space in our homes is at a premium so you will need to decide on whether you want a permanent darkroom or a temporary one.
Temporary ones can make use of removable or hinged work surfaces, a classic example of this is a board to fit over your bathtub. The smallest length in which you can comfortably work will be about 1.5m or 5ft. That will give you room for an enlarger and the three processing trays.
If you are on a strict budget, look for the darkest room in the house. One without any windows will be most preferable. This could be a windowless bathroom, a basement or even the space under the stairs. If the room has windows, look at getting some heavy black curtains or heavy black plastic sheeting to seal them.
Doors often leak light too, usually from the bottom. You can use black insulation tape or even a rolled up towel to seal the door. To check how light tight your room is, sit inside, in the dark for ten minutes and check for any light leaks. It is also important that the room has sufficient ventilation. Running water is also preferable although at a push you can use containers of water and a large bucket. If you live in a hard water area, make sure the water is filtered.
It is also best practice to have a wet and dry section keeping the processing liquids and electrical items such as the enlarger separate.
Processing The Film
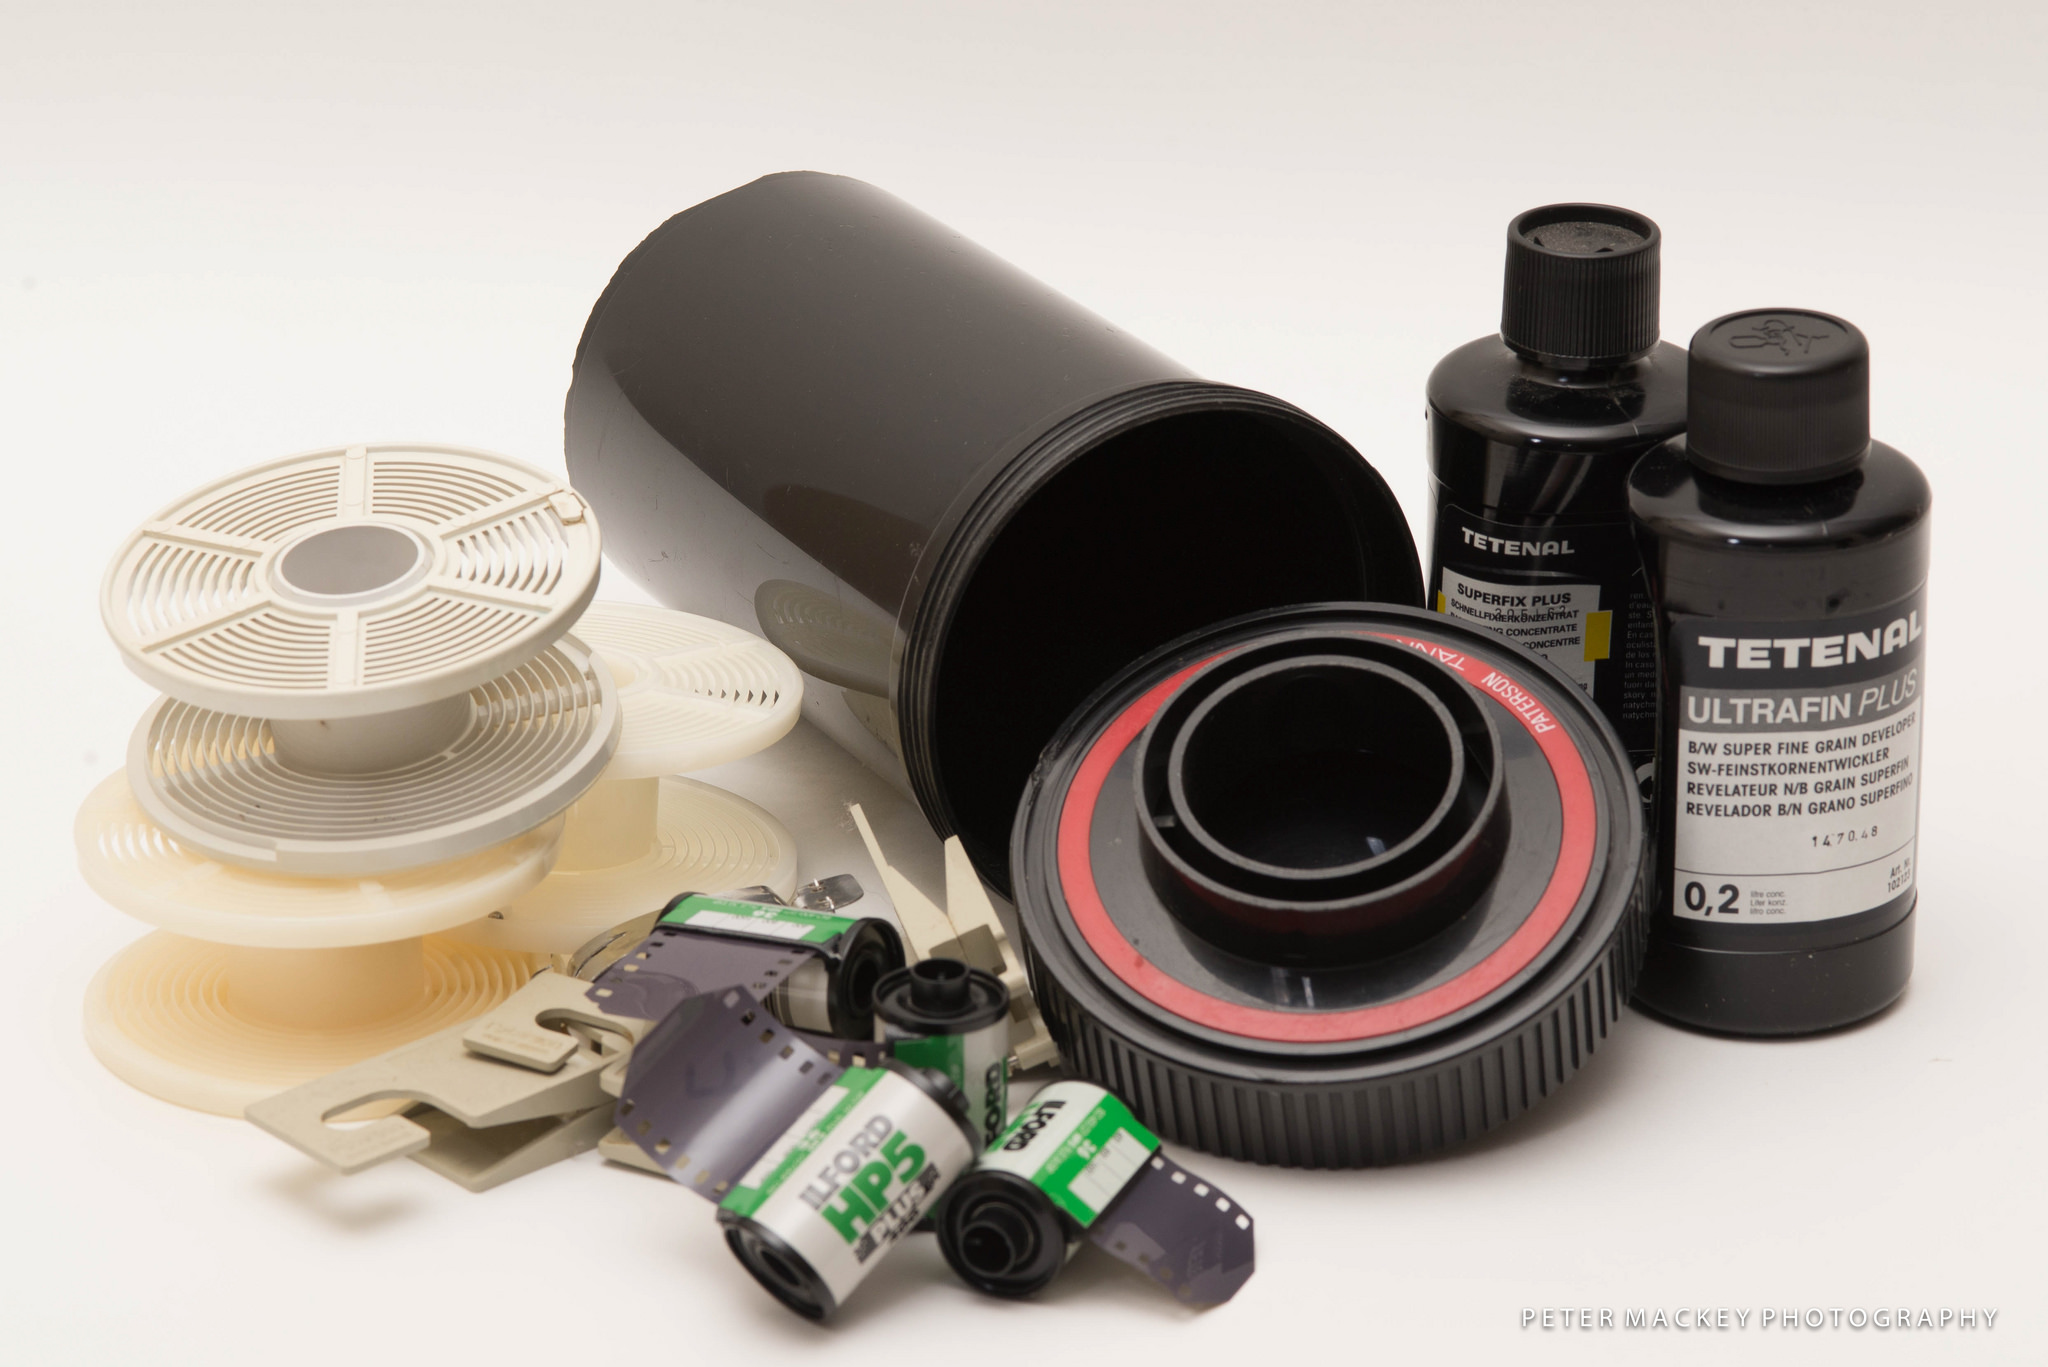
Processing black and white film takes up little space but you do need a few items. The most expensive will be the processing drum. These can be picked up fairly cheaply on eBay – $40-$50 is a standard sort of price for a Jobo 35mm drum. You will also need measuring jugs, preferably separate ones for each processing chemical. Although you can pay out for proper photographic jugs, good quality glass or plastic kitchen versions will be cheaper and work just as well. Make sure you label them for darkroom use only.
Black and White film processing is not as temperature critical as color, but a good thermometer will still be needed. The ambient room temperature should be warm enough for processing unless its a particularly cold room. Another useful item is a luminous timer, wall mounted if possible.
After processing the film, one of the more delicate aspects is drying. You need to be able to remove excess water from the film and hang it to dry in a clean environment. Wet film is an absolute dust magnet. A small soft rubber squeegee is useful for removing the excess while a retractable clothesline is a good way to hang the films. Bulldog clips can be used to hang the film from the line, with one also at the bottom to prevent the film from curling.
Printing
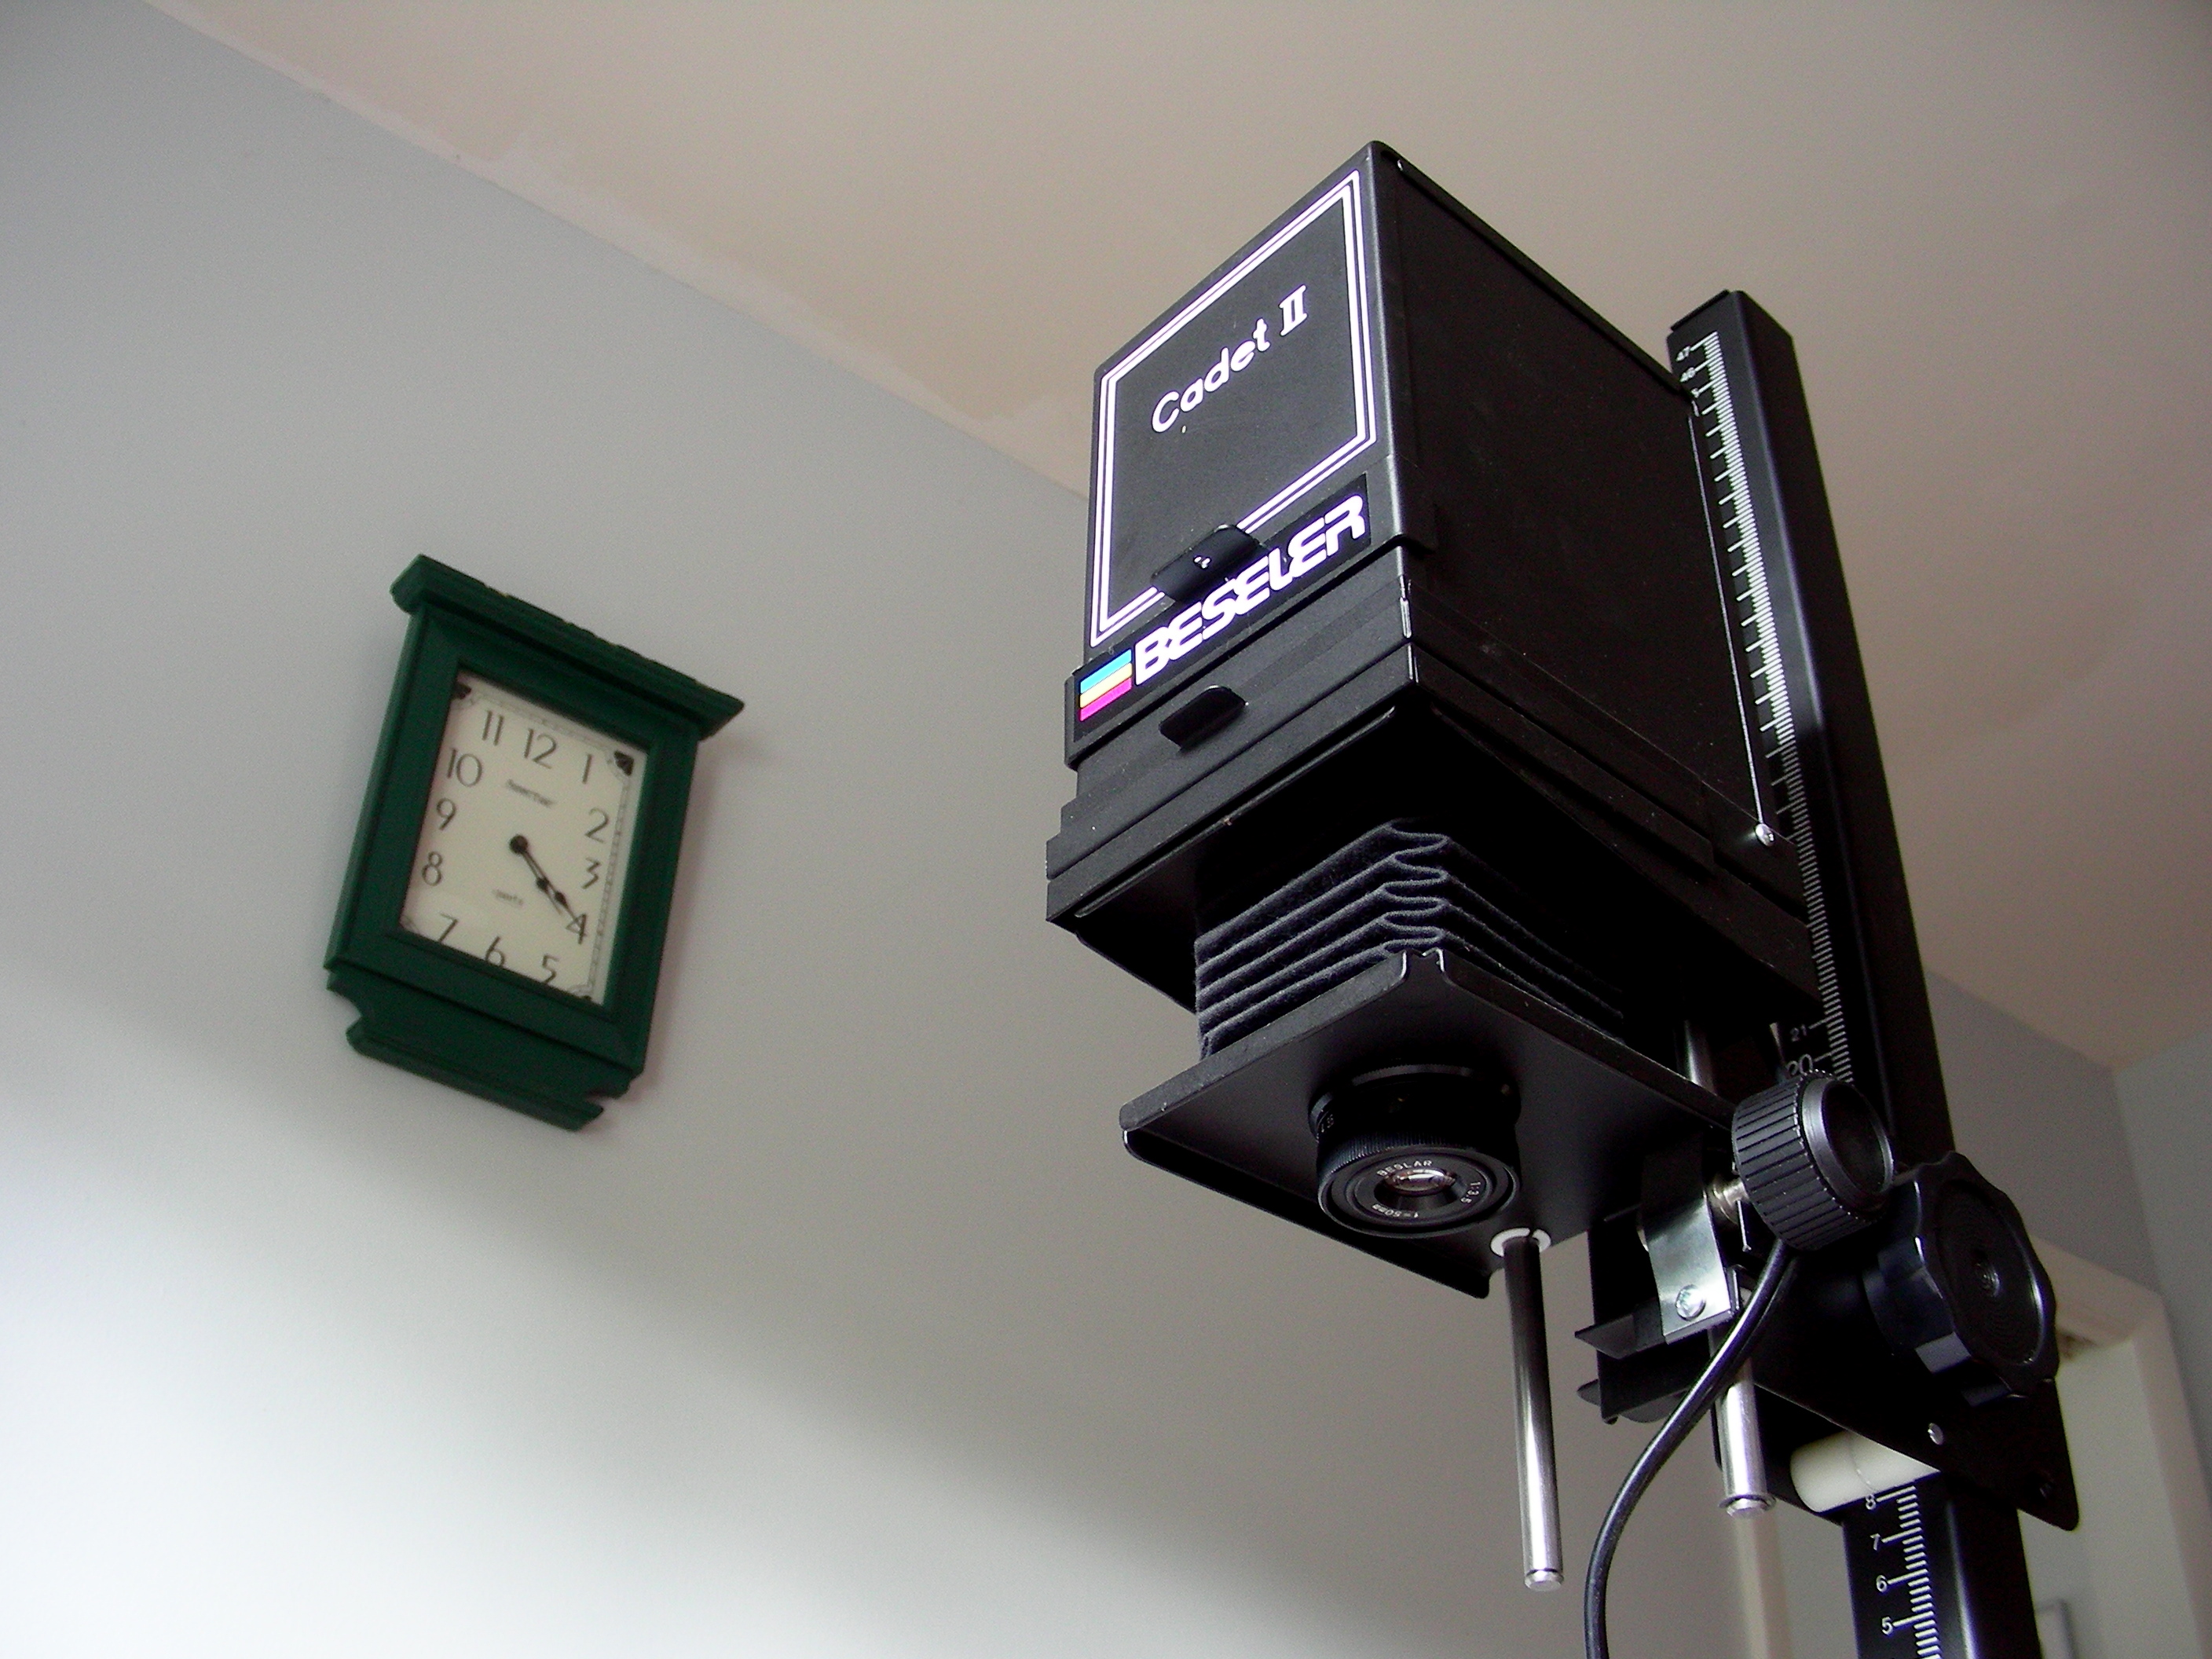
The biggest expense of all will be your enlarger. Before buying, think about maximum negatives sizes and maximum print sizes. If you plan to shoot medium format in the future then you will need an enlarger that supports it. The print size is also important. While you might be wowed at first by beautiful 10×8 inch prints, you may soon find the urge to print bigger.
There are two types of enlarger available. Basic black and white enlargers tend to be the condenser type, while color enlargers are often diffuser. If you don’t plan to print color in the future, then go for the basic condenser enlarger. These can cost from as little as $30 used on eBay up to $300-400 for a higher end new model. You will also need an enlarger lens if it does not already have one.
For developing the prints you need three trays. These need to be a little bigger than the biggest print you can make. It is best if they are different colors, as you should only use one processing chemical type in each one. At a push, if you are on a very tight budget, cat litter trays can make good processing trays. A set of tongs for each tray is also recommended, to avoid contact with the chemicals.
A black and white red safelight is also needed. This can be a dedicated fixture in the darkroom or if you are working in a temporary space you can simply replace the overhead bulb with a safelight bulb. For drying the prints you can use the same location as drying film. Soft plastic clothes pegs can be used to hold the prints to the line.
Sundry Items
Obviously, you need to purchase the chemicals to process film and printing paper. If you are not planning to print often, then buy smaller quantities. Chemicals can go off after time, usually around 6 months. If you plan to do large amounts of processing and printing then it will be cheaper to buy the chemicals in larger quantities. You will need film and paper developer, fixer and stop, the latter two can be used for both film and print processing.
There are many different types of black and white printing paper on the market, but make sure you buy it from a reputable dealer. Very cheap paper may well be old, out of date, stock.
Processing and printing your own black and white films is a great way to enhance your photographic knowledge. With a little planning and some spare space, it does not have to be expensive. Many of the hardware items can be bought secondhand via sites like Craigslist and eBay. Some, such as processing trays and measuring jugs, can be substituted with cheaper household alternatives. The only area where you need to spend the money is making sure you get fresh chemicals and photographic paper.
For More On The Darkroom
- Printing Photographs in the Darkroom – A Photo Teacher has a piece on printing in a darkroom
- How to Make a Darkroom in Your Bathroom – see more from Jason here at Light Stalking on setting up a bathroom darkroom
- Is Darkroom Photography Still Relevant? American Photo Mag asks if we should be still in the darkroom


1 Comment
Here’s my defining moment, to start up a school of black and white. To include; school, lab, studio, gallery, to continue to teach black and white like some of the greats before us. Comments?