This is a guest post by Phil Hill, a travel photographer from the UK based in Australia. You can see more of Phil's great work at his travel photography blog or follow him on Facebook or Twitter.
I was going through my archive the other day, organizing some latest images for my homepage. There were a lot of silhouettes in there, especially ‘blokes on beaches’. Those ‘golden hours’ of the day are not just the best times of the day for the fun of it. When it comes to composition one of the easiest ways to create a strong graphic image is to reduce the subject into a series of shapes. Simplifying all the elements can be much more pleasing to the eye.

During sunrise and sunset it can be most effective where the result is a combination of fantastic light, shapes and colour. It can also be a useful way to utilize harsh mid-day sun, putting the subject between you and the light source.

How to Shoot a Silhouette
Take your exposure from the brightest part of the image – that should be the background – and turn off any automatic flash that could illuminate the subject from the front.
Make sure that the frame remains clutter free. If there is too much going on you will end up with a huge black blob that makes no sense to anyone, success will depend on knowing what the main focus of the image is.
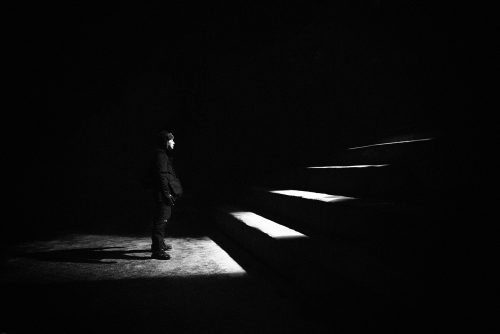
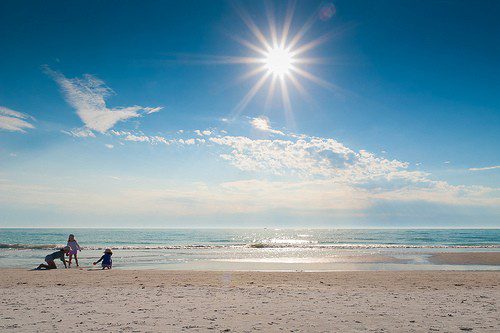
People are an obvious choice to be silhouetted, especially in action. The black outlines of a person are instantly recognizable and can be a powerful portrait image. I have shot quite a few silhouettes on beaches; in most cases the big open space is perfect for framing your subject.

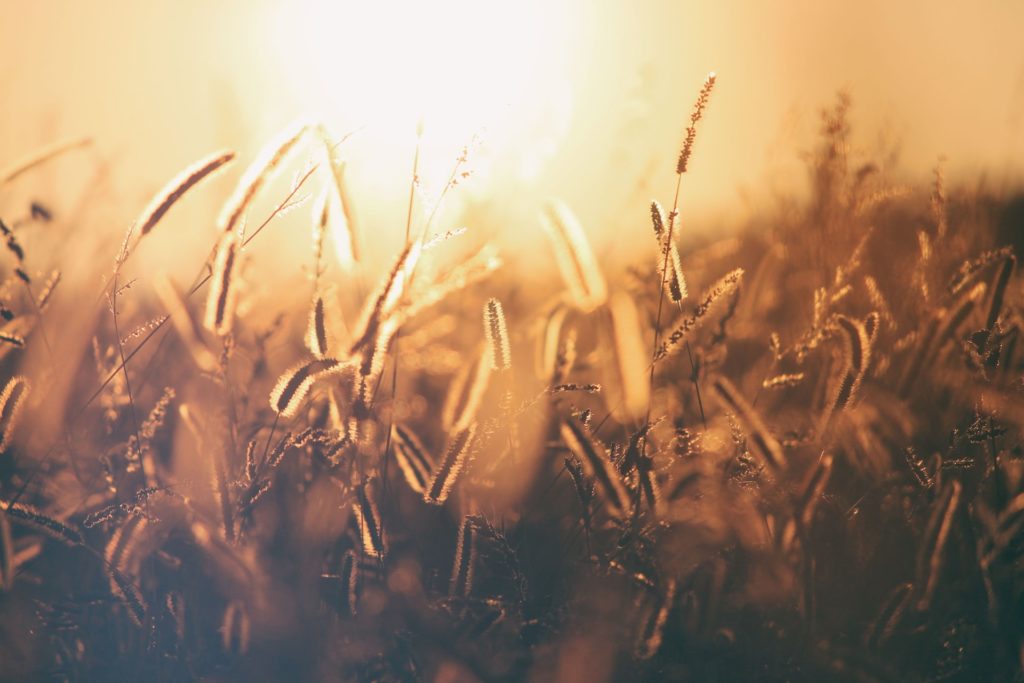
Let the light do the talking. The difference between your average snapper and a pro is how they use light – silhouettes don’t have to be black and white, use that sunset/rise and let the colour dominate the scene.

If you have manual mode, use it. What you are trying to accomplish with this technique is underexposing part of the image, your camera on auto has a nasty habit of wanting to light up the scene as a whole which is not ideal. Manual will give you complete control of the image you are exposing.

Use a tripod. If you are going to be around in the evening and the early morning you may want to reach for your tripod. You will want a small aperture and low ISO which will in turn slow your shutter speed down. Hand holding below 1/60th of a second, in my opinion, will result in noticeable shake.

A bit of detail never hurt anyone. Try experimenting by bracketing the shot to include even the tiniest bits of detail on the subject, it could just make or break the image.
Silhouettes are a great way to shoot pictures forgetting everything about tone, texture and detail – instead purely concentrating on graphic light, shape and composition, and great photography.
Experimenting is probably the most important; find out what works best for you. Time of day, equipment and subject are all factors that can affect the outcome of the image. Have fun with it, then you will get the most out of it.


5 Comments
one of the best articles I’ve read on here in ages, simple and clear, it would help us just learning to give some setting numbers as starting point/guide lines but THANKS anyway!
Great advice! My first artistic silhouette was a shot of my wife and me on an early morning beach in Hawaii.
Very interesting to read and some good advise that I will be trying out very soon..thank !
very simply put, i’ve done and love capturing sun sets (i don’t seam as keen to get up early for the sun rise). but i’ve not included a portrait as part of the composition so i’ll have to give that a go.
Great article. I really like the information and will be experimenting with the concepts.