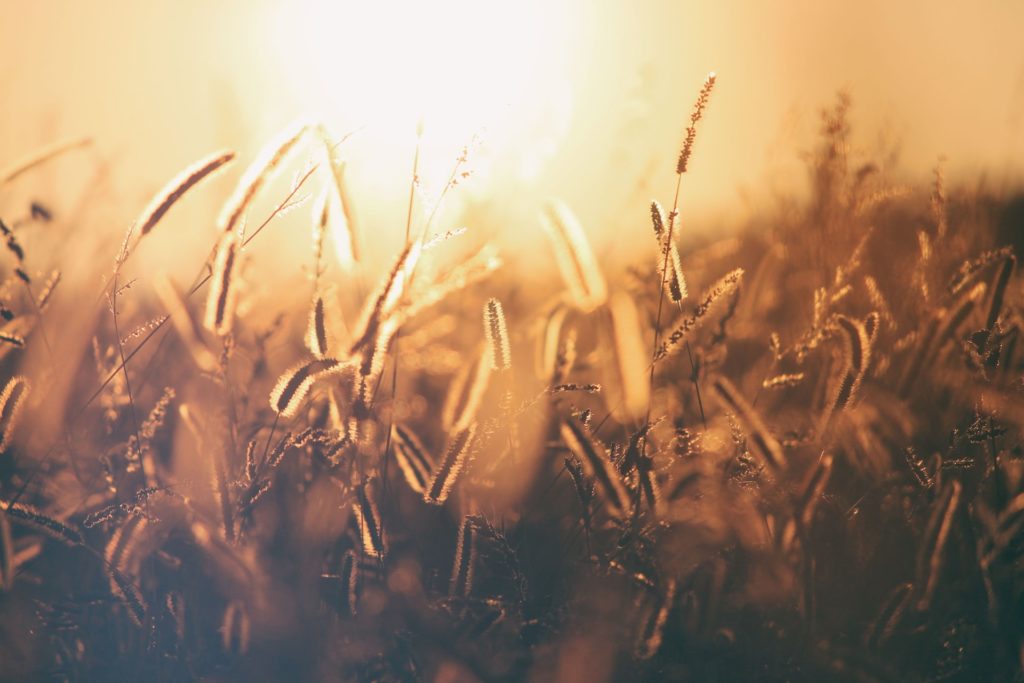
For photographers, the best part about the holiday season is capturing Christmas lights and subjects with Christmas lights as background. It is during this season that you can go for images with beautiful Christmas Bokeh and they are really fun to photograph.
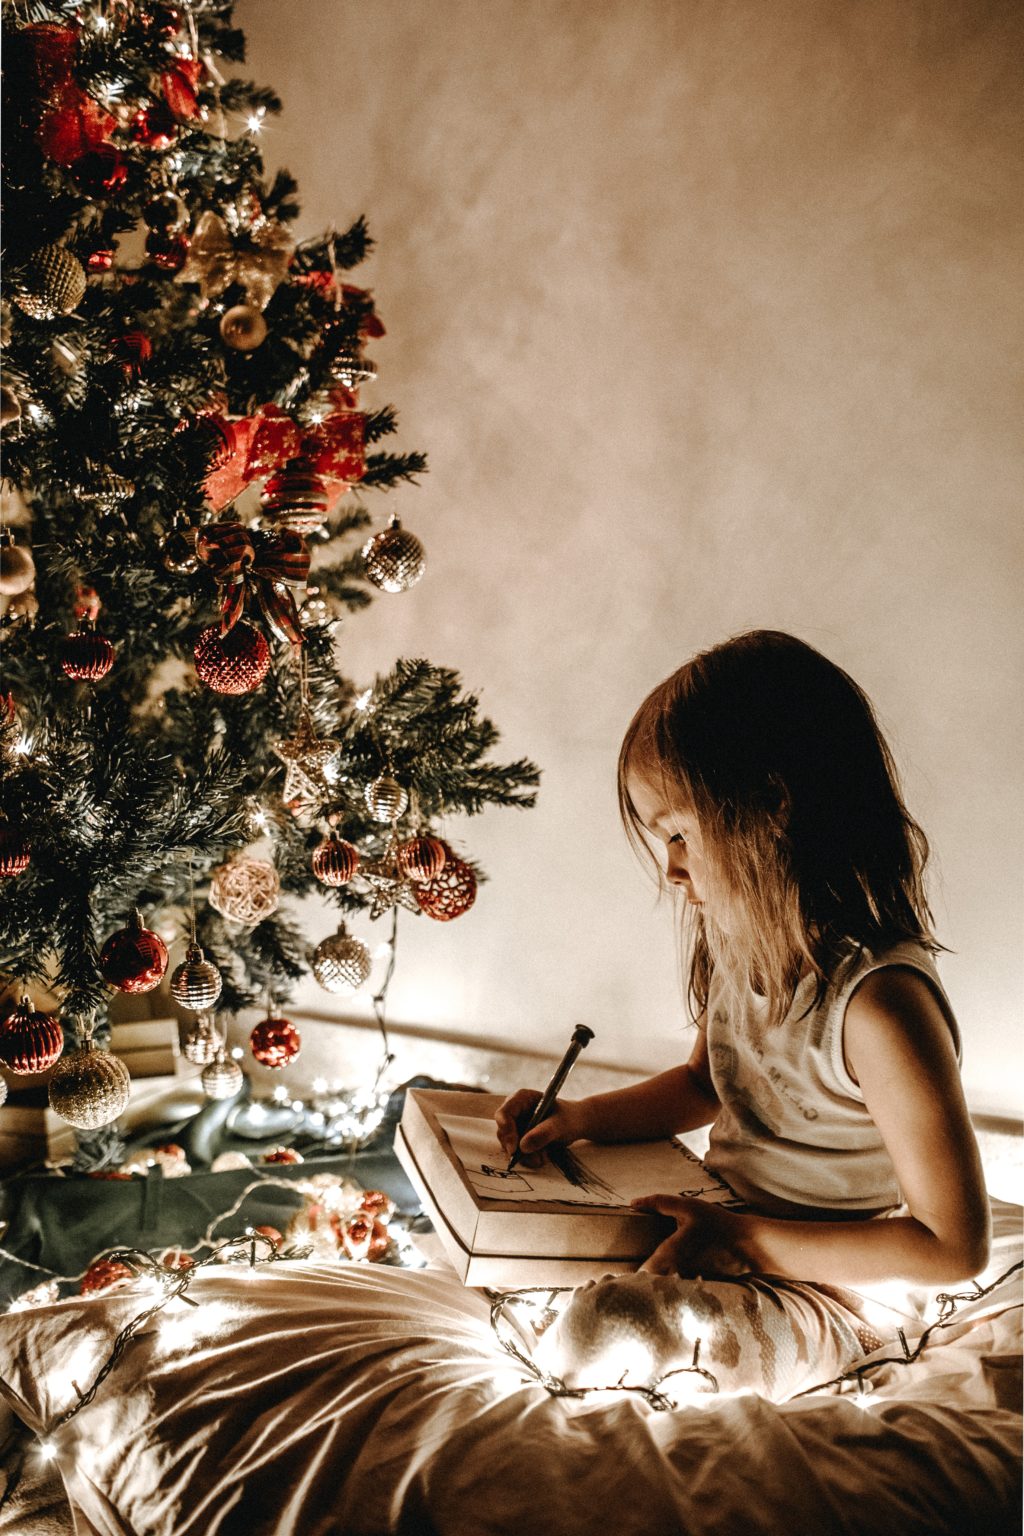
When capturing Christmas light photos it is important to understand the environment. Since the light display from the holiday lights is not as bright as other lights that you would normally use for photography, you will need to use techniques that you would use for low light photography. You will be dealing with high ISO values, so care needs to be taken so that you choose your aperture and shutter speed wisely in order to get sharp images.
Further Reading On Low Light Photography
- The 7 Secrets Of Getting Better Photos In Low Light
- 4 Common Long Exposure Photography Mistakes And How To Avoid Them
- 3 Free E-Books on Low Light Photography
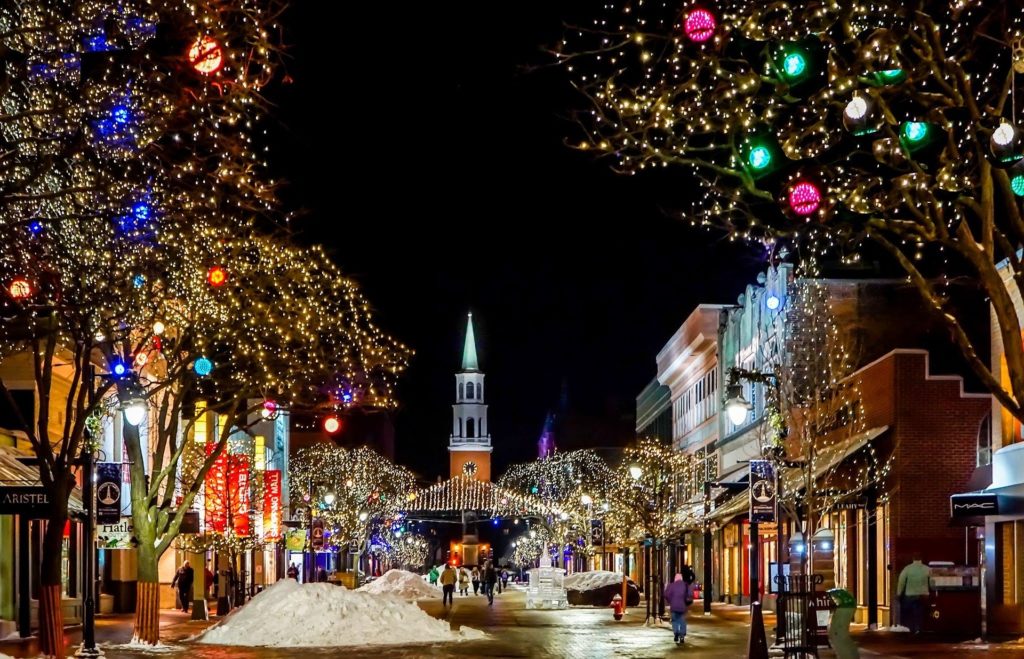
Here are 8 tips for photographing Christmas lights:
1. Plan Your Shoot
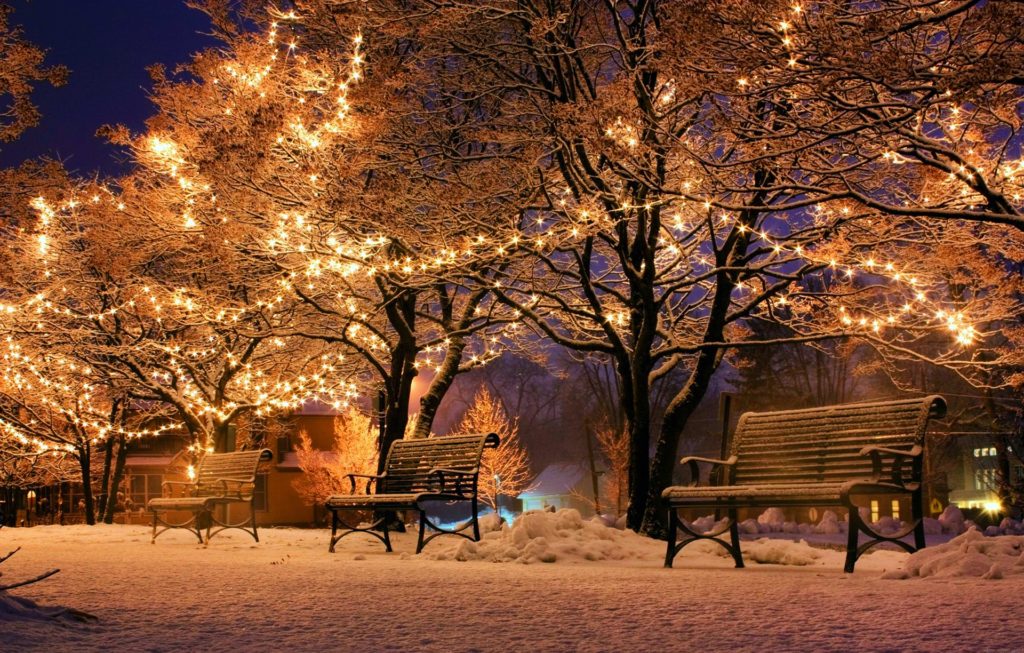
Depending on what you are looking to shoot, you will need to choose the time of the day. For example, Christmas light photography in a fair, you can wait till the sky becomes dark and experiment with long exposure photography. In this case, you will have to use a tripod, so you can shoot at low ISO, to create noise-free images.
Also, if there are movements of light on the scene, you can capture light trails when shooting using a tripod and long exposure techniques.
Further Reading On Long Exposure Photography
- Bite Size Tips: Long Exposure Light Trails
- 6 Quick Tips That Will Have You Capturing Dreamy Long Exposure Photos
- How to Shoot Long Exposure Images
- 4 Common Long Exposure Photography Mistakes And How To Avoid Them:
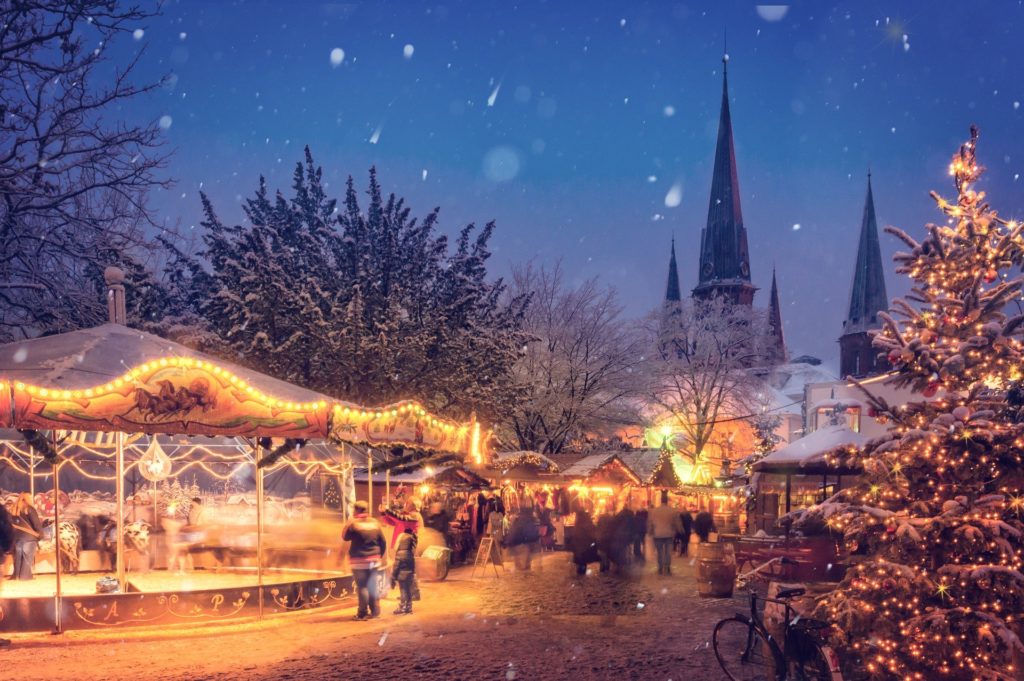
But, if you are planning for holiday light photography on buildings like churches or other structures, the best time would be the blue hour as the ambient light that is still available will help you capture good details of the buildings, structures and help you get some colours in the sky as well. Your photographs will have details and textures, rather than being flat and boring.
Further Reading On Photographing During The Blue Hour
- How to Shoot Stunning Blue Hour Cityscapes
- What Are The Golden And Blue Hours and How Do They Help Photographers?
- Why You Should Be Photographing Your City At Blue Hour
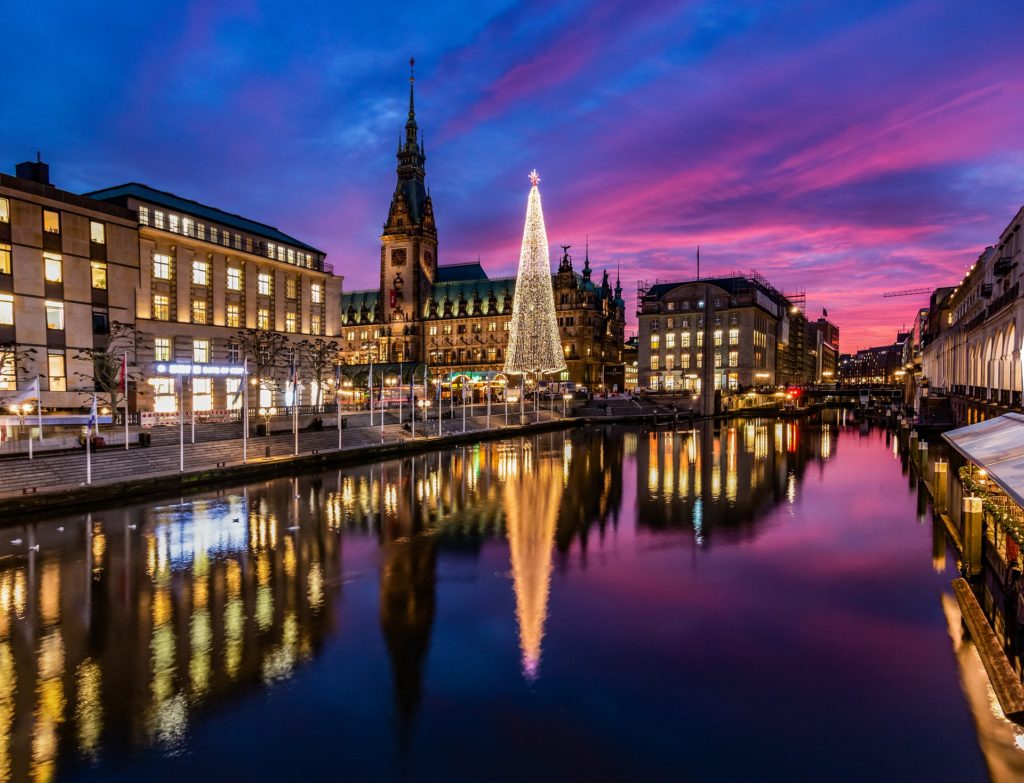
Either way, it is best to use tripods when shooting under very low light conditions, so you can shoot at lower ISO.
Note: The blue hour lasts for a few minutes, so make sure you are ready in your location all set up, so you can shoot away. Also, this is the time when you get some detailed beautiful shots rather than boring photos that look like just holiday lights on a black background.
2. Gear Required To Shoot Christmas Lights
The gear required to shoot Christmas lights is very minimal and you probably have these at hand already. You do not need a high-end camera or an expensive lens for great results.
- Camera that can shoot in manual mode
- A faster lens with wide aperture in the range f/1.2 to f/2.8, most photographers have a 50mm f/1.8 lens which is one of the best for low light photography
- A tripod for long exposure photographs
- A cable release to avoid camera shake due to shutter release. If you do not have one, use the timer delay feature in the camera
3. Camera Settings For Photographing Christmas Lights
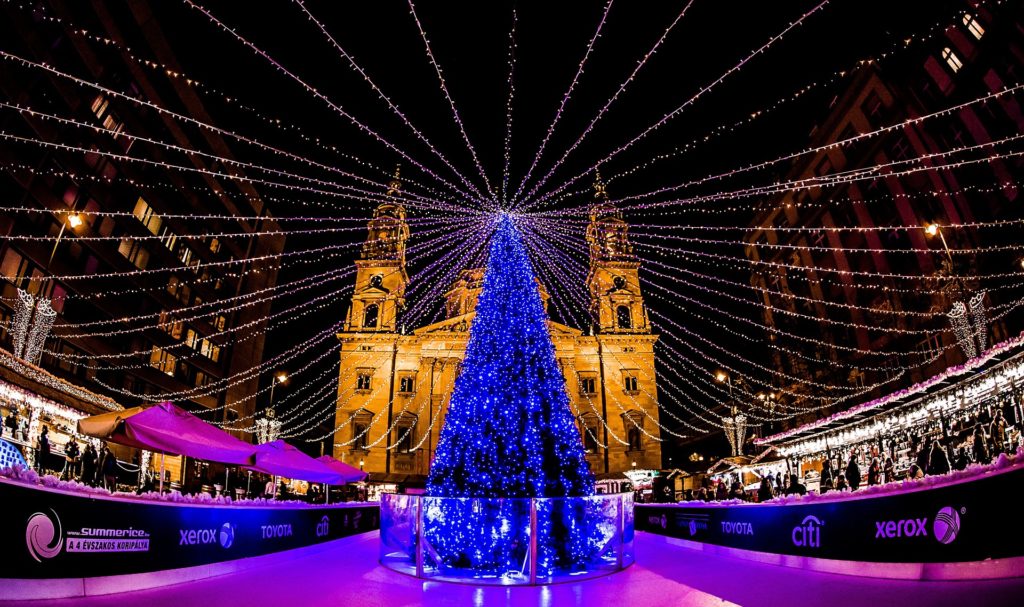
The cities are so lively at night after darkness falls and the holiday lights go on. So, the best time to photograph Christmas Lights as mentioned in the section above is the blue hour or at night. You need to have a good understanding of the exposure triangle to set the camera settings for Christmas lights photography and get the exposure right.
Make sure you keep an eye on your histogram as well, so you do not blow out the highlights or lose details in dark regions of the image.
If you are using a tripod, you need to use exposure settings wisely. Set your desired aperture and select shutter speed depending on what you want to shoot. Aperture priority mode works well if you will be shooting using a wide aperture. For example, for long exposure shots, you may need to have slow shutter speeds from a second to a few seconds. Choose your iso, depending on aperture values and fast or slow shutter speed values, so that you get the exposure right and for excellent final image quality.
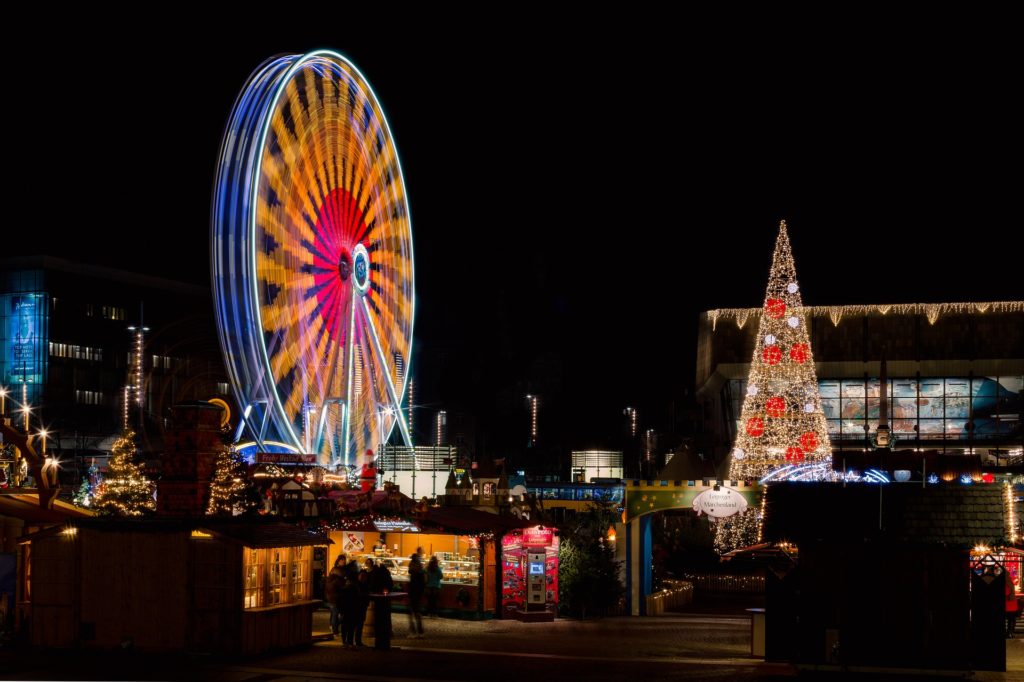
If you are going to be shooting handheld without a tripod, then you may want to choose the widest aperture possible, shutter speed greater than 1/(2 x focal length) or 1/250 of a second if possible, so you avoid any blur due to hand shake. Depending on the aperture and shutter speed values, you will have to choose iso values. For handheld shots, aperture values of f/1.2, f/1.4, f/1.8, f/2 or f/2.8 would be the best, so you can shoot at moderate iso values without having much noise in your images.
If you are going to be shooting portraits with holiday lights as the background, the best lenses would be the 50mm f/1.4 or f/1.8 lens for an APS-C camera and the 85mm f/1.4 or f/1.8 on a full-frame camera. These lenses are fast in focusing and let in more light, so you do not have to increase your iso that much to get decent images and they help with amazing bokeh in the background. If you are struggling with focusing in the dark, make use of manual focus.
Further Reading On Focusing In Low Light
- How To Focus In Low Light For Impressive Blue Hour, Night, And Astrophotography
- How to Shoot in Extreme Low Light Conditions
- Conversations in Light: Focusing in Low Light
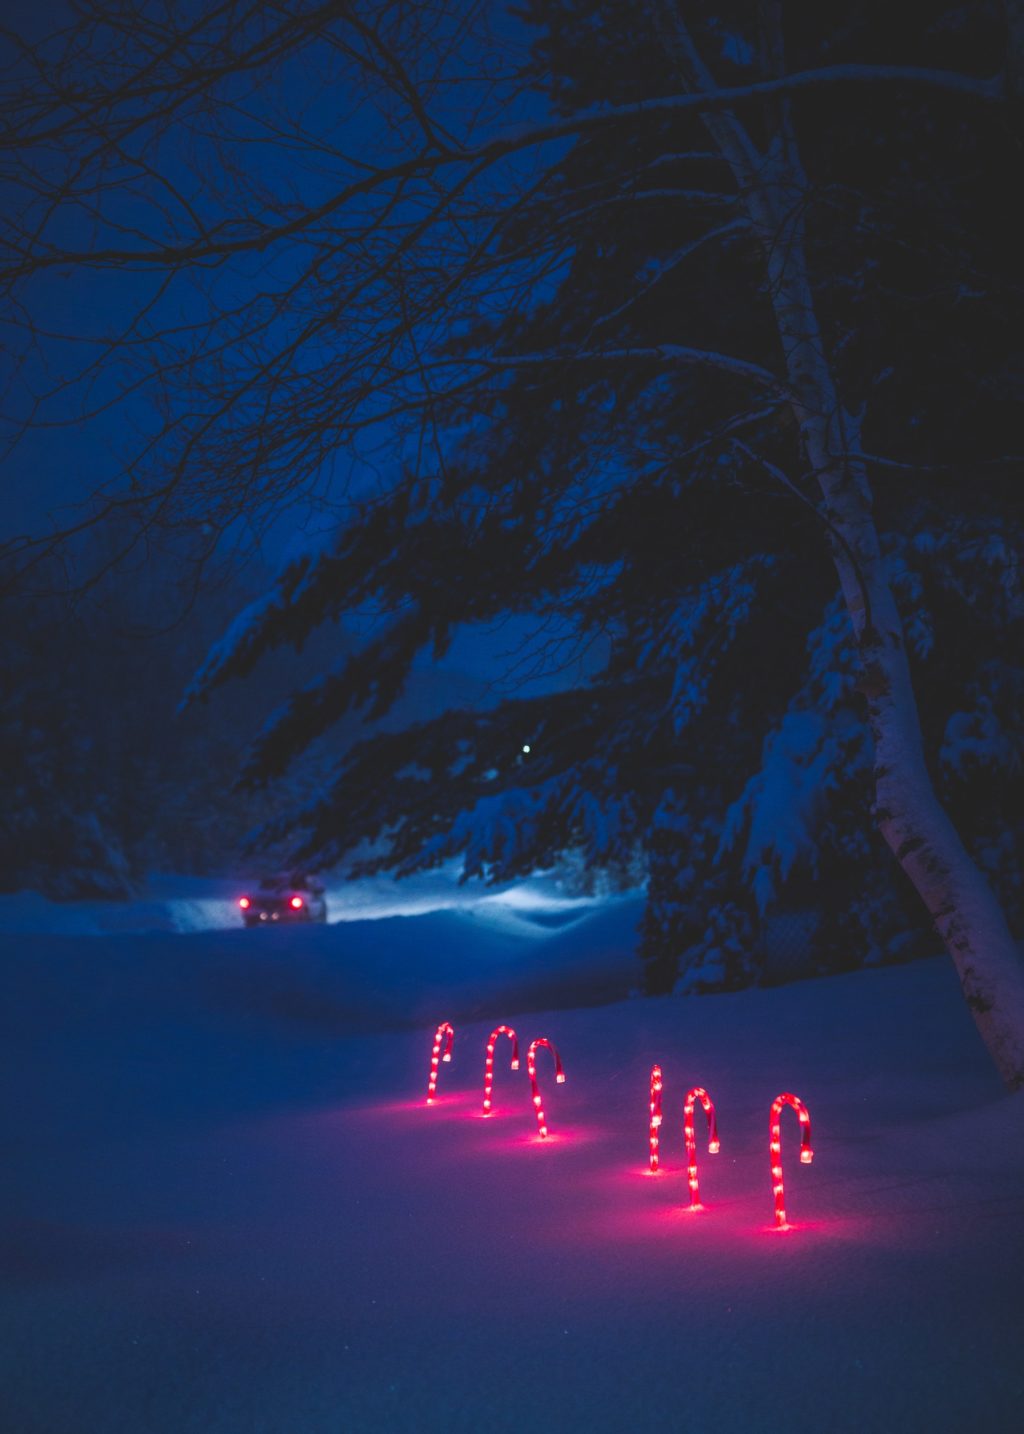
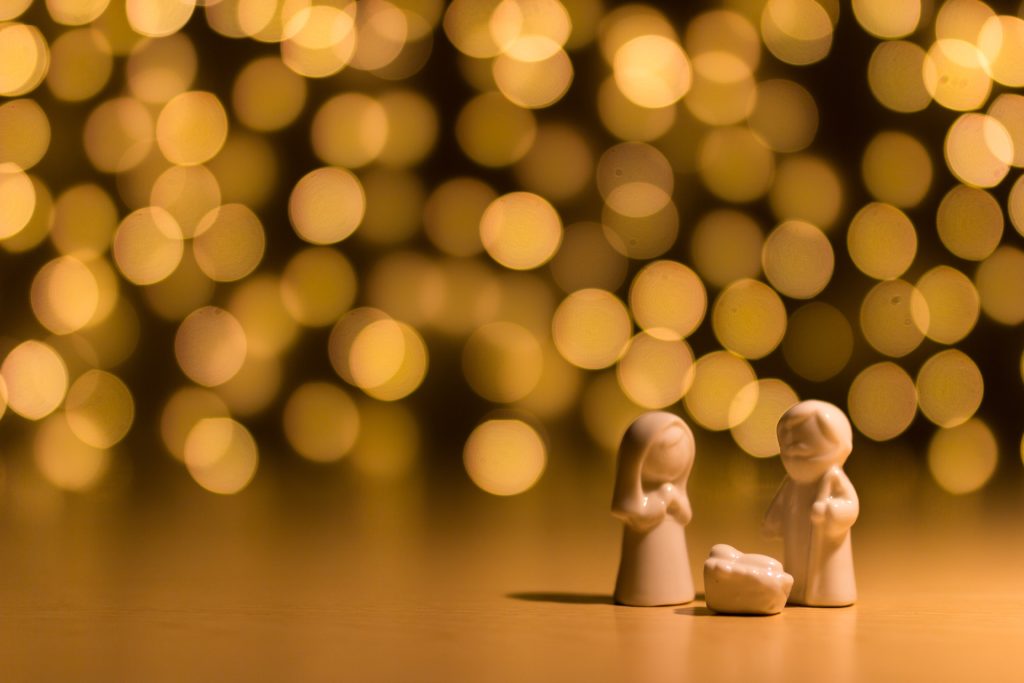
For macro images using Christmas lights, like photographing Christmas figurines or other detailed shots of ornaments and others, you can make use of a macro lens. Since most macro lenses come with aperture values f/2.8, it should let in enough light to shoot using ambient light.
Do not use camera flash for photographing holiday lights as it can make the images look very unnatural and washed out. Make use of the ambient lighting available to illuminate your scene and subjects, and that is what shows the real Christmas mood in your images and helps for dreamy holiday photography.
Note: If you are using a DSLR on a tripod for longer exposures, make sure you use the mirror lock-up feature to avoid the slightest of shake that can cause blur in photographs.
4. White Balance
The best white balance preset to use would be tungsten or incandescent lights. Since Christmas lights are of various colours and the ambient light can vary quite quickly as well, it is best to choose Auto White Balance while shooting and make sure that you shoot raw. This way, if you find any variation in colour temperature in your photographs, you can adjust it while post-processing.
Further Reading On White Balance
- Getting Creative with White Balance
- How to Set Your White Balance Manually
- A Beginner’s Guide to White Balance
5. Experiment With Starbursts
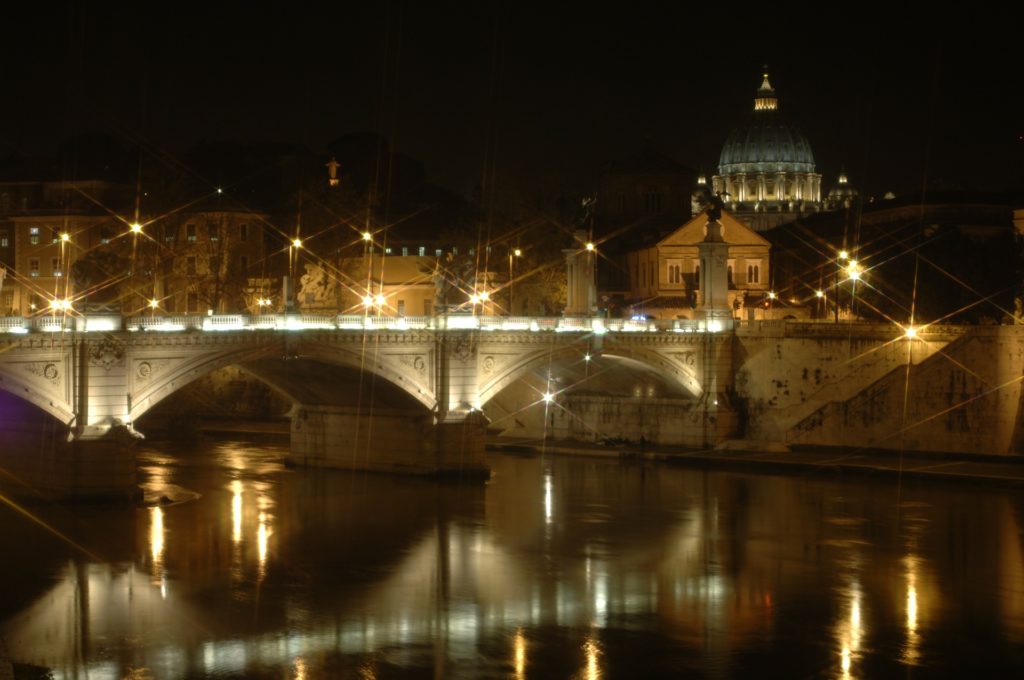
If you are a fan of starbursts, you can narrow down the aperture to around f/16, set up your camera on a tripod and do a long exposure photograph to get the right exposure. This way, depending on the build of the lens, you will get different types of starbursts. If you do not want to use narrow apertures, you can make use of a star filter for your lens, that will help you get the star effects from Christmas Lights.
Starburst photos work well for wide frames that need to be shot using a wide angle lens.
Read here for 2 easy ways to capture brilliant starbursts in your photographs
6. Experiment With Creative Bokeh
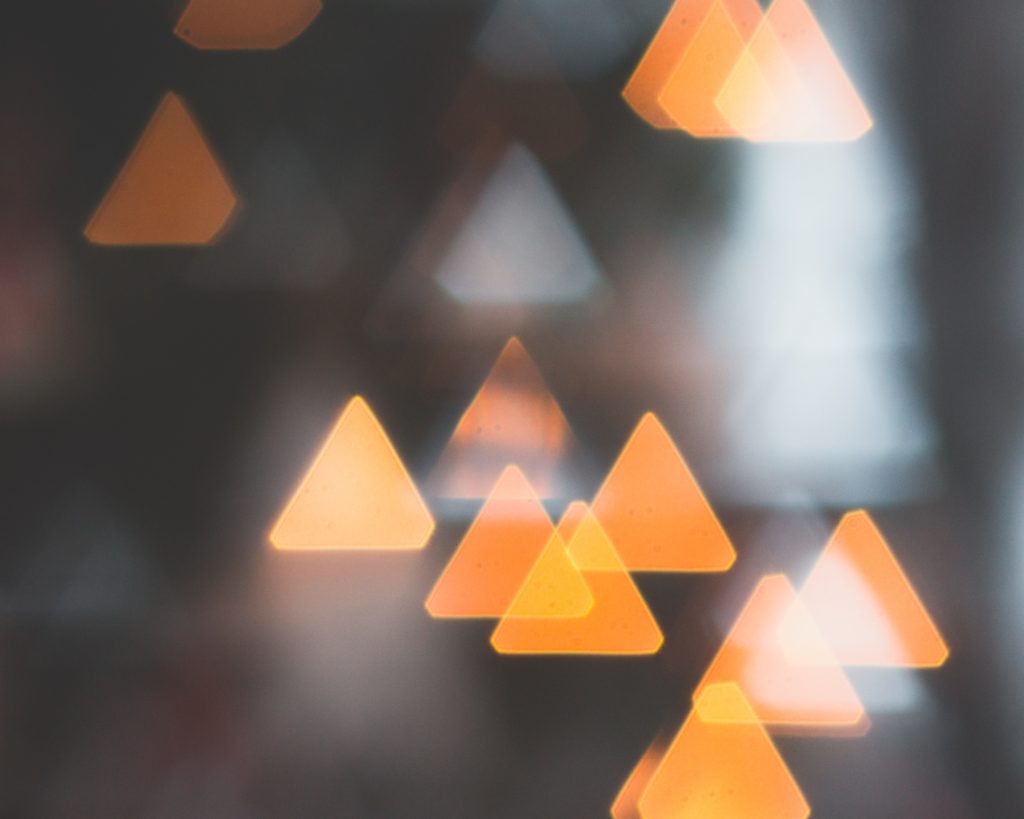
Christmas time is the best time to try creative bokeh images. Apart from the normal bokeh you get out of your lens, you can use a bokeh kit to create different shaped bokeh like heart, Christmas tree, star, snowflakes, etc. If you do not want to invest in a kit, just make one yourself.
Here's A List Of Resources To Get You Started With Bokeh
- How To Use Christmas Bokeh For Creative Holiday Photographs
- How To Achieve Creamy Bokeh
- How To Get A Blurry Background In Your Photos
- The Art And Science Of Bokeh
- 6 Tips For Mastering Bokeh
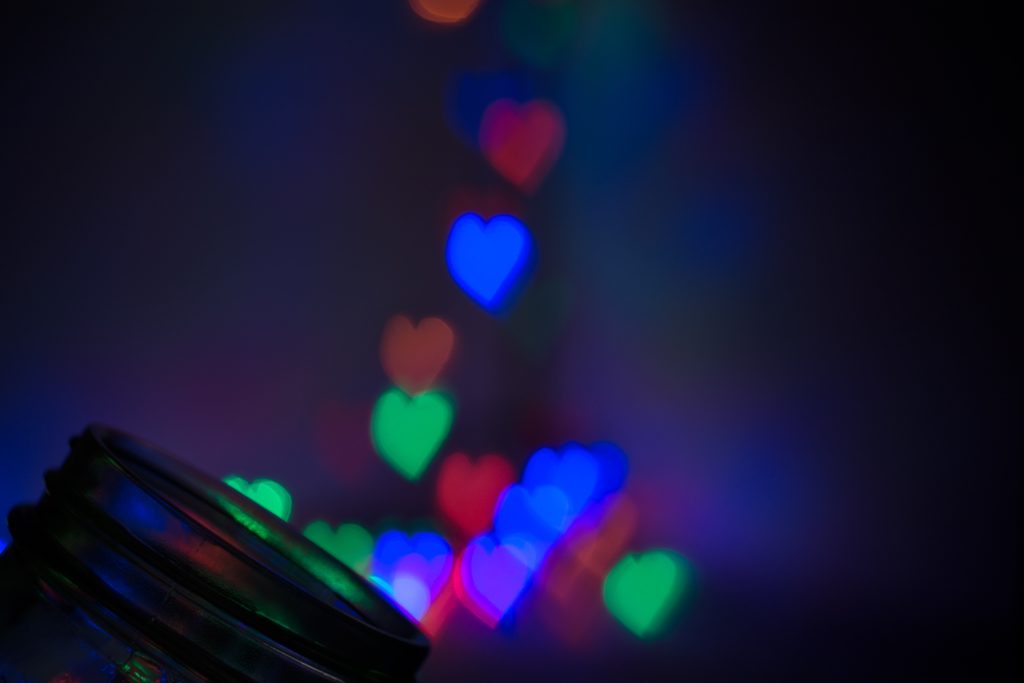
Note: This is what I usually do – take a thick piece of paper and draw an outline of the lens I will be using. I cut out this circle, fold it into half and cut out the shape I need. This way I know that the shape is symmetrical on both sides and this helps with cutting out the shape easily as well.
I then use blue-tack around the rim of the cut out circular paper and stick it to the front of the lens. I have tried this on my 50mm f/1.8G lens and it has given great results.
7. Try Using Lights In The Foreground
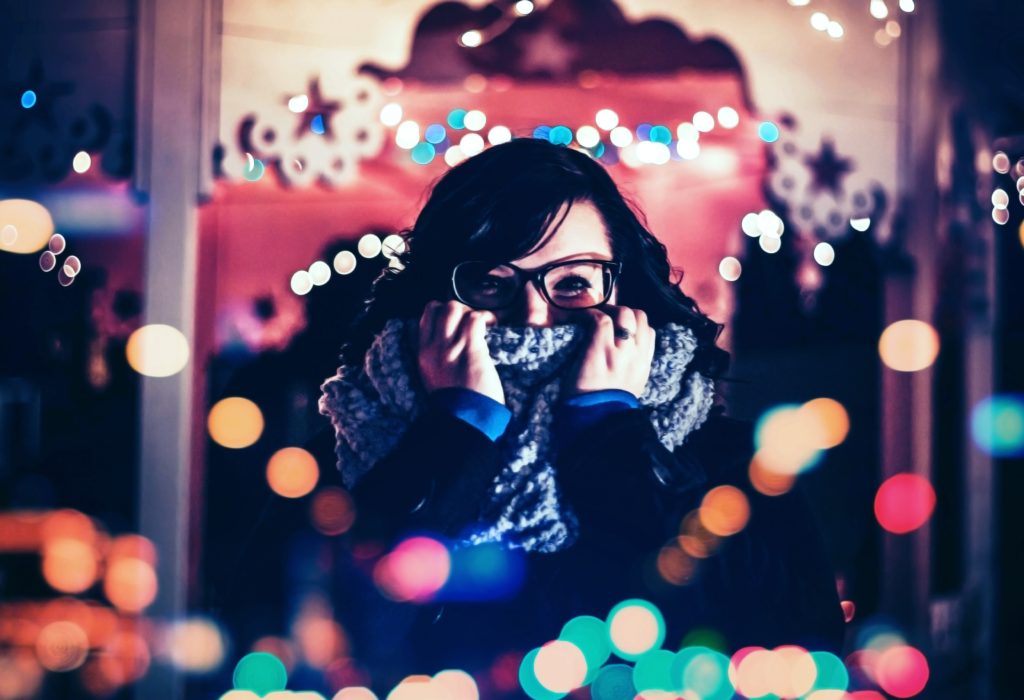
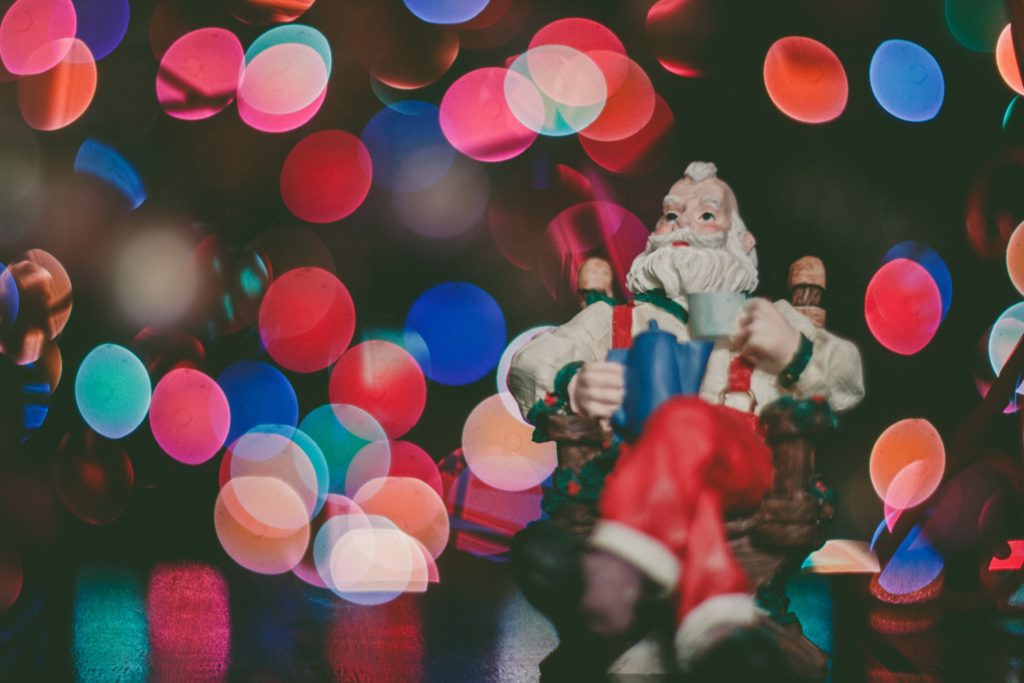
When shooting portraits, you can also include some lights in the foreground to get some interesting foreground bokeh and it also will help illuminate your subject’s face. This could be fairy lights, Christmas tree lights or any Christmas light display. This technique can also be applied when photographing Christmas toys and figurines.
8. Try Zoom Burst Effect
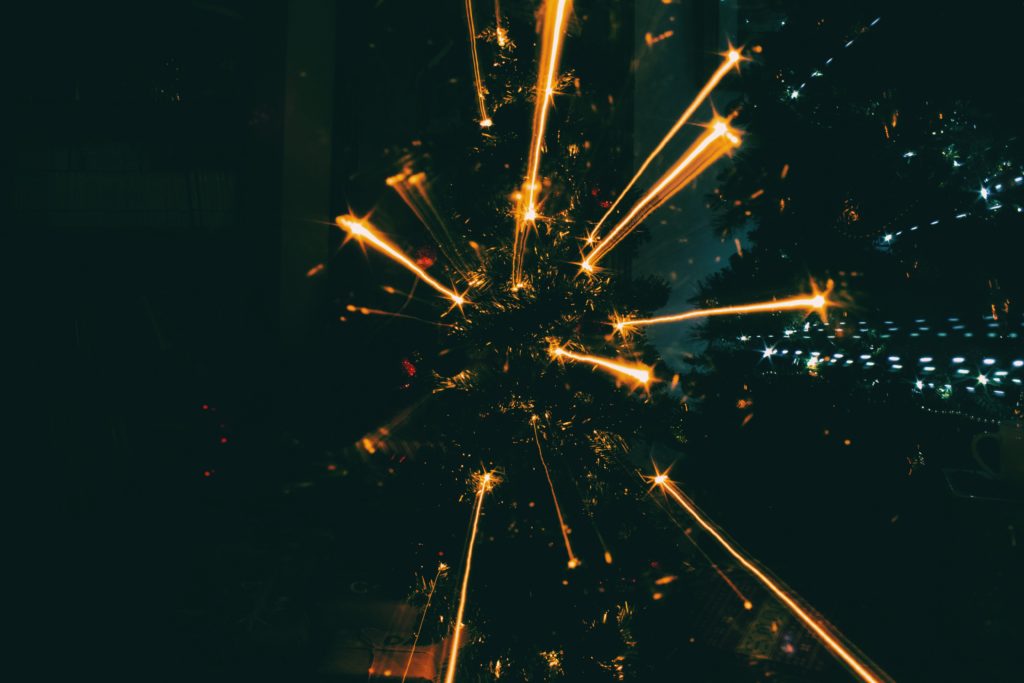
For zoom burst effect, you will need to have your camera on a tripod for best results and you will need to use a zoom lens. This is also a long exposure technique where you put the camera in manual mode, compose the image and you rotate the zoom ring while the shutter is pressed.
A very detailed article on this technique can be found here – the complete guide to zoom burst photography.
Some Things to Keep in Mind for Christmas Lights Photography
- Use the widest aperture possible for amazing bokeh and to shoot at low ISO
- Use narrow apertures for starbursts
- Use a tripod for long exposure shots so you can shoot at low ISO
- Make use of mirror lock-up feature if using a DSLR on a tripod
- Use a cable release to avoid camera shake during shutter release for long exposure images
- Always shoot RAW
- Since the colour temperature for most Christmas scenes are due to incandescent bulbs or tungsten it is better to choose an incandescent white balance preset or tungsten depending, if not, set the white balance to auto and change white balance if required, while post-processing
- Experiment with creative bokeh, starburst or zoom burst effect.
We hope you enjoy capturing Christmas lights during this holiday season and that these tips really help you out. Don't forget to share your images with the community here at Light Stalking.
Further Resources On Photographing Christmas Lights
- How to Photograph Your Christmas Story
- Here’s Why You Should Always Ask a Photographer Before Buying That Thoughtful Christmas Gift
- How to Successfully Photograph Your Christmas Tree
- How to Photograph Your Christmas Dinner for Great Results
Further Learning
If you love all the lights of Christmas, then you should definitely check out The Secrets Of Light Painting Pack. This pack will teach you everything you've ever wanted to know about Light Painting.
You not only get a comprehensive guide that teaches you all the techniques, camera settings and gear that you'll need to capture your creative vision, but you'll also get 18 downloadable cards that you can take with you. Yep, you can stop reading and get out there and just do it – actually this really is the best way to learn.
If you are interested, this pack will teach you everything you need to know about Light Painting to get the images you want.

