Low key lighting evokes feelings of noir, mystery, intimacy, and even sometimes fatalism. These images are obvious from their dramatic shadows and very dark, often black, backgrounds with a dramatic mood, compared to high key lighting that is brightly lit and has an upbeat mood.
Here we are going to look at how to achieve this technique with a low-key lighting setup and the camera settings you'll need.

What Is Low-Key Lighting?
Low-key lighting is dark and moody and embraces the chiaroscuro technique made famous by 17th-century painters including Leonardo da Vinci, Caravaggio, and Rembrandt. Chiaroscuro comes from the Italian “chiaro” meaning clear/light and “oscuro” meaning obscure/dark.
Low-key lighting is also a mainstay of film noir, where the minimal light sources and dark shadows with deep blacks are instantly recognizable. Hence, when you use low key lighting in film noir, it will add drama and cinematic quality to your photos.
A more traditional lighting setup uses a three point lighting setup that has a key light, a fill light and a backlight but a low-key lighting set up uses mainly a key light contrary to the three point lighting. The fill light is only used if required to bring some details in the shadow areas.
Low-key photography uses the above low key light and creates a mysterious atmosphere. The images have striking contrasts achieved by reduced lighting and in this technique, shadows become the primary element of the composition and hence create a dramatic effect. The subject's shape, form, etc., are accentuated using shadows and dark tones.
Note: A low key lighting setup has a higher lighting ratio (high contrast) like for example 8:1 which refers to the comparison of key light to fill light.
Today, we'd love to talk about how to set up your low key lighting and give you some tips about exposure to create a dramatic effect or to achieve this beautiful noir look.
Why someone should pursue low-key images in the first place?
It is true that engineers have put a lot of effort into cameras, but sometimes perfection isn't what we as creatives are pursuing. Low-key photographs are full of drama and eeriness, and that is something you could be needing in order to transmit a specific message with your photographs.
Every time you do low-key photographs, you should have a concept in mind that backs up your decision. If you are doing it in a random way, it will look odd and strange.

Low-Key Photography – How To Do It
The truth is that low key lighting is easy enough to learn when you have the right tips, so let's jump in. Ideally, low-key is achieved when a large amount of the image area is covered with dark tones, shadows, and totally black areas. This is contrasted with usually one light source illuminating your subject.

First Up – Low Key Lighting Setup
Ok, so you don't need too much in the way of a fancy studio set up to capture successful low key lighting photography or to achieve the low key lighting effect.
Inside Low Key Lighting Setup
So for inside shots,
- Start by ensuring you have a very dark or black background, a large wrinkle free backdrop or even a windowless room is what you are after to achieve the low light style. Have a reflector in hand in case you need a fill light.
- Make sure you position your subject a bit away from the backdrop so that light doesn't hit this background – to get that solid black or dark background you don't want any light to illuminate it. Simply put, the further the background is the less light it will receive.
- If you are starting out in low key photography, you’ll probably be best off recreating Rembrandt style of light, since it usually requires only one light source. Start with one artificial light source and learn to control this – you can always move to additional light sources or reflectors for fill light, once you are confident with your low-key lighting capability, but remember that you are going for low key and not high key images.
- Use your one light source off to one side. This can be a flash (although you don't want this to be too harsh or you'll blow out your subject) or it can even be a light emanating from a door opening from your totally dark room to a well-lit room beyond.
Low-Key Lighting Outside
Of course, low key lighting isn't just for inside with artificial lighting techniques. Beautiful outside low key shots definitely evoke mystery and potentially pessimism and fatalism. Think of the amazing images that you've seen where a subject is barely lit by a neon light on a rainy night.
Other places where you can get very dark backgrounds and softened light are places like basements, tunnels, car parks, doorways – this is where your creativity and imagination comes to the fore. Just remember that you are looking for a very dark background, with a focused but soft light source.
Getting Low-Key Exposure Right
The proper way to underexpose a frame is by using manual mode, and metering light beneath 0 (something near -1.50 stops will work just fine). After doing them, you'll see if you managed to create a close version simply by using the camera, or there was some need of post-production.
Metering light down may sound odd since exposure should be at the center right? But don't worry, that's the beautiful thing about manual exposure. Since you are the author behind your camera, you can tell the camera how you want things to be made. So, imagine that you have these particular settings:
f/5.6
1/60
ISO 100
and you are getting a correct exposure right at the very middle of the meter.
-3 -2 -1 0 1 2 3
Now, getting all the way down to -2 can be achieved by setting your aperture -1 stop of light and the shutter speed another stop down simply by doing this:
f/8
1/125
ISO 100
-3 -2 -1 0 1 2 3
There are virtually endless exposure combinations, try using them until you reach that sweet spot of beautiful darkness in which the image looks pretty dark, yet dramatic and nice.
Every time you try to get completely away from the center of your exposure meter, it should be for a reason. Make your images look like they were meant to be that way, and not some odd happening.
Low-Key Post Processing
TIP: Post-production is a very important stage of the photographer's workflow, so don't feel bad if you find in the need of using it to achieve what you want.
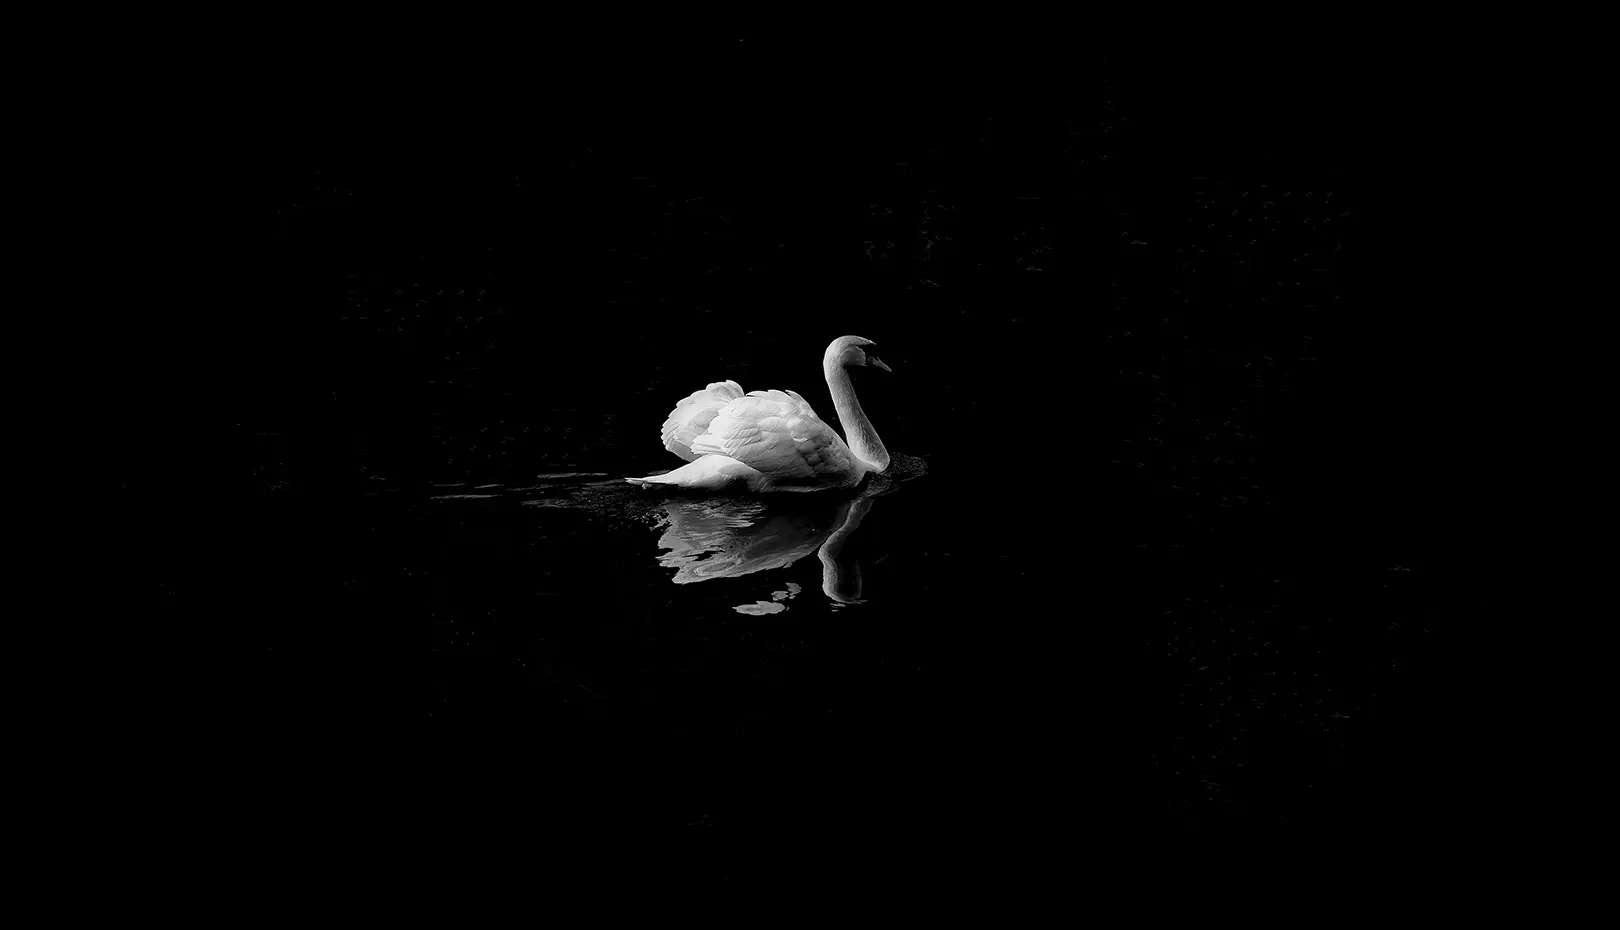
You'll find a lot of black and white images also, and that is pretty normal because monochrome helps to reduce distractions from a photograph. And remember, low-key is sort of a minimal approach in photography.
A good low-key photograph doesn't need to have pure white in them, however, the inclusion of bright tones will enhance the drama and contrast. That way you'll achieve a very moody photograph.

Post-production is normally used to enhance the low-key effect by decreasing the brightness of some mid tones. But don't push things way too far or you'll end up with an oddly looking photograph.
TIP: Try to not underexpose your photographs too much on camera since digital cameras have a harder time recovering information from blacks and shadows.
Final Thoughts
Experimenting with low key lighting is a great way to boost your creativity. Please share with us your results from this challenge at the “general photo chit chat“, or at the Tank if you are feeling adventurous.
Check out below for more low key and high key lighting and photography respurces.


2 Comments
Great article Federico, really inspiring and informative.
Thanks for the fine article. What do you think of using a highlight metering mode for low key shots. I just got a Sony a7iii, first camera I’ve had with that feature.