Capturing a photograph essentially means making an exposure on your camera’s image sensor. When you press the shutter button, the image sensor inside your camera records the light falling on it and captures the shot. There are different kinds of cameras out there – DSLR, mirrorless, film, or the camera in your mobile phone, for that matter. While they may differ in the technology they use, the principles of image-capturing remain the same.
There are a few considerations that play a crucial role in determining the appearance and exposure of an image. Exposure triangle – the triad of Aperture, Shutter Speed and ISO – is among the first few technical concepts you must master when you start taking your photography seriously and want to achieve photographs that you desire. This post takes a look at the reasons why having an understanding of the exposure triangle can help you grow as a photographer.
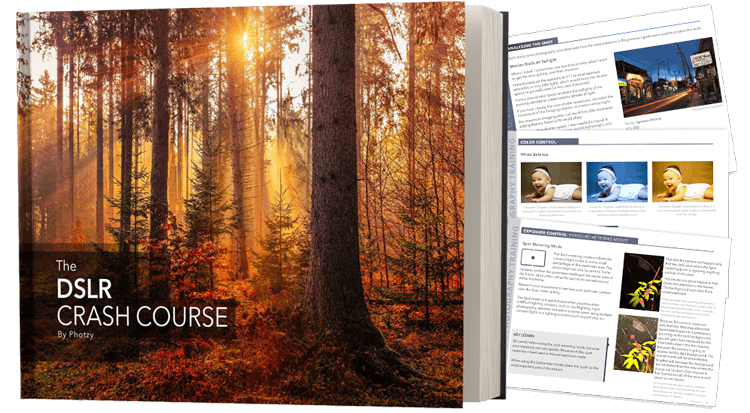
If you've recently purchased a DSLR camera or if you've had one for some time now but haven't quite figured out how to make the best of it and create the kind of photos you wanted, check out the DSLR Crash Course eBook.
The Exposure Triangle
The three core settings of aperture, shutter speed and ISO constitute the exposure triangle. The illustration below shows the different ways in which an image is affected when you change any of those settings.
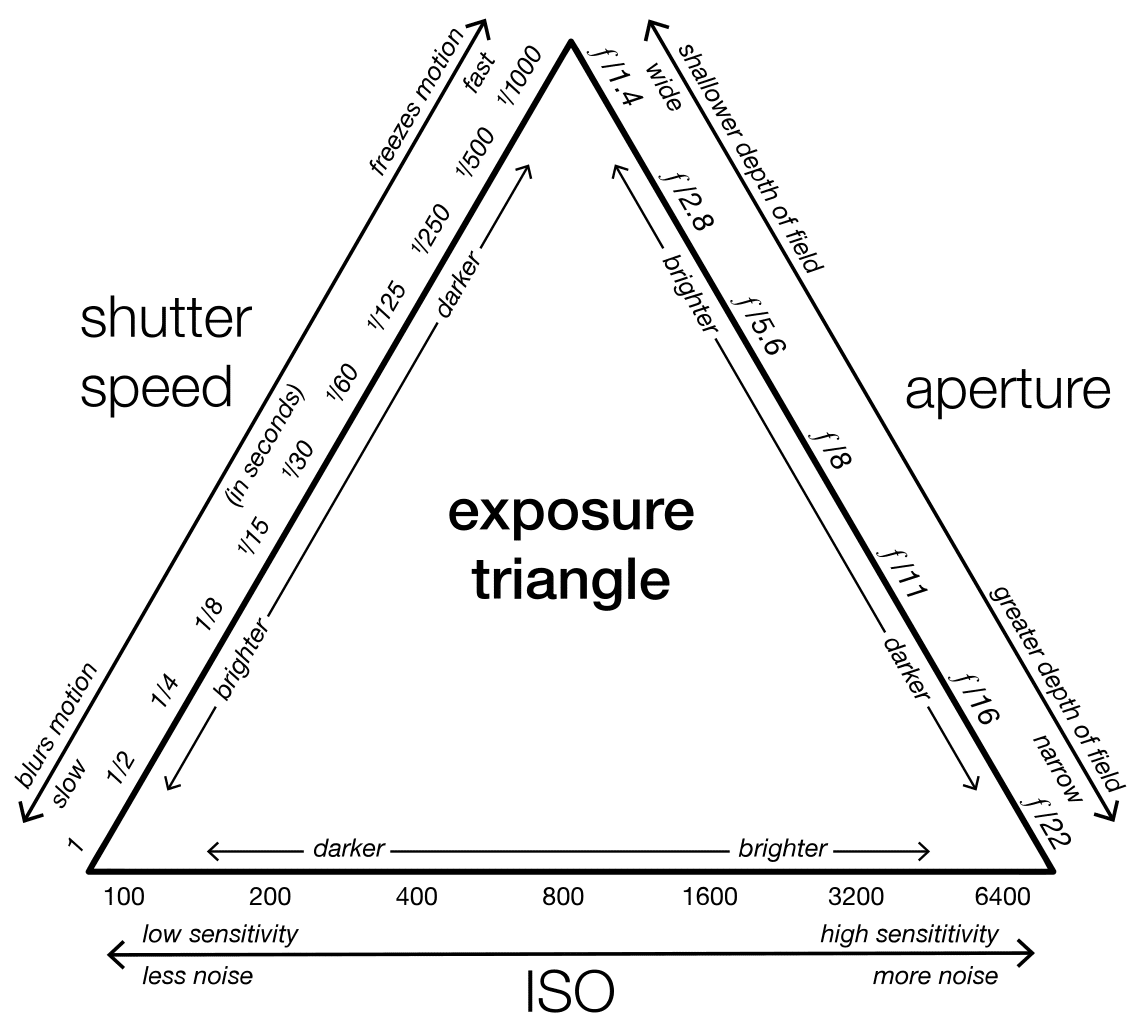
Aperture refers to the opening inside the lens that controls how much light enters the lens and reaches the image sensor. A larger opening (which corresponds to a smaller f-number, like f/1.4) allows in more light in comparison to a smaller opening (higher f-number, like f/16), which allows in less light.
Shutter Speed is the amount of time the image sensor remains exposed to light in order to capture a photograph. A shutter speed of 1/30 seconds captures light for a longer duration when compared to a shutter speed of 1/250 seconds.
ISO refers to the sensitivity of the image sensor to light. A higher ISO makes the image sensor more sensitive to light, and vice versa.
When you half press the shutter button on your camera, the camera meters the scene and identifies a combination of these settings to get a ‘normal' exposure. Depending on whether you are shooting in auto mode or manual mode, you have the option to choose different settings according to your requirements. To learn more about this, check out the article on the rule of equivalent exposure.
Changing any of the three settings affects the amount of light captured in the photograph and this change in brightness is measured in ‘stops'- where one stop refers to a halving or doubling of light intensity. The most commonly available values for aperture, shutter speed and ISO are listed below. Note that each value differs from the adjacent value by one stop (a reduction of one stop for each value you move towards the right).
Aperture: f/1, f/1.4, f/2, f/2.8, f/4, f/5.6, f/8, f/11, f/16, f/22, f/32
Shutter speed (in seconds): 1, 1/2, 1/4, 1/8, 1/15, 1/30, 1/60, 1/125, 1/250, 1/500, 1/1000
ISO: 6400, 3200, 1600, 800, 400, 200, 100, 50
Now let's take a look at how knowing the exposure triangle allows you more control in different photography situations, when you have a camera that lets you manually change these settings.
1. Getting the desired exposure in tricky lighting situations
When your photograph turns out overexposed or underexposed, you have various options to correct it. For overexposed images, you need to reduce the amount of light captured, and it can be accomplished by either stopping down the aperture, using a faster shutter speed, or reducing the ISO. You can also use more than one of the above, if needed. For underexposed images, it becomes the opposite- opening the aperture, using a slower shutter speed, or increasing the ISO.
2. Working with less light
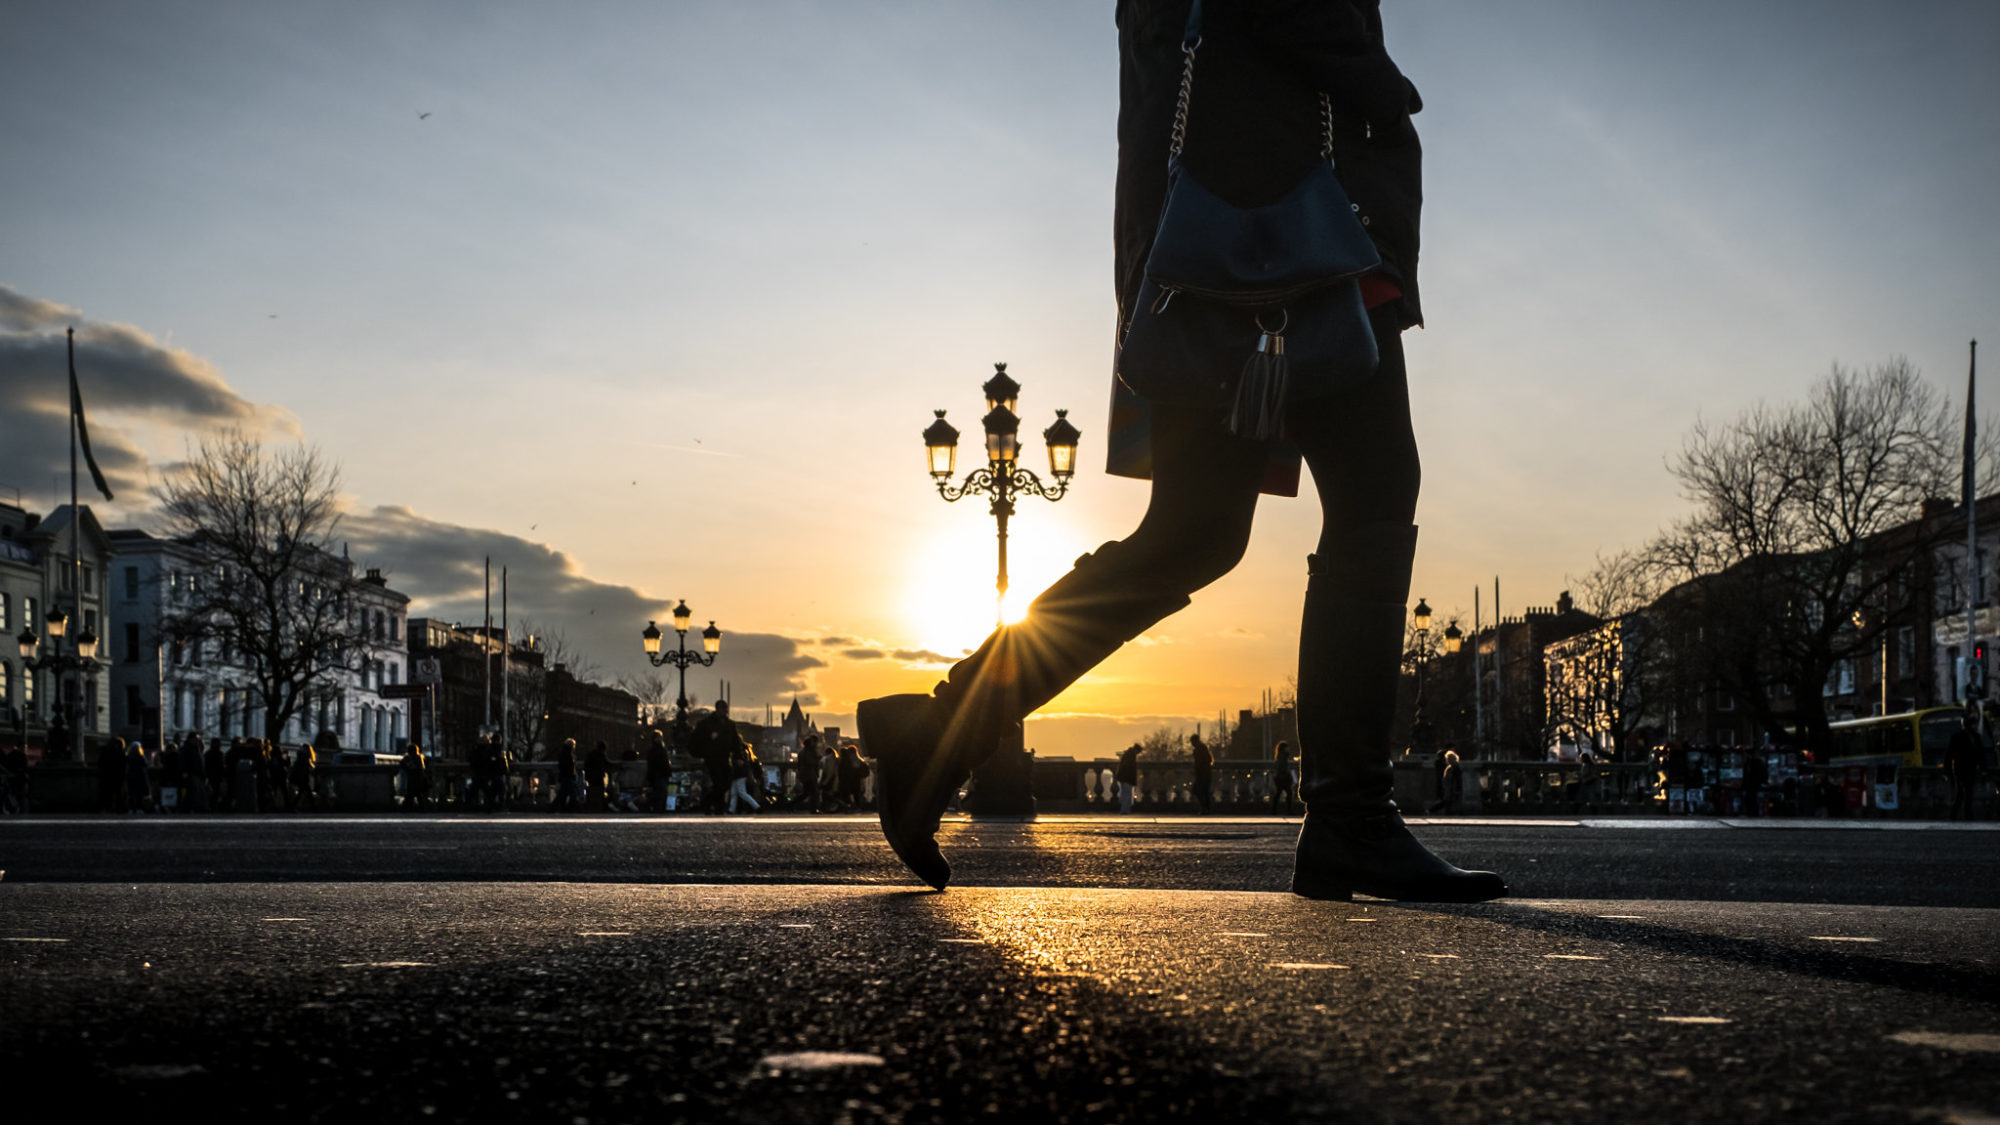
When the available light is low, you can get the desired exposure as described in the earlier point (for underexposure). Using a slower shutter speed lets in more light, but might result in camera shake if photographing handheld, so you might need to stick with a faster shutter speed but you can use a wider aperture and/or use a higher ISO.
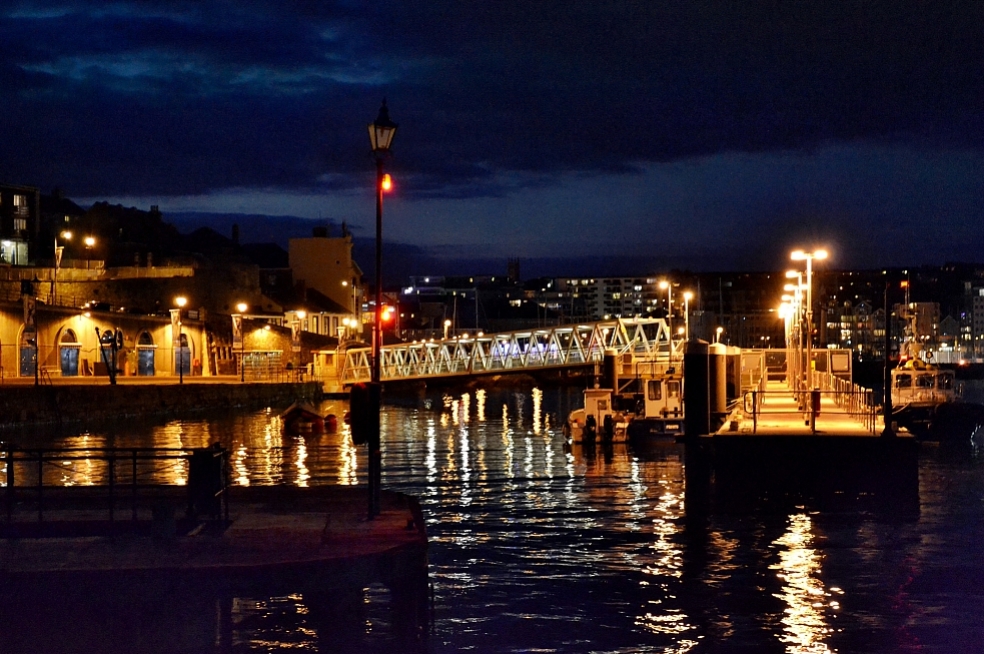
As a rule of thumb, when photographing handheld, use a shutter speed that's faster than 1/Focal Length to avoid motion blur from camera shake. For example, when shooting at 100mm, using a shutter speed of 1/100s or faster can help avoid blur from camera shake. Any form of image stabilization in the camera allows you to use a slower shutter speed though, by a stop or two, depending on the make and model of the camera.
3. Achieving the desired depth of field and sharpness
A lot of times, we look to isolate the subject in our photograph and render the background blurry. This can be accomplished by using a wide aperture to get a shallow depth of field (the region of acceptable focus and sharpness in an image). This works great for photographing portraits, whereas for landscapes where you'd want to get a wide depth of field to get the whole of the scene in focus, you would be using a narrow aperture.
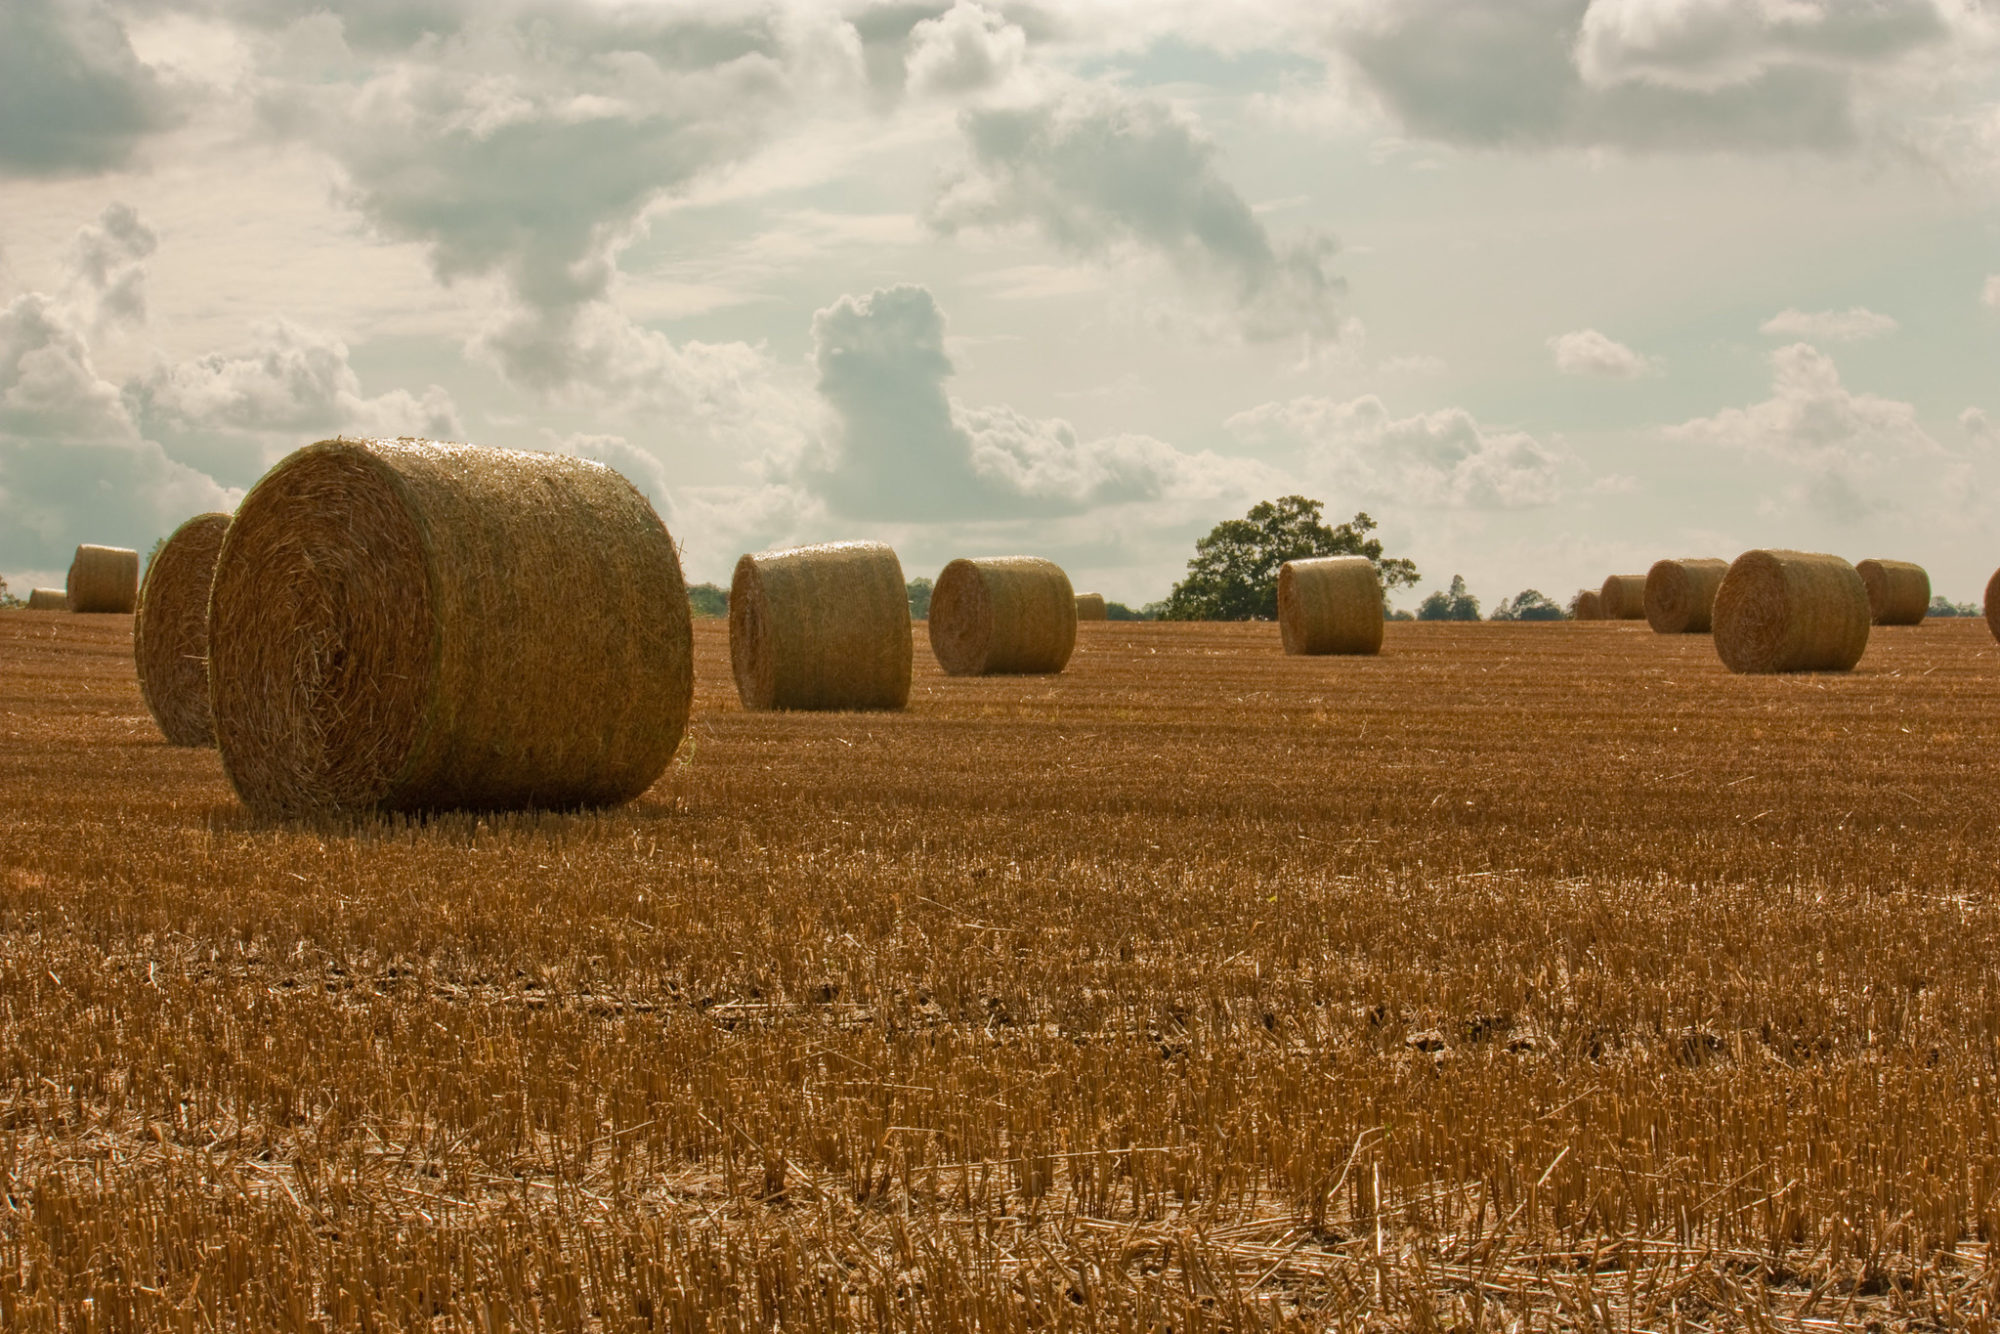
It's important to remember that depth of field is affected not just by aperture, but also by the focal length at which you're photographing and the subject's distance from the camera.
4. Controlling how motion is captured in your image
When you capture a photograph, every movement within the frame for the duration of the shutter speed is also captured. At fast shutter speeds, any subject movement is frozen as the duration can be too short to capture any apparent motion. However, when you use a slow shutter speed, the camera gets enough time to record the motion. Photos of silky smooth water, light streaks of traffic on a road, or a light painting, are all examples of utilizing slow shutter speed.
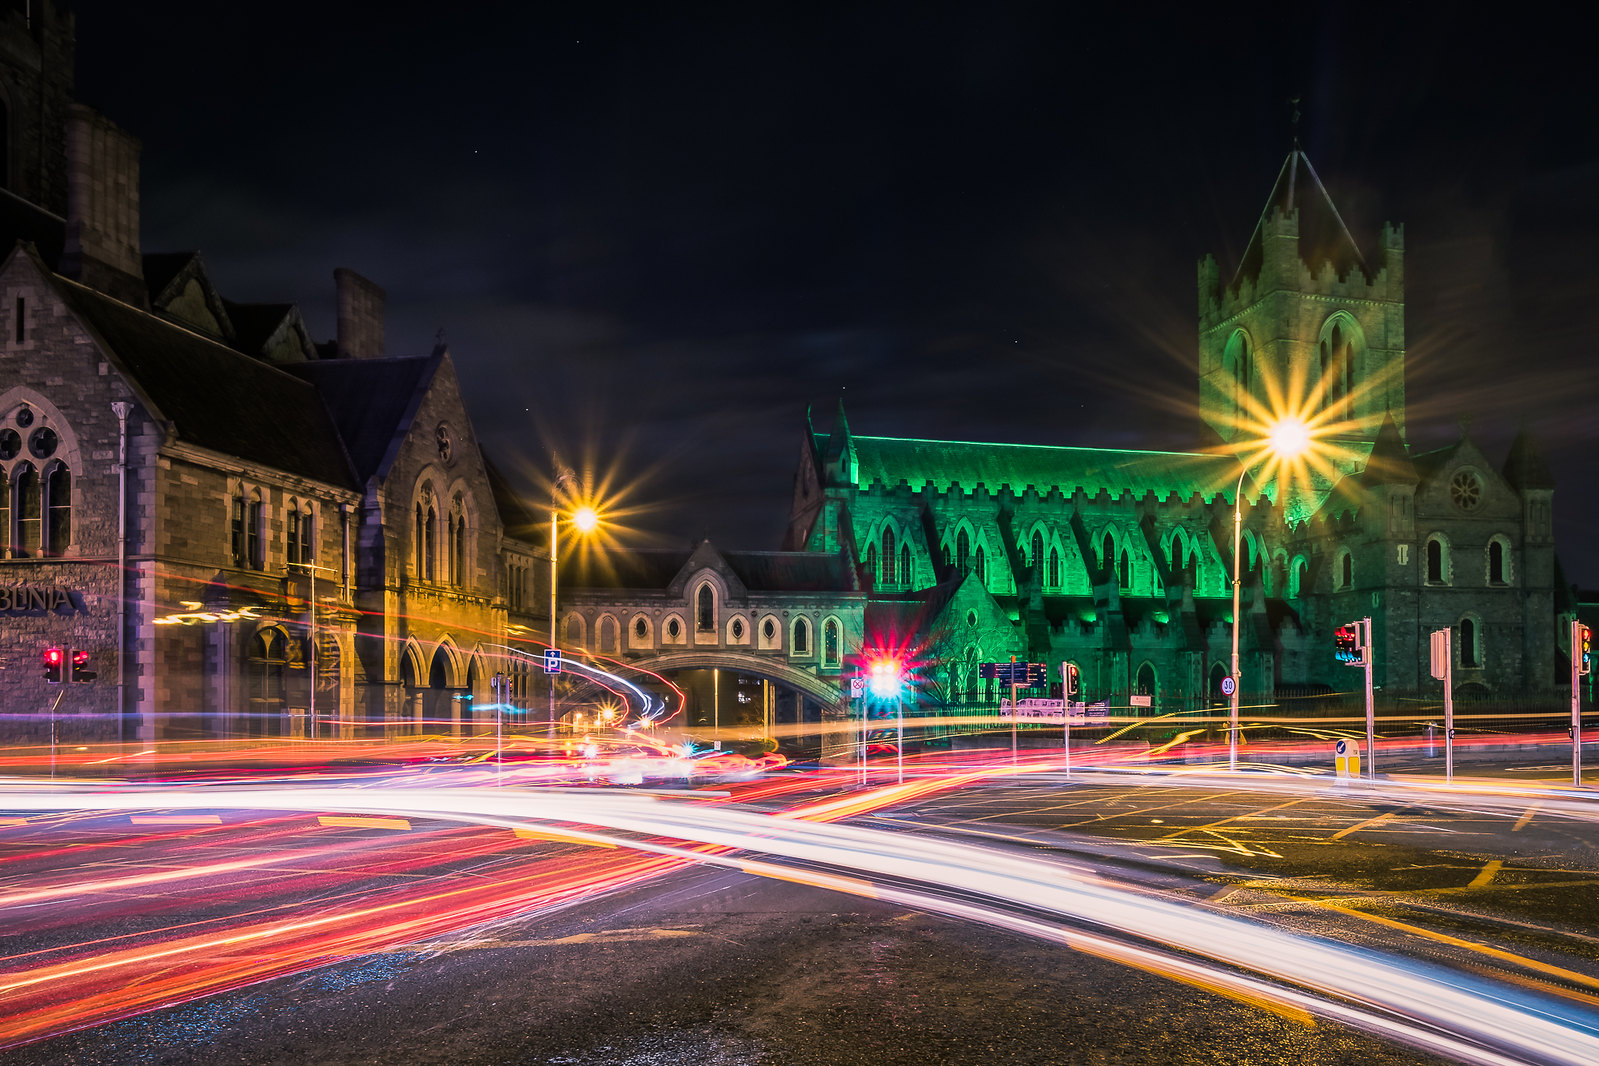
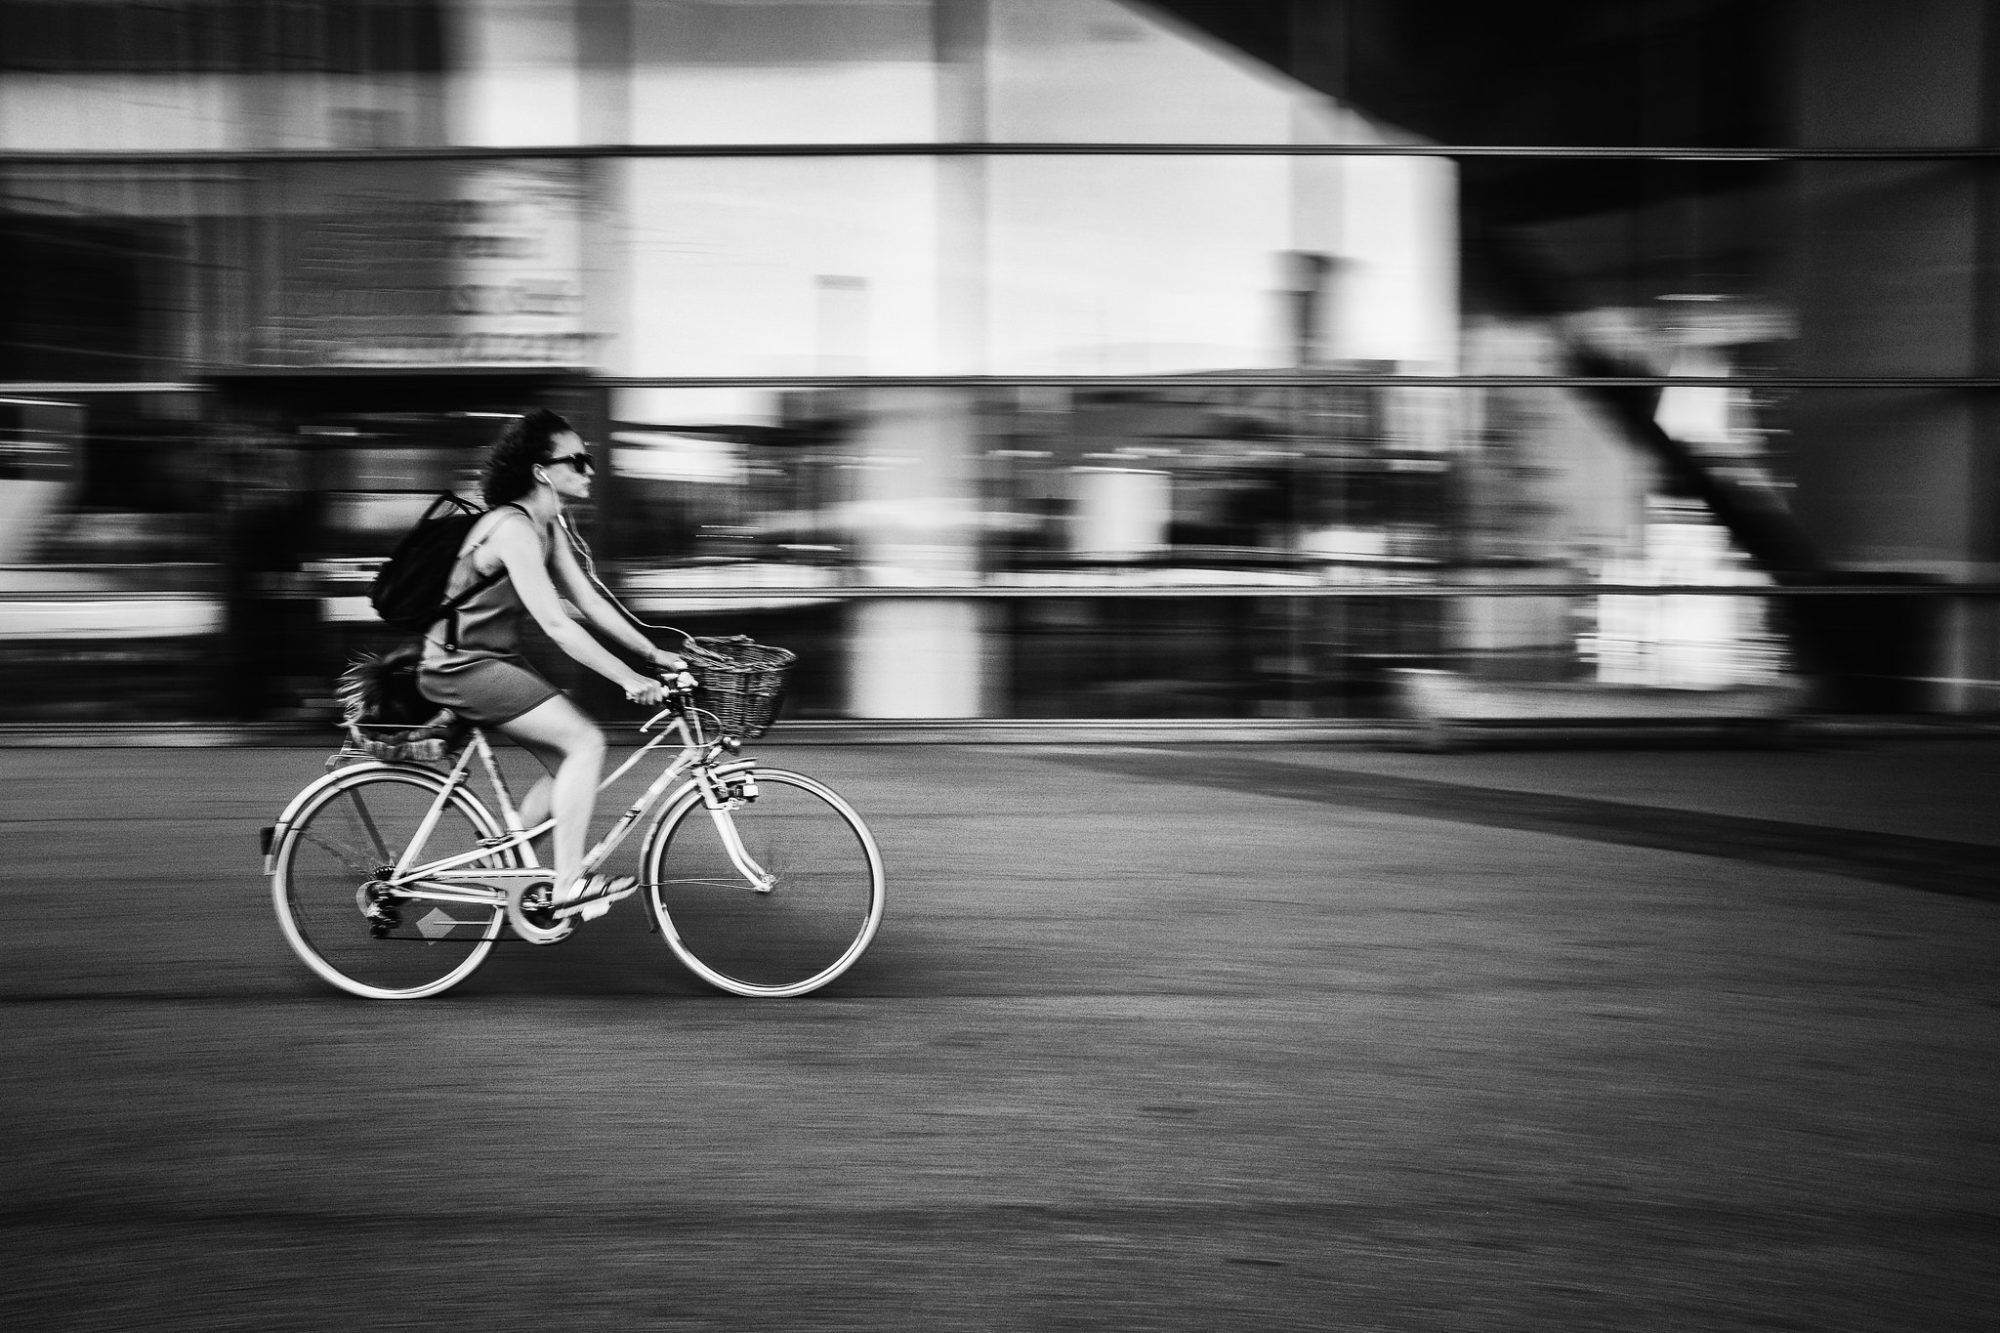
Subject motion is not the only way movement can be captured in an image. Camera movement during the exposure time can cause motion blur in a photo too. Apart from the concern mentioned in #2 above, you can use camera motion creatively- using panning, for example.
5. Understand how noise affects your photographs
While raising the ISO allows you to photograph in low light situations, it comes with a drawback. Increasing the ISO also proportionally increases the noise in the image. This is why you should try to work with the lowest ISO possible, unless you want the graininess arising out of noise from using high ISO.
Knowing how each component of the exposure triangle functions and affects the image can truly help you become a more confident photographer. You will become aware of the techniques other photographers utilize in their photos and be able to identify, most of the time, how a certain image was accomplished.
Get Better at Photography
Do you own a DSLR camera but have not been able to create the kind of photographs that will make you proud? Well, a lot of us have gone through it and wished we had something more than a camera manual to help us figure out the basics.
If you would like to gain a better understanding of photography fundamentals, do take a look at Photzy's latest e-book DSLR Crash Course. It will help you learn step-by-step how to capture good photos consistently by way of comprehensive training and plenty of photography exercises. Click here now to check it out.
