This is a guest post fromMischa van den Brandhof. For more cool urban wildlife photos, check out her Flickr stream.
Most wildlife photography is shot with a telephoto zoom lens. But urban wildlife photography is about being up close and personal. It is not advisable to try this with all wildlife, as you risk being mauled to death. Fortunately, there are many creatures that live in cities, rely on humans for food and are more or less tame.
1. Forget about your camera
The key to urban wildlife photography is an interest in animals. A good place to start is research. Browse the internet or read a book about the species. Then spend some time just interacting with them. This gives you a chance to find out if they are interested in you and to get to know them. Moreover, most animals will recognize you if you return regularly to their habitat.
2. Be aware of the risks involved
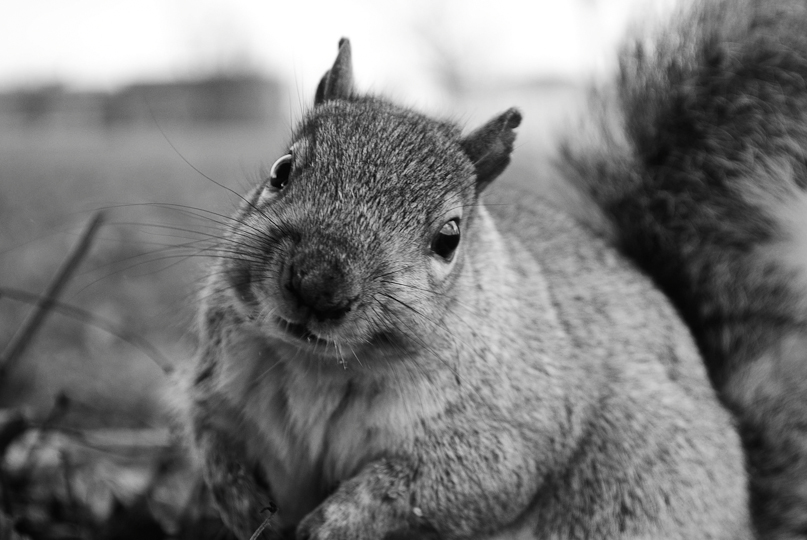
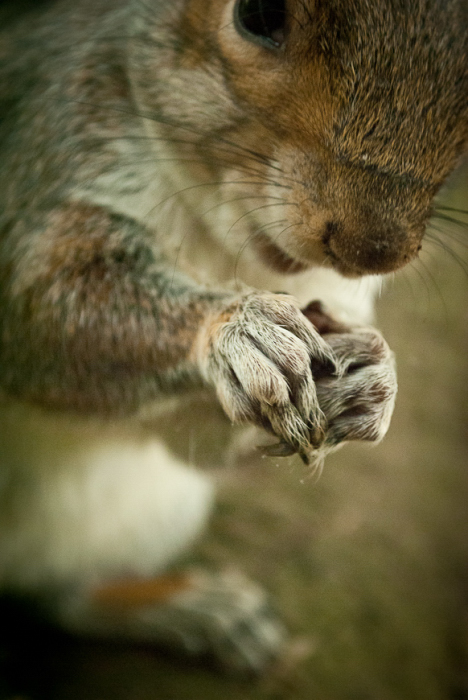
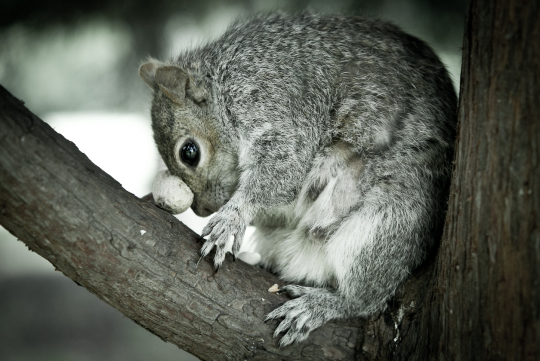
It’s easy to forget sometimes, but urban wildlife is still wildlife. There is some risk involved in photographing them. Be aware of the hazard you are exposing yourself to and what to do when you get hurt. For example, squirrels have very sharp teeth and nails so they might accidentally bite into your finger or scratch you. Always have any injuries checked out and keep wounds clean.
3. Find a quiet location
Make sure to avoid busy areas where you might be in the way of other people. Instead find a spot where you can work in peace. For some reason, taking photographs in public always attracts attention. Children especially might be interested in what you are doing. Rather than seeing this as an unwanted interruption, be friendly and allow them to become involved in your project.
4. Be trustworthy
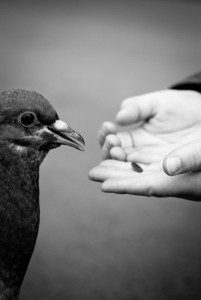
Although any wildlife photography is about being as unobtrusive as possible, wildlife at 50mm is about intimacy. It’s impossible to do that without getting close. Be prepared to spend quite a bit of time together before you start shooting. Accept that sometimes an animal doesn’t want you to come close(r). After all, being trusted by a vulnerable animal is somewhat of a miracle.
5. Do no harm
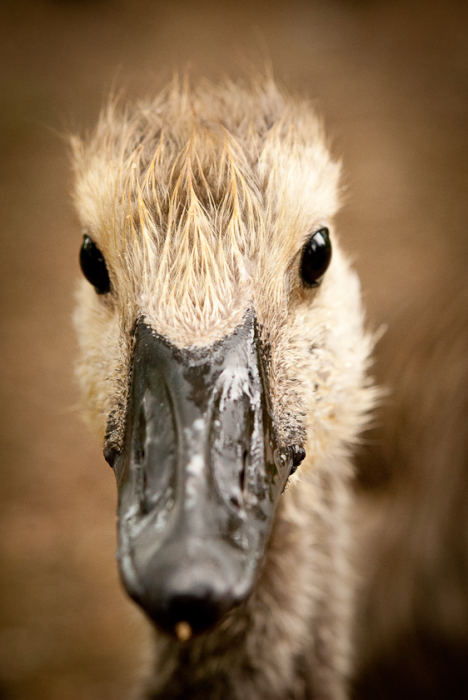
Photographing animals comes with a big responsibility. There are many ways in which you can harm animals. Moving them from their habitat is a clear example. But having a user attitude (treating them merely as a tool for achieving your purpose) is also a form of harm. This extends to post-production as well, so think carefully about who you are selling your photographs to.
6. Get down on all fours
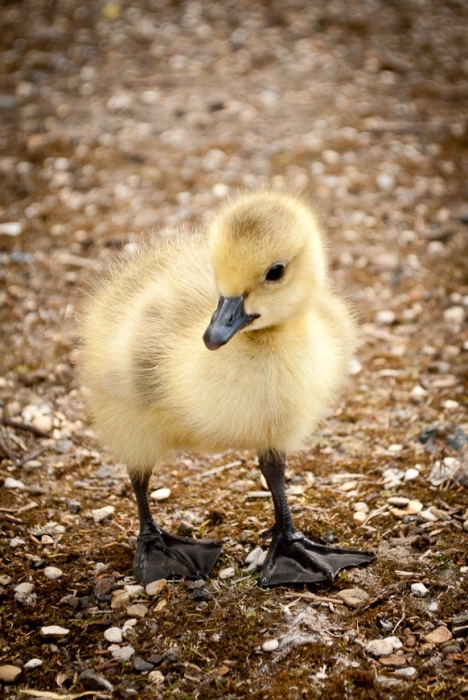
Most amateur shots of animals (and children) are taken whilst standing up, which gives the photograph a distinct feeling of looking down from above. To get a good shot you want to be on the same level as your subject. This gives you a much better angle for a close-up. If lying stretched out on the ground isn’t an option, you can just get down on your knees and elbows.
7. Use autofocus
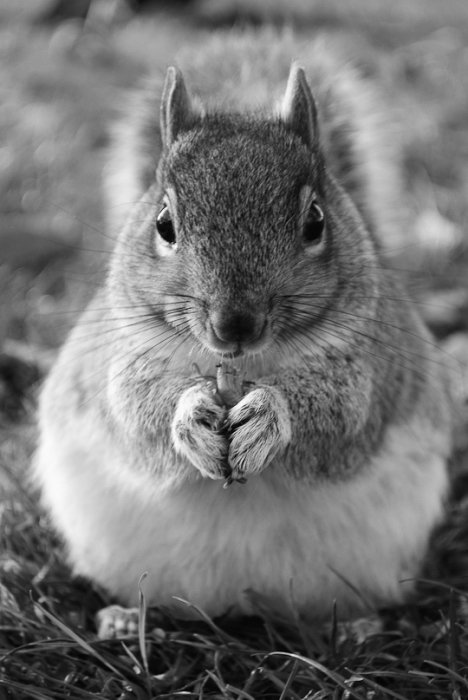
Handbooks often recommend that close-up shots should be manually focussed. I find that this doesn’t work well for urban animal photography. It’s true that some shots are lost, because the background is in focus rather than the subject. But the autofocus does a better job when it comes to a focussing on a subject that moves around continuously. It’s just quicker and more accurate.
8. Use a wide open aperture
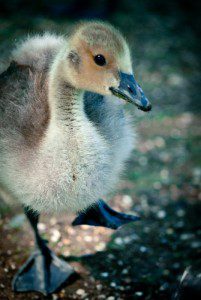
Generally, the animal is the most important part of the photograph. If you want to make the background as inconspicuous as possible, chose a wide open aperture. Depending on the lens, this is usually between f/2.8 and f/5.6. The result is an out-of-focus background without distinct shapes. If you do want to include the background, then simply choose a narrower aperture.
9. Use a dedicated lens
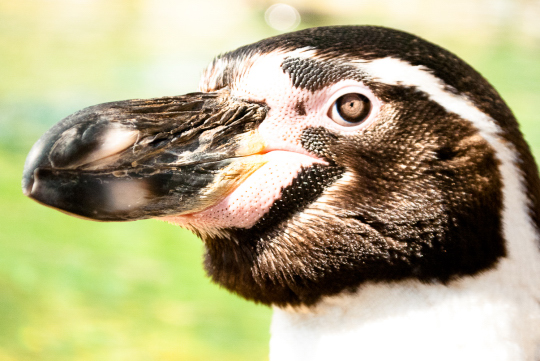
Although you can shoot urban wildlife with a 18-55mm kit lens, you will get better results with a dedicated lens. If you and the animal are comfortable being close to each other, a macro-lens in the 50-60mm focal length is perfect. Many macro-lenses have a continuous focus-feature, which means that you are able to use it for regular head-shots as well as for life-size (1:1) images.
10. Get lucky
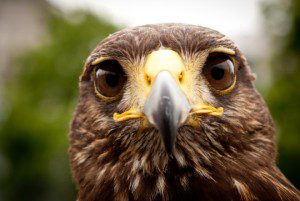
Once the animal is at ease around you, and your camera is set to aperture-priority mode and autofocus, you’re ready to go. As you can’t get wild animals to do what you want them to do, all you have to do is ‘keep shooting and hope for the best’. If the animal is interested in you, you have a good chance of getting a decent head-shot. Other than that, it’s basically a matter of luck.
For more great urban wildlife shots, visit Mischa's website or Flickr stream.

8 Comments
I’ve found that animals are like people – some are camera whores and some HATE it. Find the spokes models of the animal world – they are out there and they will give you tons of shots.
Great pictures. I am a beginner in the field of photography, but have gotten some nice pics from locations in upstate new york and also in colorado while visiting my daughter.
I hope to continue to improve my skills. I am now located in alabama. Keep up the good work. I really enjoy your site.
great photos i have an unusual one
Wow! I think I would have been more than intimidated by this beauty!
squirrels are the second most cute animal after dogs 😉
Really like the photos. Thanks for these tips!
Inspired by your tweet! https://twitpic.com/60ekss