As photographers, one of the earliest advanced concepts we begin to understand is how the colour of light can affect the mood of an image. Go out on a blustery overcast day and the images you return home with will probably reflect your mood. Return to the same location on a glorious sunny dawn and the whole feel of the final images will be much more positive and uplifting.
Some of the most evocative photos that we can take are when we mix those two types of light. Warm light in a generally cold scene can create beautiful contrast, making your images really pop. Today we are going to look a little at why and how to use warm light in cool scenes.
What is Warm and Cold Light?
Let’s look first at what warm and cold light is. as many of you will know we have to thank a certain Lord Kelvin for the way we measure the colour of light. We use the Kelvin scale of temperature, which, with a certain irony means the cooler the temperature, the warmer the light.
In photography, we generally deal with colour temperatures ranging from around 3000K to 10000K. The warmer light is in the temperature range below 5000K. This is the colour of light from the setting sun, tungsten light all the way down to candlelight.
Above 5000K we are looking at deep overcast days through to electronic flash which rates around 10000k. The daytime average is around 5500k.
We can set these colour temperatures manually through our camera’s white balance. However, when planning to shoot mixed lighting, it can be very difficult to decide which balance to choose. For this reason, these kinds of shots should be shot in RAW. This allows us to control the white balance much better in post-production.
How Color Creates Emotion
Let’s look briefly at how colour creates emotion. Many of us are familiar with the winter blues. The dull leaden skies of the colder months often giving us a sense of melancholy. We feel that same emotion when we look at cold, blue images. A sense of sadness, longing to be somewhere else.
The converse is often true of warm light images. Think of a beautiful golden hour shot of a pretty city. It makes you want to be there, basking in that warm soft light.
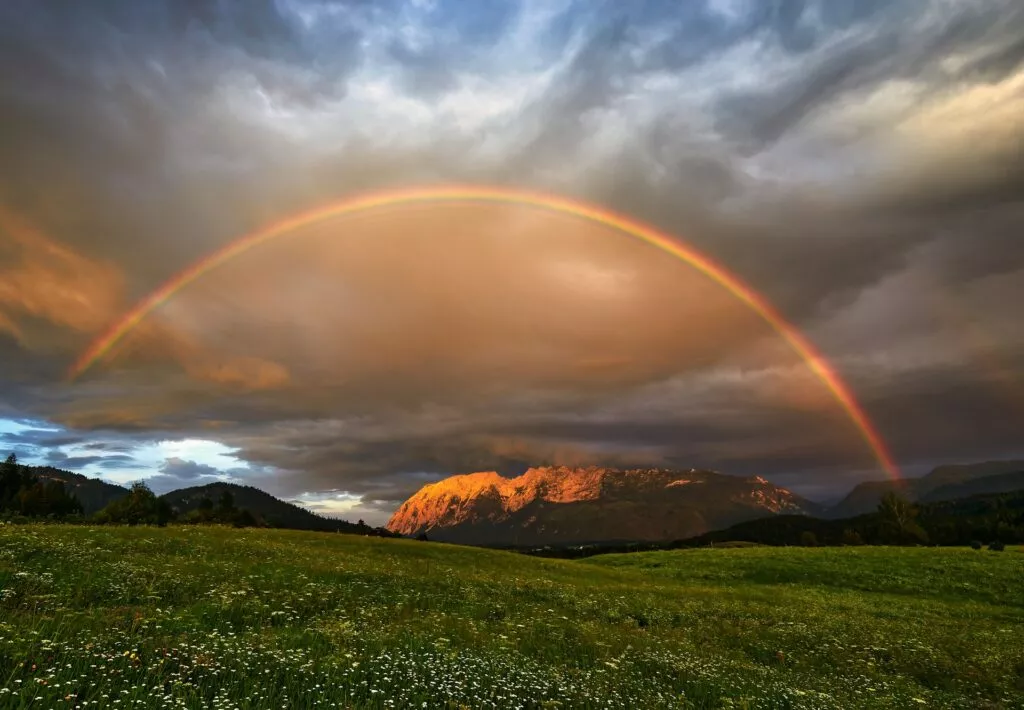
That emotion becomes a little more complex when we mix cold and warm light in a single shot. The warm light not only draws the eye towards the subject but triggers our emotions, making us physically want to move towards the warm light. In photography, this can make for some very powerful images.
Capturing Warm Light In Cold Scenes.
The easiest way to capture this is during the blue hour. As its name suggests, the blue hour gives us cold blue evening light. When we mix this with the warm artificial light of the city, we can get a beautiful contrast. Look for scenes that create this contrast, perhaps the warm glow of a shopfront in a cold blue twilight, or the taillights of cars on a highway in the evening.
Winter and overcast days are another source of warm light, cold light shots. Perhaps a rural landscape on a dark winter day with a single cottage emanating warm light. The warmth does not even have to come from a light source, it can be the highly saturated colour from a subject. Perhaps a bright red car on a snowbound street.
We can also recreate this feel in the studio by using cooler lighting to light the background and warmer light to light our subject. Even without different light sources, we can use colour gels over our lights to create the effect.
Interestingly, the warm light is nearly always used on the subject and the cold light the background. This is because our eyes will naturally gravitate towards the warm light. If we do the reverse we can create very emotionally jarring images.
Post Production
The post production of warm light, cool light images is a very important aspect. As we said at the top, it is best to shoot RAW. This allows us to control the white balance to get the colour contrast we are looking for. When setting the white balance, set it either for the warm light or the cold light rather than find a midway point. We can then enhance the opposite.
The best tools we have in Lightroom or Photoshop are the selective colour tools. Using these we can, for example, select only the bluer areas of an image and enhance that blue. Conversely, we can enhance the saturation of our warm light to accentuate the contrast.
There are plenty of options for creating this powerful technique. Even without leaving home you could find plenty of ways to shoot warm light out of the cold.
Outside, every day we have two blue hours and plenty of overcast days with which to practice the technique. Next time the weather is not looking soft and golden, head out and see if you can find some shots that mix the warm and cold. You won’t be disappointed with the end results.
Further Learning
Creatively selecting color when composing your images will take them to the next level. It is definitely an advanced composition technique that you should work with.
Getting photography composition right has always been the greatest challenge for the photographer. If you’d like to get better at photography composition and learn concepts that go beyond the basics, you should take a look at Kent DuFault’s guide to advanced composition.
In Kent Dufault's Advanced Composition, you'll discover advanced composition concepts such as:
- Compression
- Color Placement
- Contrast Overlap
- Rhythm
- Color Wash
- Texture
- Stacking


1 Comment
I’ve never really analyzed the specific art to shooting for that “golden hour” glow/lighting, but I’m excited to work with shooting under cool-tone conditions and playing with the white balance after reading this! Thank you for introducing all these amazing tip for shooting!!!