Whether you are taking landscapes, portraits, or travel shots one of the bigger questions photographers are often faced with when shooting outdoors is what do we do with the sky? Because the sky is dynamic, it's constantly changing its look, from its color to its brightness to the types of clouds it has in it, creating numerous photographic opportunities and challenges. By being aware of how the sky can influence and change our photos we will begin to make the most out of the different situations we find ourselves in. Here are a few suggestions that might help you think about the sky when shooting outdoors.
Expose your photo with the sky in mind.
If the sky is going to be a significant portion of your photo, think about how you will expose for it. In general, an overexposed gray sky is not as appealing as a correctly exposed deep blue sky. Of course this is all subjective and will depend on what you want to convey or emphasize in the frame. There is no right or wrong, but we should be conscience of how exposing for the sky will change the look of our photo.
If there are clouds in the sky it is easy to let them become washed out when exposing for the main subject. Lightroom 4 has a very powerful ‘highlights' recovery tool that allows you to bring back detail in the sky. However, the proper exposure must still be taken without completely blowing out your highlights. When in doubt, underexpose your photo slightly to prevent the sky from being overexposed and then bring back any details in the foreground in post-processing.
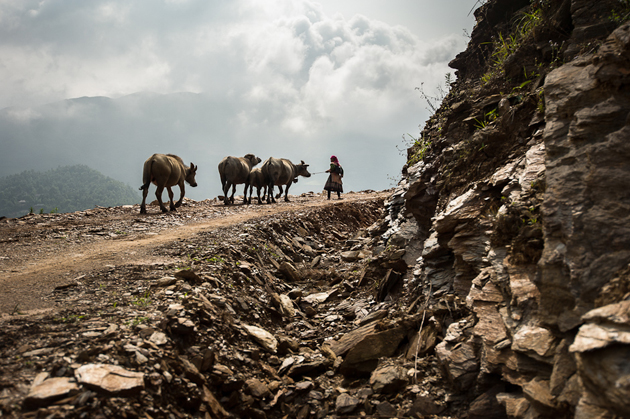
In the photo below, the clouds added a dramatic mood that gives the viewer a sense of place (high in the mountains). I consciously exposed for the clouds in this photo and then brought back some of the details of the rocks in Lightroom using the ‘shadows' tool.
Sometimes we may need to add artificial or an additional light source to illuminate the foreground subject while keeping the sky properly exposed. In more difficult lighting situations we may need to get creative in how we expose for the sky. The photo below was taken at 3:00am on a fairly dark street. I wanted to harness the light that the moon was giving off to add some additional detail to the photo. This was accomplished by using a high ISO and slow shutter speed to illuminate the sky from the moon light. The main subject was lit by an external strobe.

Getting a correct exposure may require you to explore some of the different modes on your camera, such as exposure compensation or shooting in manual mode. Because most automatic settings on cameras expose for the darkest portion of the frame, many times a bright sky will be washed out.
Minimize or eliminate the sky in your photo all together.
Sometimes the best strategy is to completely remove or minimize the sky from our photos. Often times when shooting portraits or travel images the sky becomes more of a distraction than giving significant value to the frame. Perhaps it is best to ask ourselves, how does the sky enhance this photo? If it doesn't help set the location or add additional mood to an image try removing it all together. Additionally, by removing or minimizing the sky we can help focus the viewers attention on the main subject of the photo.
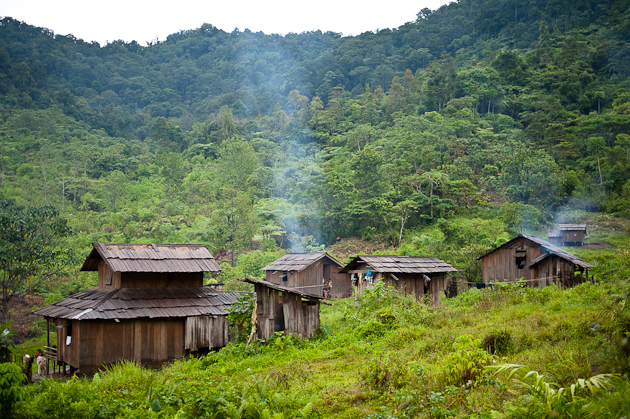
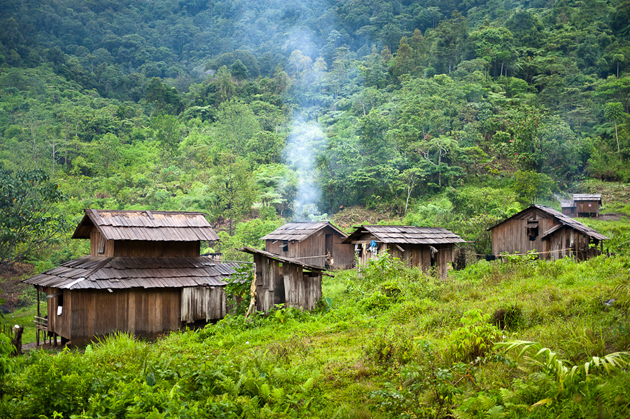
The main focus of these two images are the homes and the location of where they are. The photo above with the small amount of sky helps give a sense to the largeness of the mountains. With the sky lacking in the photo below, the viewer has to imagine how large the mountains are and the focus is a bit more on the homes themselves. Both photos work, depending on personal taste and perhaps where the photo would be used. The key here is that the sky was either reduced in the frame or eliminated all together to create a more focused photo. If a larger amount of sky was added to the first photo, the image would have a completely different composition and the focus would be removed from what is most important.
Consciously use the sky for dramatic atmosphere (clouds, color) and think about how the sky will emotionally effect your viewer.
It goes without saying that the sky can create very dramatic scenes, especially around sunrises and sunsets. However, less colorful skies can also have effective results. Like the quality of light, the sky can change the mood and emotional impact of our images. Gray skies often reflect gloomy or sad emotions while colorful skies generally invoke happy and reflective ones. Using the sky to help convey different moods is a great way to improve our outdoor photos.
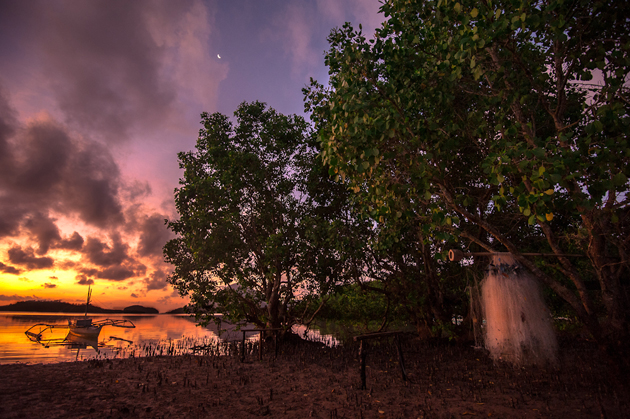
The photo above uses the sunrise in the sky to help showcase the beauty of the location. Not all sunrises and sunsets have dramatic colors and clouds and it might make sense to minimize the sky in these photos if the foreground is more interesting.

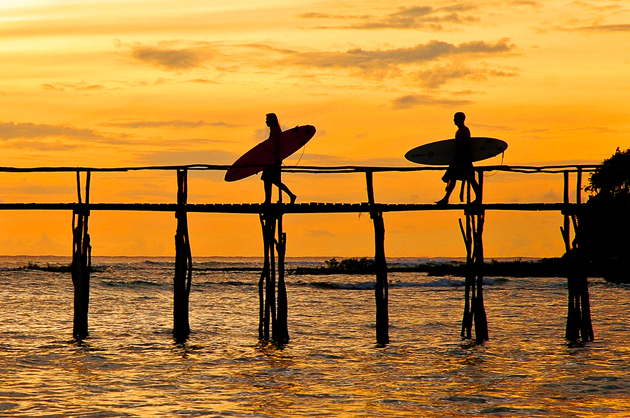
The gray sky in the above photo helps set the cold and dreary feeling of fishing in Alaska during the winter. Whereas, the orange sunrise color in the sky below helps to convey the topical and warm atmosphere of where the surfers are.
Keep in mind composition, rule of thirds.
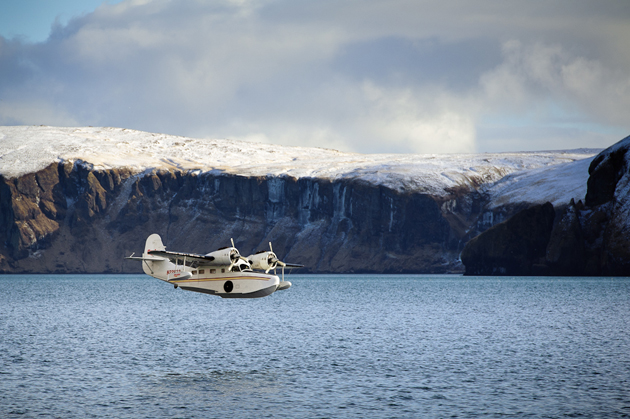
When including a sky in your photo, remember to keep in mind composition to make your image stronger. Including too much sky like discussed above can be distracting and take away from the main subject. A natural spot for the sky's horizon is on one of the third lines in an image rather than completely in the middle. For example, look at the image below. Only one third of the image is sky, with the mountains and water making up the remaining
Jacob is a freelance travel, culture and documentary photographer currently based in the Philippines. You can visit his website here, read his articles on his blog, follow him on Facebook or Twitter.


8 Comments
Great article! Your visual example of the village with and without the sky was very helpful–thank you.
The sky almost has to be treated like another subject in every outdoor shot.
Great reminders!
Good post about keeping the sky in mind when shooting. But I would also suggest using a graded Neutral Density filter. It works wonders for exposure.
Cool stuff. I think the photo of the plane is a rather poor example of using the rule of thirds (sorry!). The band of rock cuts through the image slicing my mind in two: should I look at the sky or the water… So strong lines should be on a third cut, not just lines for the sake of being a horizon etc.
Obviously that’s just how I see it.
Thank you! That was great advice.
I’m a new photographer just kinda teaching myself and I really enjoyed this article. My question is why are there still shadows on faces even tho I’m in a wide open field??? I’ve had bad trouble with that. Any tips?
Very informative article!
i am curious, how to expose the composition with a nice building and blue sky