Light tents are super useful tools to keep around the studio (or house). They're great for all kinds of photos ranging from product photography to macro work. What makes a light tent more special than, say, using just a reflector is that they are able to flood your subject with soft, diffused light, effectively eliminating shadows. Light tents are also incredibly easy to make using items you can find laying around your house. Follow the steps below to learn how to make your own light tent.
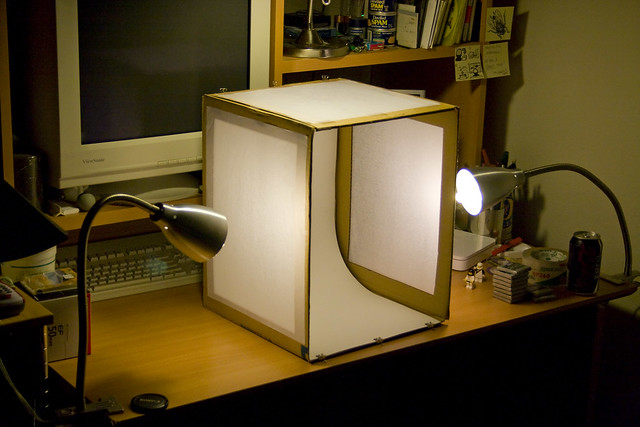
Light tent on the cheap. Photo by Rob Marquardt
What You'll Need
The list of materials you'll need for this project isn't too long and a lot of the items can be substituted with other materials depending on what you can have on hand and how legit you want your light tent to be. For starters, gather the following materials:
- Cardbox box – When selecting your box, try to source one that is appropriate to the size of whatever it is you plan on photographing with it. Your subject material should be able to easily fit inside of the box. The box I used in the photos throughout this tutorial is a bit on the small side, but since it was just for demonstration purposes, I found it to be suitable.
- Cutting tool – I used an Exacto knife. Scissors or a box cutter would work also.
- Ruler – You'll need this to measure your cuts.
- Tape – Try to use a heavy duty tape such as duct tape or packing tape.
- White fabric – The fabric will serve as the diffusion material on the light tent. Try to pick something that isn't too thick and is slightly transparent. Old bed sheets, t-shirts, Tyvek paper, I've even seen white tissue paper used before.
- Glue – I used a craft glue stick which is slightly more bonding than the typical school glue stick. You'll need an adhesive that is strong enough to hold your fabric to the cardboard, though, the fabric could also be supported with the assistance of tape if need be.
- Sheet of paper – This will be the seamless background in your light tent, so make sure to grab a piece that is the same width of your box and is long enough to run down the inside of your light tent starting at the top of the back wall and running to the front edge of the bottom of the light tent. (See photo above for reference). I used black paper in my example photos because that is what I had laying around, but white paper gives excellent results.

What you'll need to make your light tent
You may also want to grab a pencil to mark where you will make cut outs on your box. If you're going to be using an Exacto knife or other kind of blade, you'll also want to use a cutting mat or a surface which won't be ruined if you're knife accidentally sinks into it.
How It's Done
As mentioned before, light tents are pretty simple to build so you'll be in done and shooting in no time. Let's get started:
Step 1
Unfold your box so it lays flat. Take your ruler and pencil and draw in a 1-inch border around the three sides of the box. Cut around the marks to create openings in the box. Cut off the closure flaps on one end of the box. You should have something like this:

1-inch border cutouts on three sides and the top flaps removed.
Step 2
Assemble the box by folding in the remaining closure flaps and securing them shut using tape.This has already been done in the photo above, if you need a visual reference. (The tape on the inside bottom of the box in the photo above is peeling up, make sure yours isn't doing that.)
Step 3
Cut pieces of fabric (or paper) that are large enough to cover the three cutouts from the sides of the box that you made in step one.
Step 4
Apply a liberal amount of glue on the edges of the box that border the cutouts and press the fabric onto the box. Make sure the fabric is fairly taut across the opening and ensure that it completely covers the cutout. Allow the glue to set according to the directions the came with it.

Almost ready, Just needs one more piece of fabric over the last cutout…
Step 5
Take the paper you are going to use for your seamless background and secure it inside the box using a piece of tape. Be sure not to crease or fold the paper in anyway.
To use the light tent, simply place your light sources outside of the box so that they are shining in through the fabric covered cutouts. Place your subject matter in the center of the box and there you go, you're all set!
Variations
Of course, this is just one of many variations on a light tent. Get creative and adapt your light tent as you go so it's perfectly suited to your needs and what you have available to make it.
Before you go, here are few photos of similar projects for a little inspiration/ideas:
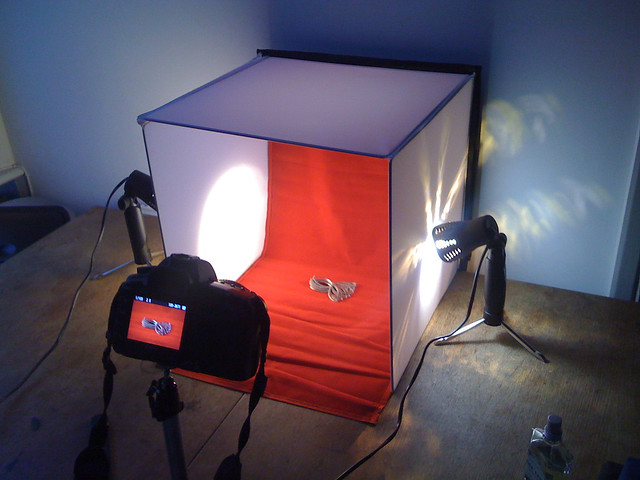
Light Tent. Photo by Matt Biddulph

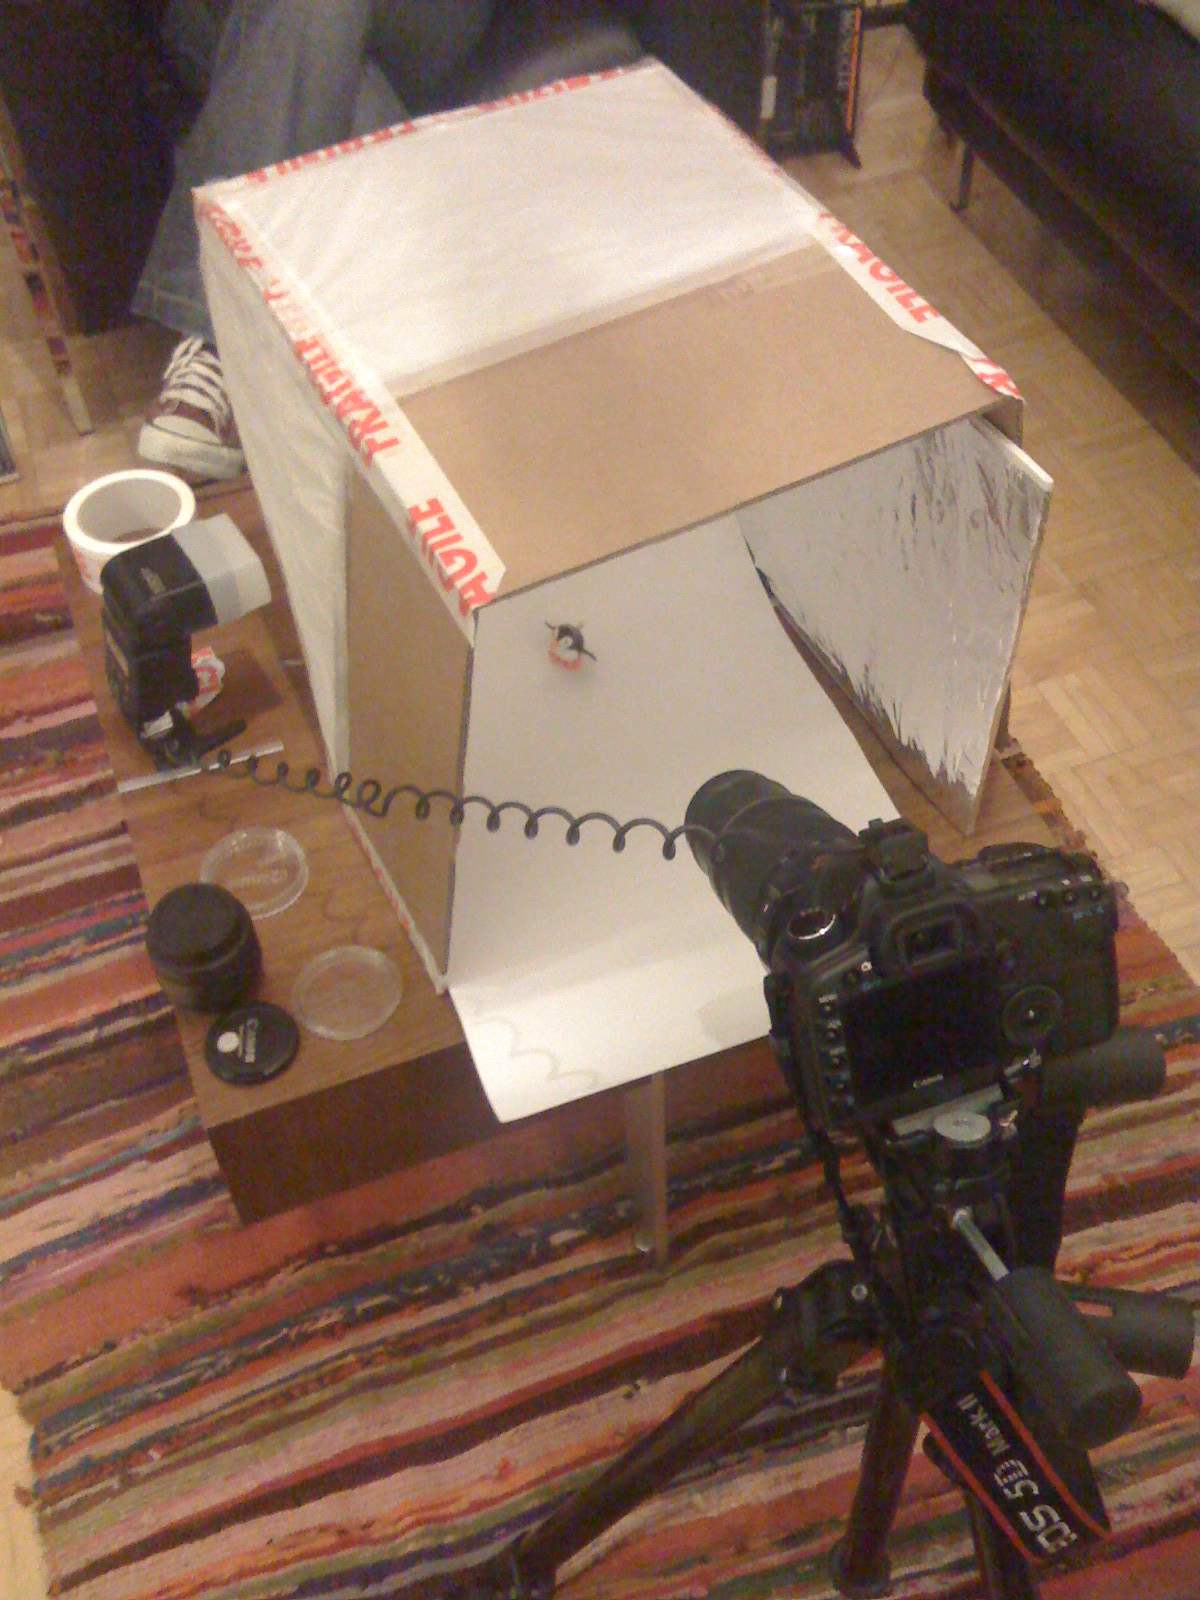
Homebrew Light Tent. Photo by Jeff Keyzer
Improvised light tent for macro photography. Photo by Matt Biddulph


11 Comments
Thanks so much for this info on making a light tent. You really make it sound easy and on the cheap. I’m going to make one as I love to do macro photography.
Very helpfu and, detailed information. “How to’s” are big in my book. Thanks.
I thought this article to be outstanding and with the additional choices even more so. I will share this with my Photo Club. Thanks for all you do.
Thanks this is a very useful article.
What an easy way to achieve a great idea. Thank you so much
This article is very impressive. I have been into photography off and on for decades since the 110 films and cube flashes . I have been called upon recently to take photos of my cousin’s meals as she has begun to write a cookbook. A passion of hers. She has been ordained with a devine knack that has me mouthwatering every time. This article has bought light to how I wrestled with shadows in her kitchen. Thank you so much. You are a God send.
Excellent and simple explanation, so easy…
Excellent, thanks so much for sharing this! Great job, Tiffany. This is the solution I was looking for since longer time. Will build it the next weekend.
Do you also have such a simple solution for repro photography?
I have several 60 to 90 year old photo albums. I do not want to take the photos out of the albums as this would lead to album and/or photo damaging. Photos were glued in…
Everything I tried had pretty unsatisfying results – from a lighting point of view, and from get-a-flat-photo point of view…
this is a fab idea, never had thought of it, will make one , sometimes I just use a white piece of paper, on the window sill, for small items, or different colours for the desired effect, thank you,
Excellent idea. Surely helped me lot, cheap and innovative. Thanks, regards, Jannie RSA
I have got a white plastic water tank, cut the front side -made it like a theater stage- put the lights outside and …voila!