Taking photographs in glary conditions is one of the most challenging situations that many photographers will face, but also one of the most common. Strong light that gets bounced around by clouds or the like can really test a photographer and their gear. But there are several ways to combat the problems associated with glary conditions that are fairly straightforward. Let's take a look at the obvious ones.

Assumption: We try not to be prescriptive in what a photographer “should” shoot here at Light Stalking. If you like it and it suits your vision, then do what works for you. But for the purposes of this article, we are going to assume that you are wanting to reduce the glare in your images.
Watch Your Histogram to Avoid Blow Outs
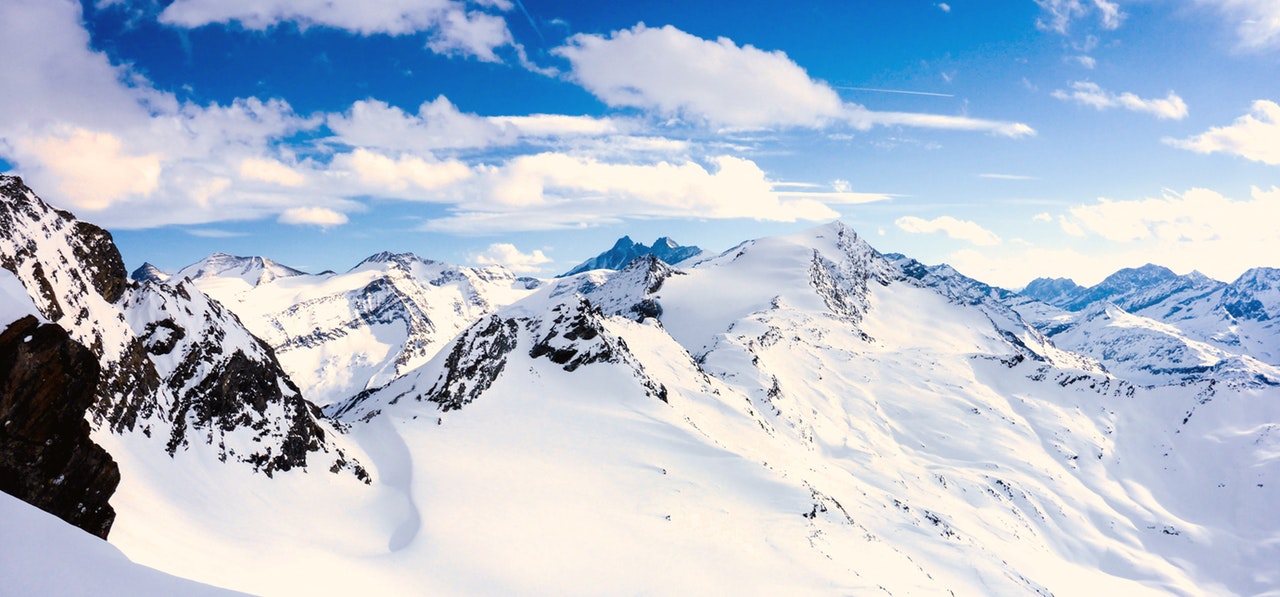
One of the things you want to beware of in glary conditions is blowing out your highlights (this is where the pixels are totally white and have no detail). The way you tell if this has happened is to look at your histogram.
If any of your histogram is stacked against the right-hand side, then it means that you have “clipped the highlights” and you need to lower your exposure.
There are three main ways to account for poor exposures. They are:
Low ISO – If you shoot with a lower ISO (100-400) you will go some way towards bringing your highlights under control.
Faster Shutter Speed – Another way to reduce the amount of light hitting your sensor is to reduce your shutter speed.
Narrower Aperture – The final way to reduce your exposure, and thus the chance of blown highlights, is to narrow your aperture. In glary conditions, this will usually be over f16 up to f22.
The Exposure Triangle
– Of course, all three of the above exposure control measure interact with each other in what is known as the exposure triangle.
In addition, lower ISO produces less noise, faster shutter speed freezes the action, and narrower aperture increases the depth of field in your images. Read more about the exposure triangle here as it is fundamental to moving beyond the automatic setting on your camera.
Now, mastering your histogram and it it interacts with the exposure triangle is one of photography's fundamental camera-craft skills so it's something you should really try to get your head around. It's worthwhile taking a while to read Jason Row's excellent article on the topic here.
Get a Polarizing Filter to Reduce Glare
In terms of extra gear that can help you in glary conditions, a polarizing filter is probably going to be at the top of most photographers' recommendations. Polarizing filters are extremely popular in outdoor photography.
So what do they do?
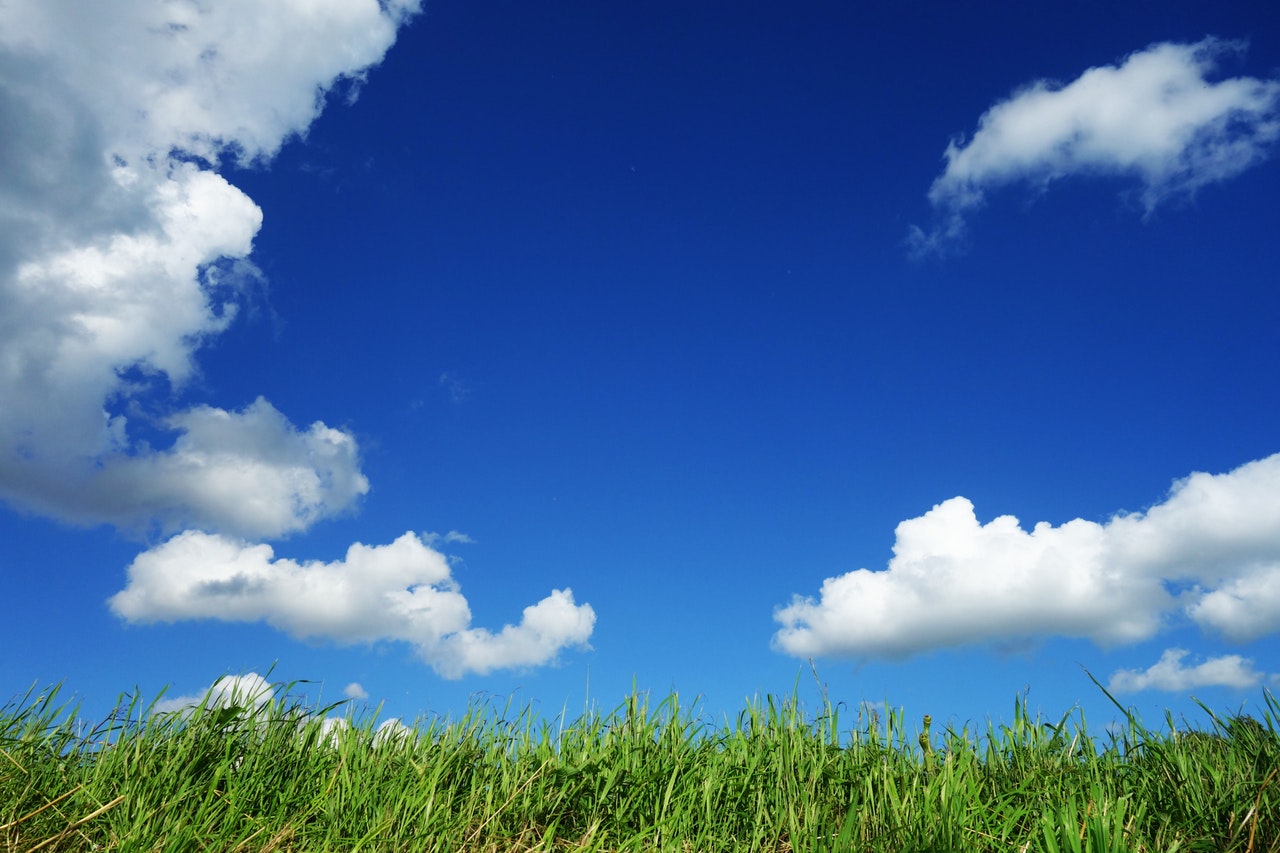
The general effect is to knock the glare off water reflections and reign in the highlights (think the edge of clouds or reflections off water as an example). They also have the added effect of saturating the sky.
Just remember that they work most strongly at 90 degrees to the light source and get less strong as you face towards the light source (or directly away from it). Almost all CPL (Circular Polarizing Filters) are able to be rotated which allows some leeway in direction.
Take a look at Jason Little's more comprehensive article on polarizers for a more thorough understanding.
Get an ND Filter to Reduce Overall Exposure
Another piece of gear you might like to consider when you're having trouble in glary environments is an ND Filter.
Put simply, an ND Filter is a piece of darkened glass that reduces the overall amount of light hitting the camera film or sensor. They come in both screw on versions or you can also get ones that need a bracket on the front of the lens and simply slide in front.
ND Filters can be used to create some very aesthetically pleasing results in long exposures such as those explained by Chris Gin here.
Now, as an ND Filter will bring down the overall exposure, it also darkens other areas of the image in addition to just the highlights and glare, so that is something to be aware of.
More Resources on Reducing Glare in Your Photographs
As far as camera craft is concerned, reducing glare in your images has a lot of crossover with reducing highlights in general. As such, some of these articles will be of solid use to you.
How to Avoid Burned Out Highlights by David Peterson – This is a very detailed tutorial that covers everything from choosing the right time of day to using fill lighting to even up your exposures. Very useful.
Lightroom Tutorial: How to Easily Correct Blown Out Highlights – This goes into the details of how to use post-production for blown highlights. Just remember that an ounce of prevention is worth a pound of cure.
6 Ways to Reduce Blown Out Highlights in Your Outdoor Photography – Our own article from Mark McGowan covers several more camera craft tips that you should be familiar with.



3 Comments
Bravo, Rob!!
Thanks! 🙂
Great article but I’m a little confused.
You said one of the ways to account for poor exposure is faster shutter speed.
Then you went on to say ‘Another way to reduce the amount of light hitting your sensor is to reduce your shutter speed’.
Im confused