You’re familiar with the concept of reverse engineering, aren’t you? Some might think it’s jargon used only by people who do things in laboratories. Not quite. If you’re anything like me, your childhood was marked by countless reverse engineering projects — a toy or household object takes possession of your attention in some strange way and you find yourself overcome with the need to take this thing apart so that you can hopefully discover how it works. Of course, if you couldn’t reassemble the item once you had satisfactorily explored its contents, then you didn’t really reverse engineer it. You just broke it. But you were on the right path.
By now you may be wondering what reverse engineering has to do with photography — I’m not suggesting that anyone take apart their camera and try to put it back together…am I? No. This is about reverse engineering a photo — looking at an image and using visual clues to figure out how to recreate the shot in your own way. There are a number of reasons one might want to do this, but one of the most common is to meet a client’s needs. Clients will often present you with photos taken by others and proclaim, “I want something like this.” Obviously, it helps to know how to reasonably replicate the model image. Additionally, learning how others have taken a particular shot can only enhance your skill set and make you a more competent photographer.
While reverse engineering an image is hardly an exact science, there are three basic elements to pay close attention to when attempting to decipher the makings of a photograph.
1. Decode the Lighting
How the original image uses light will probably be one of the easiest components to figure out, so start there. If you can actually see the light source in the shot (the sun off in the distance, for example) then there’s not much that needs to be decoded in this regard. But if you can’t see the light source itself, you will have to follow a few more clues. Look for shadows. Their direction will indicate where the light is located; the number of shadows can tell you how many light sources were used; how distinct/defined the shadows are will let you know something about the harshness of the light. If there are no shadows and the light appears very soft, then you might conclude that the shot was taken under overcast skies or near a window or with a highly diffused strobe/flash setup.
The absence of hard shadows in the above photo suggests soft lighting, in this case provided by large windows in the ceiling, while the photo below features a well defined shadow that gives away the position of the light source.
Also check for reflections. Reflections will allow you to trace the directionality of the light quite easily; remember: the angle of reflection equals the angle of incidence. A subject's eyes can provide some rather unique clues as well. Look to see if catchlights are present, as this might assist in knowing more precisely what light apparatus was used (softbox, beauty dish, reflector, etc.); and if catchlights are indeed preset, you will at least know something of the size and distance of the light source from the subject.
By studying the eyes of the woman in the portrait above, you learn that an octagonal shaped diffuser was used to light the subject.
2. Guesstimate the Focal Length and Depth of Field
Again, there is going to be some guesswork involved but there are some important signs to look for to make the most educated guesses possible.
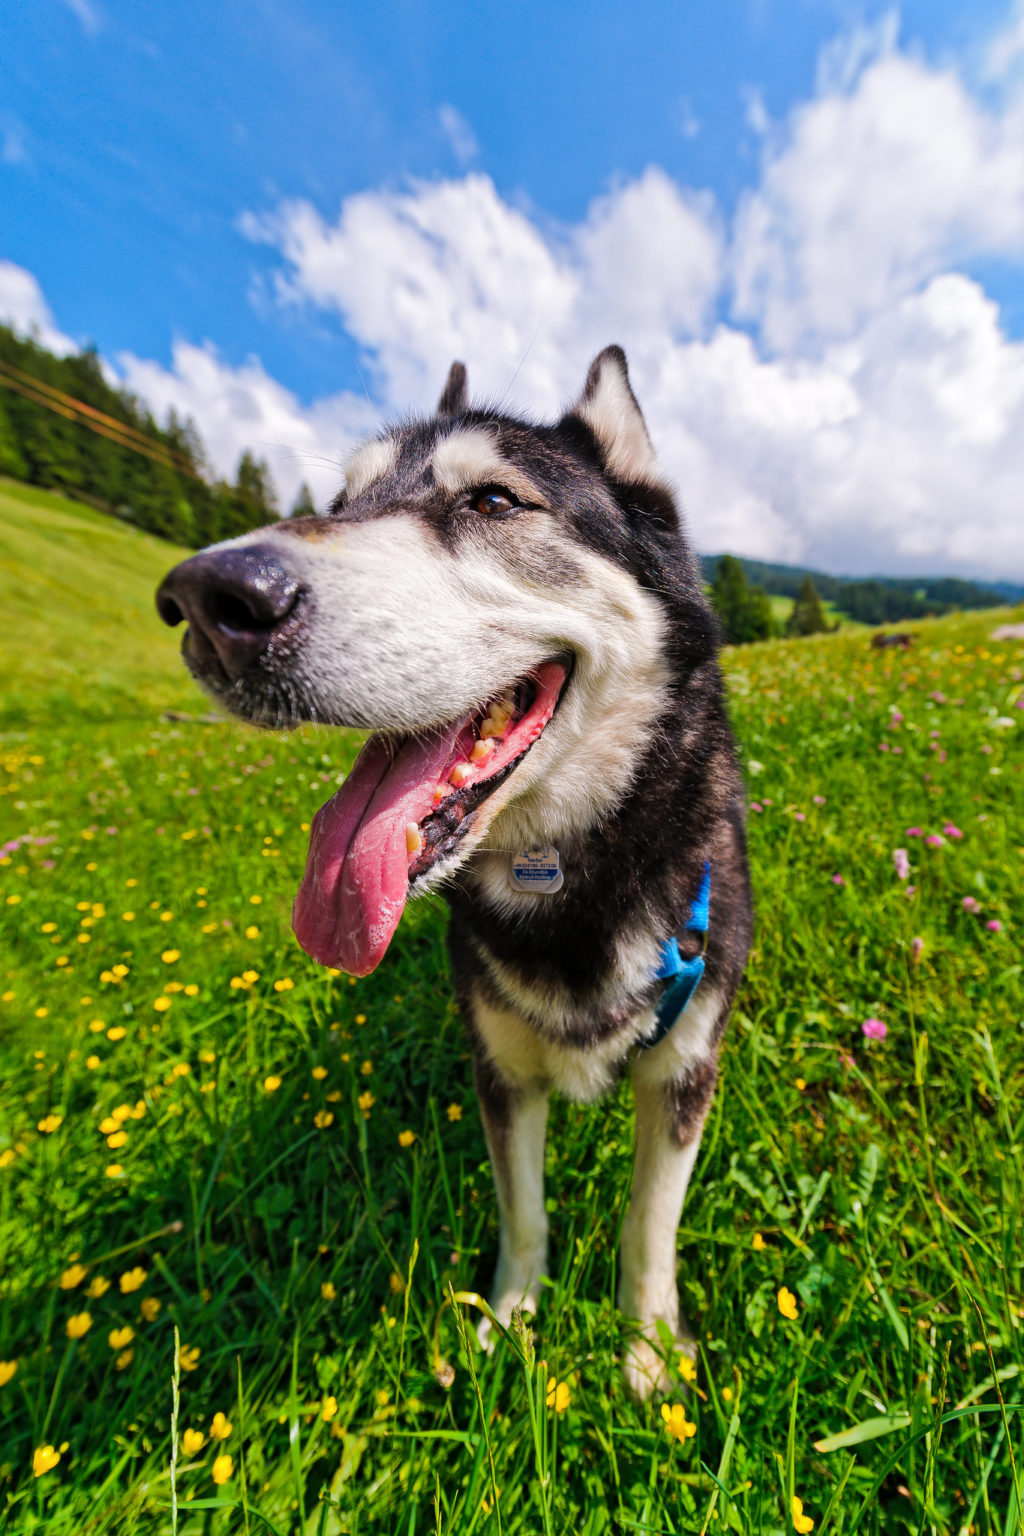
It should be readily apparent that if you’re looking at a sweeping landscape or panoramic shot, a wide angle lens (or wide focal length) was used. You can also tell from the resulting distortion if a wide angle was used close-up on a subject. A telephoto lens, on the other hand, even when shot close-in and at a moderate aperture, will create less depth of field than a wide angle lens and will not distort the subject’s features. Without knowing more specific details (such as sensor size and distance from the subject) of the settings used to capture the image you are trying to emulate, you will simply have to apply what you already know about depth of field and focal length and doing some experimenting.
A wide focal length will typically distort objects closest to the lens, as seen above.
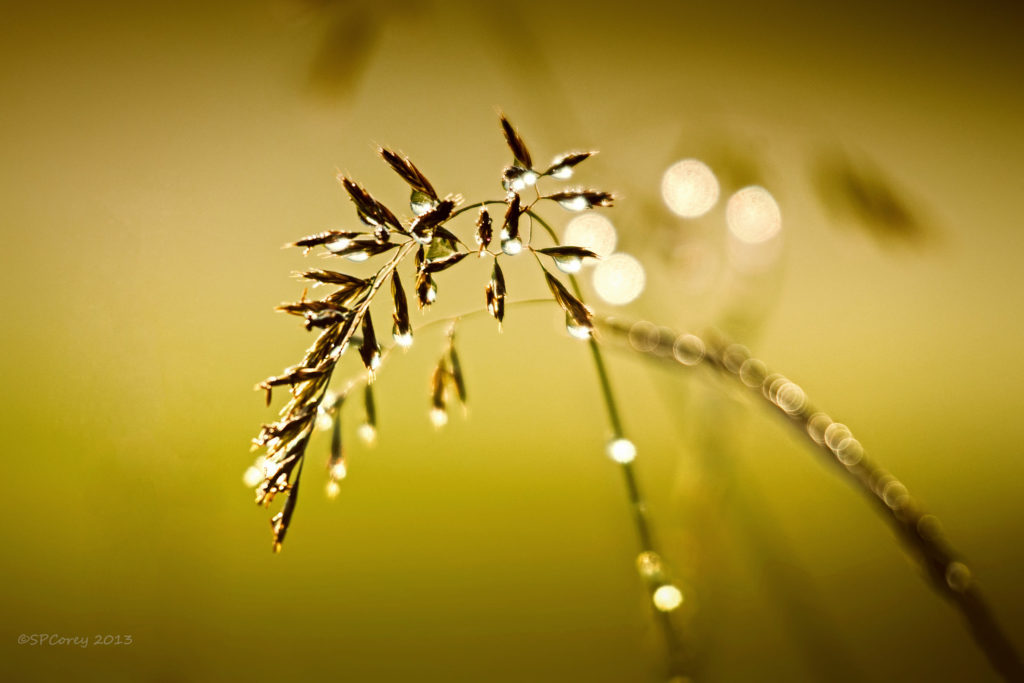
In the image below, you can see the effects of a telephoto lens as it compresses the background and creates shallow depth of field, even at f/5.6.
3. What Post Processing Went Into It?
The post processing work of an inexperienced Photoshop user is very easy to spot; you obviously don’t want to recreate those features, whether overly saturated colors, sloppy compositing, or any of a long list of other problems. At least you will know what not to do. Expert Photoshopping, however, can be difficult to identify; so unless you’re an expert yourself, very elaborate post-processing can often be the point at which reverse engineering comes to a screeching halt. If this ends up being the case, don’t worry about it. You’re not necessarily trying to clone the photo.
Final Thoughts
Imitating another’s work is often less about flattery and more about wanting to contribute your own twist of creativity to an already impressive image. Short of communicating directly with the individual responsible for the photo that you (or a client) have your eye on, your best bet is to visually break the image down into smaller elements and work backwards until you think you’ve got it all figured out. With a keen eye, reverse engineering a photo works quite well and still leaves you room to add your own touch.


