Shooting book covers is different from general photography. Not in the sense that it requires any specialized equipment, but rather that it requires some extra planning and collaboration.
Who Are the People Involved?
Since a book is the subject of consideration, you need to know that there are multiple parties involved. You won’t be working within the boundaries of the standard client-to-photographer relationship. Instead, there will be editors, designers, and printers also involved to ensure that everything fits perfectly together. It doesn’t matter what kind of book we are talking about – whether an encyclopedia or thriller or college textbook – the concept is the same and the same people are involved at all times.
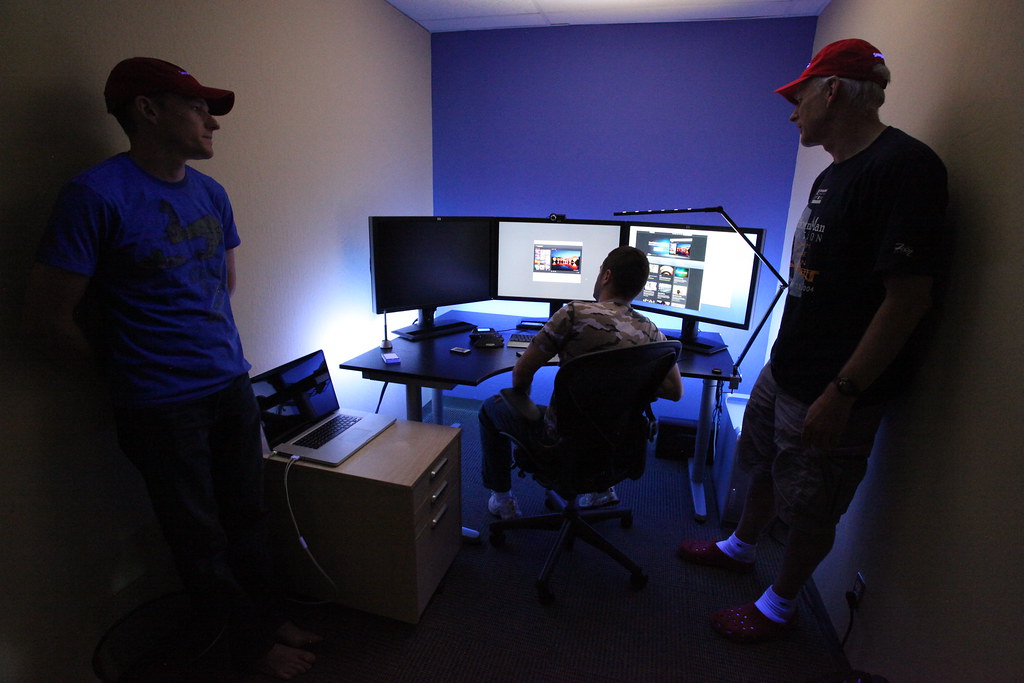 Photo by Robert Scoble
The author and editors usually review the work done by you and the designer while the printer communicates with the designer in order to make sure all the colors look right. Now, you should know that the designer will shift some of the color work to you since you are the one capturing it and editing the image.
Don't be too surprised if they ask you to redo many things for trivial reasons. There will be many copies ultimately subject to the opinion of only a few people. What matters in the end is that the final result is perfect in the eyes of the author and the editors.
How to Get the Size and Format Right
Books will differ in size and format, so sometimes just a single-page photo is required while other times the whole cover (double-paged) needs to be photographed. Keep in mind that you’ll need enough negative space to fit the title, author name, and description. Also, you’ll have to leave room on the back side for the synopsis.

You’ll have to adjust your crop and negative space according to the size and format of the print. The designer will give you the general idea of what it is supposed to look like. If possible, ask the designer for a sketch since it can be difficult to convey the right idea through words alone.
Shooting and Preparing for a Seamless Shoot
Make sure you know the general concept of and requirements for the photo. Maintain open lines of communication with everybody collaborating on the project so that you know exactly what they want. This will help you provide them with the perfect photo they want. Sometimes, your job will be made easier with clear and concise instructions that leave no room for confusion. At other times, you will have clients who will give you more freedom, but this can actually complicate things at the end. So be prepared for both scenarios.

Once you're familiar with the desired format, it is best to shoot around 30-40% wider than that, leaving room for future adjustments. You shouldn’t go for the perfect tight crop. In the event that the designer feels that some things should be moved around a tad, the wider shot will have you covered. Additionally, wider shots leave more room for necessary textures if you need to patch things up in post-production.
I hope that I don’t have to point out that the light, sharpness, and resolution need to be perfect. If you feel that your camera can’t deliver what is required of you, you'd better rent a better one (with a better lens, if necessary) rather than risk failing the job and having to redo it (which can cost you more).
Getting Post-Production Right
In this part of the project, there are two possible outcomes: either it will be required of you to post-process the image (which is the most likely scenario), or you’ll be required to hand over the files to the designer for him to post-process. In the case of the latter, your job ends there. However, if you are required to do the retouching (which is better since it adds to your credibility in your portfolio), it is best to have constant communication with the designer during the process. The designer already has a color palette in mind, so your retouching must fit that color palette, and the color balance needs to be perfect. The designer will also determine the amount of contrast the image needs since it has to be compensated for in the printing process. Different printing techniques and technologies produce different contrasts.
 Photo by Armando Maynez
Once the designer, author, and editors are happy with the final result, your work is done.
Summary
Photographing book covers is fun, but it is complicated and takes much more time than regular shoots. All this work is for just one picture. There is no room for errors, so your skills and patience will be tested to their limits. Keep all of this in mind when discussing the price you will charge. If the book you photograph ends up selling well, it will be a highlight of your portfolio, boosting your credibility and value as a photographer.


1 Comment
Dzvonko, your tips came at the right time. I just got commissioned to create a cover for a client and the photography will have to be created from scratch. Thanks for the awesome tips.