We thought we would do a write up for a video editing tutorial for photographers who are just entering the craft. If there is one element of videography that holds most photographers back, it’s video editing. Photographers are used to the post production of single images in the familiar surroundings of Photoshop, Lightroom or others. The interface of a video editing suite can look daunting to say the least.
However, delve a little deeper and the dark art of editing is not quite as difficult as it appears. Like photographic software, most video editing software follows similar styles when it comes to the interface. Learn one and you will quickly get to grips with others.
Like photographic software, video editing apps are multi layered, with many different tools and several ways to achieve the same thing. As a beginner you do not need to jump into the deep end and attempt to color grade a feature film. However, with a few hours practice, it’s perfectly possible to put together an interesting and engaging short video.
Non Linear Video Editing. What Is It?
The tool you will use to create a video is called a non linear editor. It is called this because it does not use the original source material to create the video. It is also non-destructive meaning you can continually chop and change the video around without affecting image quality.

This is the opposite to a traditional linear edit, where the source material would be film and to edit you would have to cut and splice the source material back together. This is obviously a destructive process. So what are some of our options when it comes to non linear editing software?
- Adobe Premier Pro – Part of the Adobe Suite and only available through Adobe’s subscription service. It is, however one of the most powerful and highly regarded non linear editors for all levels.
- Final Cut Pro X – Apple’s equivalent to Premier Pro, FCPX is the latest incarnation of Apple’s professional level video editing suite. It is both accessible and powerful. It can be obtained from the Apple App store for a one off price for MacOS only.
- DaVinci Resolve – A full featured Hollywood level editing suite for free. Sounds to good to be true but it is true. There are a few limitations, such a no built in noise reduction. However overall Resolve is more than capable of being used as a professional, high end video editor.
Exploring The Interface
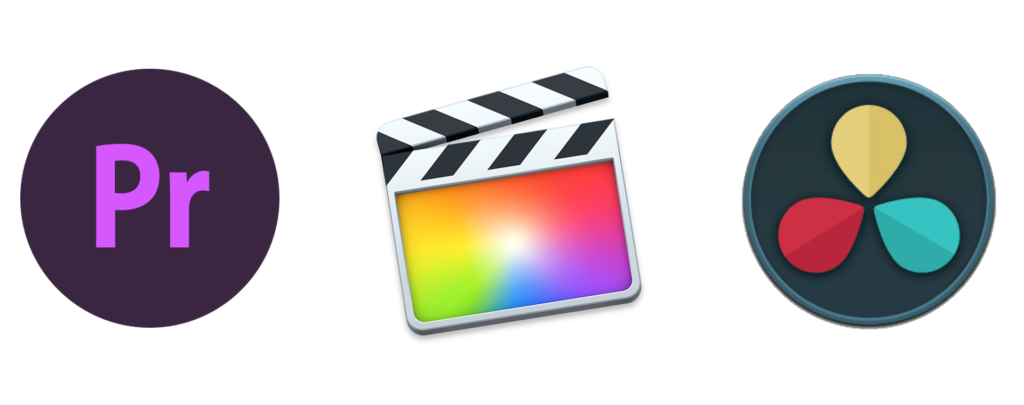
As mentioned, most non linear editors will have very similar interfaces. Let’s take a look at the essential parts of Final Cut Pro.
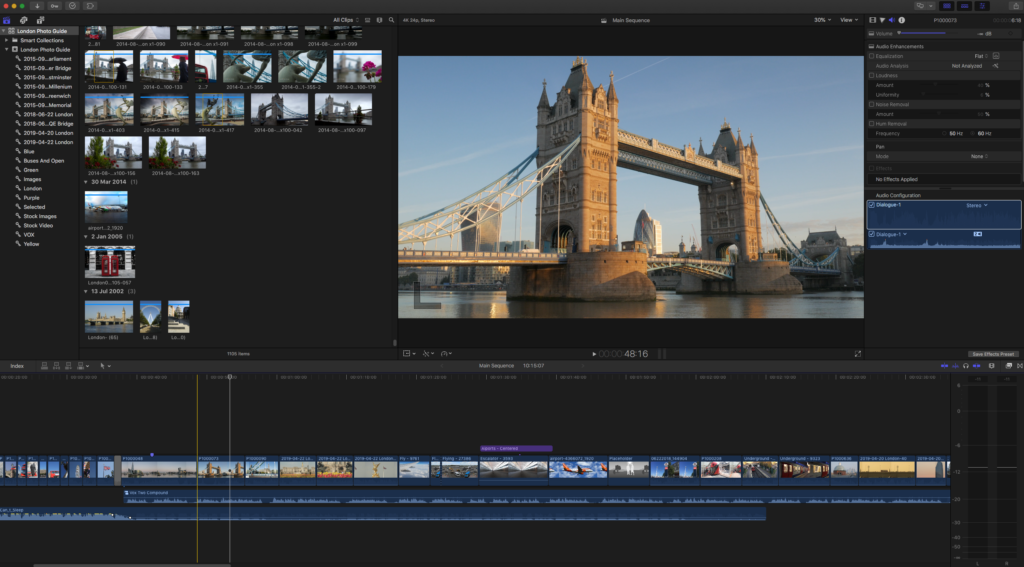
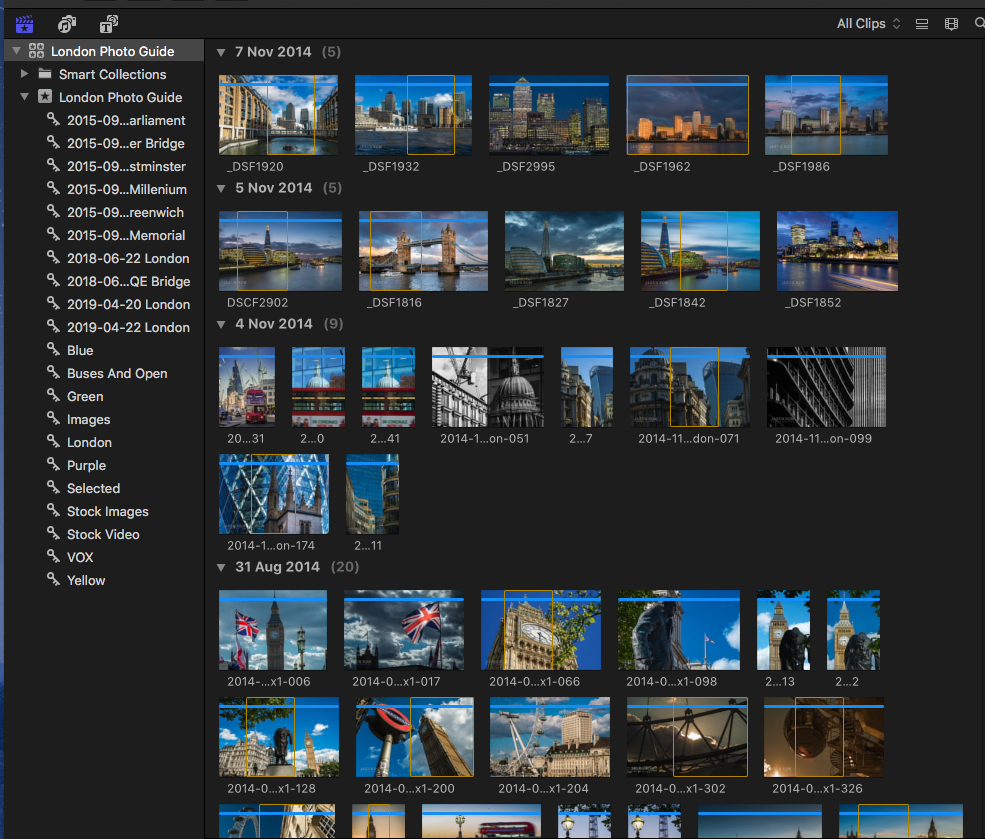
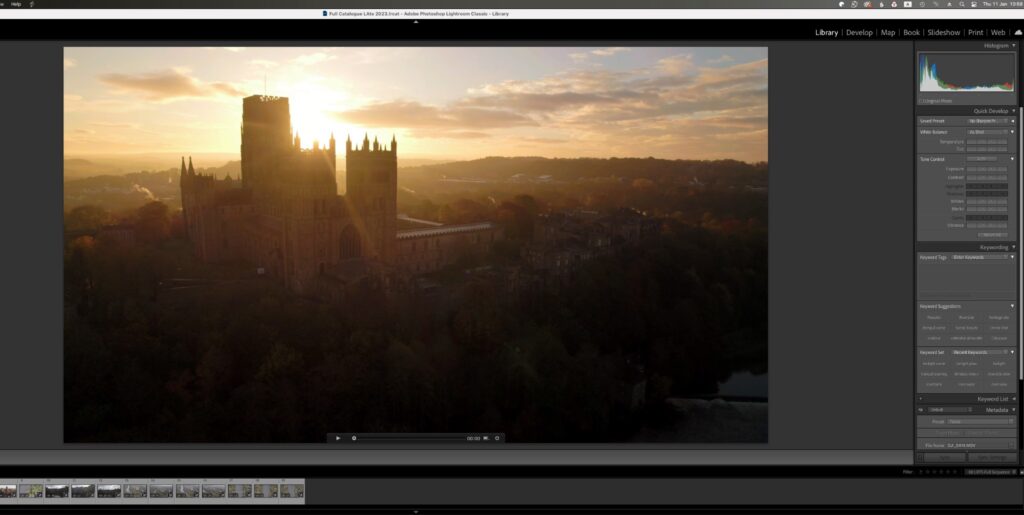
There are three main essentials to the interface, the browser, the timeline and the viewer. Think of the browser as similar to the library module in Lightroom. It’s where you will see all the media collected together in order to create your video. Not only can it contain video clips but also still images, audio and graphics.
The timeline is the place where the whole video comes together. It can have multiple layers (think Photoshop), including, video, audio and text/graphic overlays. It’s quite common to have two audio tracks and two video tracks. The audio might be one track of ambient music and another of background sound. The video might be the main video clips and a separate track for titles.
The viewer is the main preview screen. If you are working on the timeline, this will show the exact point in the video where your mouse is placed. This is denoted by a vertical line called the scrubber bar. Move the bar left or right (called scrubbing) and the video will play in the viewer in that direction and speed, with the audio.
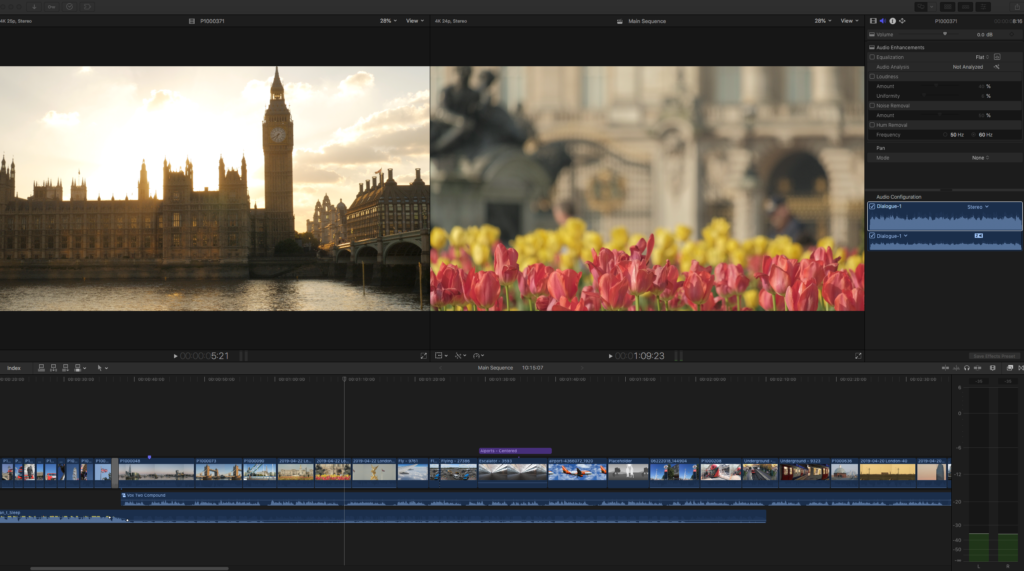
If you place the scrubber over a video or audio clip in the browser, moving it will play that clip in the viewer. Most NLEs allow you to have two viewer screens. One will display any clip you have selected in the browser, the other will show the video timeline.
Next to the browser in most editing suites we will have a type of Finder/Explorer window. This will contain different projects, folders and libraries that help you organise your creation. A long multilayered video can have thousands of different elements that make it up. It is very good practice to organise clips into folders and to add keywords to them. So how do we make a basic video?
Creating A Video
At its most simplest, creating a video is a matter of dragging video clips from the browser onto the timeline. Those video clips will probably have audio and so you will automatically get one track for video and one for audio.
Of course there are a couple of problems with this absolute basic approach. First the video clips will not be at the right length. They will be too long and probably display some camera movement at the point the clip started and finished. Secondly the audio will probably be quite poor quality.
For this reason we can edit each clip to the required length. We can do this both in the browser or on the timeline.
In the browser we can set in and out points. This is done by moving the scrub bar to the start point of the clip and pressing a key, usually I. Then move the scrub bar to the end point and press O. Now when you drag that clip to the timeline, it will only add the parts between the In and Out points.
There are two ways we can edit a clip on the timeline. We can drag the beginning or end of each clip to make it longer or shorter. Alternatively, we can use the blade tool, usually found by pressing the B key. This will turn the curser to a razor blade icon. Place this icon on the exact place on the clip that you wish to cut and press the left mouse button. Then press the A key to return, select the part of the clip you wish to remove and press delete.
In both these cases, as the clip is trimmed or cut, there rest of the clips on the timeline will spring back to fill the gaps. This is called a magnetic timeline.
How to Affect Video Transitions
When you create a video, you need to look for clips that compliment each other and will lead the viewer through a story. The point where one clip becomes another is called the transition. For many clips this can be just a hard cut, however sometimes you might want to change the mood or feel of a video and to do this we can add transitions.
The most basic transition is the dissolve. This is where the first clip slowly fades into the second over a short period of time. However there are many other types of transitions from wipes to fade through to complex graphic based changes.
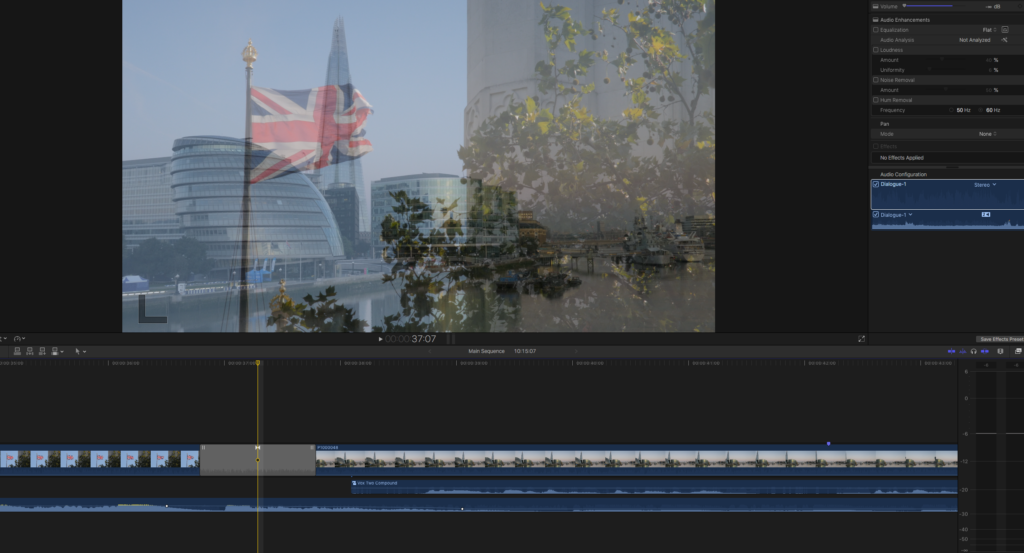
All NLEs contain a library of transitions and to add one, you simply select it in the transition browser then drag it to the point between your two clips. You will then be able to adjust it’s length and other parameters. Like video, audio will also have a library of transitions that allow you to crossfade between different audio tracks.
Outputting Your Video
Before we finish let’s take a very brief look at outputting your video. For the most part, as beginners, your video will be seen either on Youtube or perhaps on a tablet or smartphone.
Your NLE will probably have a bewildering array of output presets. However look for one that is designed for your destination. Many NLEs will allow you to publish direct to YouTube, they might also have presets for specific screen resolutions such as found on Apple iPads or similar.
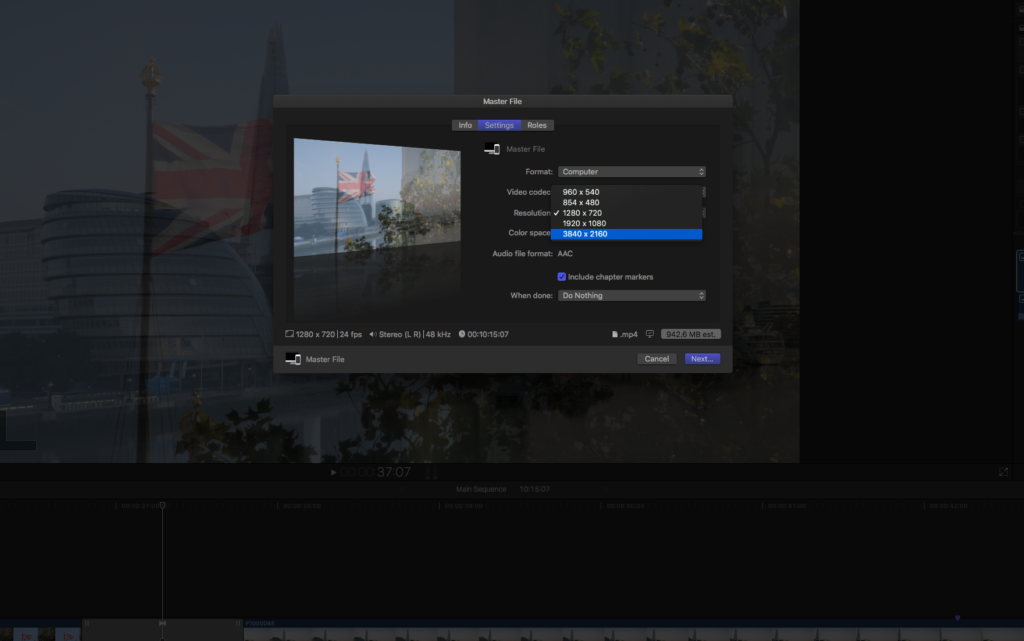
Barring that, any preset that uses the h.264 codec will be suitable in most cases.
This could only be a very brief introduction to the dark art of editing video. Indeed we have not touched at all on how we go about adjusting the exposure and colour of video or how to creatively tell a story through video. However if you want to begin understanding the basics of using a non linear editor then the tips above will be of great help.
If you have found this article useful and would like a deeper look at the art of editing, let us know in the comments below.


7 Comments
Sorry Jason, but your understanding of the terms “non-linear editing” and “non-destructive” are a little off the mark. Linear editing is based on VIDEOTAPE editing where shots (clips) were recorded from one machine (the source) to a second machine (the recorder). Videotape editing was “linear” because shots had be laid down one shot at a time and in exact order from beginning to end. Shots could not be deleted from the middle of the story or added to the middle of the story or moved around to a different part of the story. Non-linear editing, then, is the opposite of that. Digital editing and, in fact, film editing are both NON-LINEAR because clips (scenes) can be added, deleted or moved anywhere in the story. NON-DESTRUCTIVE editing simply refers to the fact that the original source material is never actually used (consumed) or affected during the edit because what is actually being laid down on the timeline is a digital copy of the original source material, not the source material itself. In that respect videotape editing was non-destructive as clips were “copied” from the source and so was film editing as the actual cutting was done to a “work print” of the original film. Understanding and relaying these terms properly might be better way to start a tutorial.
Thank you for the correction
Thank you! A beginner must start with a corect information, you made it, thank you again.
Glad you found it useful
You neglected to mention Avid Media Composer, which not only is the best known video editor, but invented the segment. To this day, around 80% of TV shows and Movies are edited on Avid. And Avid has a free version called Media Composer First.
Indeed Avid is an excellent editor and there are several others as well. I elected to go with the three that newcomers to editing are most likely to know and are probably the most accessible
Hi, I agree that Premiere, Final Cut, Davinci Resolve are all amazing tools.
But to get started, it’s very likely a beginner could use a beginner friendly app, like https://studiocinematic.com