When you first pick up a camera, chances are that you are going to spend a lot of time shooting portraits of your family, your friends, your pets and whoever else you can cajole into sitting still for long enough. Maybe this was the entire intent of you getting a camera, or maybe it's a way for you to learn the ropes, but it is certainly a part of most photographers' journey.
But what are the things you should look for in a good portrait? How do you get those beautiful portraits that people hang on their wall? How do you improve your own skill at portraiture?
While the long answers could easily take up the length of a book (and many have been written about the topic), there are a few fundamentals that you can understand quite quickly. Simply following these simple tips will take you portrait photography forward quite a leap. So let's look at how you can improve those portraits and the fundamentals of what you should be considering in each portrait photograph you take.
Note: As with any set of tips or advice in photography, there are always exceptions and times when you should ignore it completely, either due to circumstances that don't suit the advice or due to an artistic decision on your part. These tips are that – tips. They are not laws. So take them as such.
Get Your Focus On the Eyes!
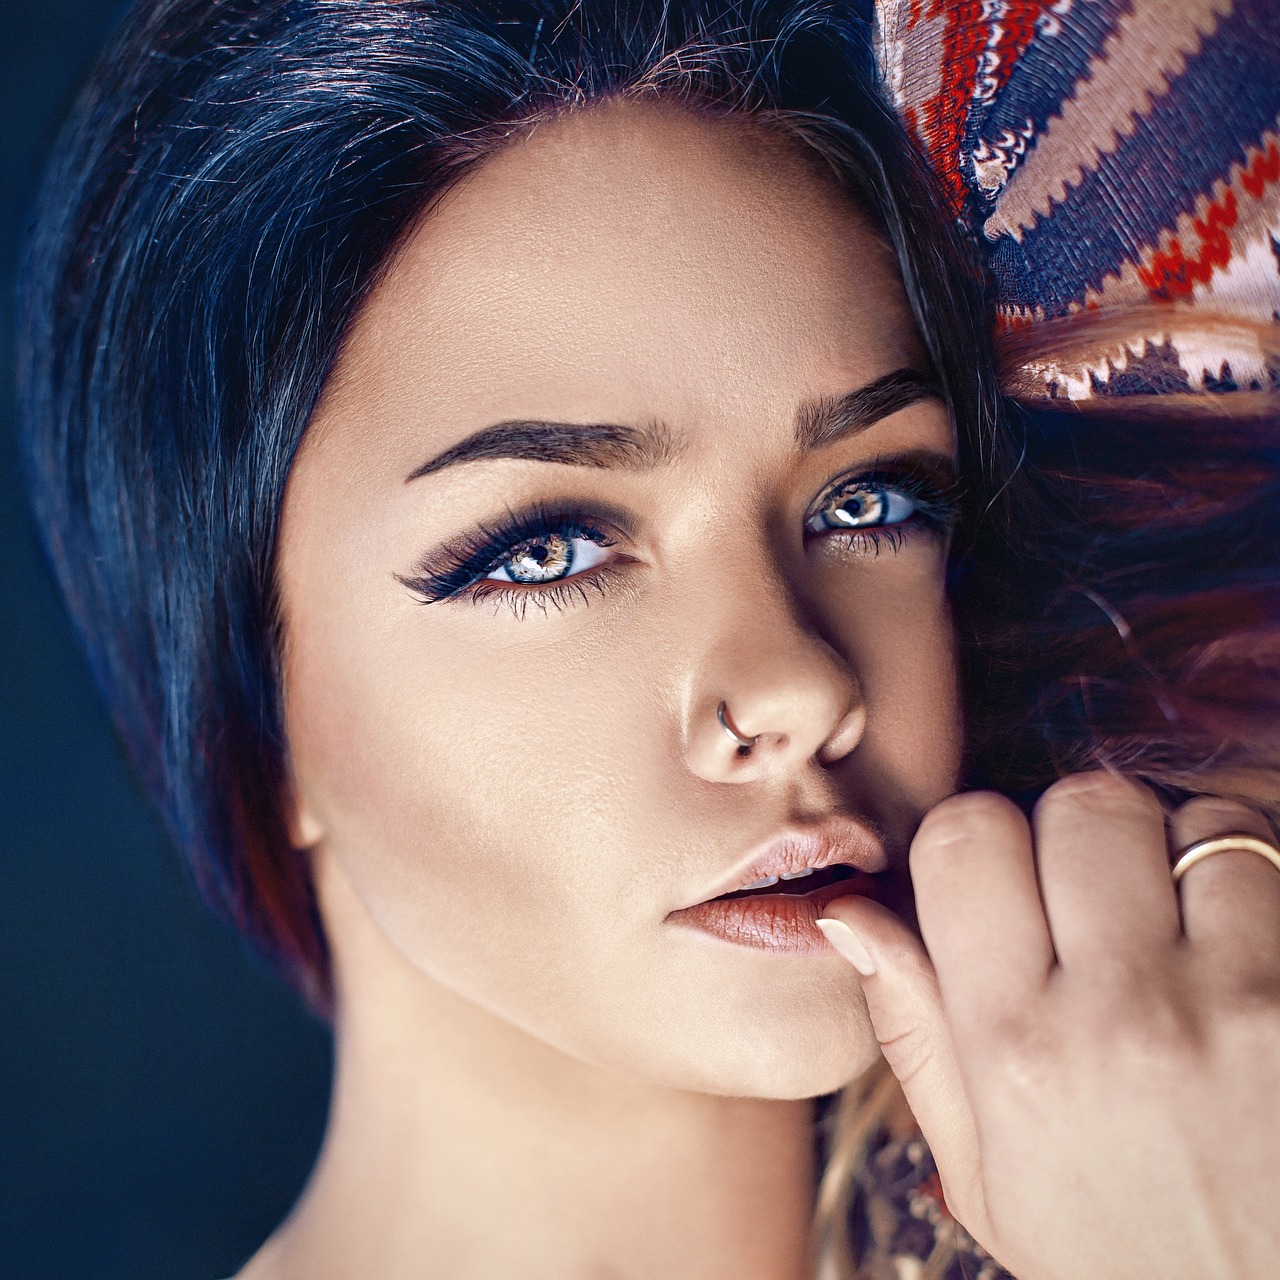
In 99% of cases, the eyes of your portrait subject are going to be the most important element of the composition. If your subject has an eye colour that complements or contrasts the surrounds, then that is going to be doubly apparent.
Now, with many portrait photographers choosing to shoot with a narrow depth of field, it often becomes essential that those eyes are in sharp focus. Out of focus eyes can ruin the whole image.
Now, while you might want to shoot with a narrow depth of field to get those creamy bokeh backgrounds and to isolate you subject against that background too, you need to be careful that you give yourself enough room in the depth of field so that those eyes are sharp. It is very easy when shooting wide open to get the tip of the nose in focus, but the eye soft. Be careful so that doesn't happen.
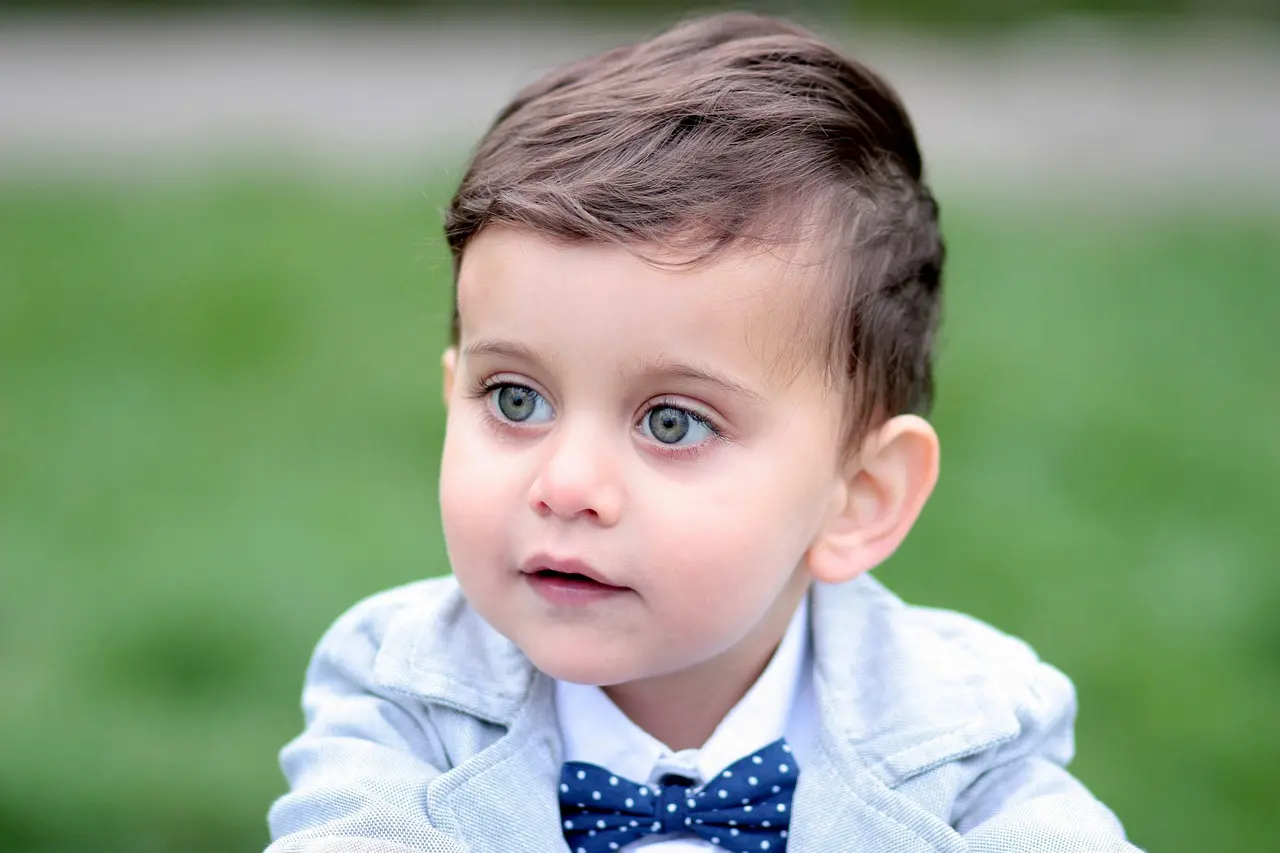
In very general terms, you want to shoot wide, but just be aware that shooting wide open (f 2.8 or wider) will make that focus issue a little harder. You can step back from your subject a little to counter this (as distance from the subject also effects depth of field), but that will also affect the quality of your background bokeh somewhat so it's always an artistic decision to make.
Is the Skin Texture Right?
Skin texture is a very important part of portrait photography and something you might like to consider during your shoot.
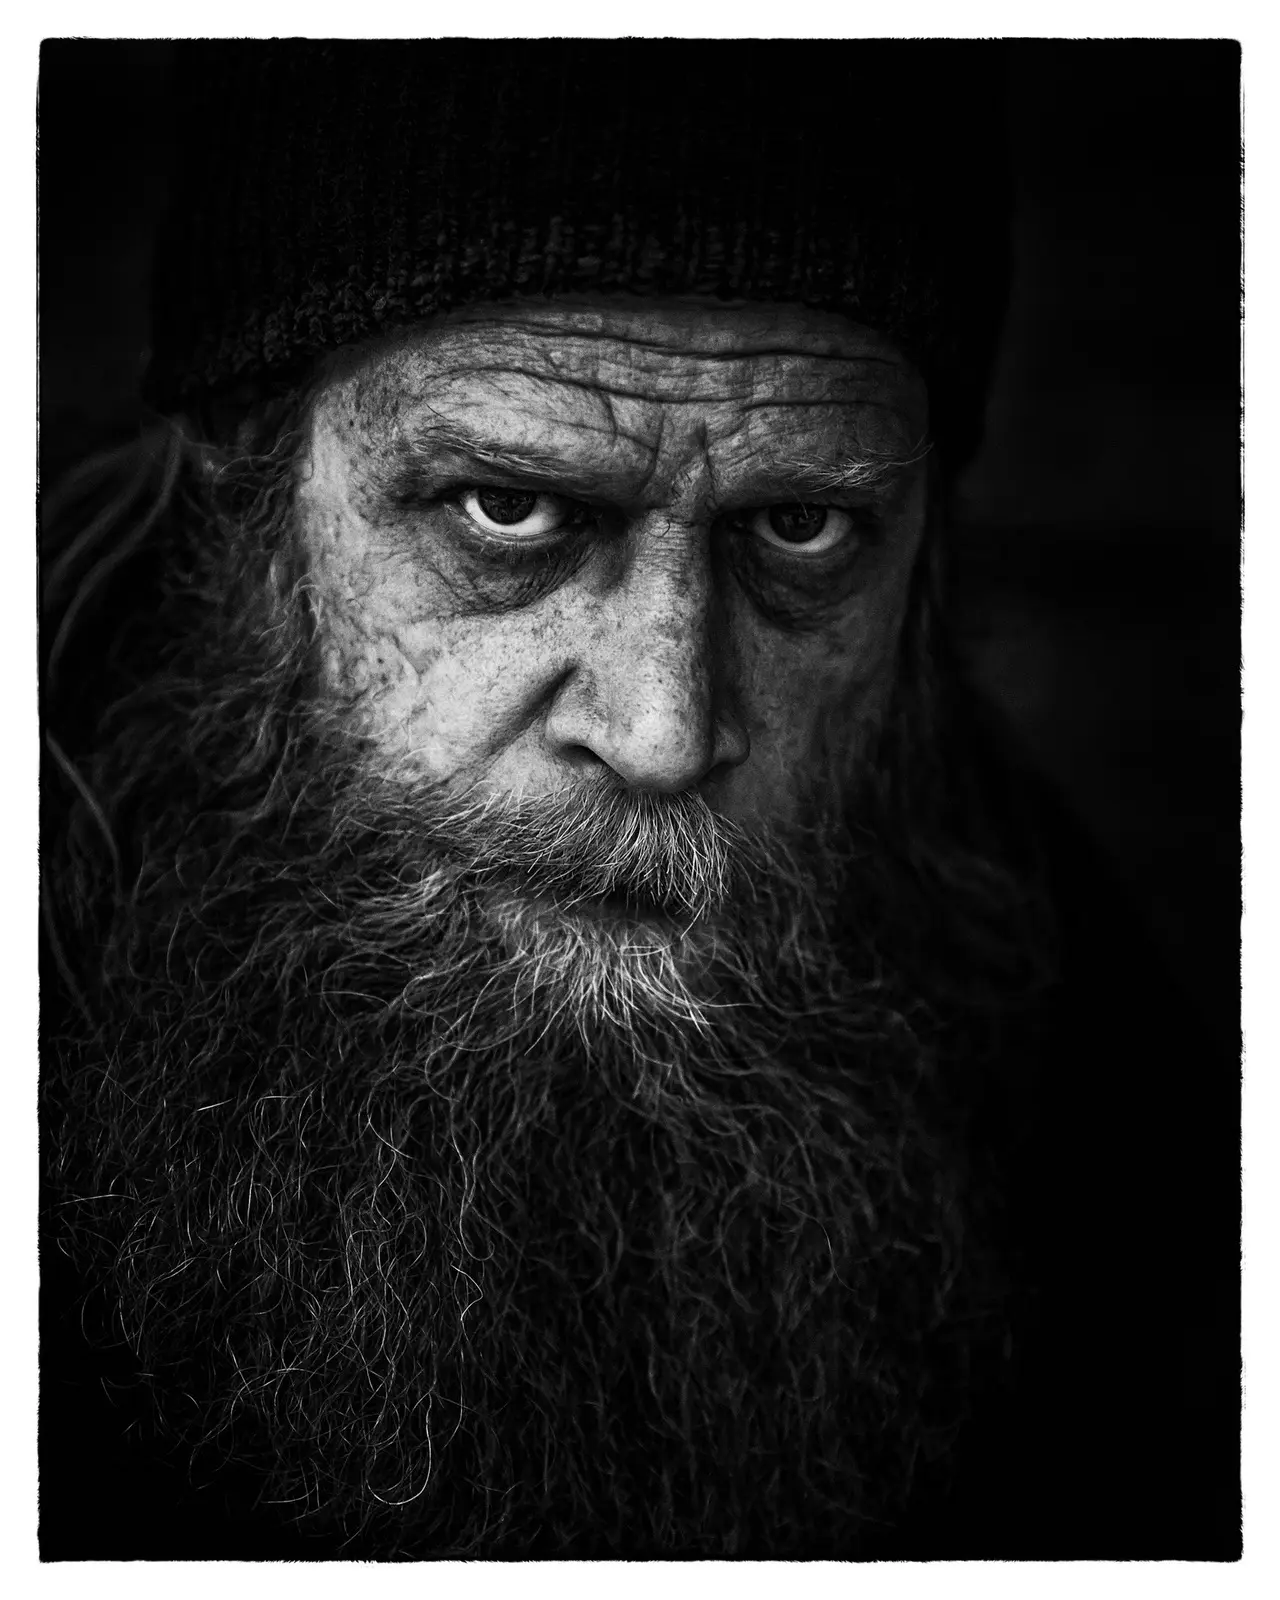
While it's tempting to think that you are always trying to get smooth skin (and certainly you will on more occasions than not), it's not always the case. Take the image below for example – the photograph is much more effective with the wrinkles in sharp contrast.
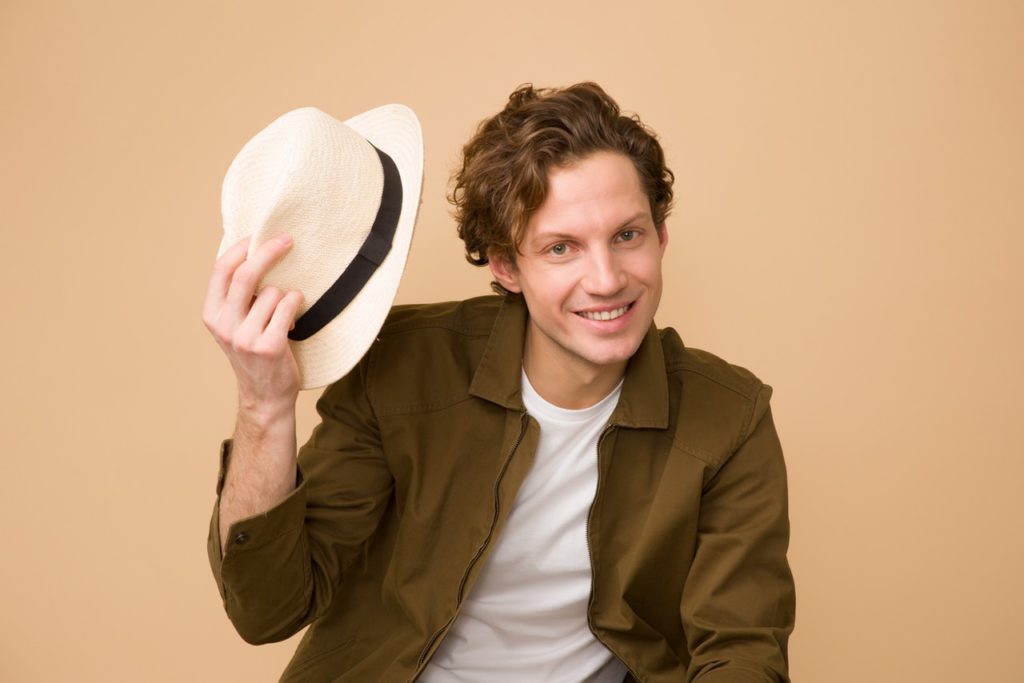
Of course, that differs dramatically with the typical portrait photograph, such as that below, in which a smooth finish to the skin was the obvious desirable outcome.
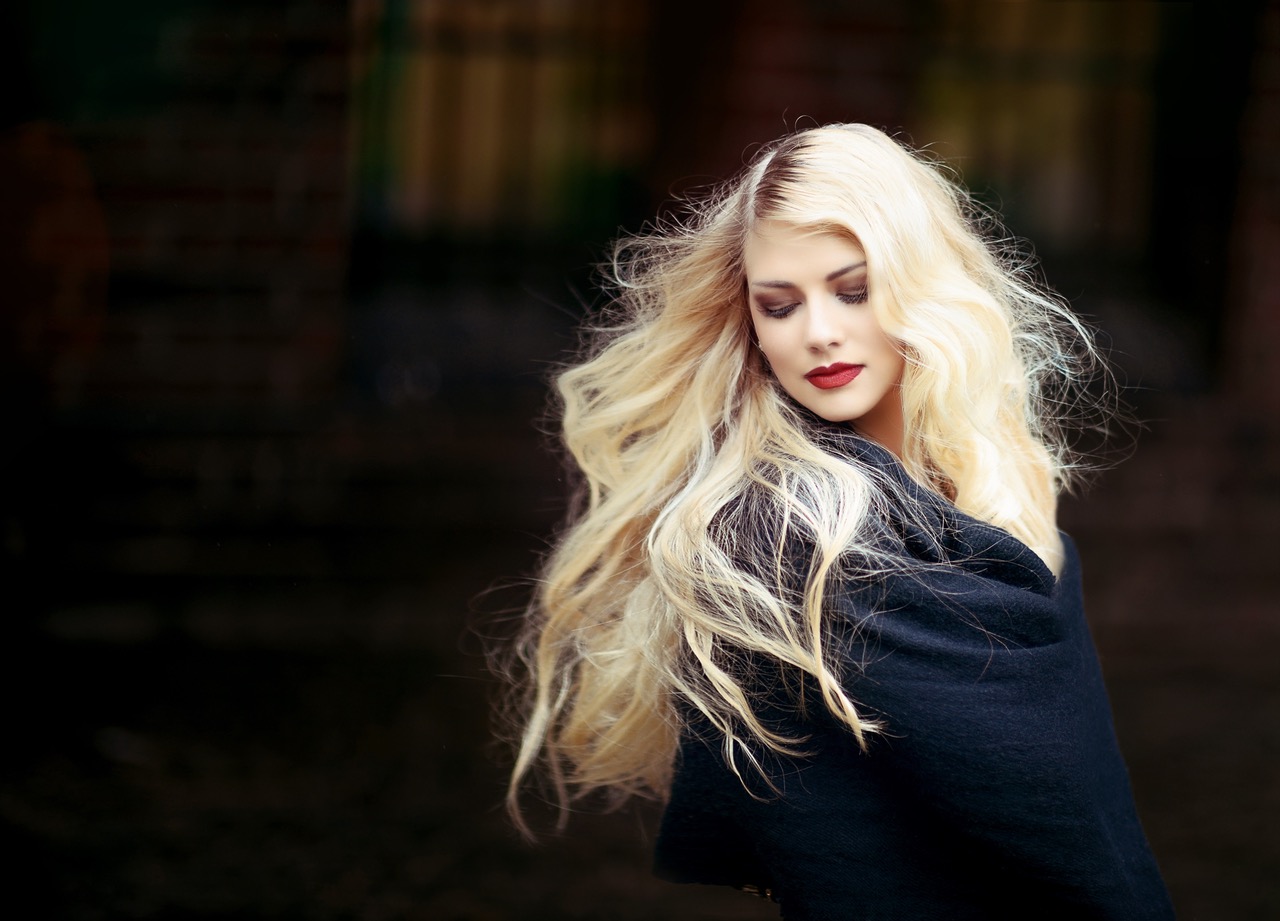
The style of photograph you want to take will inform how you treat skin texture. In general terms, you probably want smoother skin. This can be done with nice, even lighting (covered below)and of course with the handy texture brush in Photoshop or Lightroom. Here is a useful article on smoothing skin in photography if you want to cover that in a little more depth.
Control The Quality of Light and The Shadows
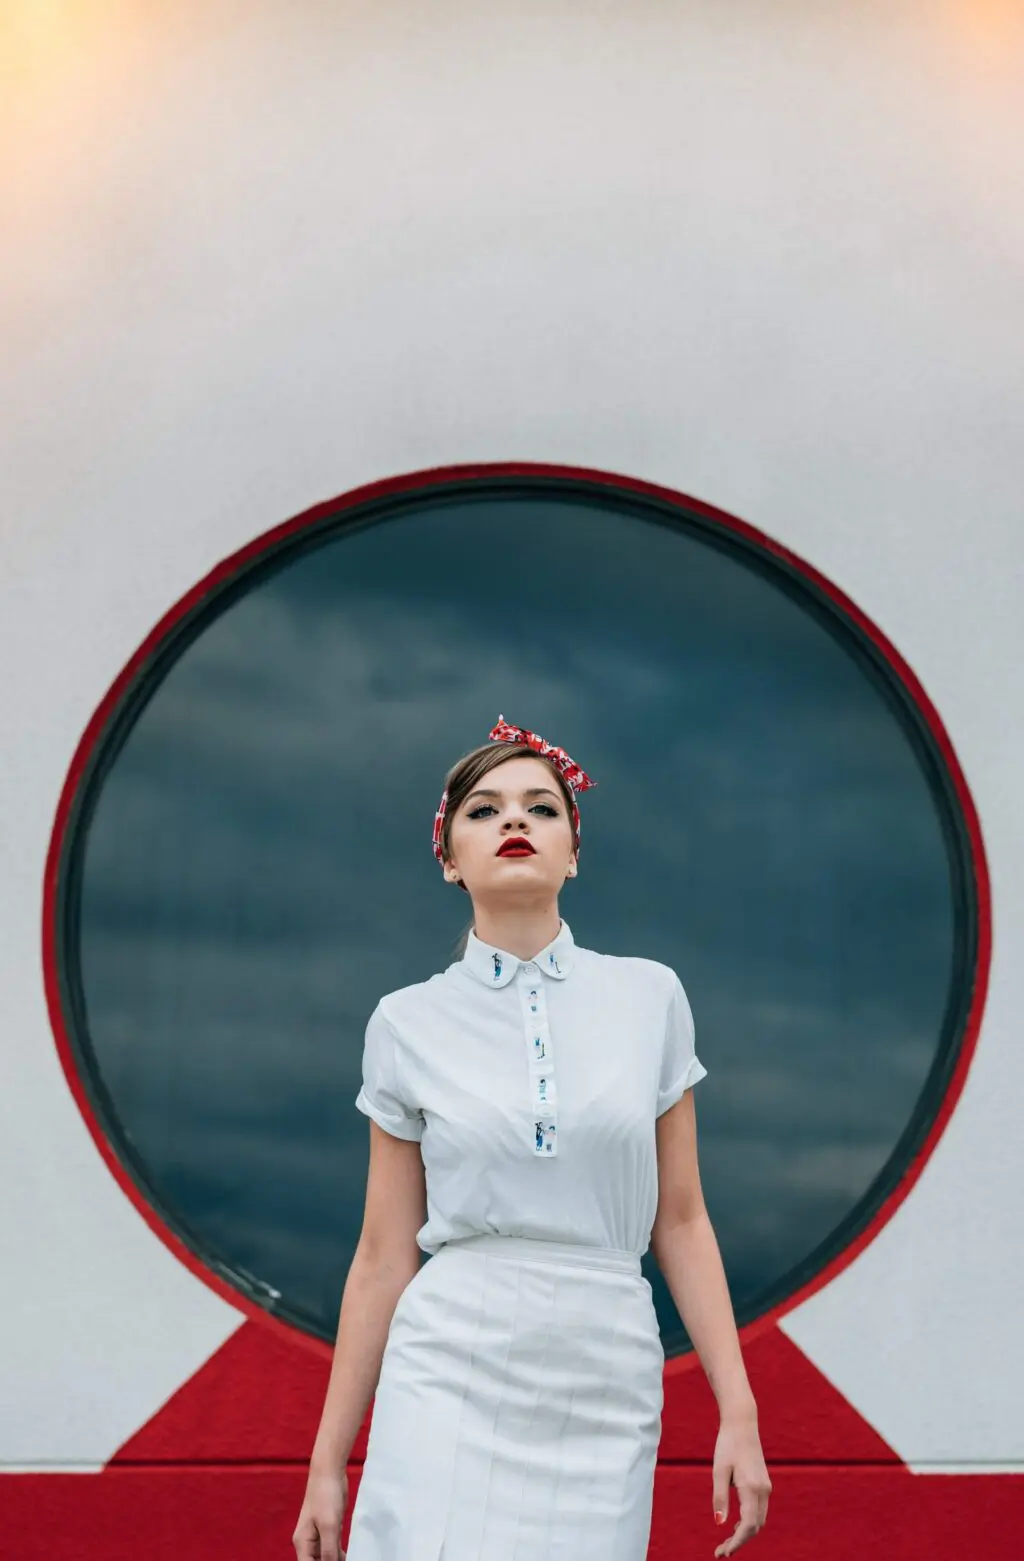
In portrait photography, it is usually considered desirable to use even and soft lighting in order to give the subject the most desirable look. What you will generally be aiming to do is to make sure the even lighting falls across the face so that you don't have any harsh shadows there. (Yes, there are some exceptions to this which we will cover below).
Notice in the photo below how the shadows falling across the model are quite soft.
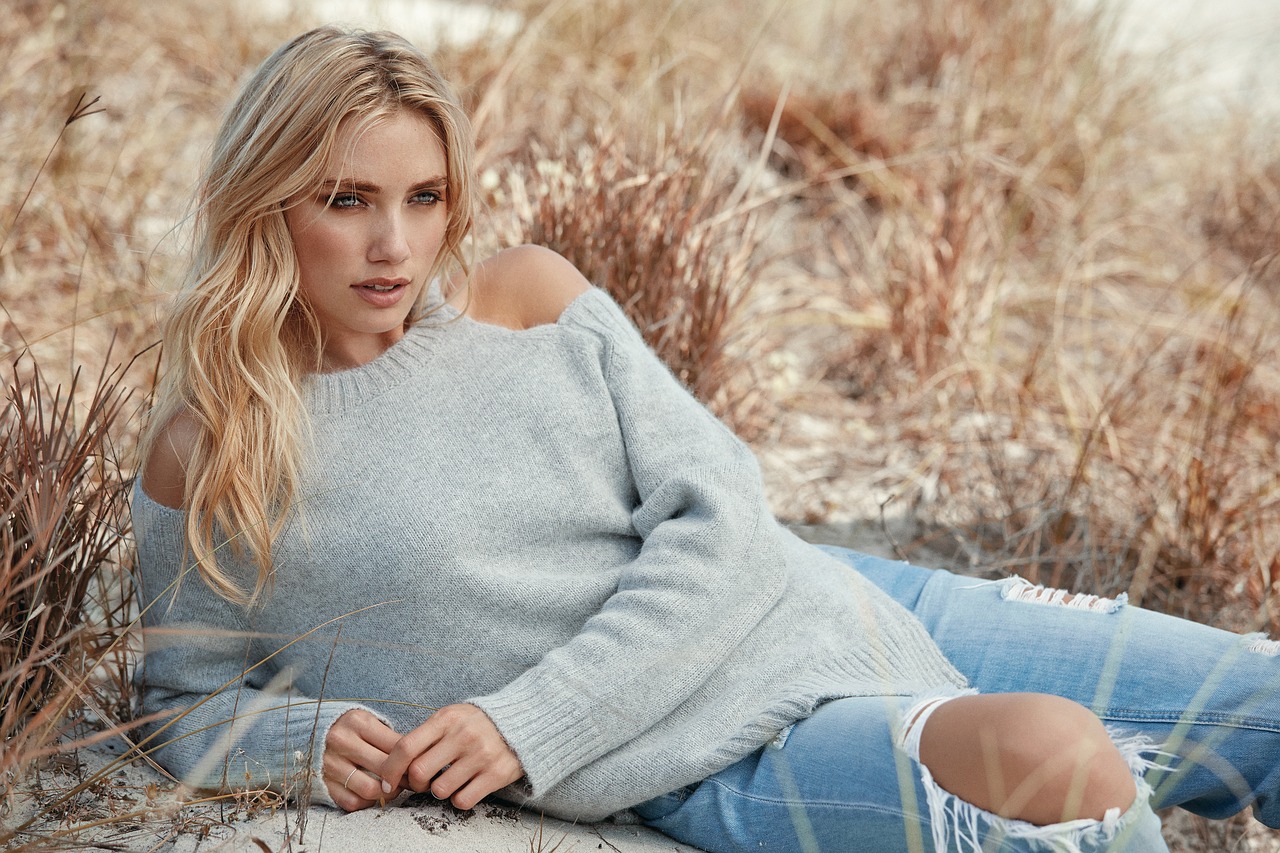
But how do you get that soft lighting? There are a few things you need to consider.
Time of day is very important if you are shooting in natural light. The early morning and late afternoon have a quality of light that is quite soft by comparison to midday. If you can time your portrait shoots for those times, you will probably have a lot better time of things.
Reflectors can help to “fill in” the shadows of a subject if they have shadows falling across their face. This will generally soften the look and make sure that those harsh shadows don't distract the viewer.
Light Diffusers can also help. Placing something to disperse the light between the subject and the light source can also be very helpful. If you are outside in harsh sunlight for example, you could place a large white diffuser between the sun and your subject (white reflectors can be used as both reflectors and as light dispersers). A simple piece of cloth such as a white curtain can achieve the same thing.
Soft Boxes are your friend too. If you are shooting with a flash, consider using a soft box or bouncing the flash off a wall. Just be careful that whatever you bounce it off is a neutral colour as bounced light tends to pick up the colour of what you bounce it off. Bounce of a red wall and you will end up with a red subject.
Window lighting is often very good to shoot portrait photographs in too. Extra points if it's overcast outside (which basically turns the sky into a giant soft box and casts a beautiful even light for portraits – especially when coming through a window).
Now, as with any tip or “rule” there are always exceptions. This portrait below breaks quite a lot of these general tips (including even lighting and smooth skin), but still works very nicely.
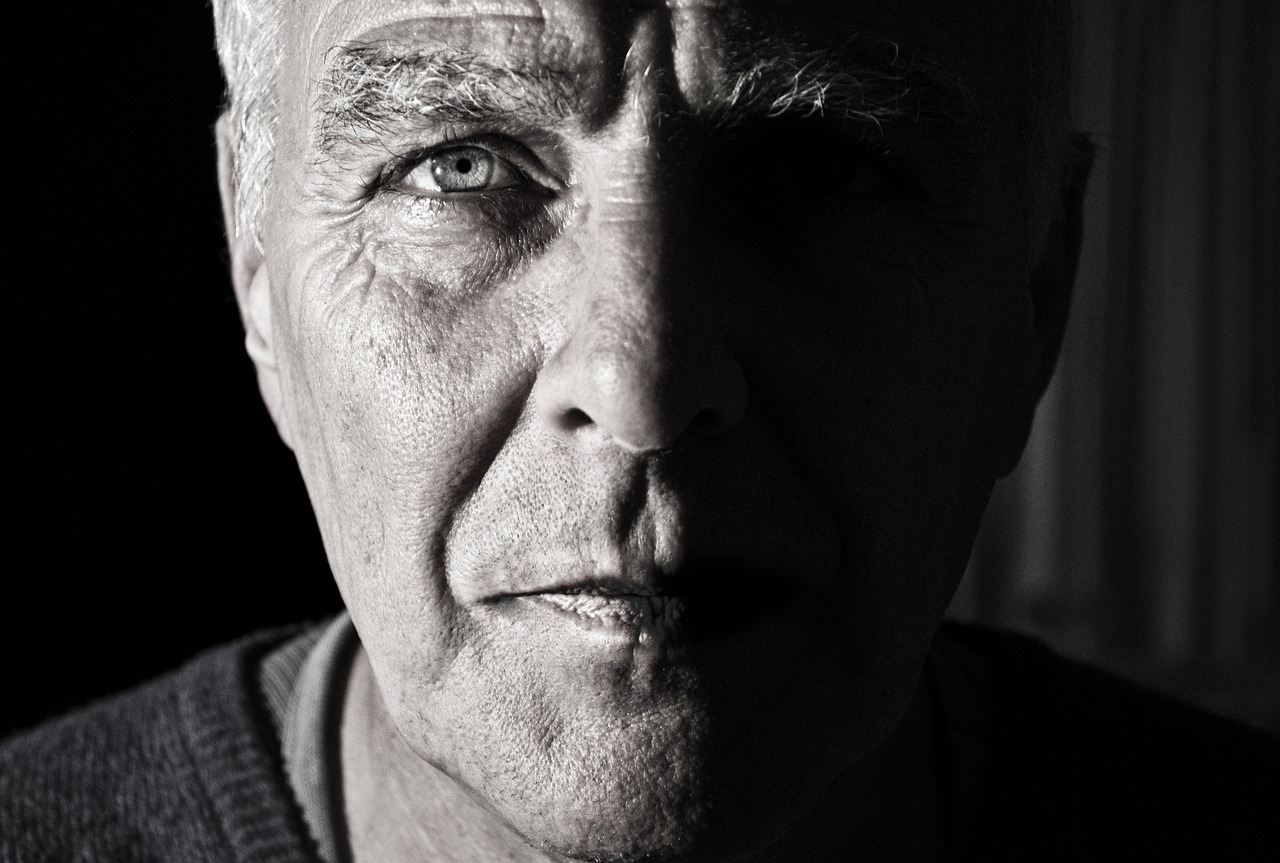
Rules were made to be broken, eh?
Final Thoughts on These Portrait Photography Tips
Now, as we said earlier, portrait photography is a huge subject that has filled many books. These ideas will get you off the starting block and can dramatically improve the results of a beginner.
But, as with all things, experiment! Break the rules now and then. Don't be afraid to experiment as it is on the periphery that styles are made and art is created. Start with these tips, but finish with your own judgment.
Further Resources on Portrait Photography
- The Art of Portrait Photography by Kent Dufault – all of the keys to pro level portrait photography.
- Advanced Composition by Kent Dufault – take your portraits beyond the norm.
- The Faceless Portrait – an example of advanced composition in portrait photography.


1 Comment
Very enjoyable reading, learned a lot.
Now if I remember what I learned, it is time to put it to practice.