For photography, the most complicated season is certainly winter. On the one hand, there are the problems associated with photographers and equipment, on the other hand, the decidedly less brilliant colors than in other seasons. As far as the photographer is concerned, the main problem is the cold: having to go around with gloves, wind, or snow protection certainly does not help photography and many photographers are “discouraged” by reducing photographic trips to a minimum.
Similar is true for the equipment: at very low temperatures the batteries suffer drastically reducing their duration, and the risk of wetting the camera or the lenses is greater.
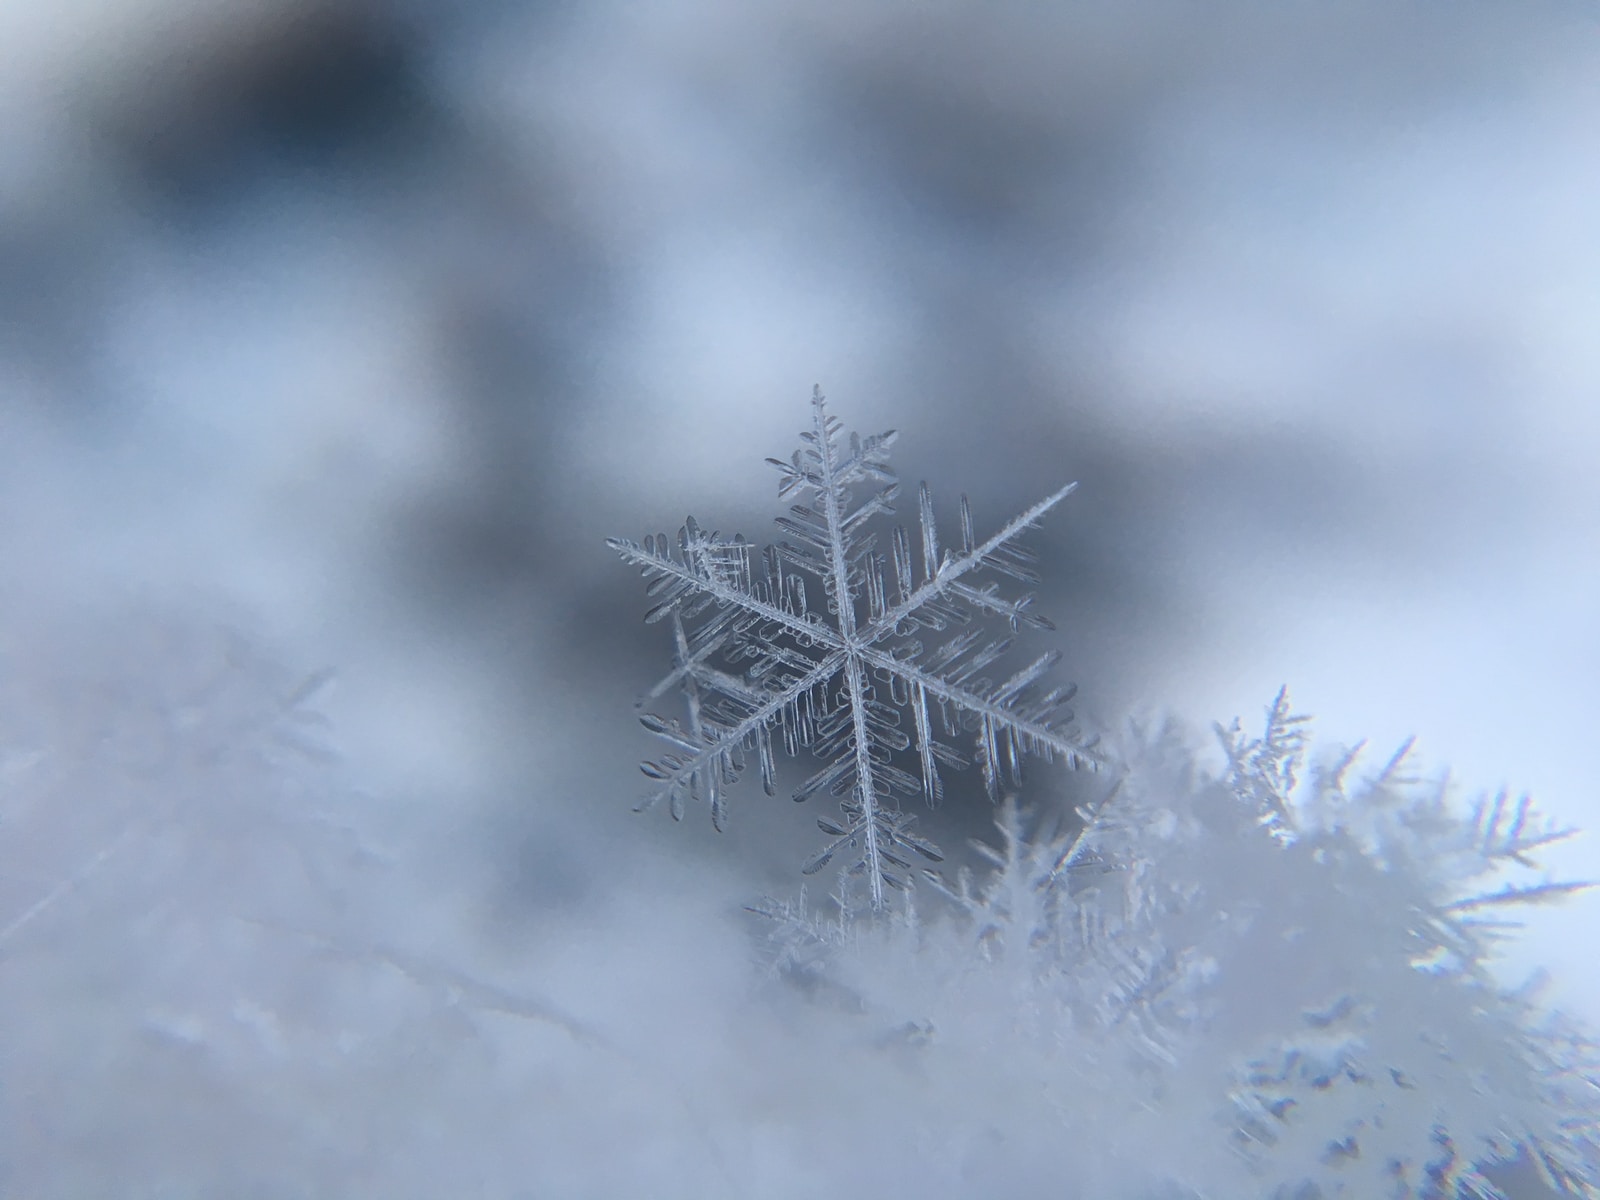
If you like snow photography, you might be wondering how to photograph snowflakes in a magical way you often see on the internet. Snowflake photographs are, without a doubt, gorgeous pieces of art. Every snowflake is different which makes every image unique.
The following tips can be used by every photographer and you don't need to limit yourself to macro photography of snowflakes. You can experiment with various lenses, you don't need to own a macro lens. There is not just one way you can take snowflake photos. You’ll have to be patient and experiment with the settings and the gear you use.
Equipment
When you're learning how to photograph snowflakes, proper equipment choices might be the first thing that comes to your mind. Luckily, you don't need any elaborate setup.
Macro Photography Of Snowflakes
If you're interested specifically in closeup photos of snowflakes, you are going to need a gear that is capable of capturing images higher than 1:1 magnification. To put it simply, you will have to delve into macro photography, as this type of photography allows you to take gorgeous photos of really small objects.
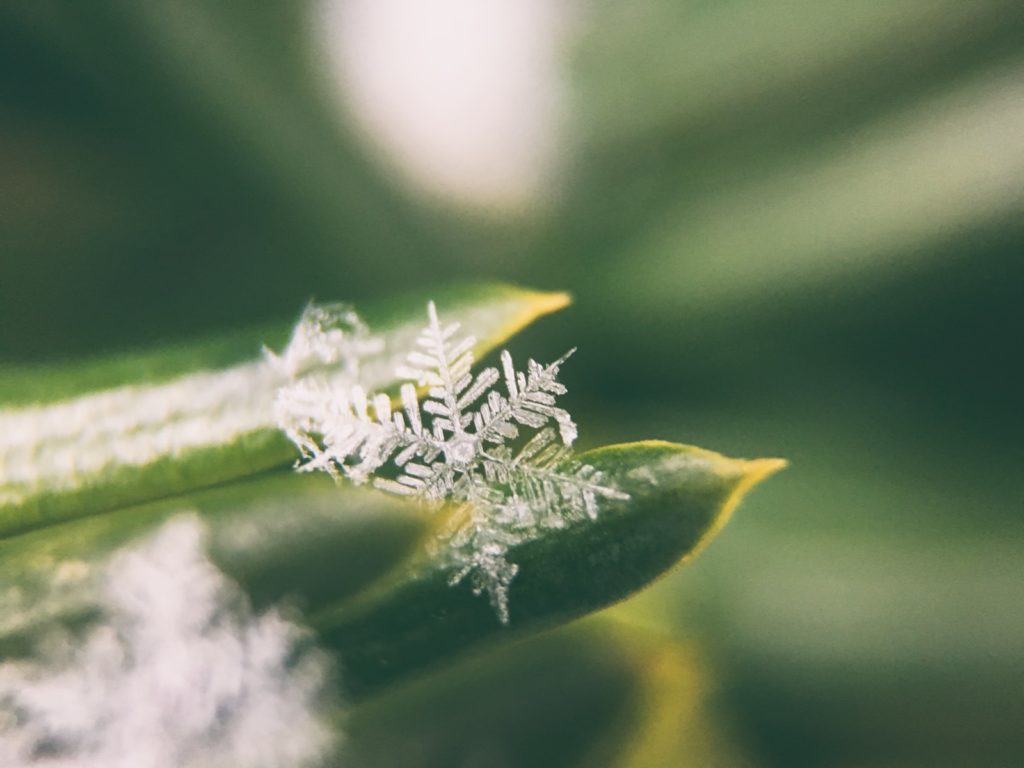
Nowadays, there are point-and-shoot cameras that can be used for macro photography and even smartphones have a macro mode, but you won't be able to capture those stunning closeup shots you're aiming at. If you choose a DSLR or a mirrorless camera, you have a few options to shoot macro.
Macro lens – Macro lenses are telephoto lenses with a close near point. Macro lenses usually produce images with 1:1 magnification but bear in mind that this is not always enough for capturing snowflakes.
Check out these macro lenses if you want to invest in this piece of equipment:
- Canon 100mm 2.8L
- Canon MP-E 65mm
- Lensbaby Edge 80
- Nikon 105 f/2.8 VR
Reversing ring – These cheap attachments allow you to convert a regular lens into a macro lens. You can attach your lens reversed to your camera body and see how this works. You can check this article on useful tactics for shooting macro at home.
Extension tubes – You can extend the magnification of your lens by using extension tubes. Check out this insightful article on extension tubes.
Like most other photography accessories, you have the option of acquiring extension tubes made by one of the major camera manufacturers or one of the many second-party manufacturers. The major brand tubes are typically more sturdily built and allow you to use autofocus; second-party tubes don’t usually sport the same build quality and operate only manually. The other important distinguishing factor is price; while extension tubes from Nikon and Canon will cost approximately $140USD, a generic set of three tubes of various lengths can be had for a cool $30USD.
Macro filters – These filters decrease the minimum focusing distance, allowing you to get a lot closer to a subject. You can also stack several close-up filters to increase magnification even further.
How To Photograph Snowflakes Without a Macro Lenses
You don't have to aim at capturing a single snowflake -you can photograph, for instance, a group of snowflakes on a dark background. This might not be as stunning as macro photography of snowflakes, but it's a great exercise. Try to photograph snowflakes with a 50mm lens and stop down your aperture to f/4, f/5.6, or f/8 for optimal sharpness and depth of field. You might be surprised that even this type of shot can have a great aesthetic value.
Key Camera Settings for Photographing Snowflakes
In winter, colors tend to be grayish, which often makes the photographs underexposed and with a predominant bluish tone. In short, it is really important to have many parameters in mind when you photograph snowflakes. This is a list of camera settings important for snowflake photography and also snow photography, in general.
Shooting RAW
Shooting in RAW is very important when you photograph snowflakes as it allows to preserve more details. You’ll have more freedom during post-processing if you stick to shooting RAW. You can crop your images or adjust the white balance freely without losing image quality.
Focal Length
The focal length of the lens you use has a strong impact on the final shot, whatever the subject. The longer the focal length, the more compact the scene will be, reducing perspective effects. This actually works well when photographing snowflakes, giving a layered feel to the image. The greater the focal length, the greater the number of “layers” of snowflakes that can be included in the composition. This can be very useful to know if you decide to shoot regular, not macro photographs of snowflakes and snow crystals.
On the other hand, a short focal length amplifies the distances but at the same time maximizes the depth of field. By photographing with a short focal length, you will be able to capture many perfectly sharp snowflakes.
Both methods are to be tried and in the end, the result is directly linked to your ability or taste. You should review the photographs and check the EXIF data in order to understand which was the best combination used.
Manual Focusing Vs Auto Focusing
Macro photographers usually work with manual focus as it’s hard for the camera to focus on such a tiny subject as a snowflake. In addition to this, macro filters can easily interfere with the autofocus and they make focusing even harder.
Because of this, stick with manual focus and place the focus wherever you wish. You should also move the camera to find the perfect point and angle – it's crucial to experiment! Try making most parts of the snowflake appear razor-sharp if you want to showcase all the geometric shapes within snowflakes.
Autofocus is not the preferred mode to shoot macro images, but if you are not comfortable yet with manual focus, then the following are some useful tips for nailing autofocus.
- Set your AF Mode to Single Shot servo. This will prevent focus hunting if the wind is blowing your subject around.
- Select a single autofocus point rather than a multipoint. Use the camera’s joystick or D-Pad to move the focus point to the desired location.
- With the camera mounted on a tripod, use the LCD screen rather than the viewfinder to attain good focus.
Aperture
Aperture settings play a huge role when photographing snowflakes. The larger the aperture, the shallower the depth of field. If you want to maximize depth of field (which makes more sense in snowflake photography), use smaller apertures. In most cases, setting your aperture somewhere between f/5.6 and f/11 should work.
Shutter Speed
Shutter speed can have a major effect on your snowflake image when shooting a snowfall. If you want the snowflakes to appear clear and crisp, you will need to use fast shutter speeds. As you already know, the shutter speed depends on the aperture and the ISO.
Start with a fast shutter speed value to avoid blur in your snowflake photographs. You should set it to 1/100 or faster. If you need to deal with slower shutter speeds, a tripod is a must.
ISO
You should try to keep your ISO as low as possible, especially in macro photography. This way you can avoid noise which would result in quality loss. Start with the smallest ISO value your camera offers.
A lot depends on the lighting conditions and you can always change the lighting in case it's not ideal – sometimes you can't rely on available light exclusively.
Useful Tips And Tricks For Snowflake Photography
Camera Protection
Keep the camera in a warm place – most malfunctions occur due to cold batteries. Carry as many spare batteries as possible. Their life, in low-temperature conditions, tends to be very short, even only 1/3 of their normal life. If it snows, protect your camera with a ziplock bag. Cut an opening for the camera lens and viewfinder. Wrap an elastic around the bag on the lens in order to isolate the camera body from the outside.
Never blow snow from the lens as it would create condensation: brush off the snow. When you return from a day of outdoor photography, put the camera in a plastic bag to protect it from condensation when going from the outside to the inside. Do not breathe on the viewfinder of the camera when taking pictures as it could create a little ice in the viewfinder itself due to condensation.
Look for Soft Natural Light
The secret to a great photograph is always the light. If you’re shooting outside you can get away with natural light. Assuming you’re shooting while it's snowing, you’ll likely have cloudy skies which act as a giant softbox.
The sunlight in the early morning and late afternoon offers unique photography opportunities thanks to the particular reflections and colors, especially in snowy environments. In case you like shooting snowflakes in natural light, early mornings and late afternoons are perfect.
However, natural light will work only for basic snowflake photos. To get a more dramatic, bolder look you can experiment with various light sources and place them properly. If you're a beginner, you don't have to do it, but if you're an advanced photography enthusiast, snowflake photography is a great reason for honing your lighting skills.
Try a Ring Flash
In case you don't want to or can't stick to natural light, there's another excellent option – you can use a ring flash. Ring flashes are the perfect solution for snowflakes – they help to keep the shadows down and they are great for showing minuscule details of your subject.
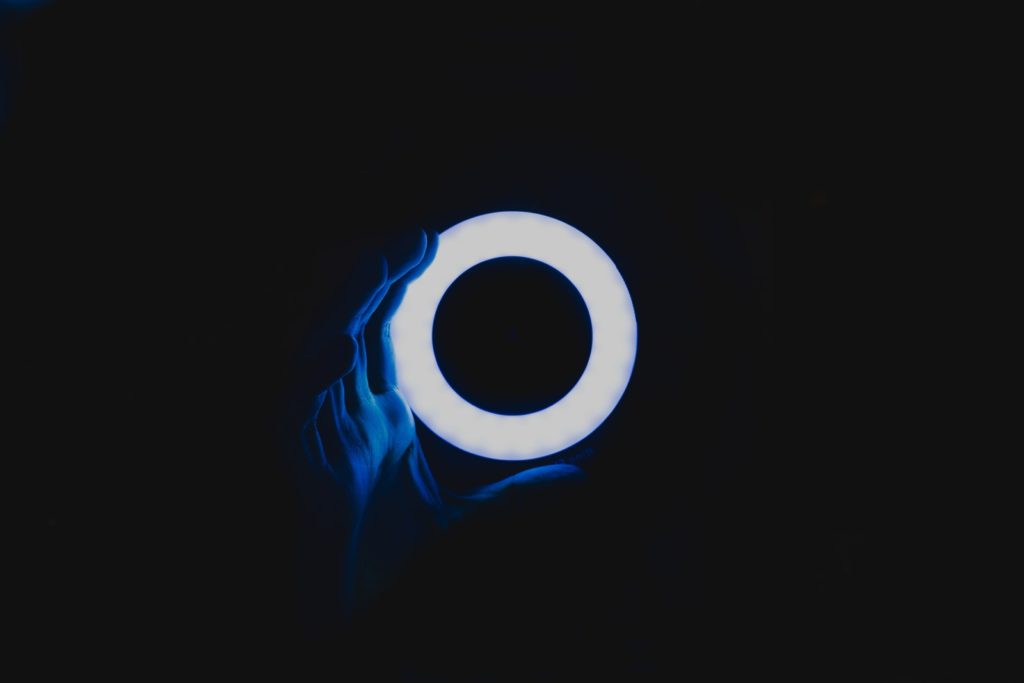
If you're thinking of purchasing a ring flash, check out these great models:
- Nissin MF18 Macro Flash
- Canon MR-14EX II
- Metz Mecablitz 15 MS-1
- Olympus STF-8 Macro Flash
- Nikon R1 Close-Up Speedlight Remote Kit
Of course, you don't need to stick to ring flash. Adding regular off-camera flashes to your setup will give you more control and let you stop down your aperture. You can even use a high-powered LED flashlight, just be careful not to get too close as you may melt the snowflakes you intended to shoot.
Choose a Background Intentionally
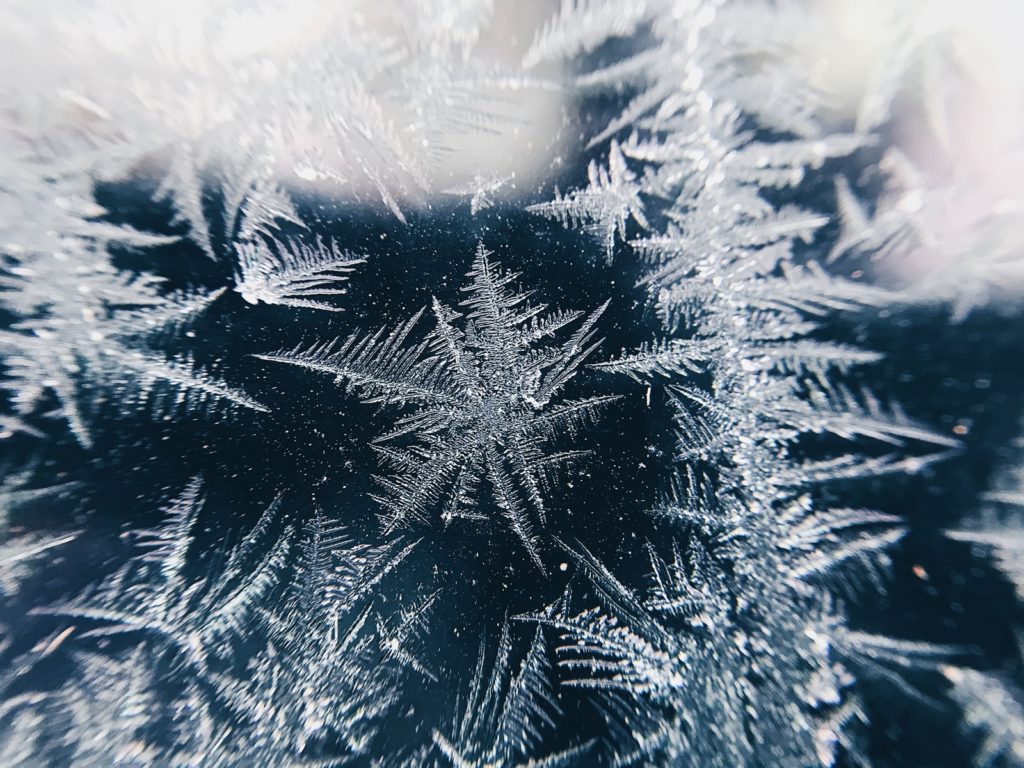
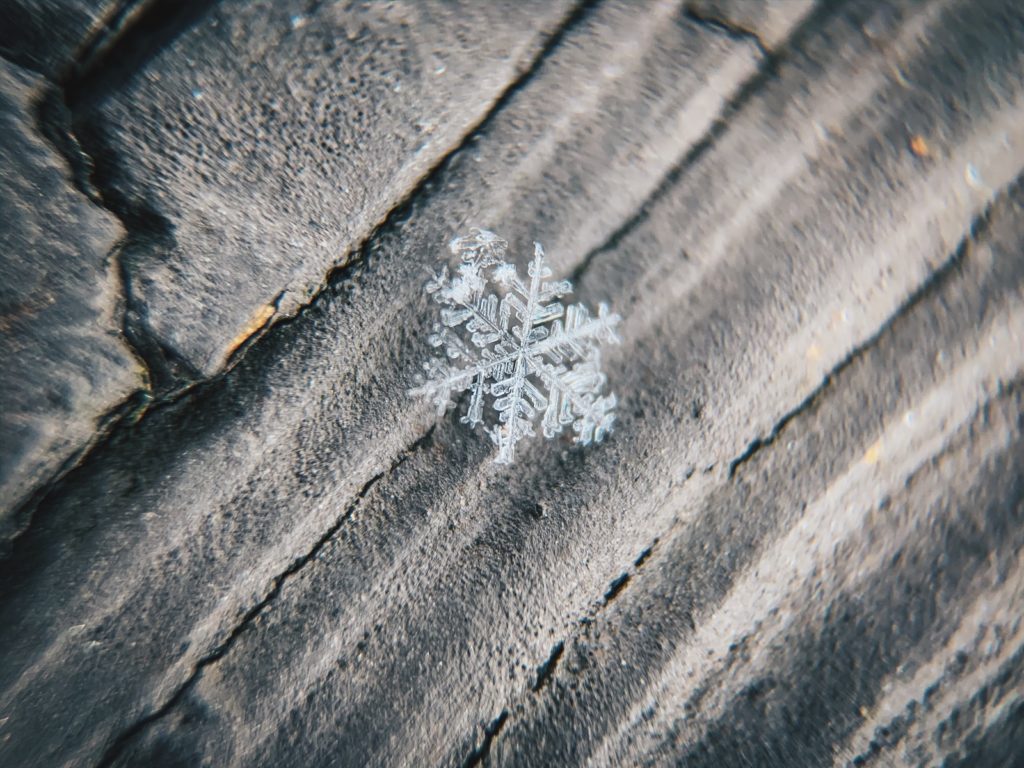
Your background can be anything that will make snowflakes stand out. Dark backgrounds are usually very effective, such as dark blue, dark red, or black.
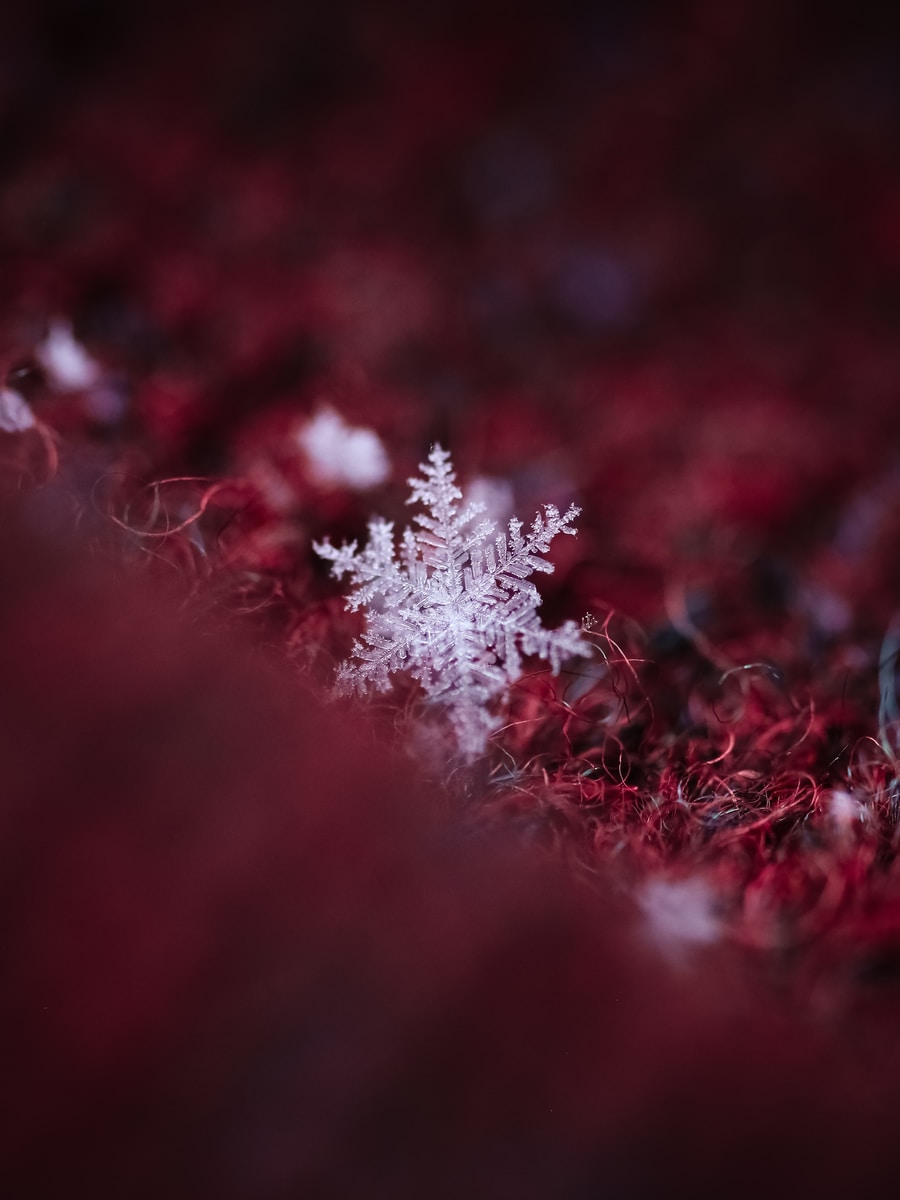
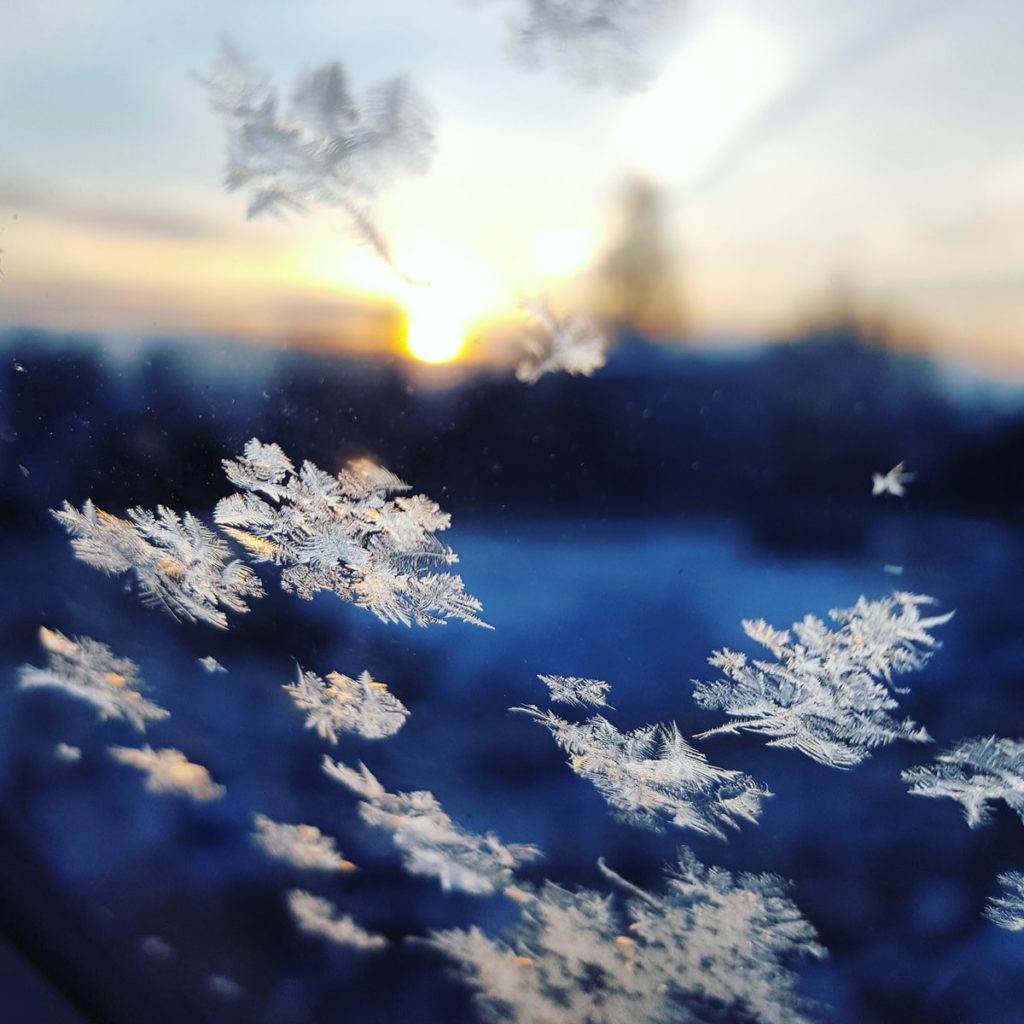
You can also photograph a snowflake through a window (if it sits on the glass). This way you can have different scenes as a background.
When the ground is not covered completely in snow yet, it can also serve as a dark background.
Use the Right Composition
Just because your subject is beautiful doesn't mean you're allowed to ignore compositional rules.
While macro photographs of snowflakes can look great with simple centered composition, if you're shooting falling snowflakes or groups of snowflakes, try to be creative and use the leading lines, the rule of odds, the rule of thirds, and also reflections if you're shooting through the window. You can also play with negative space and juxtaposition.
Editing Snowflake Photography
If your photo of a snowflake is well-exposed and razor-sharp, congratulations! There's isn't much that you need to do in order to improve it.
After importing your shots to Lightroom or Photoshop, the first thing you can do is cropping your photo to make the snowflake bigger. You can even fill the entire frame with the snowflake for dramatic effects. Experiment with both filling the frame or introducing negative space – it's important to test all the options and find the optimal solution in terms of composition.
Once you're happy with the composition, you can adjust the exposure and white balance to make them suit the eye. When it comes to white balance, test both warmer and colder color temperatures. Most snowflake photographs are bluish, but it doesn't mean that you can't experiment with different white balance settings. You can also convert your shots to b&w – this can look wonderful in snowflake photography.
After adjusting the colors, you can play clarity and dehaze sliders in Lightroom. You can also bump up the sharpness if needed, but be careful not to overdo it.
Conclusion
You can’t find two snowflakes alike – maybe that's the main appeal of snowflake photography. They are all unique and it is truly rewarding to dedicate yourself to this type of photography in the wintertime. The magical details of snowflakes are the perfect subject for macro photography, but as we're already mentioned, even regular photos of groups of snowflakes or snowfall can look gorgeous.
We hope this article was useful and that it helped you learn how to photograph snowflakes. Now it's time to grab your camera and start practicing.


