Flower photography is a whimsical art form that anyone can embrace. Flowers are everywhere around us – they are in our garden, beside the street, in our community parks, and, of course, out in the wild.
Really, spend any time outside, and you will come across a variety of flowers, and they can be an interesting subject to photograph. Flower petals come in all shapes and colors!
Creative flower photography can be done in a variety of ways, using different types of lenses and from different perspectives.
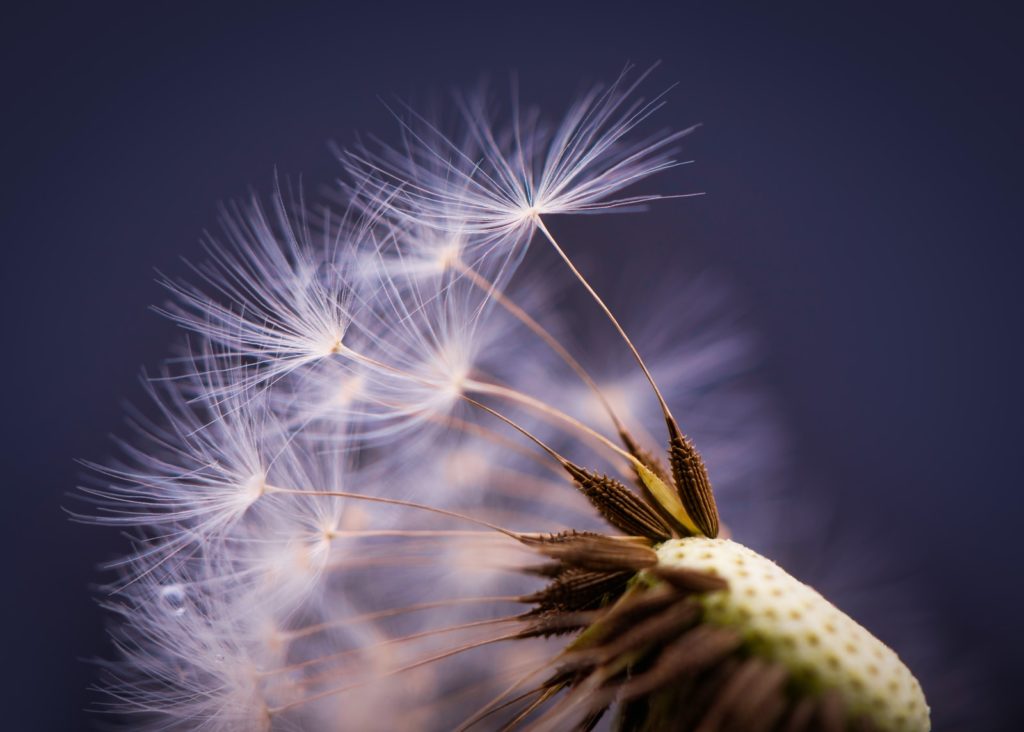
Flowers are so colorful and add beauty to any landscape that you can find contrasting colors to put together while composing your images, and that way, create very striking images. Macro flower photography is a wonderful subgenre to master once you are already confident about regular flower photography.
These 8 strategies will get you started, but if you want more take a look at this 156-page practical guide Photographing Fabulous Flowers packed with Assignments, Key Lessons, and Self-Check Quizzes!
Here are 8 flower photography tips that you should embrace to get the best out of your flower photography:
1. Remember Flowers Can Be In Any Location
Flowers can be photographed outdoors in the garden, or if you are going to be photographing cut flowers, then you can photograph them indoors using artificial light or natural light.
If your passion is flower photography, make sure you carry your camera and your favourite lens for flower photography with you at all times when you are outdoors, as you never know what you will come across.
Moreover, most flowers are short-lived, and missing a photography opportunity can sometimes be upsetting!
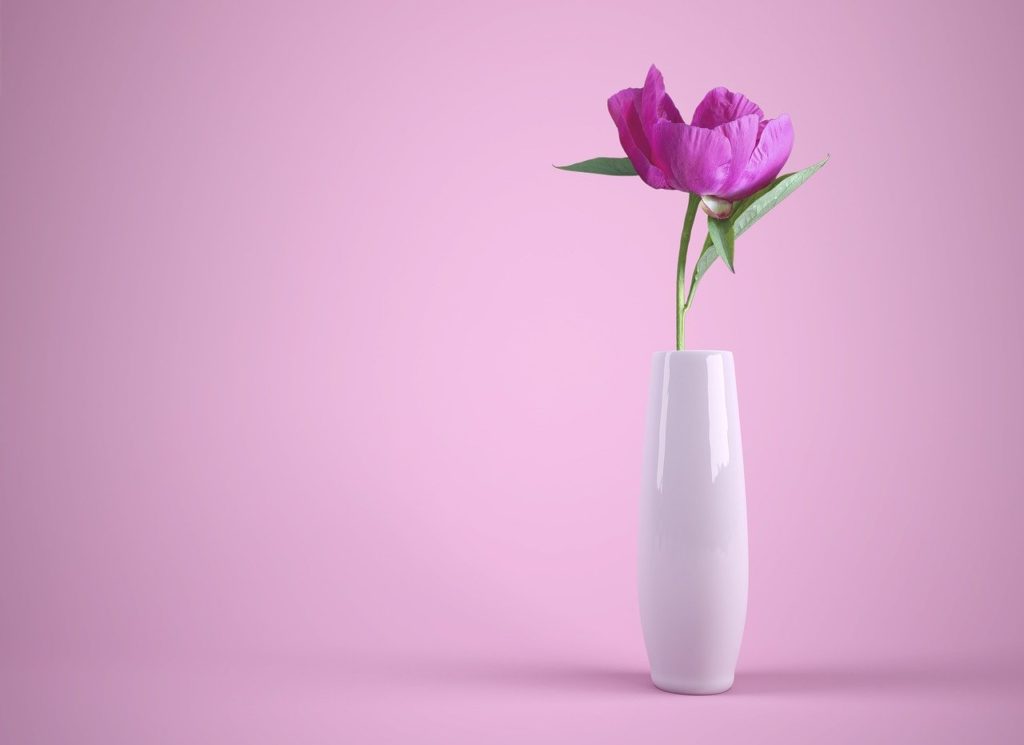
2. More Flower Photography Tips: Look For Good Perspectives
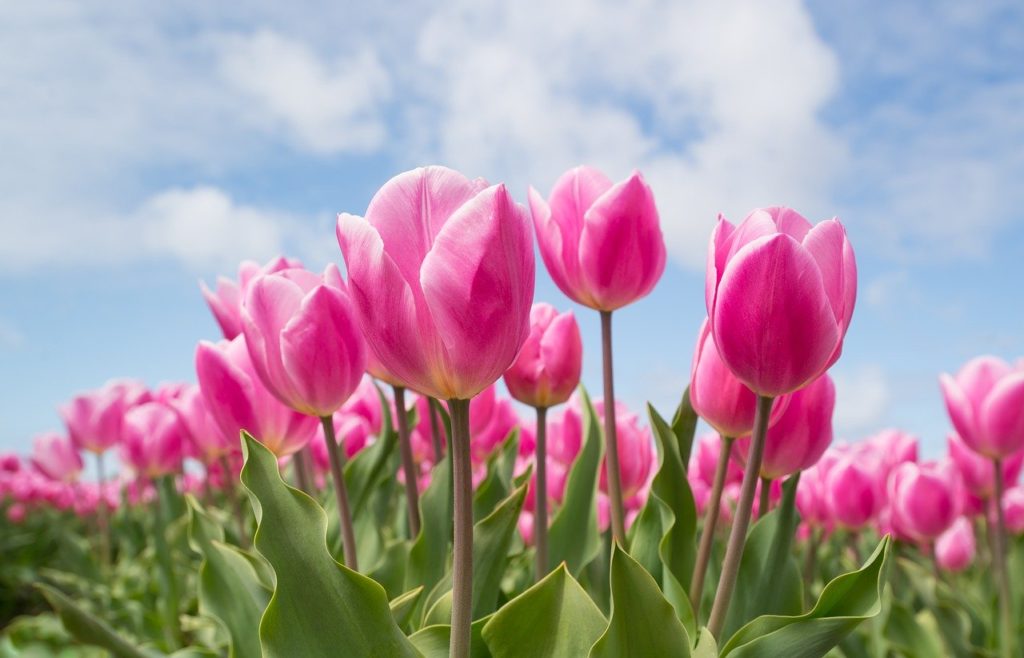
While photographing flowers, don't just point and shoot, it is always best to get down to the level of the flowers, so you get the surrounding areas of the flowers as a backdrop, but, always sticking to this perspective can also look a bit boring.
You can try top-down perspectives – “flatbed” perspectives (I just made this up, and this means photographing a bed of flowers top-down), or even think about photographing your flower subject from a bottom to the top perspective where you can include the sky or sunburst to add drama to the frame.
Get the help of the camera’s tilt LCD screen if your camera has one and use it to compose those extremely low perspectives. Flower petals can really look great from a lower perspective.
3. So, Which Is The Best Camera For Creative Flower Photography?
When it comes to photographing flowers, I am going to stick with the quote, “The best camera is the one that you have with you.” Any camera is a good one to take flower pictures, yes, even a compact camera or a mobile.
Use the macro mode to shoot awesome images of flowers with your compact camera or even a smartphone. If you have a DSLR or mirrorless, even better – use your favorite lens for flower photography and start shooting.
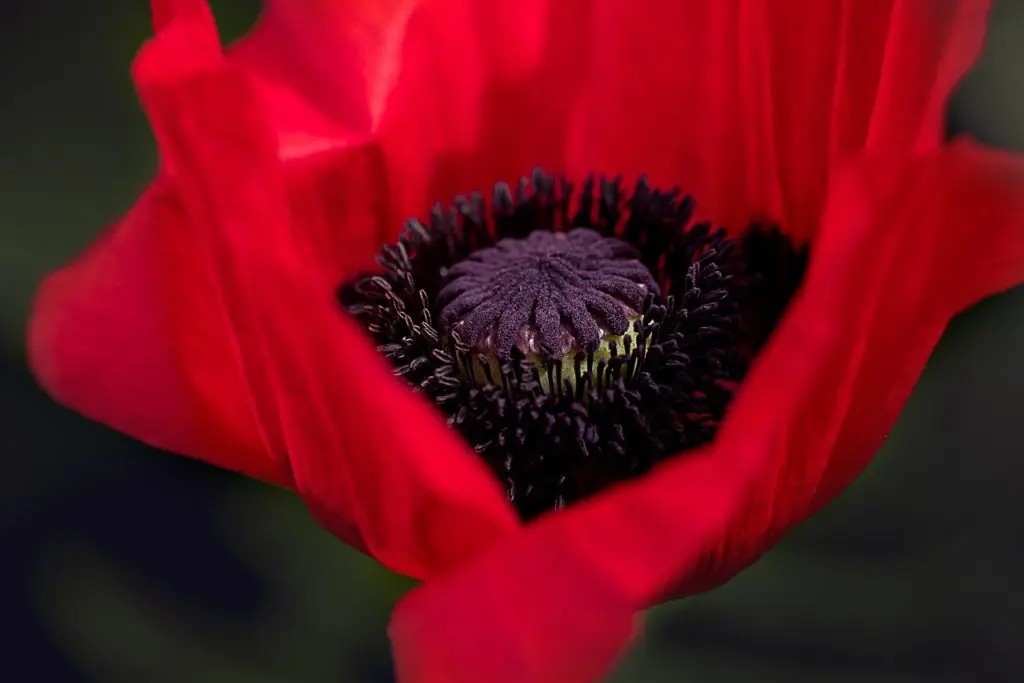
4. Best Lenses For Flower Photography
Lenses for flower photography depend on what you are looking to shoot. One of the best and cheapest lenses would be the 50mm f/1.8 lens, as it can produce sharp images with creamy bokeh. But, depending on what you want to shoot, you can use a prime lens, a zoom lens or a macro lens.
- Prime lens: Prime lenses are sharp, fast and come in aperture values like f/1.4, f/1.8 that can help you focus on the flower and have a beautifully blurred background. However, you need to be careful where you place the focus and how much of the flower’s details you want to be in focus. Depending on that, you will need to carefully choose the aperture.
- Zoom lens: These are the most versatile lenses when it comes to flower photography, as they give you the freedom to zoom across a wide focal range and compose your flower photographs. If you want to fill the frame, just zoom in and capture the flower only in the frame, but if you are going for a wider perspective, zoom out and add more elements like more flowers, leaves, or the surrounding in the frame.
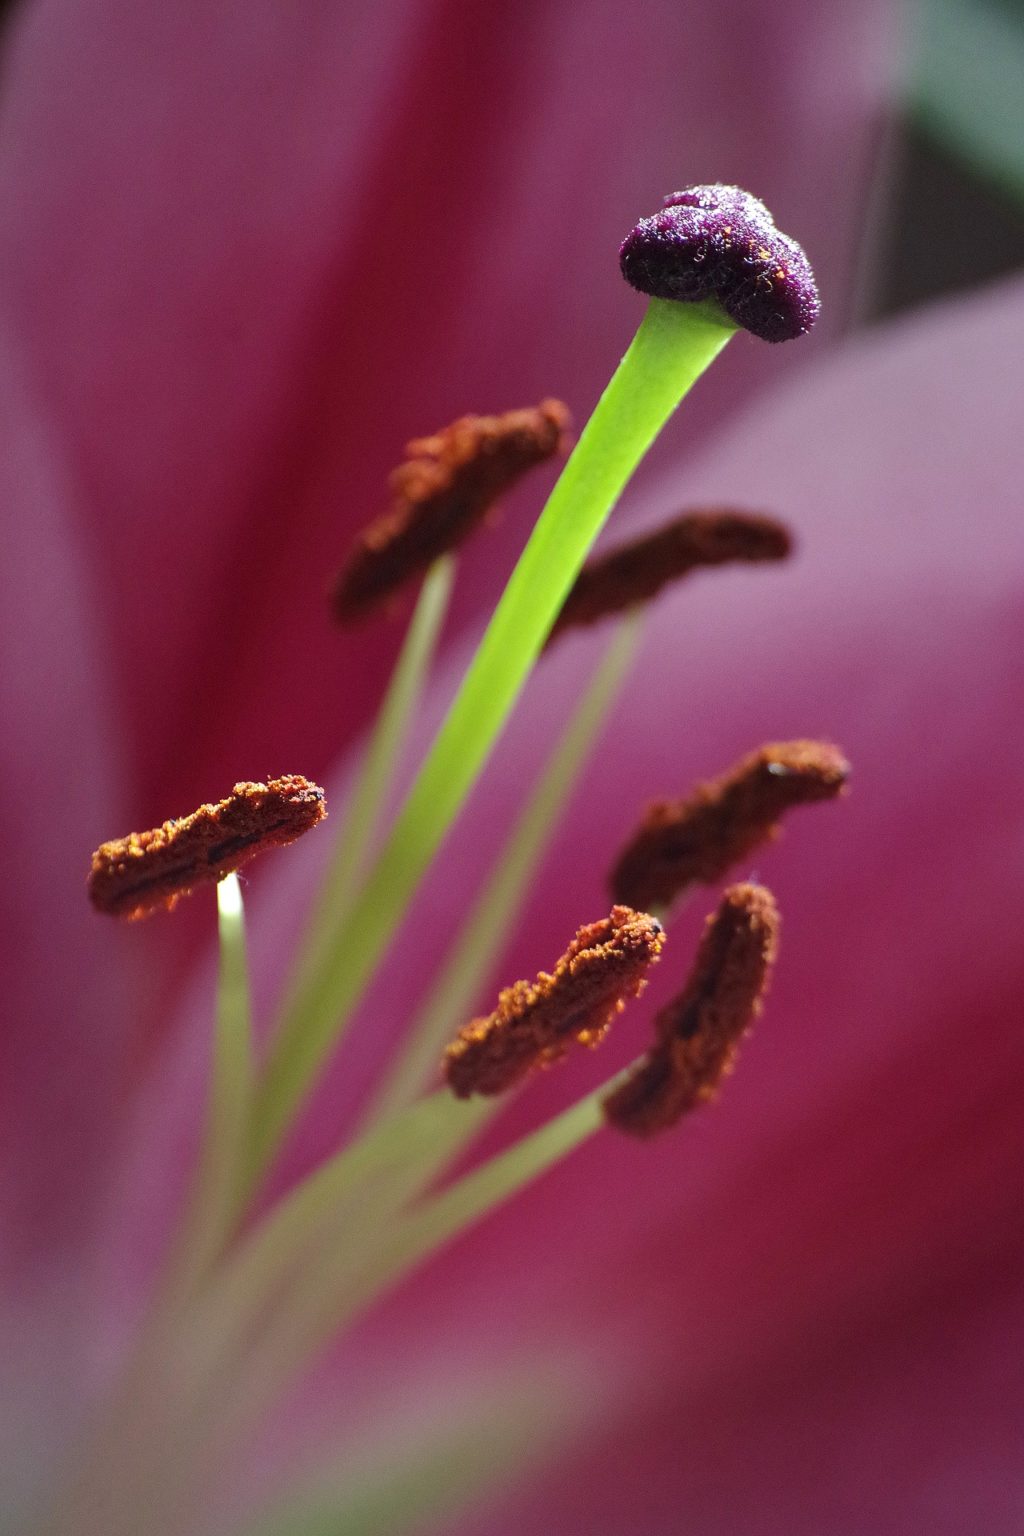
- Macro lenses: Macro lenses are similar to prime lenses, where they help with sharp images, but the advantage with these lenses is if you want to capture tiny details like the stamens, or even just the pollen, these lenses are great for the intricate details you can capture. Be careful with placing the focus and sometimes you may even want to do focus stacking for great details in macro shots. Manual focus is the best way to go with macro shots and focus stacking.
Care needs to be taken during macro stacking to have the camera on a tripod; the flower should not move during this process, so breezy days are a big no if you are outdoors.
It is best to shoot indoors if you are looking to do focus stacking, but we do not recommend plucking the flowers if that is not what you wish to do. In difficult conditions, simply narrow down the aperture to get all details in the photograph.
5. Understanding The Best Camera Settings For Flower Photography
In order to get sharp, well-exposed, great-quality images of flowers, you will need to have a good understanding of the exposure triangle. You may also need to keep an eye on the histogram in order to not blow out details, especially when you are shooting lighter and brighter colors; for example, colors like red and white are quite difficult to shoot. Also, if you work with a macro lens, you have to understand how to use if for the best results.
- Aperture: Most photographers prefer to shoot wide open aperture for flower photography, but the very narrow depth of field can become trickier and throw off most parts of the flower out of focus, but if you are going to focus on a petal or the stem or a specific part of the flower, then without any worries, shoot at wide aperture values.
In order to have the entire flower in focus, you may have to adjust the distance between the camera and the flower and/or narrow down the aperture to about f/3.6 or f/4.5, sometimes even up to f/6.3 or f/7 to get the whole flower in focus. If you are looking for close shots, then definitely stay closer and use narrow aperture values. You may have to test different aperture values and pick the one that gives the results you are looking for. - Shutter speed: A general rule for shutter speed would be for it to be greater than 1/focal length, taking the crop factor into account if you are not using a full frame camera. I would say, to be on the safer side, have a shutter speed greater than 1/(2 x focal length) or 1/250 of a second, whichever is greater. With flower photography, when shooting outdoors, you will have to take into account any movements due to a breeze or other factors. In that case, you will need a faster shutter speed between 1/800 to 1/1000 of a second or sometimes even up to 1/2000 of a second. You could also use a thin clamp to have the flower in place and avoid movement.
- Iso: Depending on the aperture and shutter speed that you have chosen, you will need to adjust your iso. Sometimes, narrow apertures and faster shutter speed may lead you to choose a slightly higher iso to get your exposure right. Make sure you adjust exposure values based on the light and what you would like to photograph.
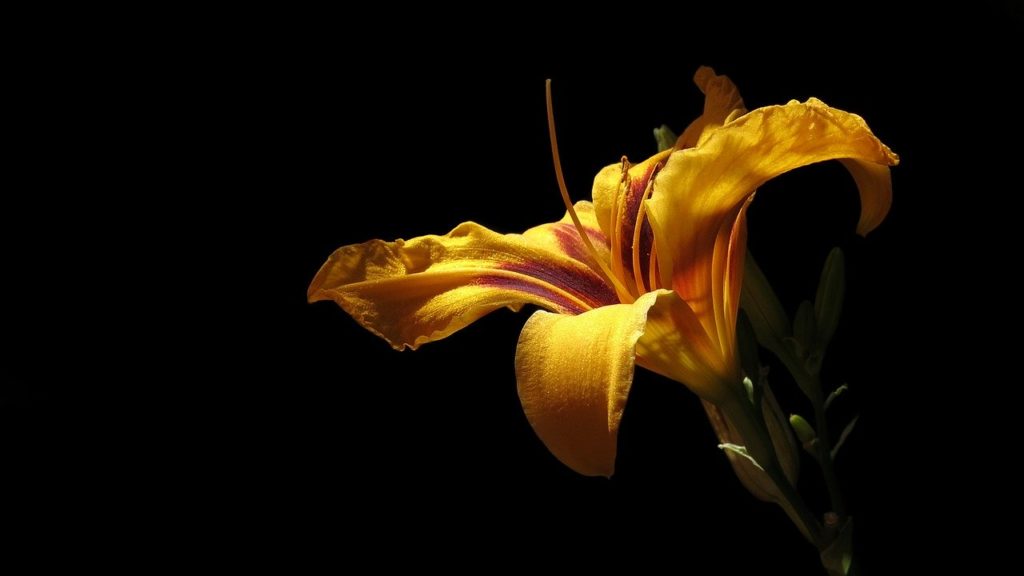
- Metering: Metering techniques can be creatively used to photograph flowers based on what you want to include in the frame. If you are looking to include all the details of the flower and the surrounding elements in the frame, you will need to use matrix metering, but if there is bright light and you want the background dark, so that the flower stands out, you can use spot metering to get the image you are looking for.
- White Balance: Depending on the available light (for example, bright light or shade), type of day (for example, cloudy, overcast), and the location of the flowers (for example, indoors or outdoors), you can use the white balance presets that are available in the camera. If you are confused as to what to use, you can always choose auto white balance, shoot raw and then make adjustments to white balance while post-processing.
6. Additional Flower Photography Tips: Lighting
Flower photos need great, beautiful, and glorious light so you can capture stunning images from your already beautiful subjects. Both photos taken with a macro lens and a regular lens can look equally gorgeous.
- The best light for flower photography would be the golden light early in the morning and late in the afternoon. Harsh midday light can be too much for flower photography, so it is best to avoid shooting flowers during this time.
- Overcast days can be good for getting rich colors and diffused light for flower photography, but if the cloud cover is too much and you feel that the light is dull, and the image lacks contrast, make use of white reflectors to reflect some light onto the flower to get detailed, colorful and contrasty images.
- When shooting indoors, diffused light from the window is the best. If you feel that the light is not good, or casts unwanted shadows, make use of reflectors to add some fill light.
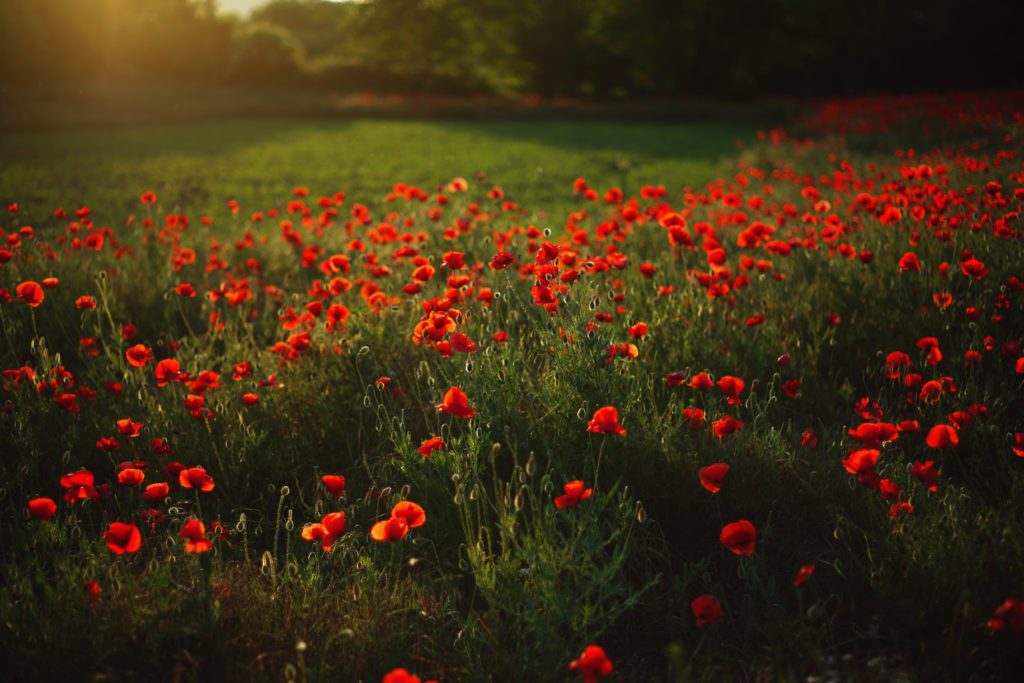
- Try backlit sunlight to illuminate your flowers during the golden hour, as these can help create dreamy images of flowers with the rim light highlighting the flower's details. Just make sure that the flower is illuminated well by using the right metering technique and by using reflectors if the flower looks too dark.
- What about the times when the flowers are under the shade of a tree or canopy where sunlight hits areas of the flowers in spots? This is a time you will want to avoid shooting and wait till the sun goes lower on the horizon, as these bright spots can really ruin a good image.
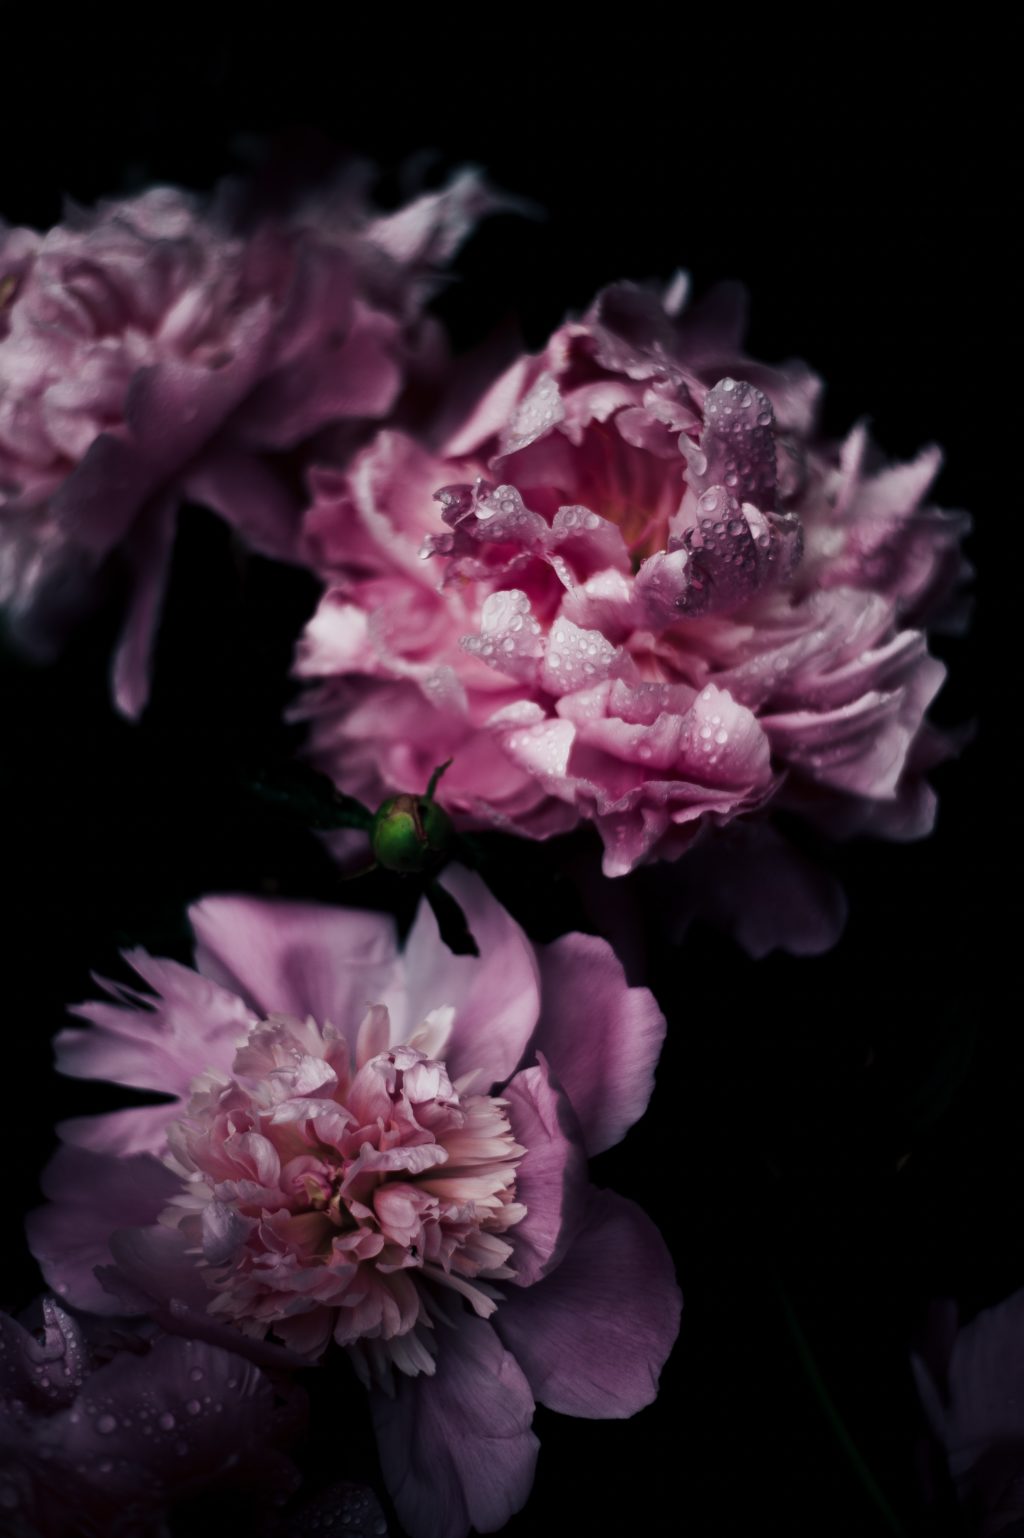
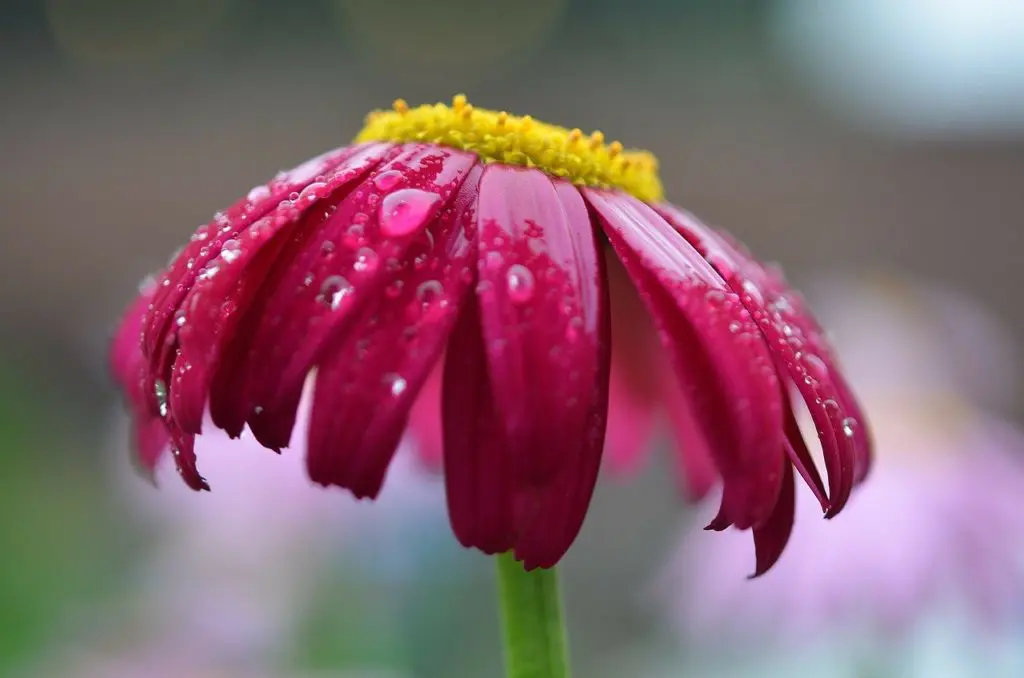
- Do not forget to shoot after the rain. The sunlight is sweet, and the flowers are fresh and beautiful.
- How about some moody flower photography? Check our article dedicated to this type of flower shot.
7. Compositions To Try For Flower Photos
With flower photography, there are so many composition techniques that you can try. One thing to look out for is, to compose the flowers in such a way that you avoid any distractions around, like dry twigs, branches, unwanted leaves, and anything that would take away from the pleasant look of the flower. You can hold away any branches that ruin the shot using clamps.
Also, make sure that you eliminate any bright highlights due to sunlight that can distract the background. If you cannot avoid them, you will have to clone them off while post-processing.
Also, as much as possible, try to photograph flowers in their natural habitat or in a studio where you have a clean backdrop. Other things to avoid are concrete or brick walls, fences, pots, wires, and clamps, as these can ruin the image and take the originality away. Gently remove any dust or dirt from the flower.
Macro flower photography gives you very nice opportunities for practicing compositions such as filling the frame or minimalism!
Best Techniques
Other than that, some of the composition techniques that you can try for creative flower photography are:
- Golden Spiral
- Negative Space
- Rule of Thirds
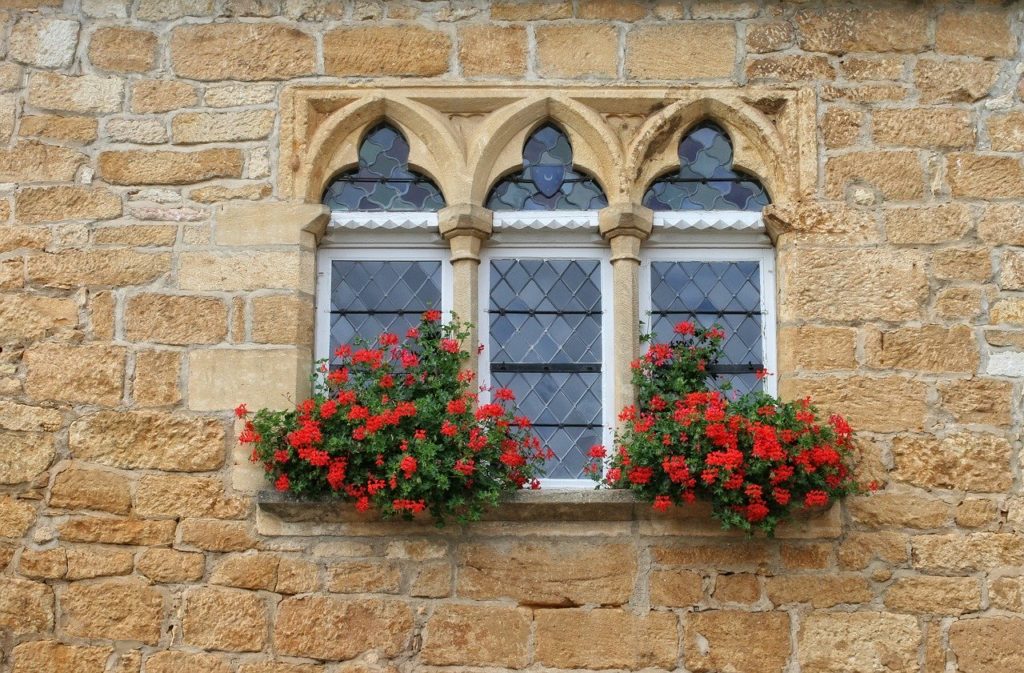
- Use doors and windows to complement the flowers
- Triangular Composition
- Rule of Odds
- Minimalism
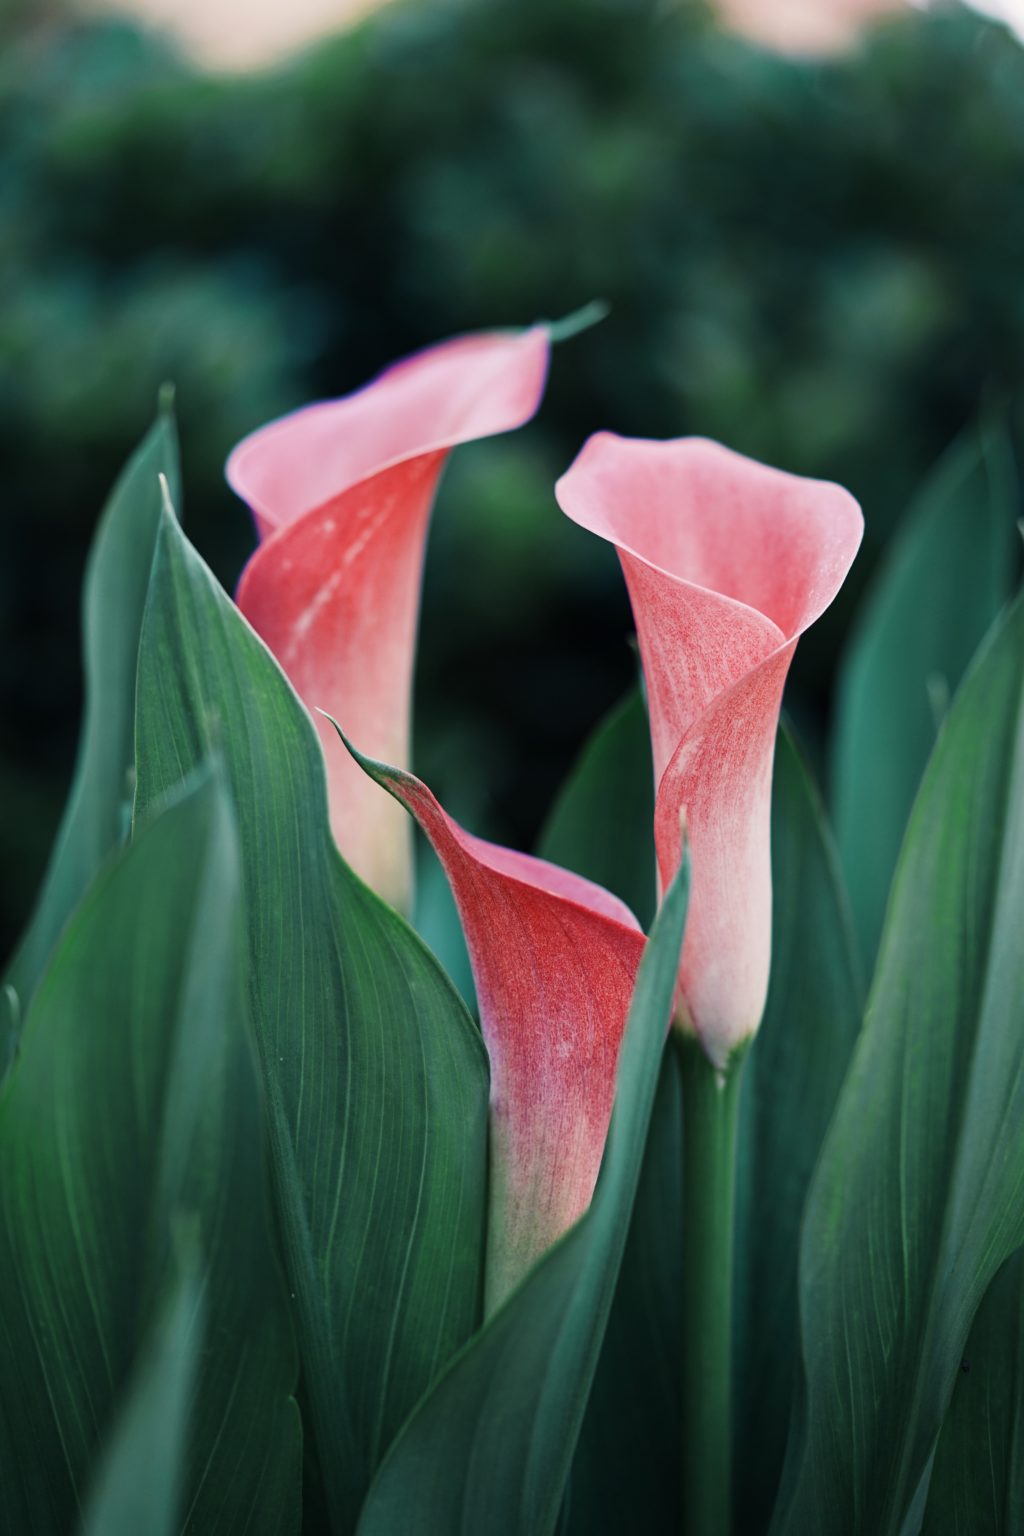
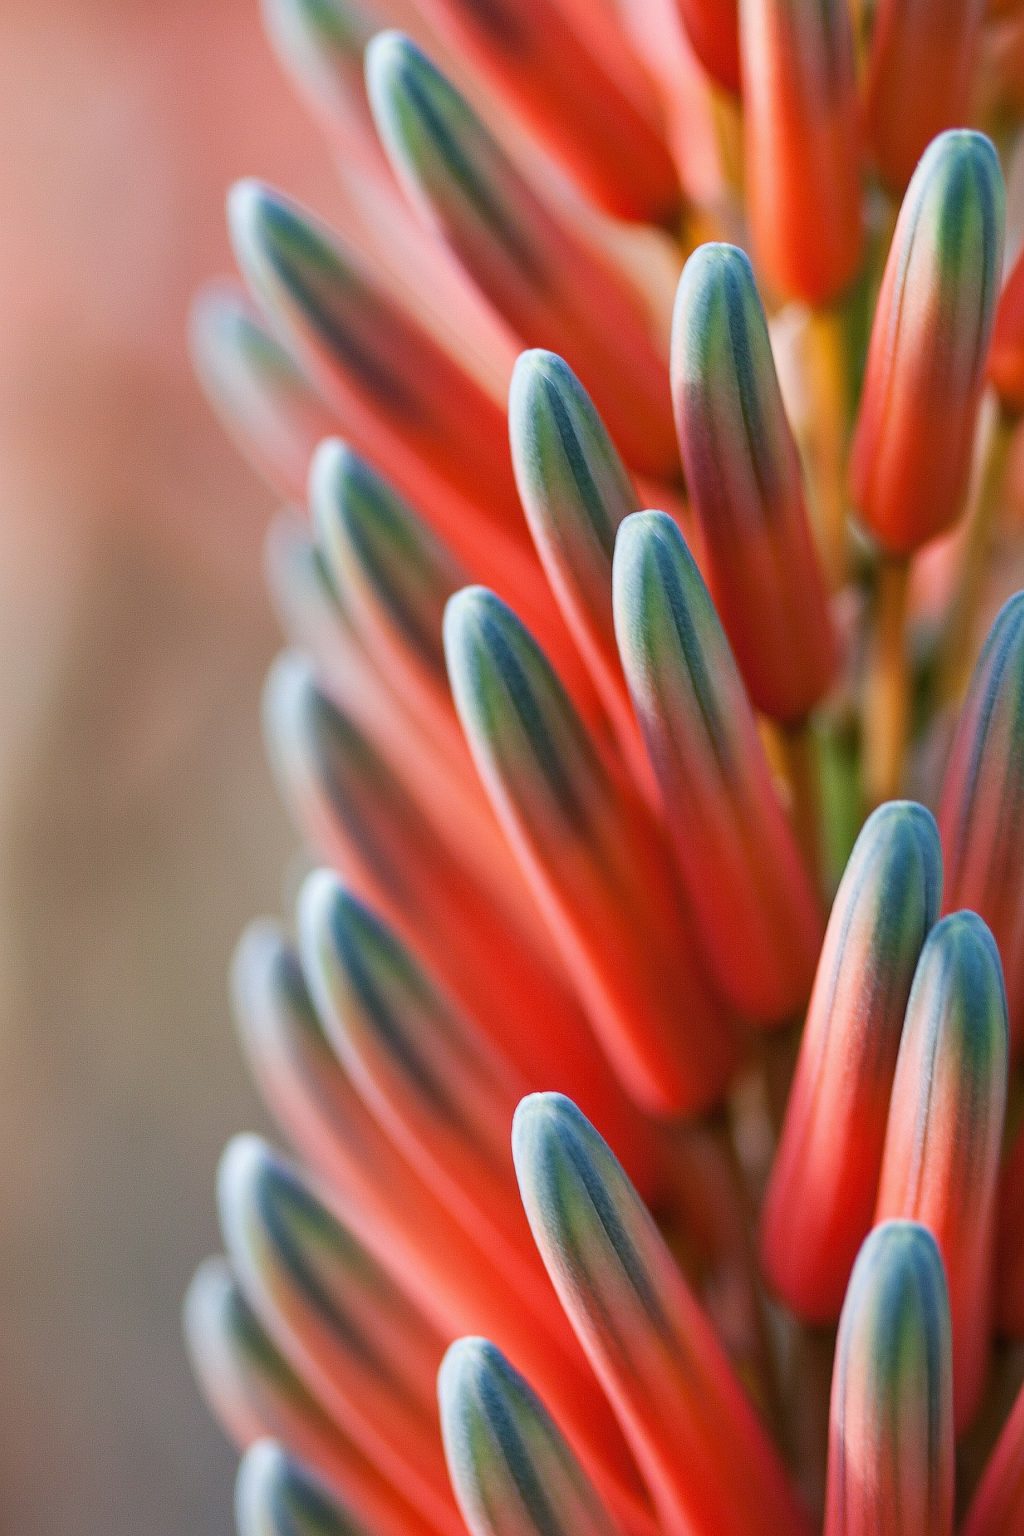
- Contrast with Colours – look for flowers with complementary colors. You can put them together to compose your flower photos.
- Light and Shadows
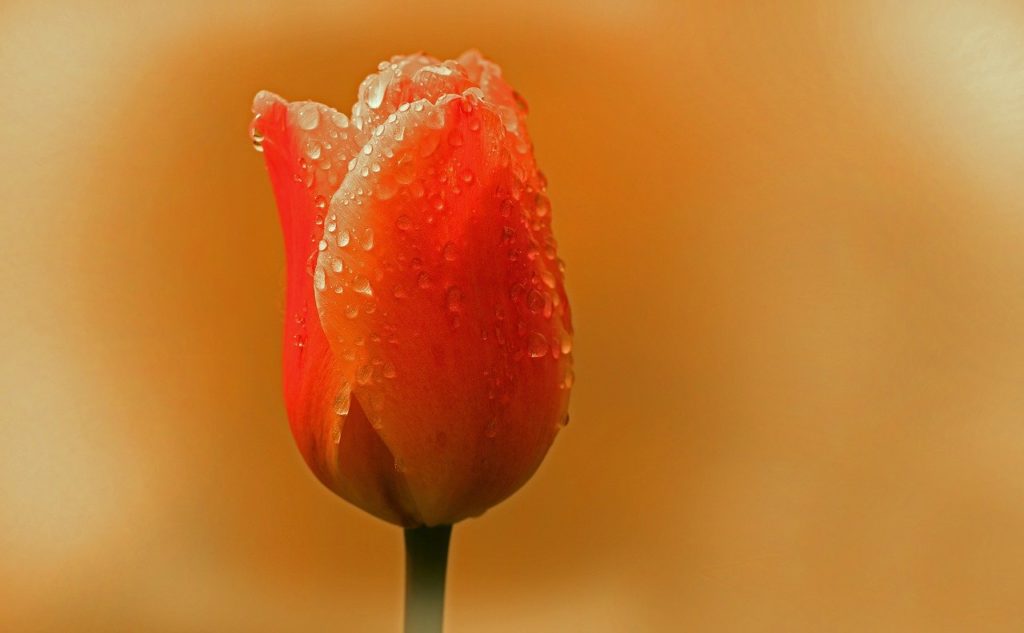
- Or just make a portrait of the flower
- Patterns
- Repetitions
- Monotone
- Fill the Frame
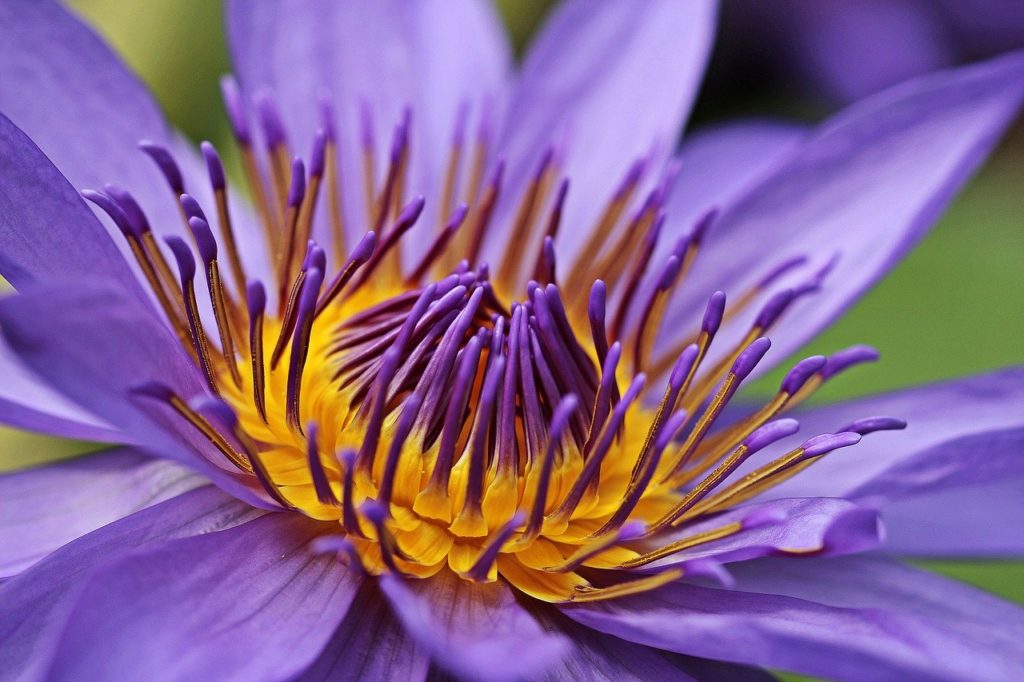
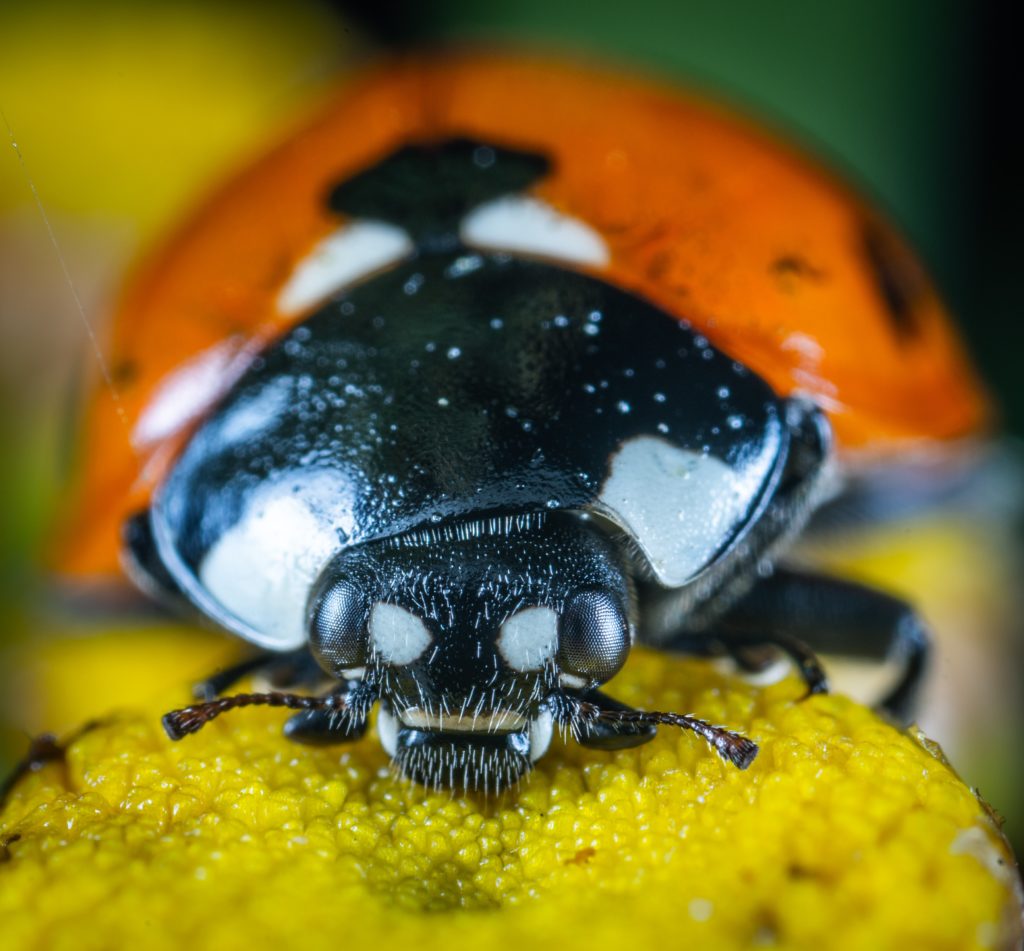
- Add to the story – why not have a bug or insect on the flower to add a story to your flower photos?
- Fill the frame with part of the flower.
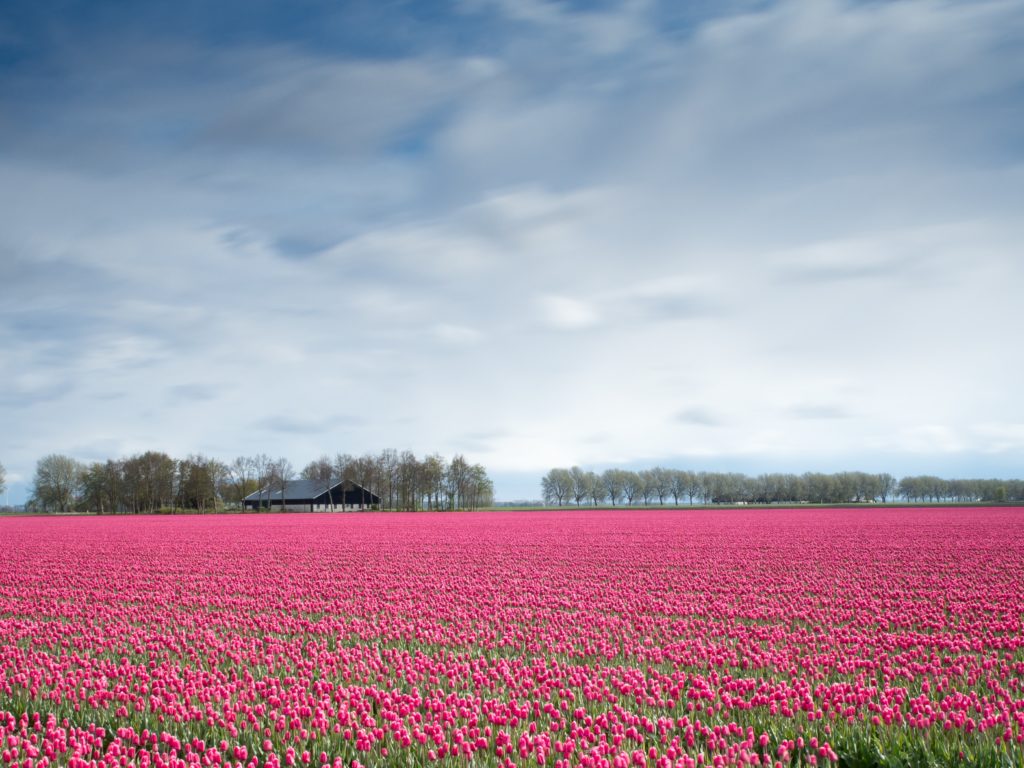
- Shoot the Environment – photograph a landscape filled with wildflowers having other secondary subjects in the frame to complement the environment. Use hyperfocal distance or focus one-third into the frame to get the entire scene in focus.
8. Do You Need A Tripod For Flower Photography?
Using a tripod for flower photography is your personal choice, depending on what you wish to shoot. I love to shoot flowers, and these were my favorite subjects when I started photography and when I got my first DSLR.
I personally find tripods to be limiting when photographing flowers, simply because I have to carry them around during my walks, and they may not be helpful for some of the perspectives I am looking for. Moreover, setting up a tripod anywhere at any time will just not be possible all the time.
But your choice may be different, and of course, tripods can help you create neat, sharp images. Moreover, if you are shooting macro or using a longer tele lens, then, a tripod would be a better choice than a handheld, so you get the focus right.
9. Other Accessories You Need For Flower Photos
- Polarising filter: Most flowers have a smooth, shiny surface and bright colors. If you feel there is unwanted glare or reflections on the surface of the flowers or leaves, you can use a polarising filter to minimize or eliminate this.
- Spray Bottle: Use a spray bottle to spray some water onto the flower. This can help you create beautiful, natural, and fresh-looking images.
Do you have any cool flower photography tips that you would like to share for photographing flowers? Feel free to share in the comments section below. Also, don't forget to check out these splendid Instagram accounts that focus on flower photography!
