ISO can be confusing, especially to everyone just starting out in photography. To put it simply, the ISO setting in your camera affects how sensitive the sensor is to light. So, let's learn more about ISO in photography!
Co-authored by Dahlia Ambrose
If you love mathematics, you can immerse yourself in the technical information on Wikipedia – it is quite good. But we won't be delving into the maths here. In this article, we will focus more on choosing the right ISO setting for your specific shot.
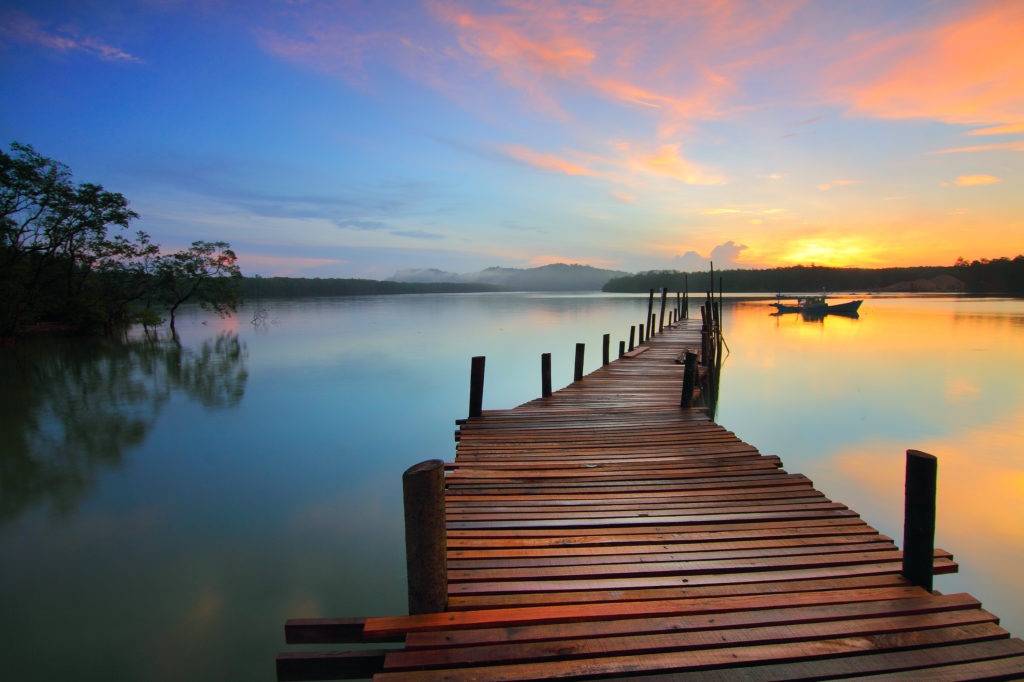
The correct ISO can make your photo; the wrong ISO can ruin it.
ISO on most cameras starts at 100, and some cameras begin at 50, but the lower the number, the less sensitive to light; the higher the number, the more sensitive. While that seems pretty straight forward, there is a price to pay as you go higher in the ISO settings, digital noise.
Here Is Something To Remember About ISO In Photography
High ISO film has visible grain, and this may be somewhat desirable for photographers. On the whole, digital noise, the equivalent of grain for digital photographers, is not a welcome addition to photographs.
Unlike most settings in your camera, like shutter speed and aperture, changing the ISO probably won't be noticeable when you review images on the LCD. The digital noise will show up when you view and edit your photos on a computer. Ideally, you want the lowest ISO setting possible for the least amount of noise, but in any given lighting situation, that's not always an option.
Note:
Also, remember to expose your images correctly. Even if you shoot at very low iso, if you underexpose your images, you will lose details and see unwanted noise when you increase exposure during post-processing.
What Is ISO On A Camera?
ISO denotes film or an image sensor's ability to capture light and is a factor that helps with taking well-exposed images. It is a measure of the camera's ability to capture light, whether darker or brighter depending on the value you choose.
For example, you can check this on your camera – increasing or decreasing the ISO value (keeping other factors constant) can make the image brighter or darker. It is one of the factors that affect exposure (besides aperture and shutter speed) in an image if you know and understand the exposure triangle.
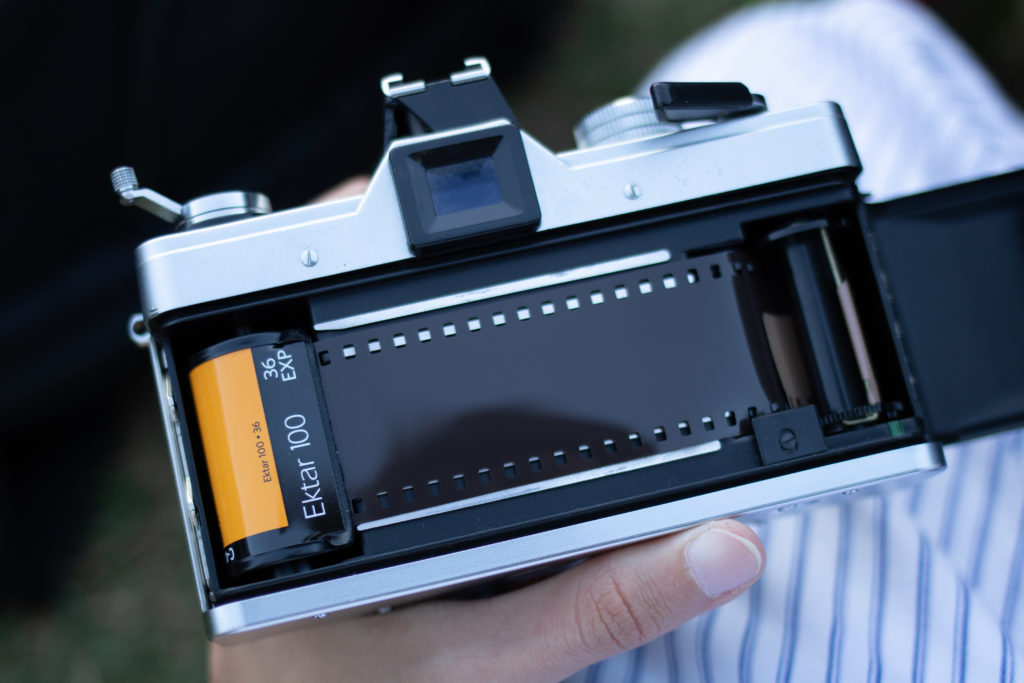
ISO In Film:
When it comes to film, ISO is an indication of the light sensitivity of the film. The film is coated in light-sensitive layers of silver halide crystals. The larger the crystals, the more light-sensitive and therefore quicker the film – but this, in turn, means more grain. Finer crystals mean lower sensitivity to light and, as such, less grain. A lower ISO film will have virtually unnoticeable grain.
ISO In Digital Cameras:
ISO is somewhat different in digital cameras; here, the light that falls on the sensor is converted into electrical signals for processing. So increasing the ISO value will amplify the signal. The lower the ISO, the less digital amplification, which means less boosting of the light leading to minimal digital noise. With an increase in ISO, the amplification increases, and as a result, this causes more noise that can, at higher values, degrade image quality.
So you should only increase the ISO in situations where you cannot increase the exposure via aperture and/or shutter speed.
What Is The Purpose Of ISO In Photography?
The purpose of ISO is to get the exposure right for sharp and creative photography.
For example, by increasing the ISO for a given scenario, you can:
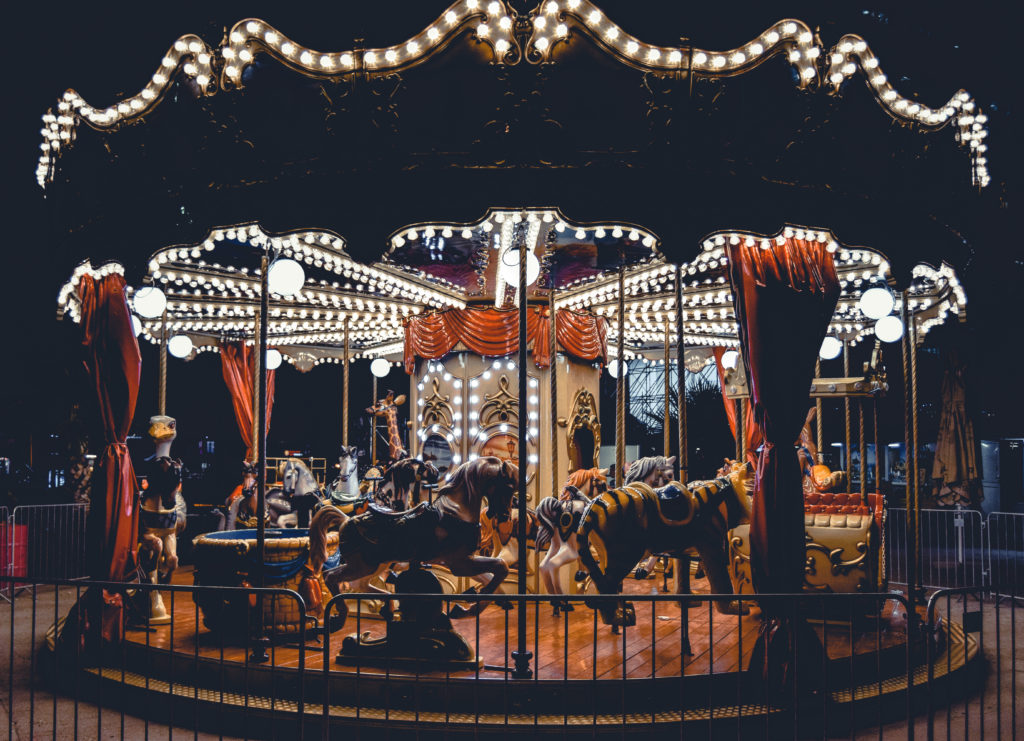
- achieve faster shutter speeds to freeze motion,
- gain a larger or deeper depth of field to get more of the scene in focus,
- shoot handheld in low light conditions,
But, you may have to compromise on image quality when you choose higher ISO such as:
- loss of dynamic range,
- increased noise
- color degradation
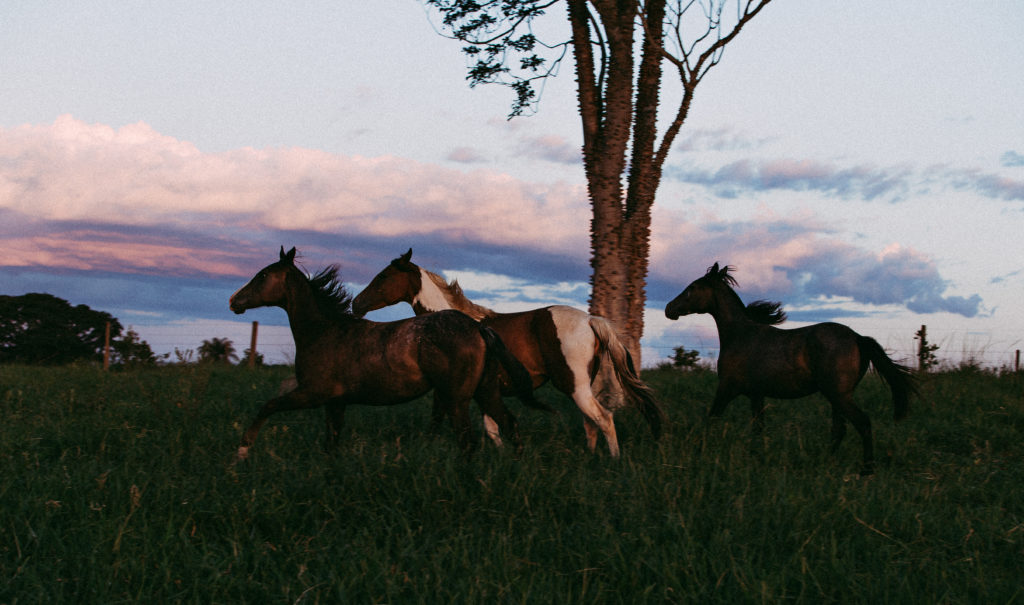
ISO decreases or increases the brightness of a photograph, depending on the value we choose.
How To Choose ISO?
ISO is helpful when you are shooting at different lighting conditions, more importantly in low light. Increasing the ISO will also introduce noise in your images – the higher the ISO, the higher the noise, with a corresponding decrease in image quality.
Digital cameras perform well at low ISO values and produce accurate colors, smooth images, and sharp details. Shooting at low ISO values is only possible if there is enough light to compensate or when you are taking long-exposure photographs.
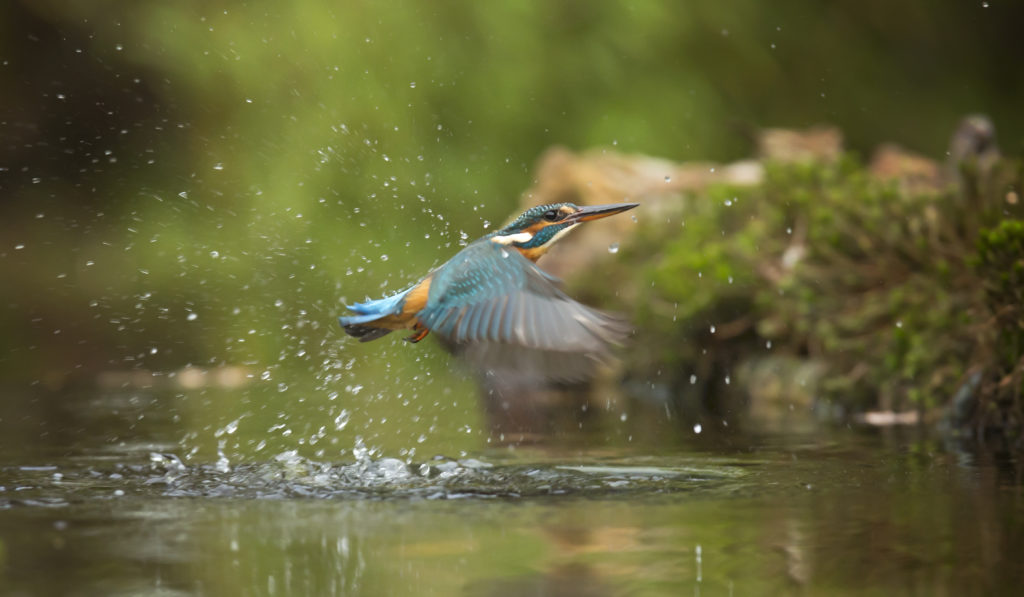
But, when you want to shoot wildlife, sports, and other fast-moving subjects, or if you have low light conditions, you will need a faster shutter speed. This is when you will want to increase your ISO to have a faster shutter speed for correct exposure so you can eliminate blur due to movements.
So how should you choose ISO values? Here are some suggestions for handheld shooting without a flash. Each camera performs differently at higher ISO values, so test your camera before using high ISO values.
- When you are shooting in bright light, you have a lot of light available, so choose lower or the lowest ISO value. Stay between 100 to a maximum of 200
- When shooting landscapes or long exposures during the day, shoot at ISO 100 or below, depending on the native ISO values available. You can choose a low ISO because you will have your camera on a tripod. The low ISO value will ensure that when you print your images, they will look great in any size.
- Even on a bright day, you may need to increase the ISO to about 200 to 400 sometimes to shoot with the correct shutter speed for sharp images. Scenarios would include shooting in the shade or shooting wildlife, especially birds and animals in shady areas of the trees
- On cloudy or overcast days, you will have less light compared to bright sunny days. So choose a slightly higher ISO value. A maximum value of 400 should be more than enough, but then it also depends on the aperture value and shutter speed you will require.
- When shooting indoors in natural light, you are again dealing with the available light. So depending on the intensity of the light source, you will need to think about your ISO value. If you are shooting in direct bright light, you can use between 100 to 400, but if it is indirect, diffused light, you may want to go up to 800.
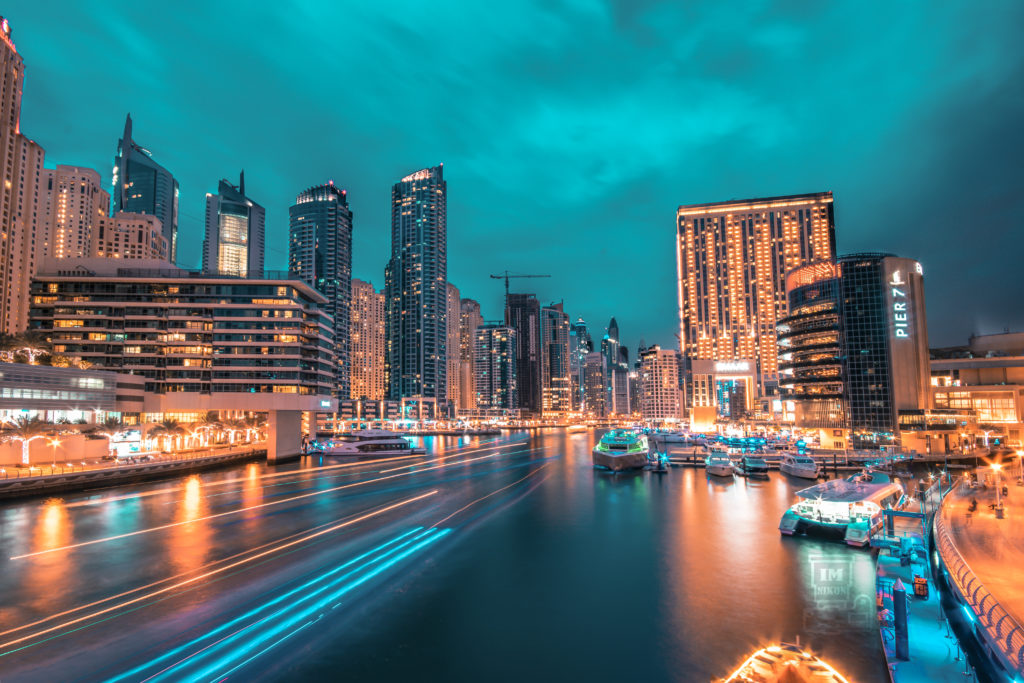
- Low-light conditions are a different beast. Lighting conditions such as indoors at night, events outdoors at night, etc., will need a higher ISO. If you are using aperture values like f/1.8, you can start with ISO 800. Depending on light conditions, you may want to use about 1600, or even above, to get the exposure right.
- Setting higher ISO should be considered a last resort in situations where you want to capture the photo and need a higher ISO for that situation.
The above suggestions can vary with the focal length and aperture used.
Note that each time you double the ISO, the camera only needs half the amount of light to make the same exposure.
So, for example, if you got a shot at ISO 100 and a shutter speed of 1/250s, then at ISO 200, you can shoot the same image at a high shutter speed of 1/500s, provided that you do not change the aperture value.
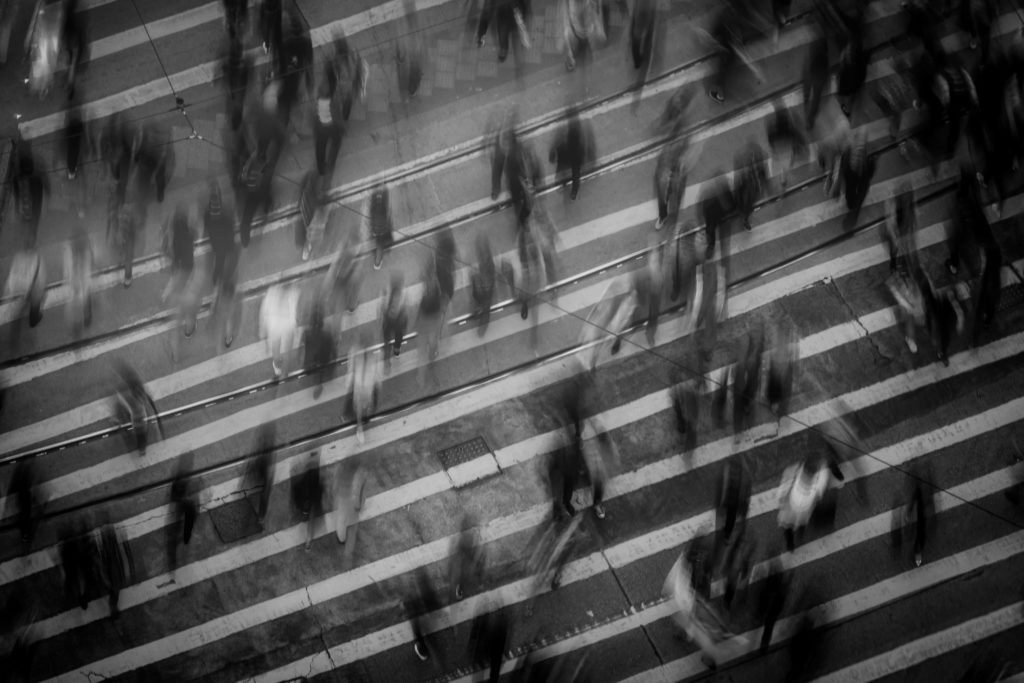
When using a tripod, if your shooting scenario is good for long exposure, then go for the lowest ISO possible. When it comes to night sky photography, you may not be able to work with very low ISO like 100 or 200 as you want to eliminate star trails. So based on your shutter speed, you will have to do test shots and choose the lowest ISO that will help you get correctly exposed images. Remember, different cameras with different sensors respond differently to ISO.
So How High Can You Go With ISO In Photography?
Setting the correct ISO value is trial and error. Test which ISO get you the shot you are after. Use higher ISO when you want to freeze actions or avoid camera shake due to slow shutter speed when hand-holding the camera. But as much as possible, always use the lowest ISO for any situation.
Wherever possible, keep your ISO lower or, if possible, use base ISO and shoot using a tripod.
How To Compensate For Loss Of Details Due To High ISO?
Although it is best to keep the iso values as low as possible, there are times when one will need to increase the iso to get the shot. If you are not shooting time-lapse or star trails, you can turn on the high iso noise reduction feature if your camera has one. This will take time in between shots, so it will not be practical if you are shooting images with very few time intervals in between. The second option is to use your post-processing application’s noise reduction feature. Although you may get a better image in terms of noise and colors, this can make the image look quite soft.
What Is Expandable ISO?
In recent years, digital cameras have been manufactured with a specification called expandable ISO. So, what is expandable ISO?
A camera's sensor has a range of ISO values within which it will produce good to acceptable quality images – this is called the native ISO. But, there are times when photographers may want to go beyond the native range or extend/expand it – for example, requiring more light in very dimly lit situations. Some cameras come with an option to expand the native ISO by a stop or two, so the amount of light recorded by the sensor increases. For example, if the maximum native ISO value on a camera is 6400, the expanded ISO will be 12800, aiding with doubling the amount of light reaching the sensor.
Note:
Similar to extending beyond the highest native value, there are also options to go below the native ISO value of 100 or 200 in most cameras. This does not degrade the image quality by affecting the colors or dynamic range as the higher ISO values do.
How Does Expandable ISO Work?
The camera digitally expands the native ISO value by metering the light for the highest native ISO value, and then it amplifies that data for the expandable ISO value. This is done digitally via software and not hardware. There is a considerable trade-off to this feature, which is poor image quality with a lot of noise, interior colors, and loss of dynamic range. So as much as possible, try to stay within the native range. But in case you need that important photo and need to expand the ISO, then make use of this feature – a noisy photo is better than no photo.
To understand the above concept even better – think of the native ISO and expandable ISO like optical zoom and digital zoom on a camera.
To Wrap It All Up
On sunny days outside, ISO 100 will be wonderful. If you are noticing a lot of detail in the shadow area of your photos with your naked eye that you aren't seeing when you review files on the LCD on the back of the camera, bump the ISO settings up to 200 or even 400.
Indoor photography can be tricky; artificial light combined with natural light coming through the windows can result in constant monitoring and adjusting the ISO level. What looks excellent at ISO 400 in one room might require ISO 800 in the next place.
If you're using a tripod, use the lowest ISO settings possible. You can get away with a longer shutter speed because the tripod will stop all motion blur of the camera. You have to understand aperture and shutter speed well in order to use aperture in photography properly.
Using a flash can help keep the ISO settings low and your photos noise-free in a lot of situations. Likewise, if the depth of field isn't a concern for you, opening up the aperture will allow more light in, giving a lower ISO option.
When shooting at particularly high ISO settings be mindful of proper exposure. Post-production of high ISO shots that weren't properly exposed to the best of your ability starts to fall apart. Particularly when adjusting the exposure or contrast levels, digital noise is enhanced, often resulting in an unpleasing image.
Noise isn't always bad, though! One of the most brilliant aspects of film noir-styled photographs is the grain in them. Low key black and white images with lots of grain can be a good thing if they are exposed well and the subject matter holds up to it. So, don't be afraid to use high ISO sometimes!
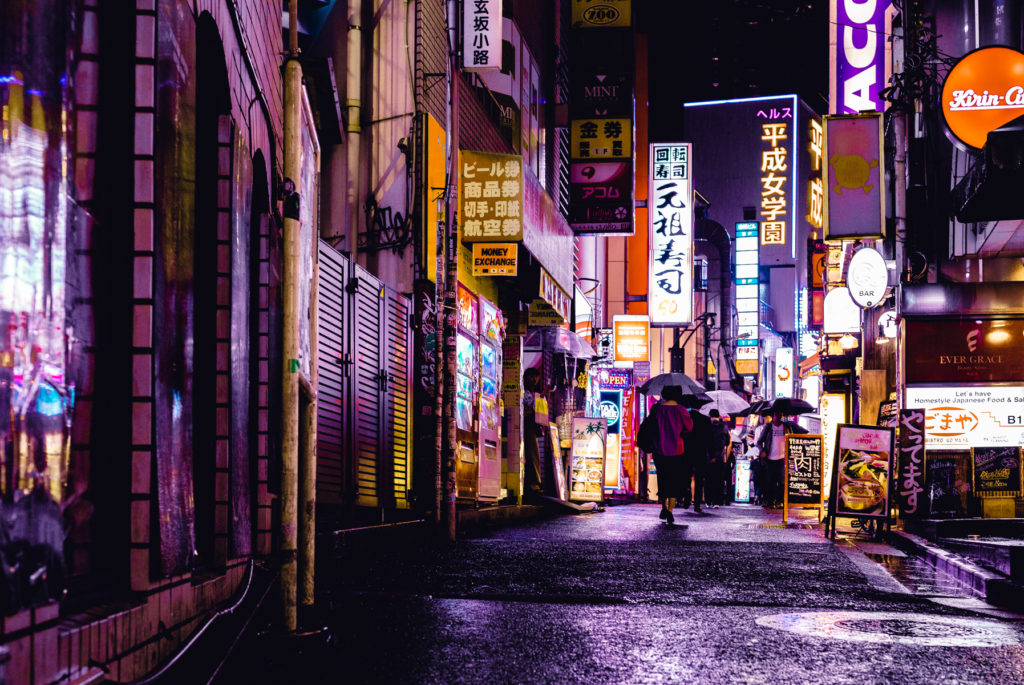
The key to choosing the correct ISO is determining what factors need to be appropriately emphasized. Most people strive for little to no digital noise. So shooting at the lowest ISO is usually the best bet – unless a film noir style is more for your liking.
Since no guide can give you exacting settings, I suggest you bracket-shoot ISO in a number of scenarios. Then you can compare the photos in post-production so you can best see what happens with your particular camera. ISO is one of the few things you can't correct in post-production because you shoot in RAW mode too. If you accidentally take photos on a sunny day at ISO 3200, you are going to have lots of digital noise.


8 Comments
I shoot in aperture priority mode, so first I set the aperture for the depth of field that I desire, then increase the ISO until I get to an acceptable speed.
Anyone use auto-ISO?
I just got a 5d mark iv and have started using auto iso in manual mode. I love it, I step the aperature I want, the shutter speed I need and let the iso change as needed for the exposure. So far I have been very pleased with the results. I use Prophoto DXO to correct any noise introduced at higher ISOs.
ISO is a key option and crucial to understand for us newbs. Determine your priority in each shot ie subject, style then adjust your setting priorities from there ie. DOF, grain, shutter etc.
Newer cameras pretty much shoot in the dark meaning you can take a step away from your tripod and be more creative
Newer cameras like the 5diii pretty much shoot in the dark meaning you can take a step away from your tripod and be more creative
I started out with a 50D, then 5D Mark ii, and have recently grabbed a 1D Mark ii for wildlife and sports. Knowing how ISO works is imperative if you are using any of the 1D bodies bc there is no AUTO ISO feature. When shooting outdoors and on a sunny day I stay around ISO 400. Seems to provide the perfect amount of detail. If you are shooting landscapes, you want to permanently attach your camera to a tripod. This will allow you to shoot with the appropriate shutter speed for the ISO and F stop you will be selecting.
Excellent summary Dahlia, thank you.
Glad you found it helpful Gray. Thank you 🙂