For many years in photography, lens flare was actively avoided by photographers. Flare, which is basically a light scattered within the lens due to unplanned reflection and lens impurities, was considered something that ruined a photograph. Equipment like lens hoods was invented to help prevent it. But times change and so do fashions.
You don’t have to use a lens hood each time you plan to shoot in a strong light. The so-called flare look can be used creatively!
These days, not only many photographers do not mind some lens flare, they actively seek to get it to add some creativity to their shots. And, to be fair, quite often it looks pretty cool.
Read on to learn when and how to shoot with or without lens flares.
Understanding Lens Flare Effect
You should understand why lens flare happens – we will try to explain this phenomenon in simple words.
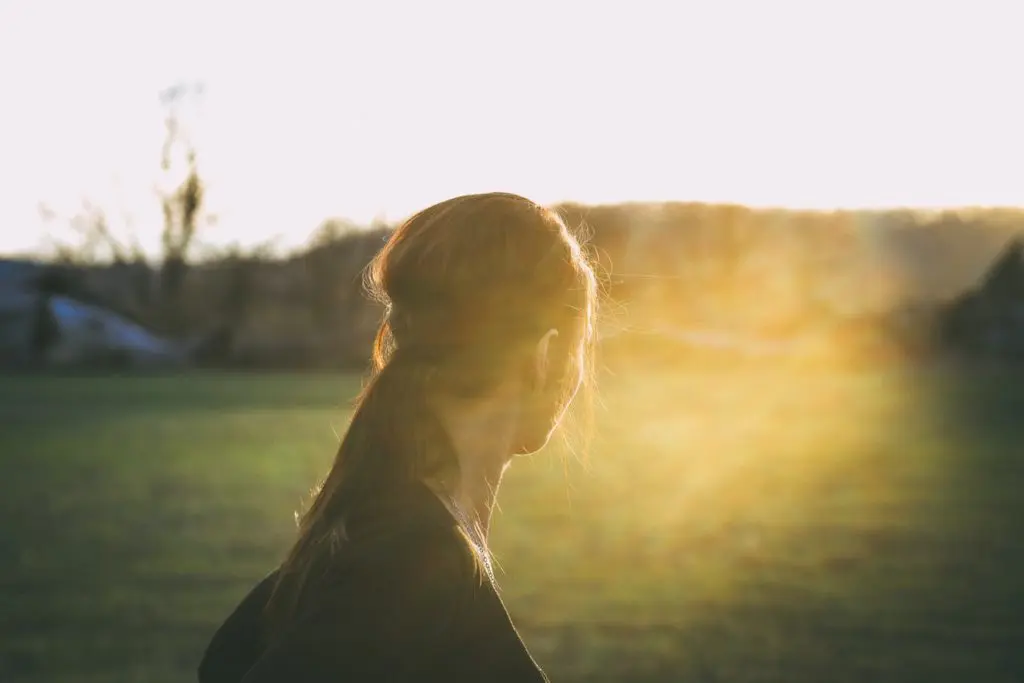
The flare appears when the light that doesn’t form the image (stray light) enters the lens and hits the camera's digital sensor (or film). It’s easy to identify lens flare – it has a typical polygonal shape, with sides that depend on the shape of the lens diaphragm.
What’s the main problem with lens flares? It can lower the overall contrast of a photograph a lot, which can be problematic in both portraits and landscape shots. However, some types of lens flares can make images more artistic. Understanding lens flare can help you use it or avoid it — you just need to understand what kind of atmosphere you want to achieve in the final version of your image.
How Lens Flares Happen
Every camera lens consists of several lens elements. The flare is caused by non-image forming light – this kind of light does not pass directly along its intended path but instead reflects internally on lens elements before finally reaching the sensor. Essentially, non-image forming light is stray light.
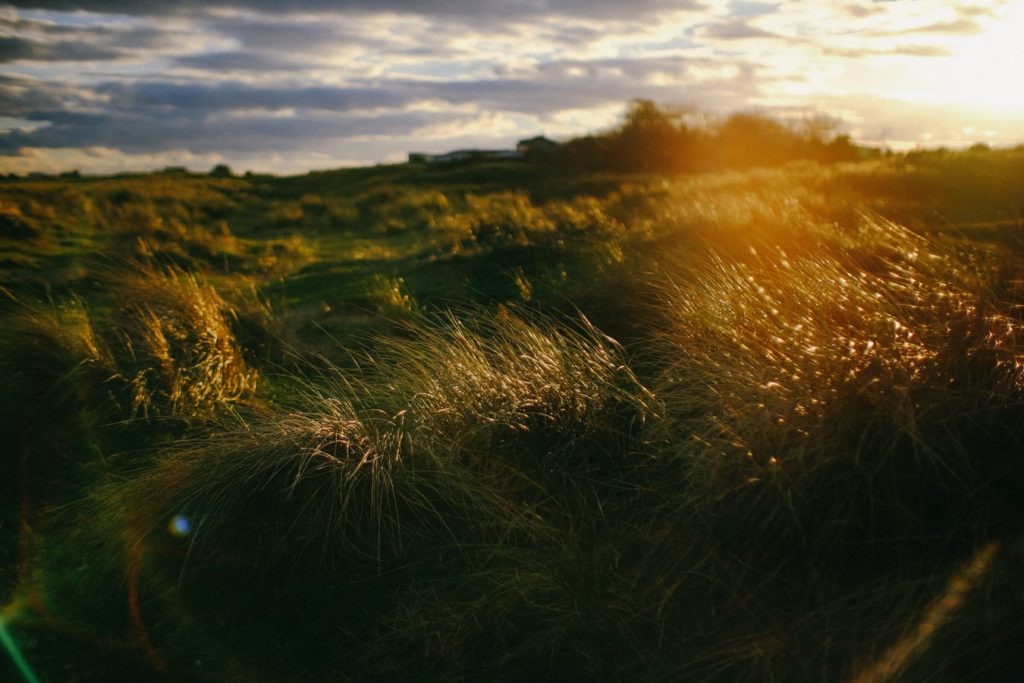
Lens elements contain some type of anti-reflective coating which aims to reduce lens flare. However, this coating can’t completely eliminate lens flare. Light sources always reflect a small fraction of light. Although flare is caused by internal reflections, it often requires a very strong light source (such as the sun) in order to become visible in a photo.
Flare looks like a polygonal shape and its exact shape depends on a number of factors. The aperture is one of them. For instance, if your lens is opened up (the depth of field is shallow), the flare will look more like a blob, without definition. As you stop down (use more narrow aperture values), the flare will become more defined.
Factors That Impact Lens Flare
There are many factors that can impact this effect in your images. These are the most important ones:
- Lens Elements – The more lens elements, the more lens flare can potentially show up in your images. Simple as that.
- Focal Length – Wide lenses are designed to handle flare well. Telephoto lenses, on the other hand, are much worse in this sense because they are very complex and they can easily amplify everything.
- Lens Quality – Optical quality of the lens can definitely impact lens flare. Bear in mind that multi-coated (MRC) lens elements have a huge impact on flare performance. It’s a good idea to invest in such lenses if you want to reduce lens flare in your photographs.
- Filters – Just like low-quality lenses, low-quality filters can create more flare and ghosting issues in images. Unless you want to experiment with a lens flare in your images, don’t buy low-quality filters.
- Dust And Grease – All lenses accumulate dust over time – you need to clean the front element regularly. The internal dust is even more problematic because it can create even more flare. Also, make sure not to touch your lenses with greasy fingers.
How To Minimize Lens Flare
Lens flare might not always ruin your photos, but it’s good to know how to minimize it. Check out the following tips!
Use A Camera Lens Hood
If you’ve never used a lens hood before, now it’s the perfect occasion to learn more about them.
To put it simply, the main purpose of a lens hood is to block or reduce the amount of lens flare and glare in your photos by acting like sunglasses for your lens. A good lens hood can almost completely eliminate flare caused by stray bright light. Although using a lens hood may appear to be a simple yet perfect solution, in reality, most lens hoods do not extend far enough to block all stray light.
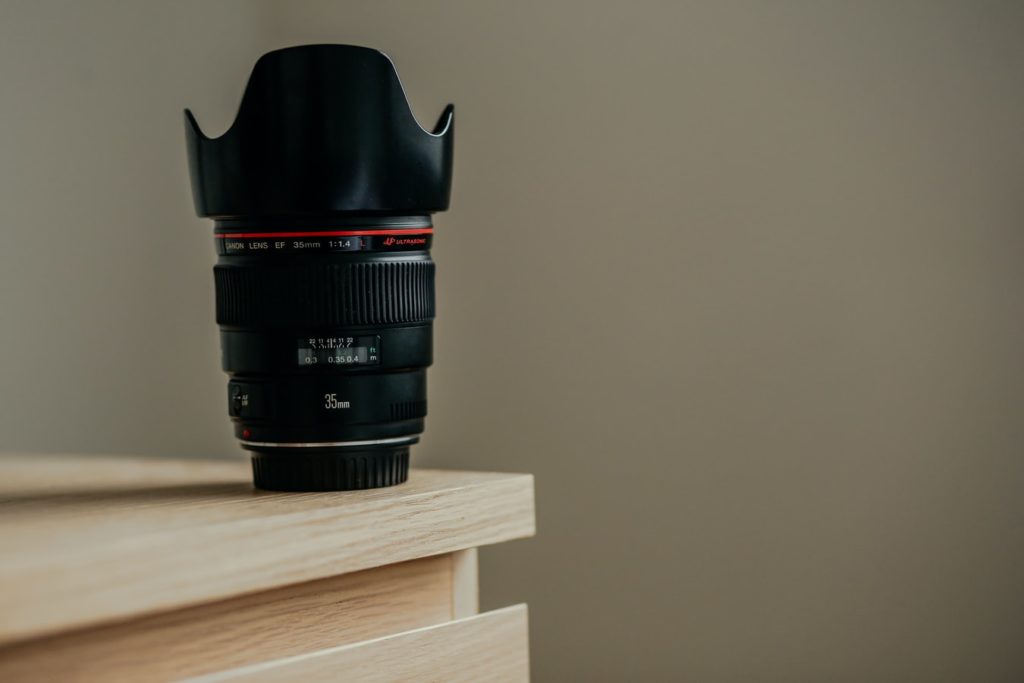
There are two common shapes of the lens hood and these shapes affect the performance when it comes to reducing lens flare. Tulip lens hoods are designed for wide angles and typically you’ll get a tulip-style lens hood when you purchase a wide-angle zoom. On the other hand, longer focal length lenses use longer, tube-shaped lens hoods.
So-called tulip lens hoods eliminate lens flare better than tube-shaped hoods. This is because tulip-style hoods take into account the aspect ratio of the camera's sensor.
While most lenses come with a hood when you purchase them, if you don’t have hoods for your lenses there’s nothing to worry about. Lens hoods are inexpensive and easy to purchase virtually anywhere. Just be careful if you’re using a third-party lens hood, as incompatibility can result in vignetting, which is another common problem in photography. But just like lens flare, vignetting can be used creatively in certain situations.
Use Primes When You Want To Reduce Lens Flare
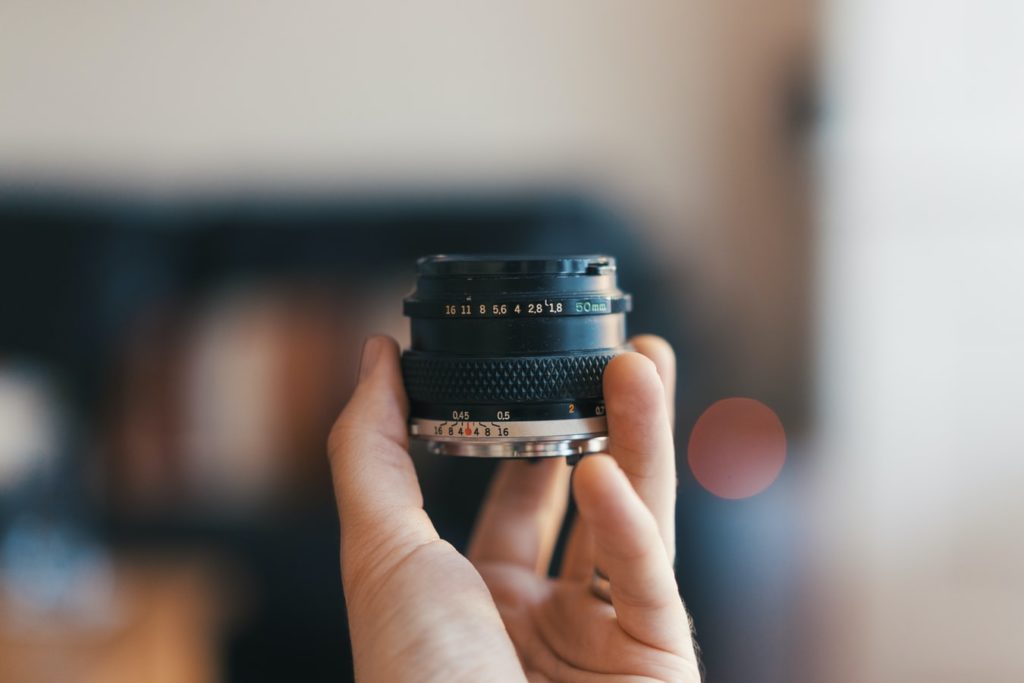
Generally speaking, fixed focal length (or prime) lenses are less susceptible to lens flare than zooms. This makes sense having in mind that primes are rather simple, optically speaking.
More complicated zoom lenses contain more lens elements. Zooms, therefore, have more internal surfaces from which bright light sources can reflect, which results in more lens flare.
However, this doesn’t mean that a zoom lens can’t minimize flare – the very best modern zooms handle flare really well. Modern high-end zoom lenses typically contain excellent anti-reflective coatings.
Be Mindful Of Composition
You can affect the amount of flare in your images by composing them in certain ways.
Flare is ultimately under the control of the photographer, based on where the camera lens is pointed and what is included in the frame. This is great news, right? No matter what lens and lens hood you have, there is a way to avoid lens flare if you take the time to compose your images carefully.
Although photographers don’t like to compromise their artistic freedom, it is still very useful to know that certain compositions can be very effective at minimizing flare.
A great trick is to place the main subject (or secondary subjects) in your image in such a way that they partially or completely block the flare-inducing light source. This is a challenging technique because you should combine it with compositional rules such as the rule of thirds, golden ratio, leading lines, etc. Even if the problematic light source is not located within the image, photographing the scene from a position where the source is obstructed can also reduce flare. In this case, you need to experiment with different vantage points until you find the perfect one.
The easiest approach is to capture the scene while keeping the problematic light source to your back, but unfortunately, this approach can be too limiting or simply not possible. Of course, try this straightforward approach in case it can benefit your image.

Use Your Hand To Block Off Sunlight
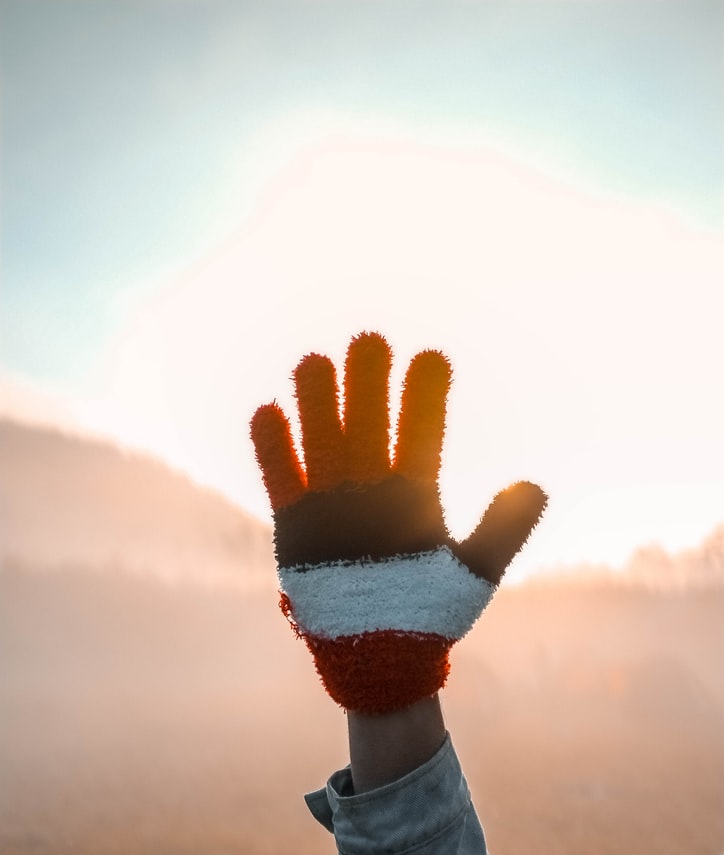
This is probably the simplest way to reduce lens flare. If nothing else works, you can use your hand to block off sunlight. This can be a very effective technique – just putting your hand over the lens to block off a light source can easily eliminate ghosting and flare.
How to do this properly?
Just cup your hand around the top of the lens, making a “c” shape, and keep adjusting the shape and angle of your hand until the lens flare is magically gone. This simple method is often used in landscape photography.
Of course, you should be careful – your hand shouldn't cause any unwanted shadows, interfere with focusing, or leave stains on the front element of your lens.
Are Lens Flares Always Bad?
Now you know how to effectively minimize this effect in your images. Another important thing you should learn is when to embrace lens flare and let it complement your images.
You must have noticed that lens flare is damaging to images if it covers up a big part of the scene. Such images tend to look overexposed, they lack contrast, and sometimes it’s very hard to fix them in editing. However, not all flare is bad – some photographers and videographers use flare intentionally in images and videos. You have certainly spotted the creative use of lens flare in the movie industry.
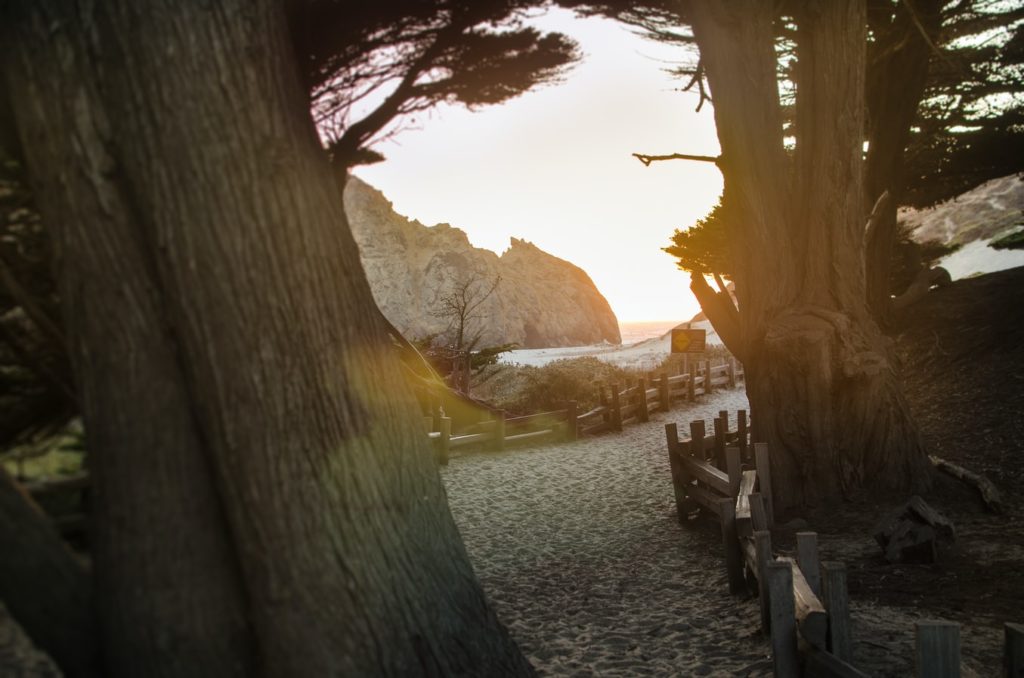
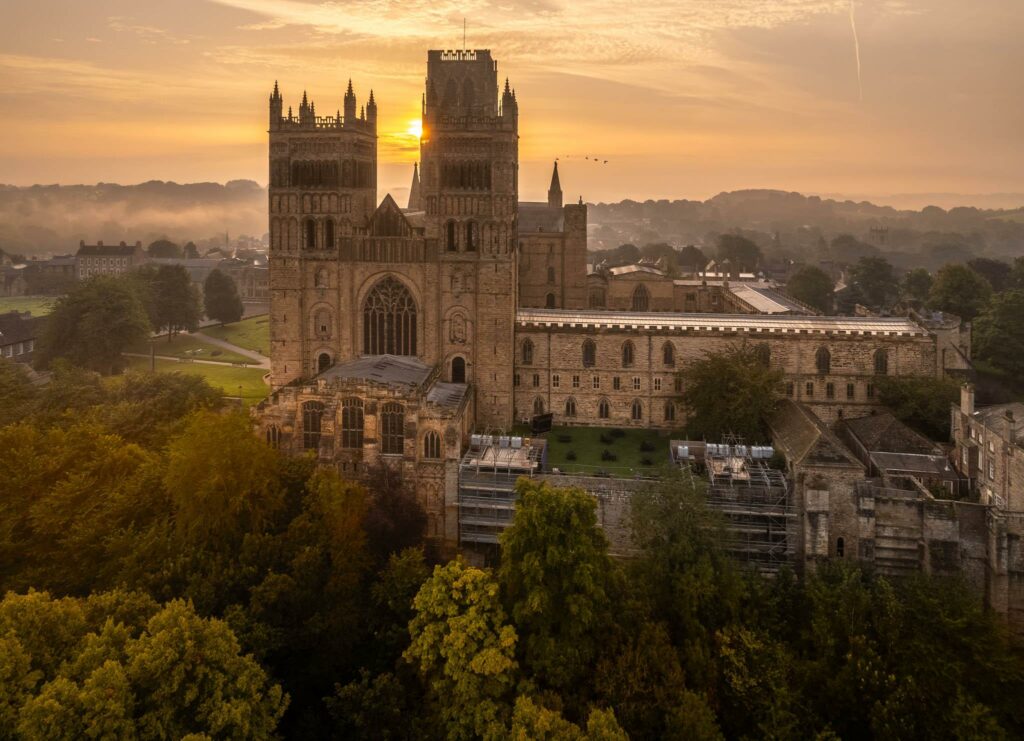
If you want to experiment with a cinematic look in your images, ditch your lens hood occasionally! Shoot into the Sun and see what kind of shot you’ll end up with. You might be pleasantly surprised with interesting colors and shapes that can actually complement your subject.
When To Embrace Flare?
Light flares have become trendy as a way to emphasize the brightness or warmth of a scene. You can see many photographs with artistic flare on stock photography websites nowadays, which means the demand for them is rather high.
How To Create Lens Flare: Creative Uses
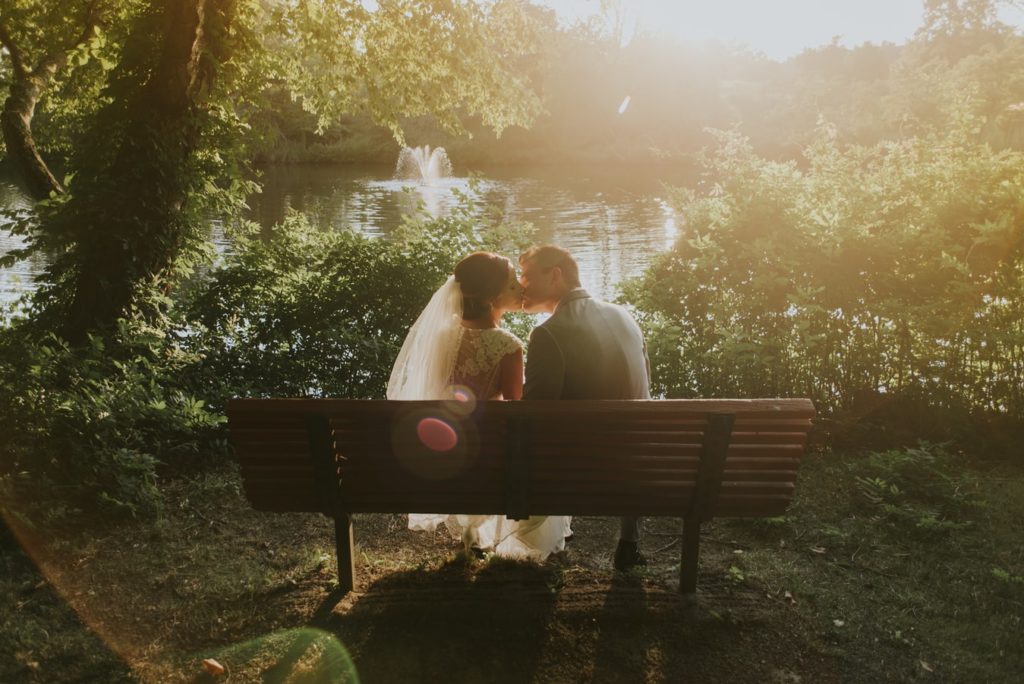
- Portraiture – Surrounding your subject with lens flare can enrich the composition, create a sense of mystery or make the shot look very soft and romantic. If you shoot wedding photography, you should take advantage of lens flare. Your customers will love it too!
- Product Photography – If you shoot products like jewelry, watches, or cars, you can try to incorporate subtle lens flare. It will make your shots more dynamic and stylish. Just be careful not to go overboard with a lens flare in this care, because your product shots will turn tacky and dated.
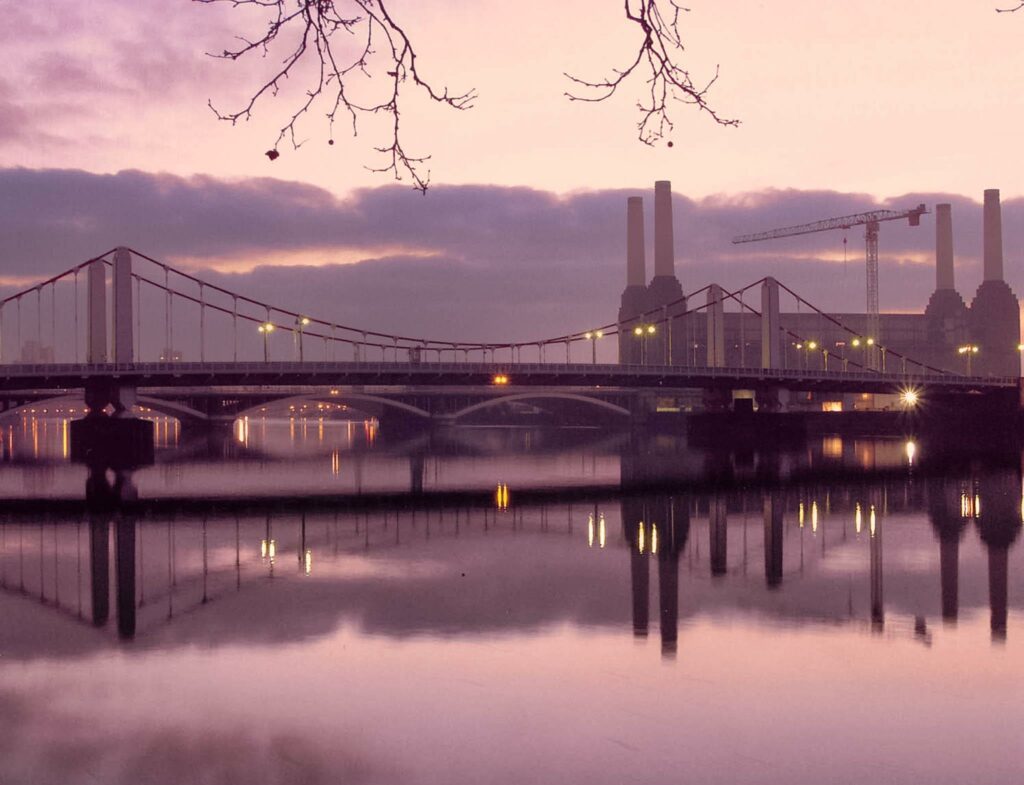
- Street Photography – Capturing lens flare in street shots can be quite effective. If you want to add cinematic vibes to your street shots, make sure to experiment with lens flare. You can do this even at night (find suitable streetlights!) for even more unusual shots!
How To Achieve Lens Flare
Here’s what you need to capture flare in your shots:
Bright Light Source
The most important requirement for achieving flare is a bright light source. The sun is the most accessible option, but you can use sources of artificial light too.
Proper Equipment
Lens flare occurs with specific lenses. Zoom lenses and various vintage lenses are the best choices. Older lenses are less likely to have an anti-reflective coating, which is good for you if you want to capture some spectacular flares!
Shooting Techniques
It’s crucial to know a few shooting tricks – just having a bright light and a suitable lens is not enough!
Whether you’re pointing into the sun or artificial light, always make sure the light gets into your camera lens.
- Shoot starbursts – Starbursts look magical if captured correctly. You can shoot them at sunrise or sunset and use different focal lengths. You’ll likely find that wider lenses give you more of a distinct burst. You don't have to have special equipment to incorporate a starburst into your image. All you need is a bright light source, good subjects, and the right settings. You can use an aperture of f/16 or higher when composing your image. With some lenses, pushing it up to f/22 may make the starburst crisper.
- Play with your camera’s aperture – The choice of the aperture will affect the shape of the lens flare.
- Use filters – Embrace the filters! UV filters, polarizing filters, and graduated neutral density filters can help you create beautiful flares.
- Don’t forget to experiment at night – Yes, you can capture the flare even at night. Of course, streetlights aren’t as bright as the sun, but they are still a suitable source of artificial light.
- Give yourself many options – If you’re not happy with how you captured the flare, don’t get frustrated. Try out a different composition or change the settings. Just changing the aperture can make the flare appear totally different. Like any other art form, capturing lens flare requires a lot of trial and error.
Blue Lens Flare And Red Lens Flare
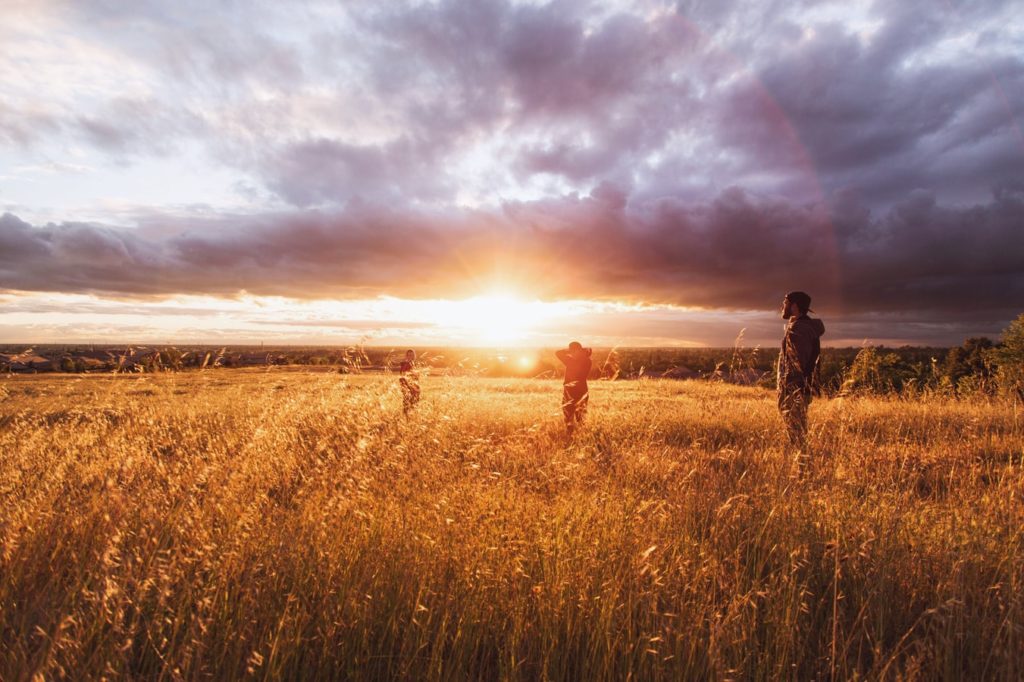
The color of your lens flare generally depends on the color of the light source unless you are creating an artificial flare in Photoshop. This means that light sources such as the sun or various warm-colored light bulbs create a reddish flare. On the other hand, cooler light sources such as blue or purple neons create a blue lens flare.
How To Create Artificial Flare In Editing
In addition to achieving lens flare naturally, you can also create an artificial flare while editing. The results can look pretty natural if you take the time to create a subtle enough flare.
You can mimic the natural flare in both Lightroom and Photoshop.
Lightroom
- Open the Develop Module.
- Select the Brush Tool.
- Set the exposure to about +3, the flow to about 50-70%, and the feathering to about 15.
- Keep clicking to make the flare stronger if you wish. Experiment with the size and strength of the brush until you achieve your desired effect.
This is a rather simple and effective way to mimic the natural lens flare. You can experiment with this method even if you are a beginner in photography.
Photoshop
Unlike Lightroom, Photoshop has a Lens Flare filter.
Just go to the Filter menu in the Menu Bar along the top of the screen, choose Render, and then choose Lens Flare.
This filter adds a simulated flare effect to the image, and you can choose from one of four different types of lenses (50-300mm zoom, 35mm prime, 105mm prime, and movie Prime). Each one will give the effect a different look – it’s up to you to decide which one works best.
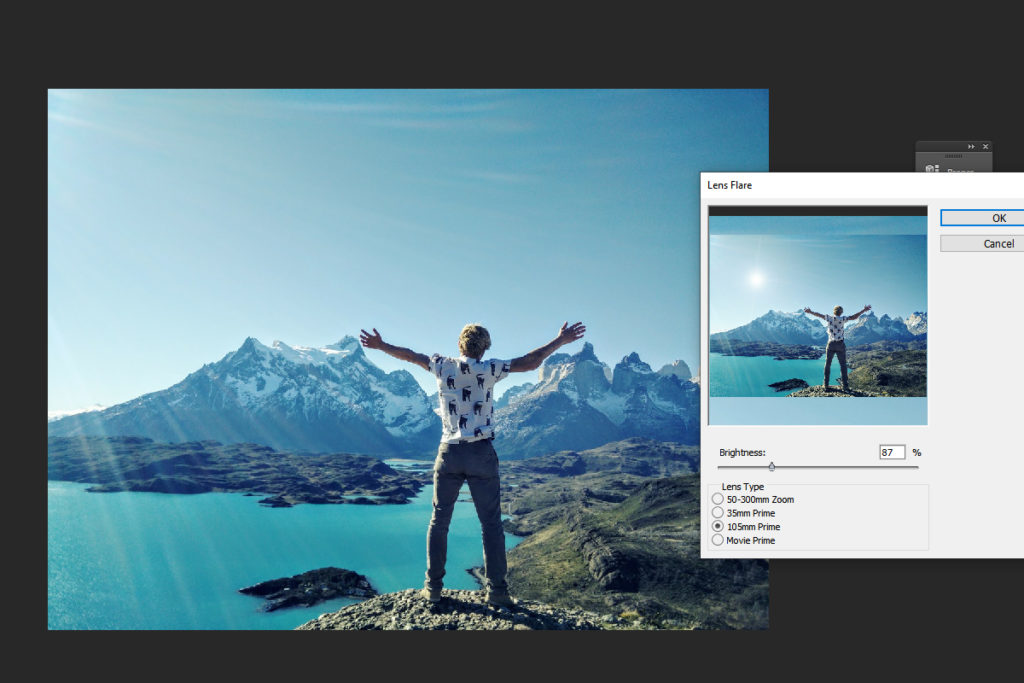
Use Phone Apps To Create Flare Effect
You’re probably familiar with various photo editing apps for iOS and Android, but do you know there are dozens of apps specifically designed for adding special effects to your photos? These apps are very versatile, and they allow you to enhance your image with a subtle flare, a splash of color, and various retro effects that mimic analog images.
Check out these popular apps and make your mobile photography even more awesome:

Further Reading:
- How to Use Old Lenses and Speed Boosters With Your New Camera
- 4 Simple Strategies to Awaken Your Photographic Creativity
- A Guide to Creating Mood In Your Images
- How To Eliminate Lens Flare
- What Is “Lens Flare” And How Do I Avoid It?
- 5 Ways To Avoid Lens Flare With Studio Lighting
- Inspirational Black and White Quotes


7 Comments
Excellent examples of lens flare. I have been exploring lens flare on the iphone, and I would be interested in doing a guest post.
By the way I follow your posts, especially the weekly ones on what’s interesting in photography. Thanks for sharing.
Lens flare looks great, but I agree – it’s best when it happens naturally. I’ve found iphone photos can accidentally end up with amazing lens flare effects (due to the crappy lens I guess!) Here’s an iphone one of mine https://www.site.mwpics.com.au/wp-content/uploads/2012/01/IMG_3728.jpg
And there’s a really nice one in this gallery – in fact, when I look through my galleries I realise I seem to use it quite a lot.
Like tilting the camera and other goofy shenanigan’s, this is hopefully a passing fad. I’m surprised that it is still being employed.
To quote C.J. Chilvers,
“If you can’t say what you need to say in a photograph without
heaping layers of software filters or resorting to the latest
trends in post processing, you’re probably not saying much
of anything.”
—C.J. Chilvers
“When someone quotes a person most of the planet has never heard of and really doesn’t have any credibility anyway, just to get their point across, you’re probably not saying much either”
Tom Dinning ( Light Stalking forum, 2012)
There are so many creative ways to use sun flare – thanks for the post! I’m always looking for fun ways to incorporate into wedding photography.
I’ve always liked lens flare. It adds drama. People hate on lens flare because they associate it with over processing. When done like the examples above, I think its gorgeous!
Thank you for featuring my daisy image. I wasn’t aware it was being used until I found it linked from my Flickr account.