Got Manual Mode Mastered? That's a big question…
Getting past a milestone or big hurdle can leave you in a blank zone, with no idea where to go next. Mastering manual mode can be a big step for many.
After this is complete, you might think, either “I know everything about photography!” or become a little despaired, “is this it, why I am not progressing more?”
Before we get started, shooting in manual mode really is a big step up from the various other modes such as shutter priority, aperture priority etc. However, you still need to ensure you're putting sufficient time into your post processing skills and understanding (it will also help you understand photography as a whole too). The “Post Processing Video Course” is a great place to dig deeper into where you want your skills to progress on to.
However, don’t worry; there are plenty of areas left to dig into after mastering manual mode. Here are a few suggestions, of where to focus next.
Lighting
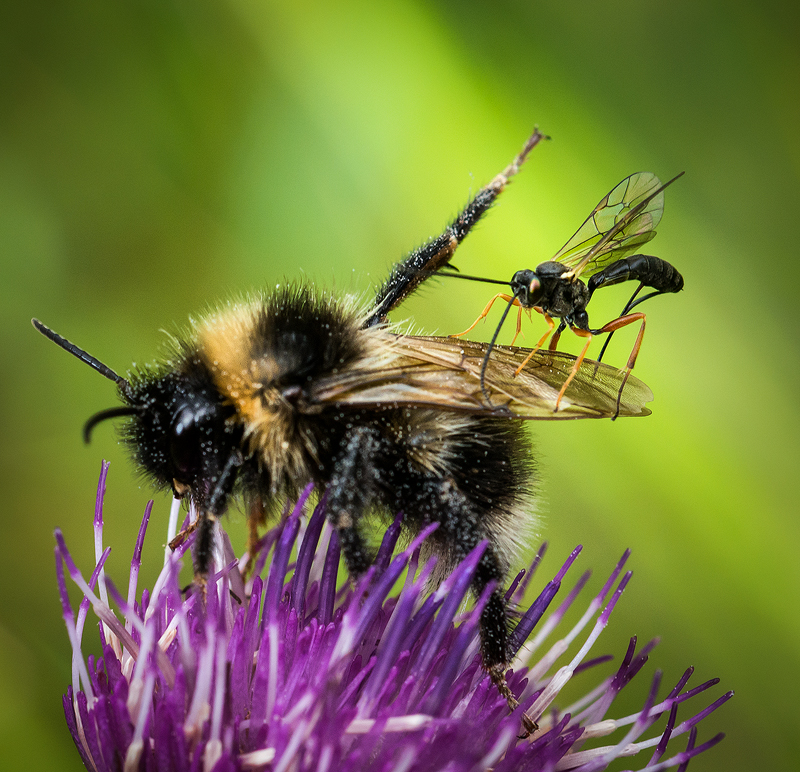
Depending on what type of photography you are most used to, using a flash can be new to you. For portrait photography, using flash is almost a no-brainer. But in macro photography, adding flash to your macro/close-up photography will allow you to get shots that would otherwise be impossible because of wind movement in combination with the available light.
Focus Modes
Most photographers are probably used to using the same focus mode all the time. However, when you get in a situation where another focus mode is more suitable.
I think of myself mainly as a landscape photographer. However, when the chances arise to shoot wildlife photography, I love doing that. But the optimal focus mode between the two different genres is very different.
Landscapes are very static, so single focus with only a few focus points will do.
Wildlife photography, however, requires many more active focus points and perhaps 3d-tracking. Without practice, you might miss the wildlife dream shot. Being able to use multiple focus modes allows you to increase your keeper's rate. Here’s a great article showing you how to successfully focus on fast moving subjects.
Post-Processing
Becoming better at processing images can truly take your images to another level. I am surprised at seeing how many photographers don't seem to bother with post-processing!
It can seem like uploading images instantly is more important to some than taking the time to improving them. Post-processing is in itself an art worth pursuing.
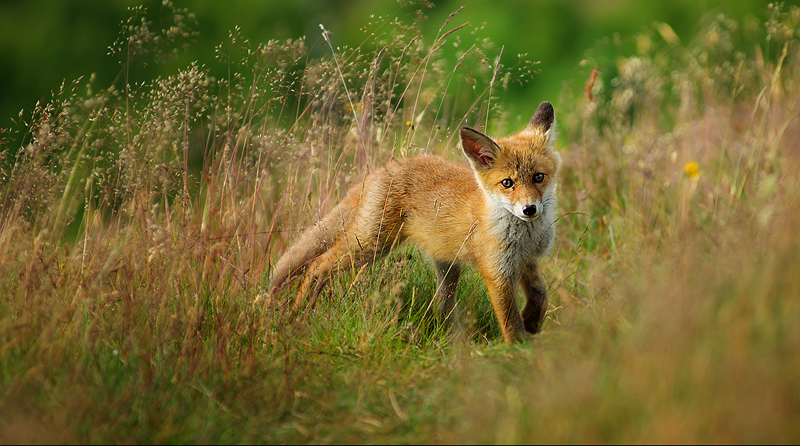
Lifting the shadow tones or adding sharpness to the area around the eye of an otherwise beautiful fox-image can lift it from good to great.
- Lens distortion,
- Flat-looking RAW files,
- Sensor spots,
- Digital noise and so on, are all factors that degrade your image compared to the real life experience.
No doubt that you should correct this, as a bare minimum. How much post-processing you do is up to you, but avoid to fall into the trap of pushing the sliders too far. This is most often seen in landscape photography, where there is an abundance of oversaturated sunsets.
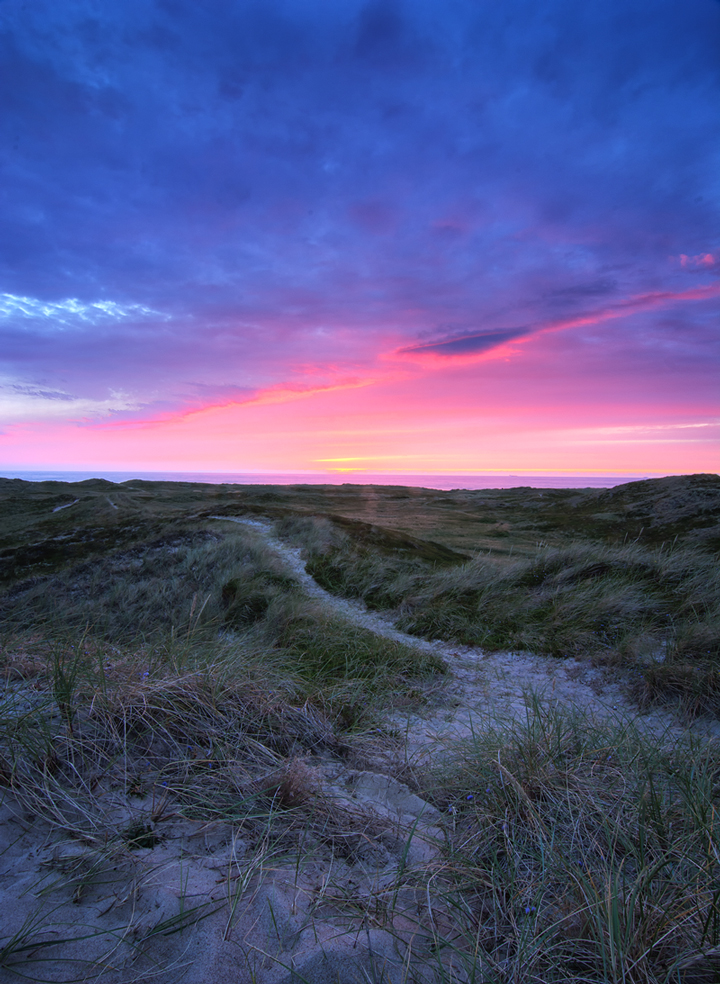
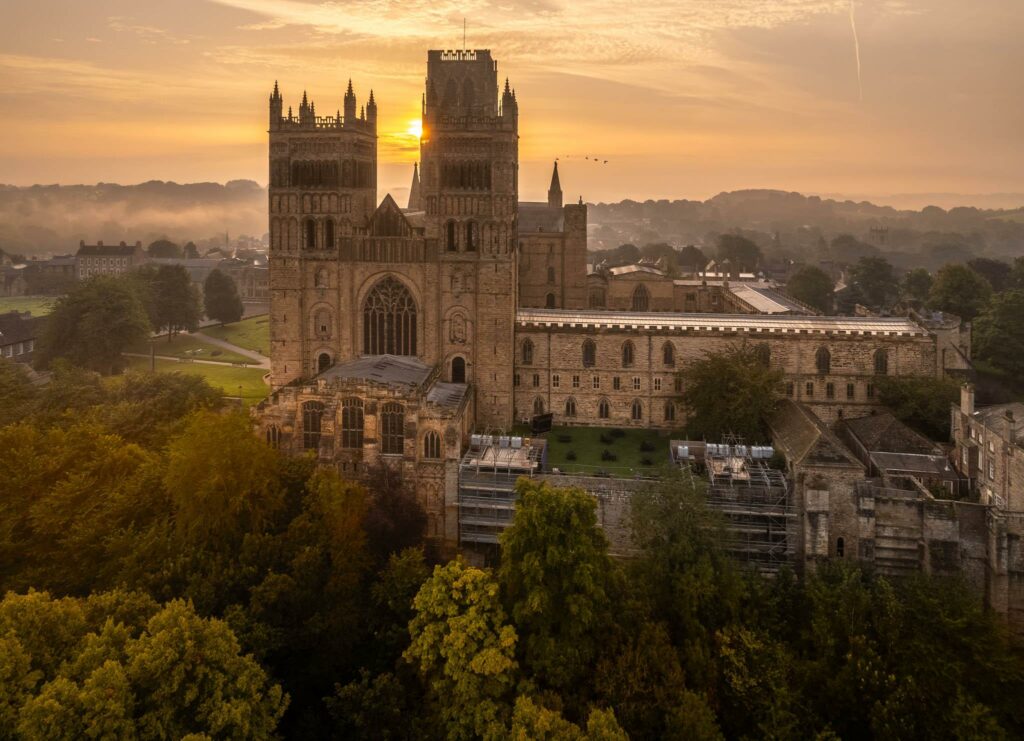
I processed this image a long time ago. Even though the sky really was very beautiful with plenty of purple and pink colors, I would perhaps hold back a little bit on the saturation slider, if I were to process it today.
Becoming better at post-processing doesn’t always mean processing more, but processing just the right amount.
Check out these 7 signs that you have over processed your photographs.
Metering Modes And Exposure Lock
Even though you control the aperture shutter speed and aperture in manual mode, your camera is still in charge of the setting what light will give a perfect exposure.
In most cases this is fine, but other times you will want to be in control of how the camera measures the available light to determine what a perfect exposure is.
Learning which instances are best for evaluative, matrix/center-weighted or spot metering modes gives you the freedom to bypass the automatic light metering. In spot / center-weighted metering modes you can choose a point in the scene to tell the camera where in the scene to evaluate light. Learn how to best utilize the various metering modes in your camera.
To appreciate when this is useful, think of silhouette photos, where your subject is strongly backlit. If your camera is in charge of evaluating the light, it might expose for the subject and make the background overexposed.
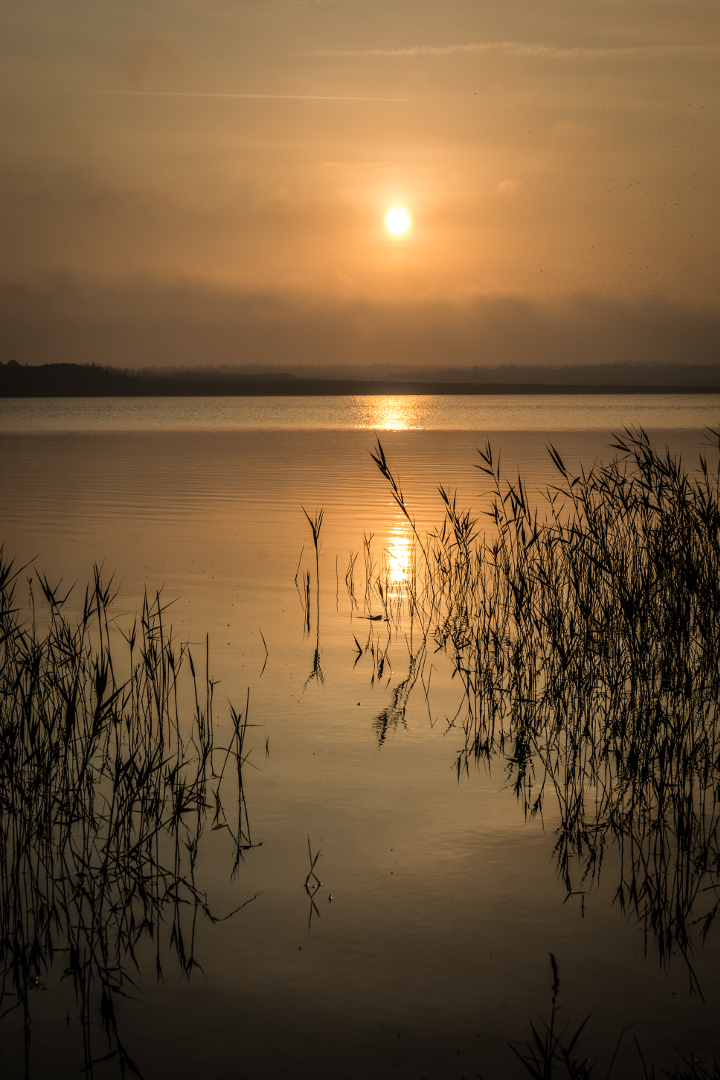
Switch to spot metering and focus on the background. Press down the A-EL button to lock the exposure on the background. Now recompose and focus on the subject.
This will make the camera exposure to get a well-exposed background while your subject will become a silhouette. If it isn’t working out try to exposure compensate with +1 or +2 stops. With this method, you are in complete control of how the camera evaluates the exposure.
Bracketing
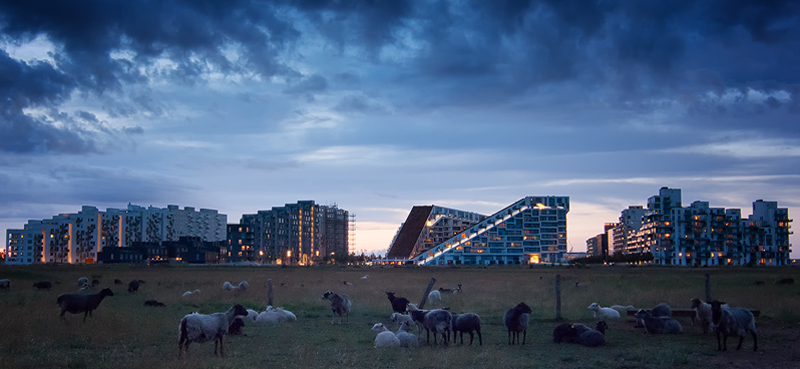
If you are into landscape photography, you would want to learn to use bracketed exposures to capture all the tones from dark shadow to bright highlights and combine them into one image using Photoshop. This allows you to get a wider tonal range in your photos than you would otherwise be able to.
Forget about the automatic HDR- blending software and dig into manual exposure blending in Photoshop. It might be more difficult in the beginning, but the effort is paid back manifold when you master the technique.
Focus Stacking
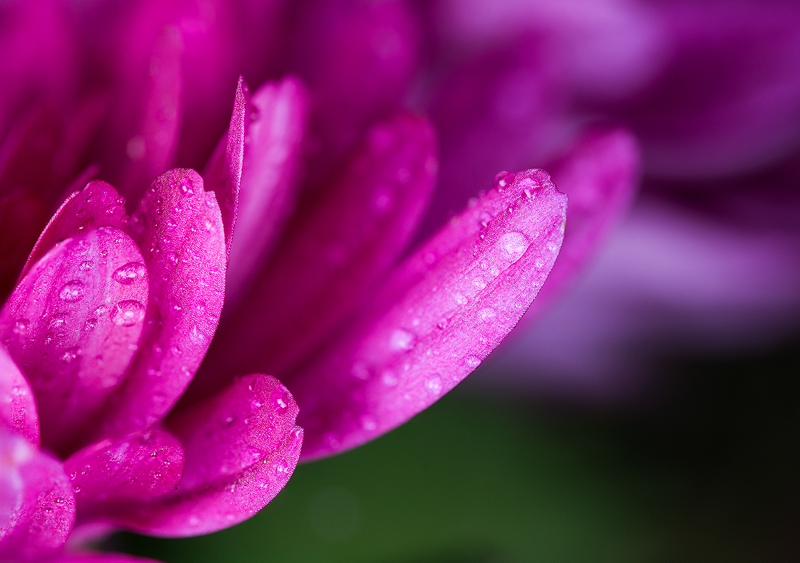
Focus stacking is mostly known for macro photographers, where is depth-of-field can become so thin-sliced that only a couple of millimeters is in focus.
Using a focus rail allows you to shoot several shots which you can then combine into a single image. Focus stacking can also be useful to learn for landscape photography if you struggle with getting front-to-back sharpness.
Bumping the aperture down to f/16 or f/22 is not the best solution, as it will require longer shutter speed and most lenses are most sharp around f/5.6 – f/8. Next time you are out on a landscape photography session, try the focus stacking technique explained here.
Focus On One Technique And Master It To Perfection
Trying everything once, will not make you master anything. Switching between several techniques or worse one trying them once will not include the technique in your skill set.
Instead, choose one of the above techniques that you find most interesting and try it again and again until it sticks. What was your next step after mastering manual mode? Let me know in the comments below!
Before we go, shooting in manual mode really is a big step up from the various other modes such as shutter priority, aperture priority etc. However, you still need to ensure you're putting sufficient time into your post processing skills and understanding (it will also help you understand photography as a whole too). The “Post Processing Video Course” is a great place to dig deeper into where you want your skills to progress on to.
Further Resources
- Use These Tricks To Improve Your Manual Focusing Skills by Dzvonko Petrovski
- Moving Beyond Auto Mode: Which Exposure Mode Should You Choose? by Jason Row
- How to Get Better Landscape Photos Through Correct Metering by Kent DuFault

1 Comment
your last recommendation is an excellent one and one that I usually practice; but sometimes I get caught with a totally different subject matter and lighting on the event or situation I am shooting. Thats when I am rudely awakened again and again on how complex the menu systems are within a DSLR and dedicated flashes. But yes, stick to and master ONE technique, and then go onto something else to master. Agreed!