Portraiture is one of the most popular genres of photography around. It’s also one of the most challenging. It takes many long hours of practice before you get really good at capturing the essence of human personality and, along the way, you’re going to make more than your fair share of mistakes.
Don’t sweat it, though. Everyone goes through it. The point is to learn from those mistakes and make corrections. Below, you will find a list of seven mistakes commonly made in portrait photography; it is, in fact, more than a mere list, however. Along with a discussion of the mistakes, you will see that there are suggestions on how to correct or altogether avoid the problem.
Nobody said you have to make the mistake yourself in order to learn from it.
Eyes Out of Focus
The eyes are widely considered the most important element of a portrait and, as such, need to be in sharp focus. How much of other parts of the face or background you get in focus is optional, but having the eyes out of focus fails to convey those intangible yet essential qualities of the subject’s personality. Further, if the eyes are out of focus, that usually means some other part — the wrong part — of your subject’s face is in focus and this is exactly where the viewer is going to look first.
Always focus on your subjects eyes; if you normally use autofocus to do the work and you’re getting blurry eyes, it’s time to start using manual focus. DSLRs have highly capable autofocus systems, but sometimes they do get things wrong, so learn to get comfortable with focusing manually and you should see improvements.
Additionally, if your camera has a live view feature, you can use the LCD screen to zoom in on your subject’s eyes to ensure that they are properly focused.
Redeye
The dreaded redeye is typically the result of using on-camera/pop-up flash, which tends to be situated uncomfortably close to the lens. The big burst of light that the flash emits enters the pupil and bounces off the back of the eye, where the blood supply is particularly rich. The resulting red light is then reflected from the eye back to the camera; this all occurs so quickly that the pupil can’t contract before the image is captured, thus you see the red reflection in the subject’s eyes.
The anti-redeye function built into some cameras works by firing off a pre-flash to close down the subject’s irises some before the main burst of light fires; this helps keep so much light from reflecting back, thereby decreasing the redeye effect.
But if you really want to put an end to redeye once and for all, then you need to get your flash off the camera. The thought of using off-camera flash is intimidating to some people, but it’s not as bad as you think. There are plenty of helpful tutorials out there.
Shooting Too Wide
You will often hear that the best focal lengths for portraits fall in the range of 70-105mm, give or take a few millimeters. Of course, this varies according to individual taste and stylistic aspirations, and there are some who will tell you that you can use any lens to shoot portraits.
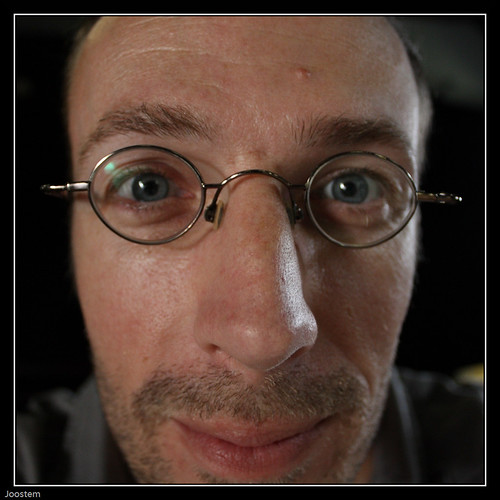
The problem, however, with shooting too wide is that your subject’s face will appear distorted. If your subject is expecting a nice, flattering portrait, using a wide angle lens is not going to win their favor. If you’re doing environmental or full body portraits, you can get away with using a lens wider than 50mm; otherwise, go with a longer focal length.
Too Much Depth of Field
How much is “too much?” There’s no objective answer — you just know it when you see it. Having everything in focus can divert attention away from your subject, who should always be the main attraction. A beautiful background can certainly enhance a portrait, but you should still create some distinction between the background and your subject.
This can be achieved by using a wider aperture (f/2.8 instead of f/5.6, for instance) to blur the background, or by having your subject take a few steps toward you, creating greater separation between them and the background.
Too Much Detail
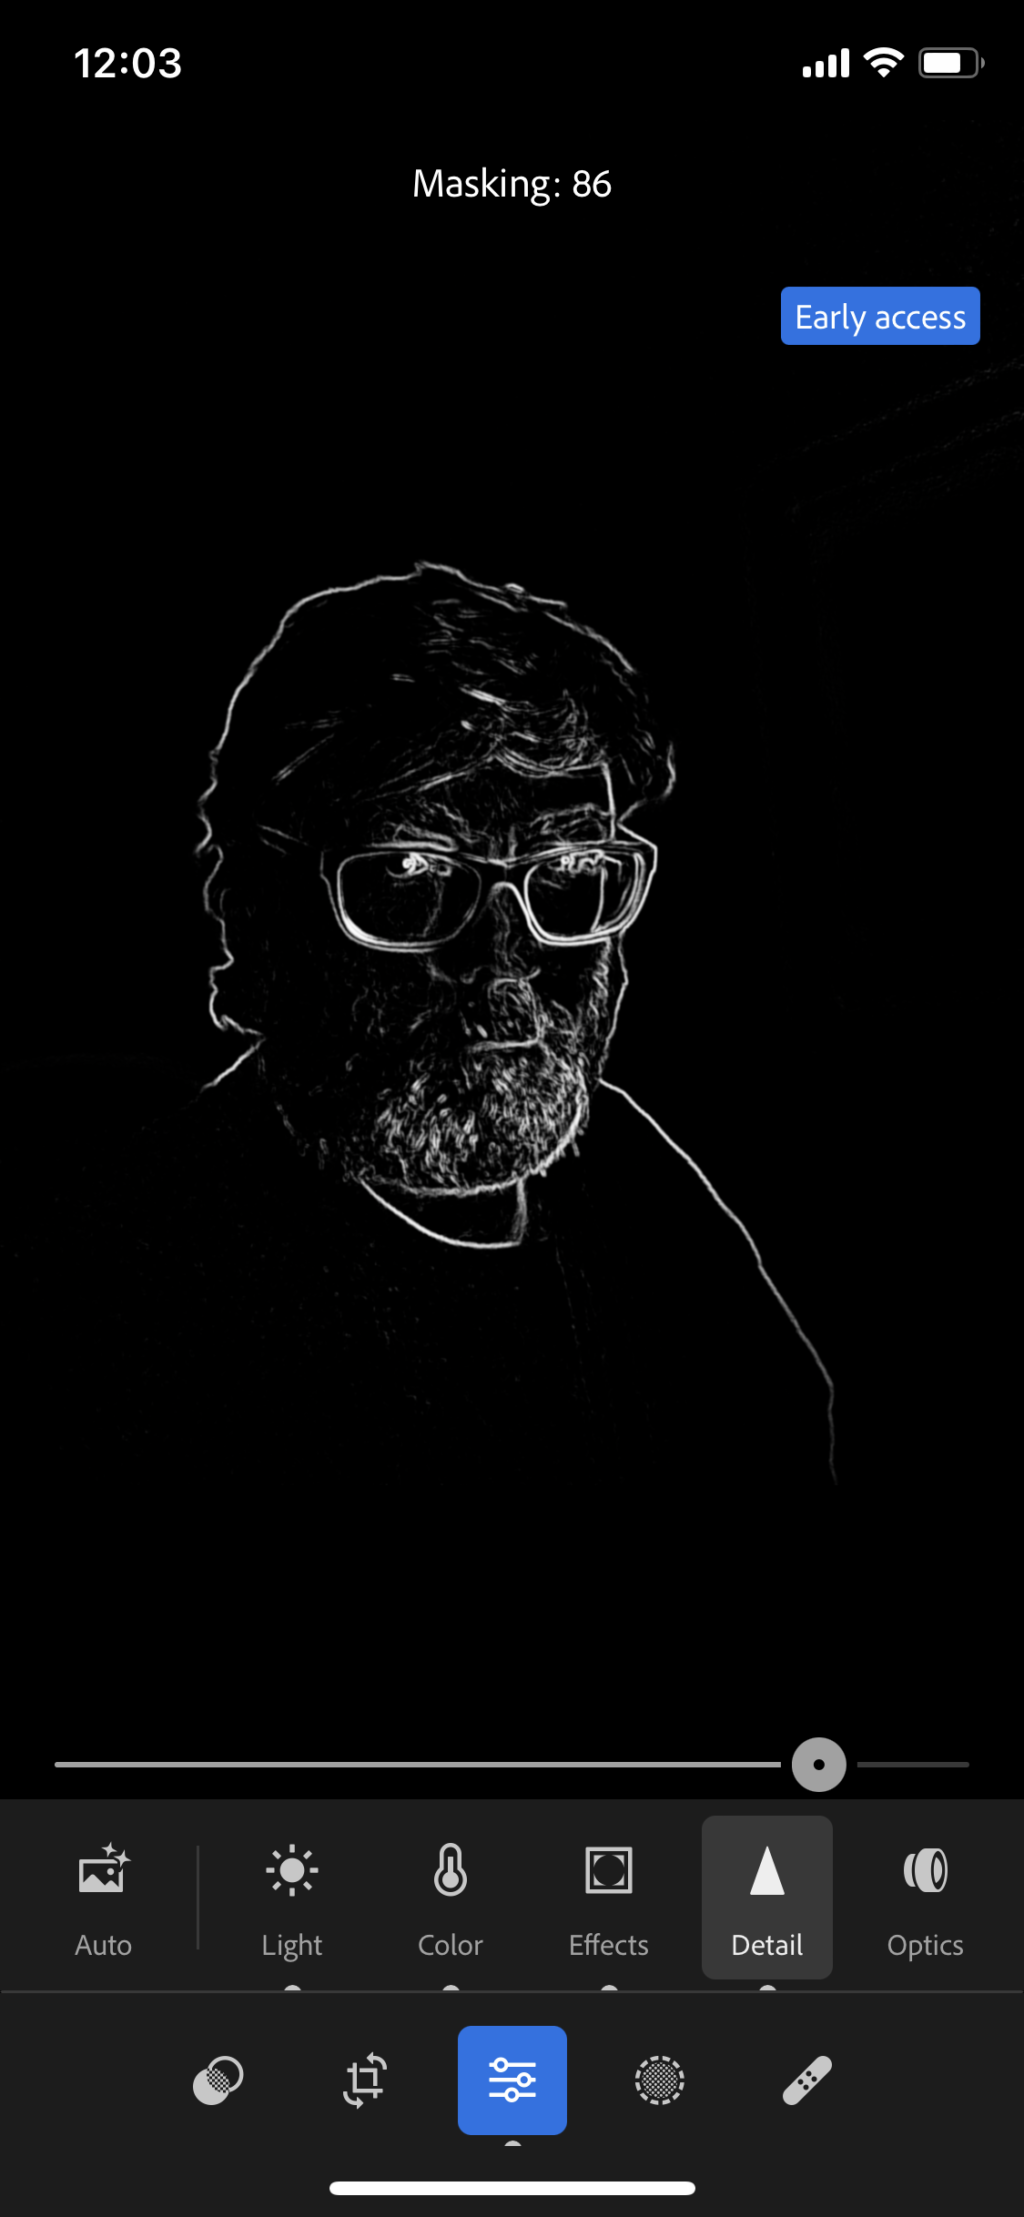
You want your subject eyes to be in focus, not their blemishes. If you shoot JPEGs exclusively, make sure not to apply too much in-camera sharpening. You might also opt for a soft focus lens or filter. And, of course, using a large aperture will also help.
The best solution for this scenario is to shoot raw. This way you will be able to make all the adjustments you need to things like saturation, skin tone, and whitening eyes and teeth. You can do selective retouching and sharpening, ensuring you don’t go overboard and make your subject look unnatural.
Poor Framing
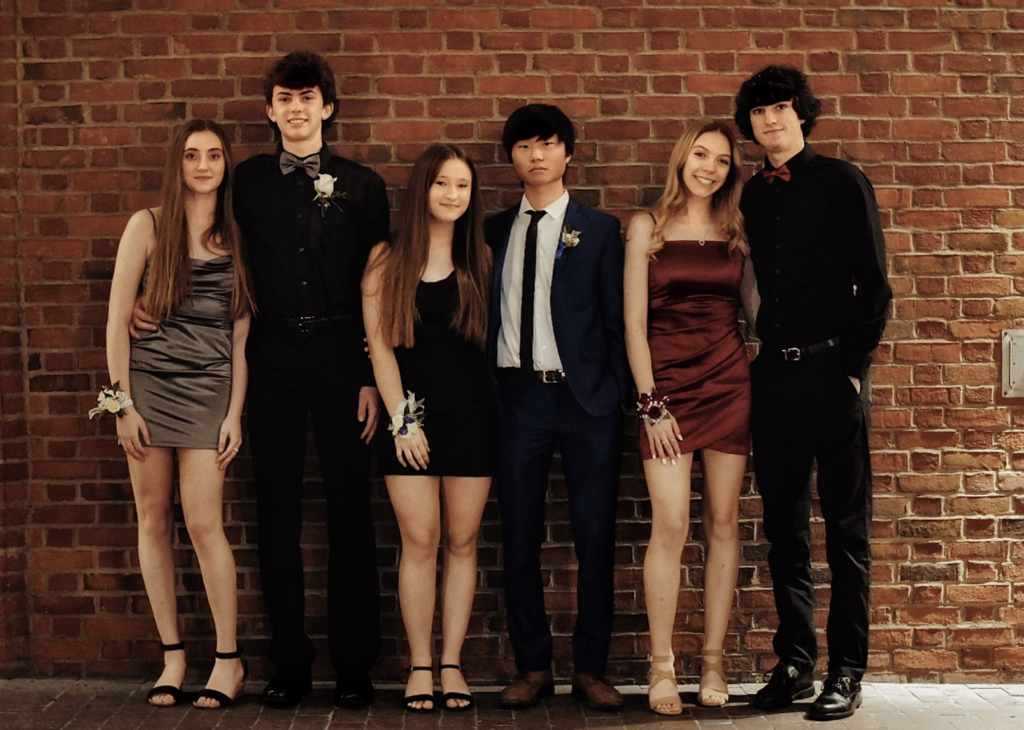
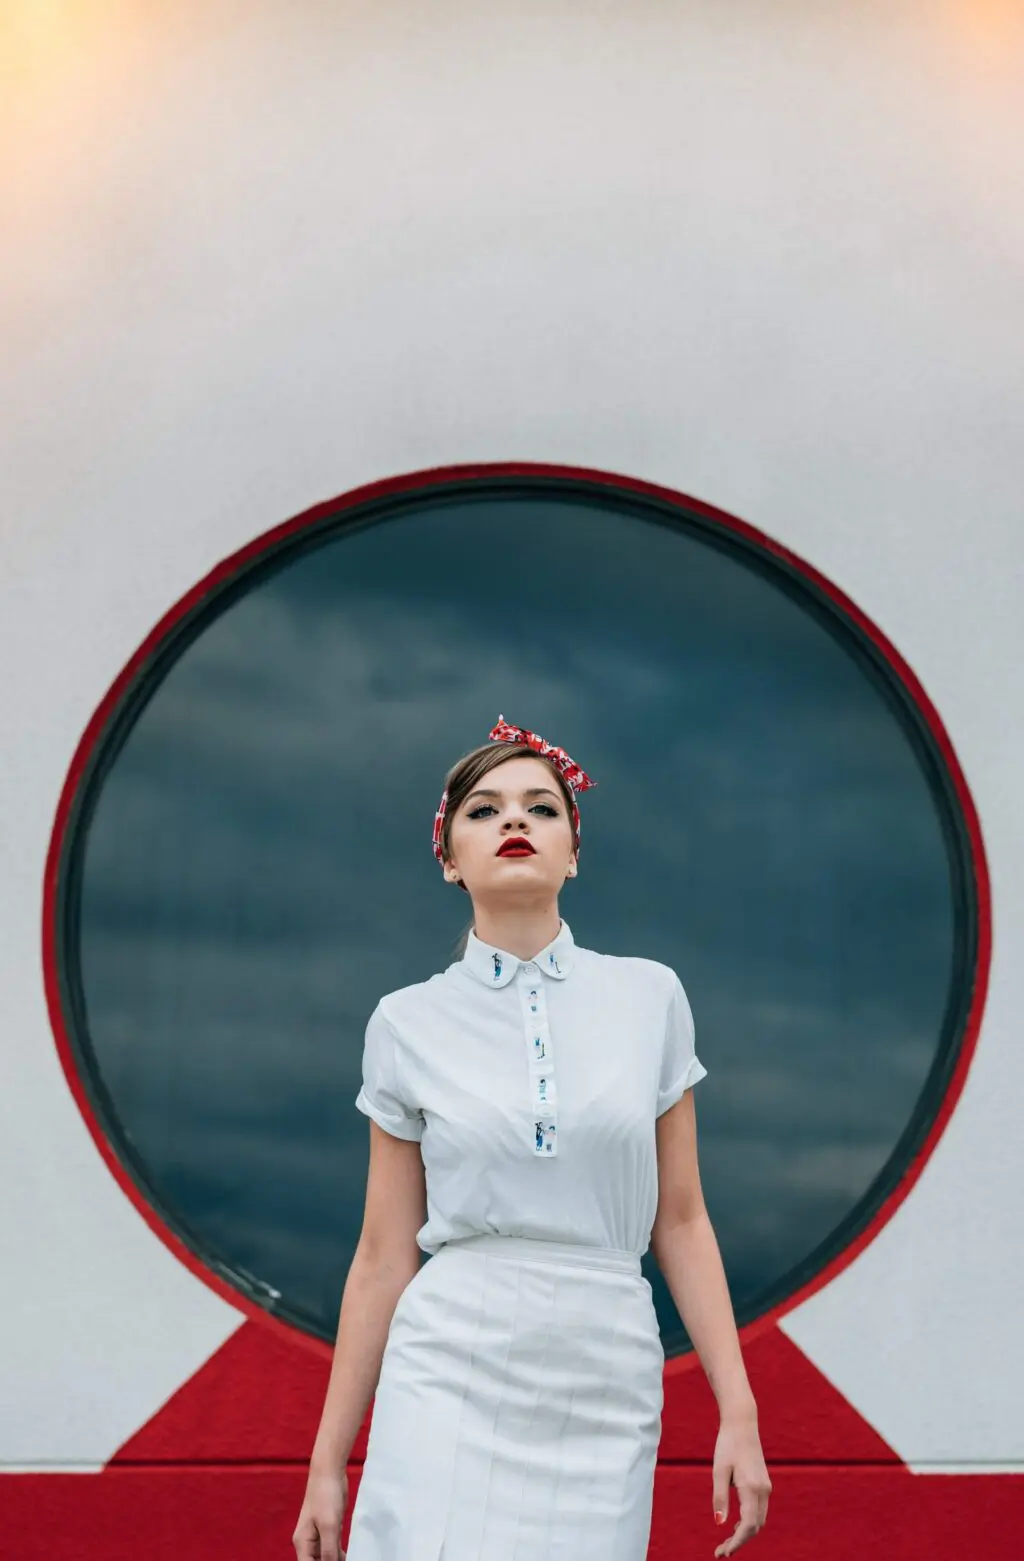
Standing too far away from your subject can be just as detrimental as standing too close. Being too far way creates a lot of pointless empty space around the subject, which makes it difficult, if not impossible, for your subject to stand out. As mentioned above, full length or environmental portraits are certainly an option, but they require a little extra thought and care in execution.
Similarly, don’t get too close to your subject; overly tight framing will result in an image that’s as uncomfortable for the viewer to look at as it was for your subject to pose for.
Harsh Shadows
Shadows can make or break a portrait; they can add drama and enhance mood, or they can be an unattractive distraction. Harsh shadows, more often than not, fall to the latter category.
So, your goal is soft lighting with subtle, understated, appropriately placed shadows. You can accomplish this by using a diffuser of some kind and by strategically arranging your lighting setup. The easiest, most affordable solution is to diffuse the light; you probably have items sitting around your house that can serve as a diffuser.
If you are using flash, a simple fill light can be highly effective at keeping shadows in check. When you’re outdoors in the bright sun, find some shade; fill flash is also a useful strategy outdoors. If you are going for a more sophisticated lighting setup, have a look at this tutorial on the different styles of portrait lighting and how to arrange your lights to make sure your subject is beautifully illuminated.
While all of these mistakes are easy to make, they are also easy to overcome. Just stay motivated and try, try again.

1 Comment
It wasn’t a mistake, I used shallow depth of field on purpose :).