Rain photography can be demanding especially for photographers who aren't used to shooting in inclement weather. You need to take into account low light, cloudy skies, unsaturated colors and of course lots of water and reflections! It's tricky to find the right camera settings for such conditions but it's not impossible either – you just need to keep your camera dry, make sure to have a plastic bag and umbrella around (in case of a heavy rain), and have some creative ideas.
If you like adventures and challenges, you can take even better photos in the rain than on sunny days. Cold and stormy weather is the best time to capture dramatic, moody photos that will impress the viewer more than a regular ”perfect weather” scene. You can capture both interesting landscapes and portraits in rainy weather. Even if you are into fashion or product photography, which are rather commercial genres, there's still no need to avoid rainy weather. You just need to grab an umbrella, embrace the rainy weather and get your creative juices flowing! Water droplets, reflections and wet surfaces can help you create magical scenes.
Check out the following tips and tricks on camera settings for rain photography – they will make your photo shoot in the rain much more enjoyable!
The Right Gear
Before you head out to make pictures in the rain, you should have adequate equipment!
There are 2 most important things:
Camera that works well in low-light conditions
You don’t have to have the latest model of a professional DSLR or mirrorless camera to shoot in rain, but working with a smartphone camera might be really challenging. You need a wide dynamic range and the possibility to shoot at high ISO to capture memorable rain photographs.
Raincoat and gear protection
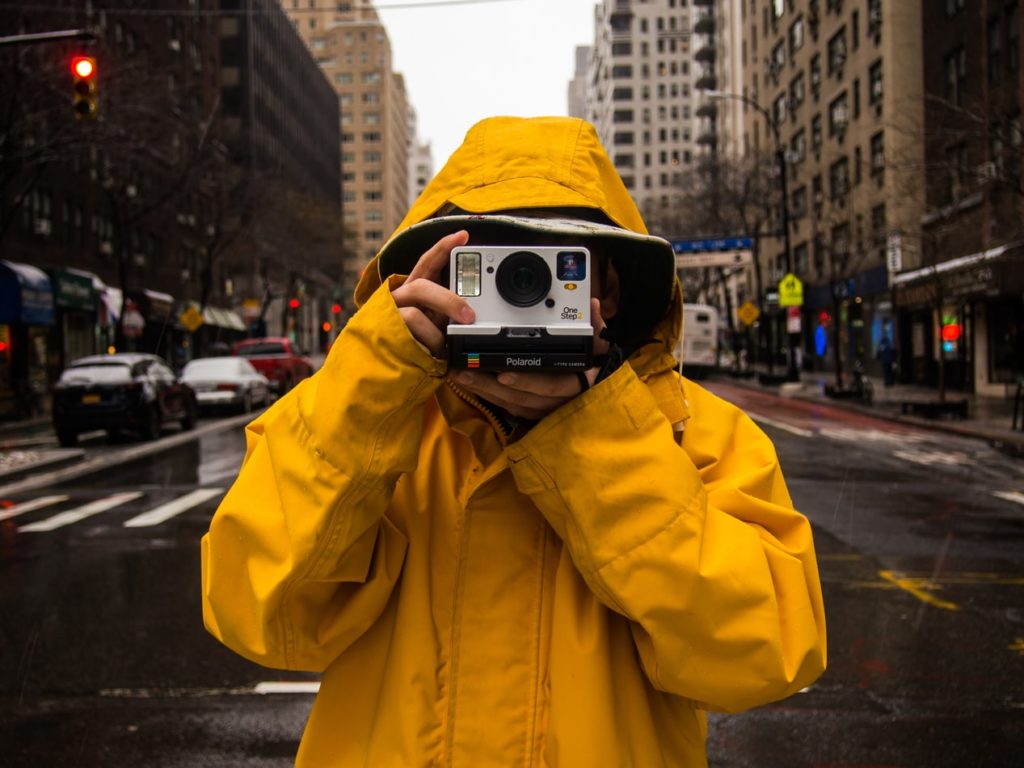
You surely don’t want to risk ruining your gear in a single rain photoshoot. You can find waterproof camera cases, lens hoods, and custom rain covers. But even if you don’t have them you can use a transparent plastic bag to keep your camera dry. And don’t forget about your own comfort – you should have waterproof clothing and an umbrella. You won’t have enough energy and creativity to create outstanding photos if you’re soaking wet.
Visualize The Atmosphere You Want To Achieve
Your camera settings for rain photography should depend on the type of photography you do and the mood you want to achieve. Do you shoot landscapes or portraits? Do you want your images to look ominous or romantic? Do you want them to be properly exposed or more on the dark side? Do you maybe want to play with slow shutter speed and create a soft painterly vibe, like the one you can see in impressionist paintings? Always ask yourself these questions before you start your photo session – having a clear plan in your mind will save you time! Many photographers who shoot in the rain already have a plan before they head out – they know what they want to capture and they have a basic idea of what props to bring and what camera settings to use.
Flexibility
When it comes to settings, they should depend on the type of photography you do. You can’t use the same settings for portraiture in the rain and landscape photography in the rain. Also, don’t forget that your unique style matters a lot. Even though the most popular camera settings for rain photography aim to make the raindrops visible, you can do something different and more experimental, for instance play around with long exposure settings. Always vary the exposure slightly around the recommended value given by your camera and feel free to experiment and use bracketing in case you’re not sure what the best exposure should be. Your camera’s metering system can be tricked by low-light conditions, so you have to make sure that your exposures aren't completely wrong.
Of course, you can also do something totally different and choose the wrong settings on purpose. Believe it or not, this can lead to most creative photos. While this might be problematic if you shoot commercial photography, it can be truly rewarding if you photograph simply for yourself and you want to explore lesser known realms of photography.
Don’t Use The Lowest ISO Setting
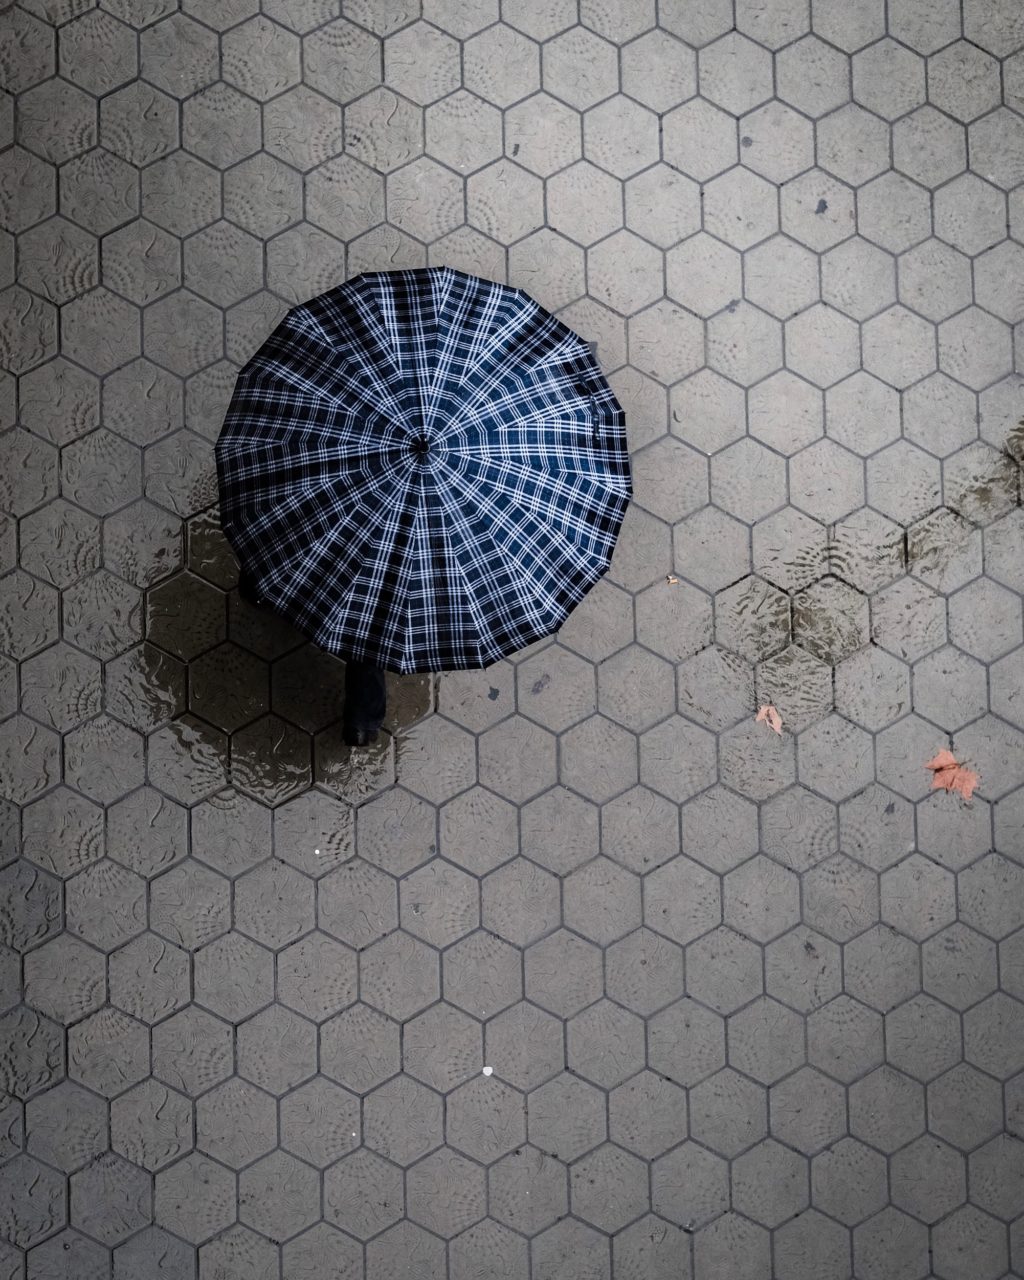
Rain photography usually means shooting in low light – you might need to increase your ISO a little bit to avoid underexposed images. Using a bit higher ISO will also help maintain a fast shutter speed in case you’d like to capture the amazing beauty of raindrops!
But also make sure not to go too high in terms of ISO, because the more you raise it, the more noise you have to deal with!
Creative Use Of Noise
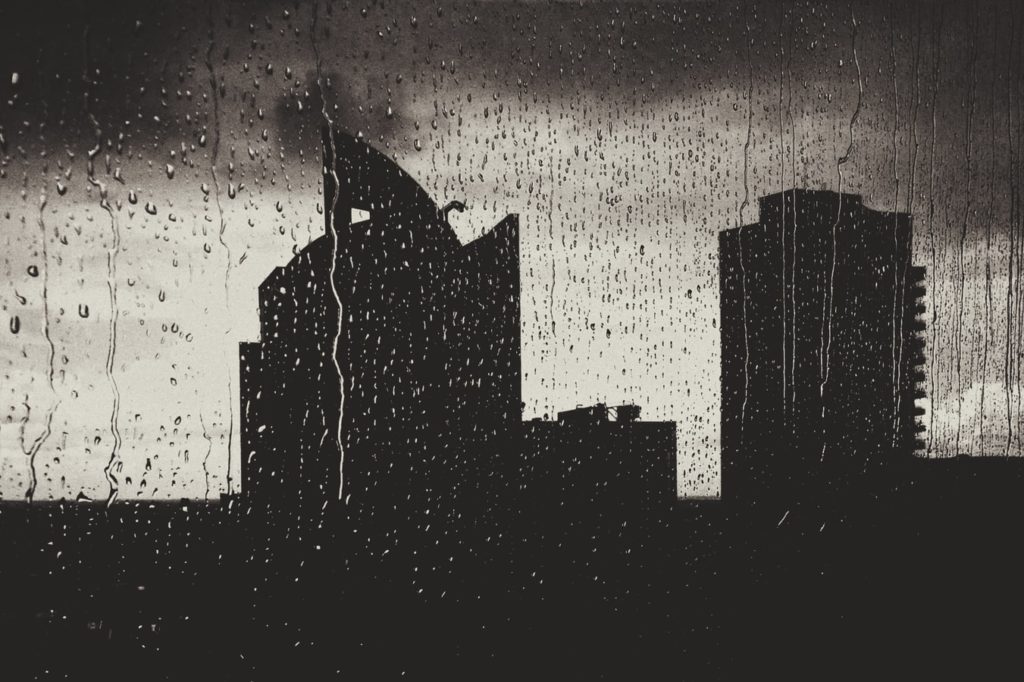
However, noise in your rain photographs isn’t necessarily bad – if you’re into vintage looking portraits or mysterious landscapes and cityscapes that resemble film photography, you can raise your ISO. It’s easy to enhance or remove grain if you use Lightroom – we actually recommend that you try to shoot at least a few photographs with a high ISO. This will allow you to understand the beauty of grainy images and capture them from time to time.
Choose Shutter Speed Wisely
Your camera’s shutter speed is always important but when you shoot in very specific conditions such as rain choosing the proper shutter speed can make or break your images. But don’t worry, the situation isn’t that complicated – to put it simply, if you love to catch every drop of rain, then you need a fast shutter speed. If not, you can settle for something far lesser.
Just like any other subject in motion, rain requires a fast shutter speed if you want to focus on splashing water or droplets. A good starting point would be approximately 1/250 sec – you can go quicker or slower from there, depending on your preferences. Anything at or below 1/125 isn’t recommended for rain photography in case you want your images to be sharp.
You can use a slow shutter speed for softer dreamy images, but don’t overdo it because you can easily end up with no focal point at all.
Tripod
One more important thing – tripod! A tripod isn’t necessary for rain photography but you may find yourself capturing better images (with sharper focus) if your camera is placed on a tripod. Generally speaking, professional photographers use tripods when shooting in challenging conditions such as rain to avoid blurriness. Without the tripod or any other support, you might have to settle for blurry images in case of slower shutter speed.
Experiment With Aperture
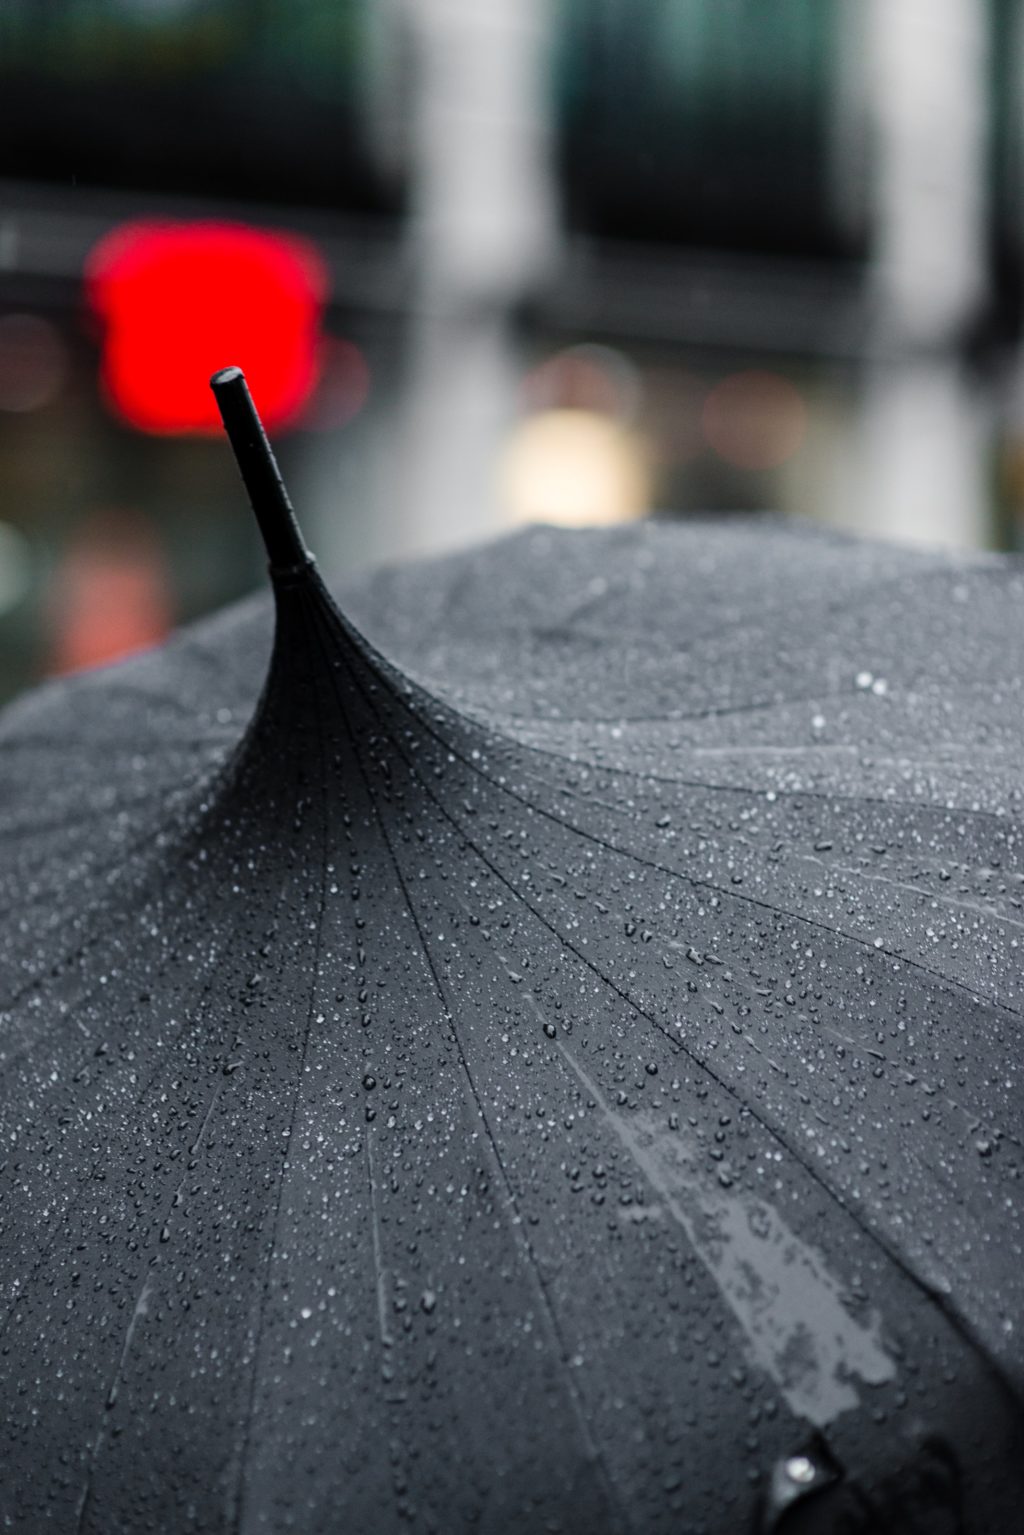
A large aperture is very useful because it allows more light into the camera – it will help you maintain a fast shutter speed if that's what you're looking for. However, for the sake of preserving fine details or background, it's good to avoid choosing the shallowest depth of field. You can start with f/8 and adjust it accordingly.
Your aperture settings will depend on your main subject too. If you want to capture just a particular object, you can use a wider aperture (more shallow depth of field). This is great for portraiture or product photography. But if you’re shooting a landscape or a cityscape in rain, you need a deeper depth of field since you want to capture certain details in the background.
In case you choose to go with a quicker shutter speed, then your aperture needs to increase as well. This will help you get perfect rain photos even in dim-lighting conditions and vice-versa. Because of this, using a prime lens with a wide aperture is a great idea – it allows you to experiment with aperture.
It might take some time to find the ideal balance between shutter speed and aperture, but as you already know practice makes perfect!
Get Creative With Light Sources
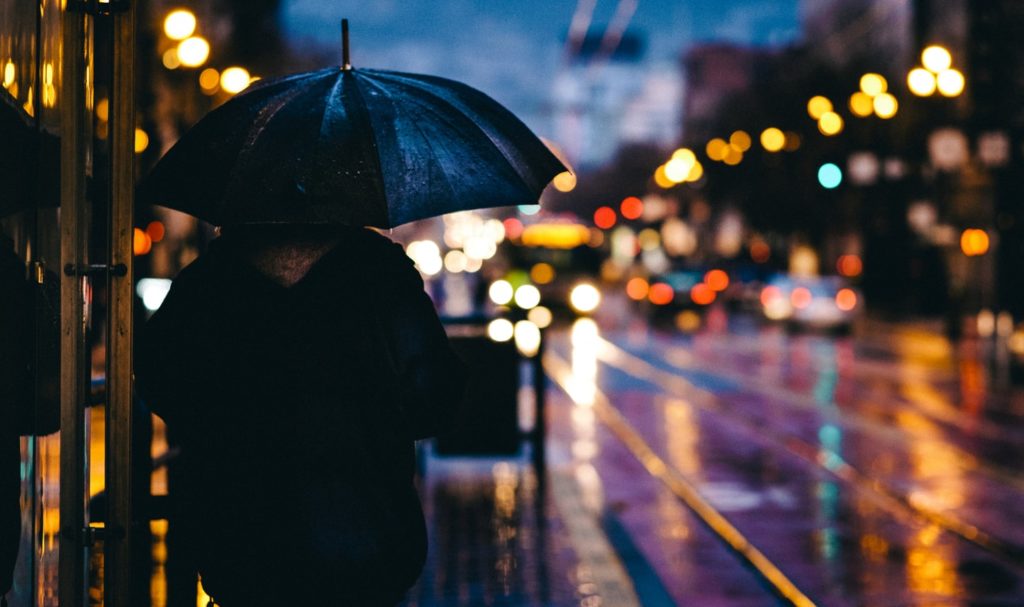
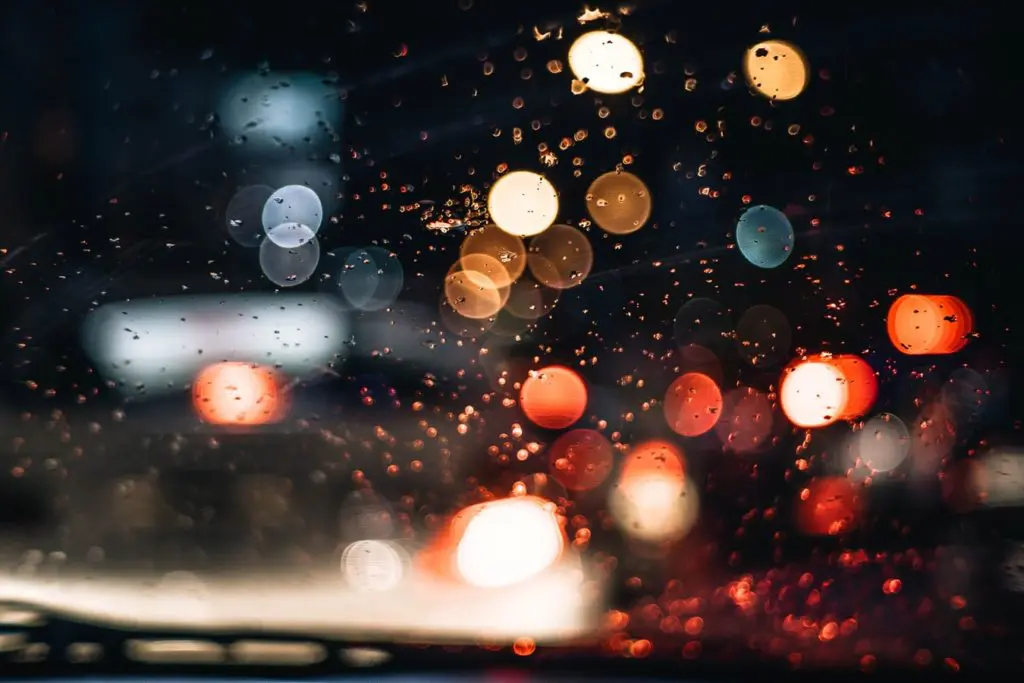
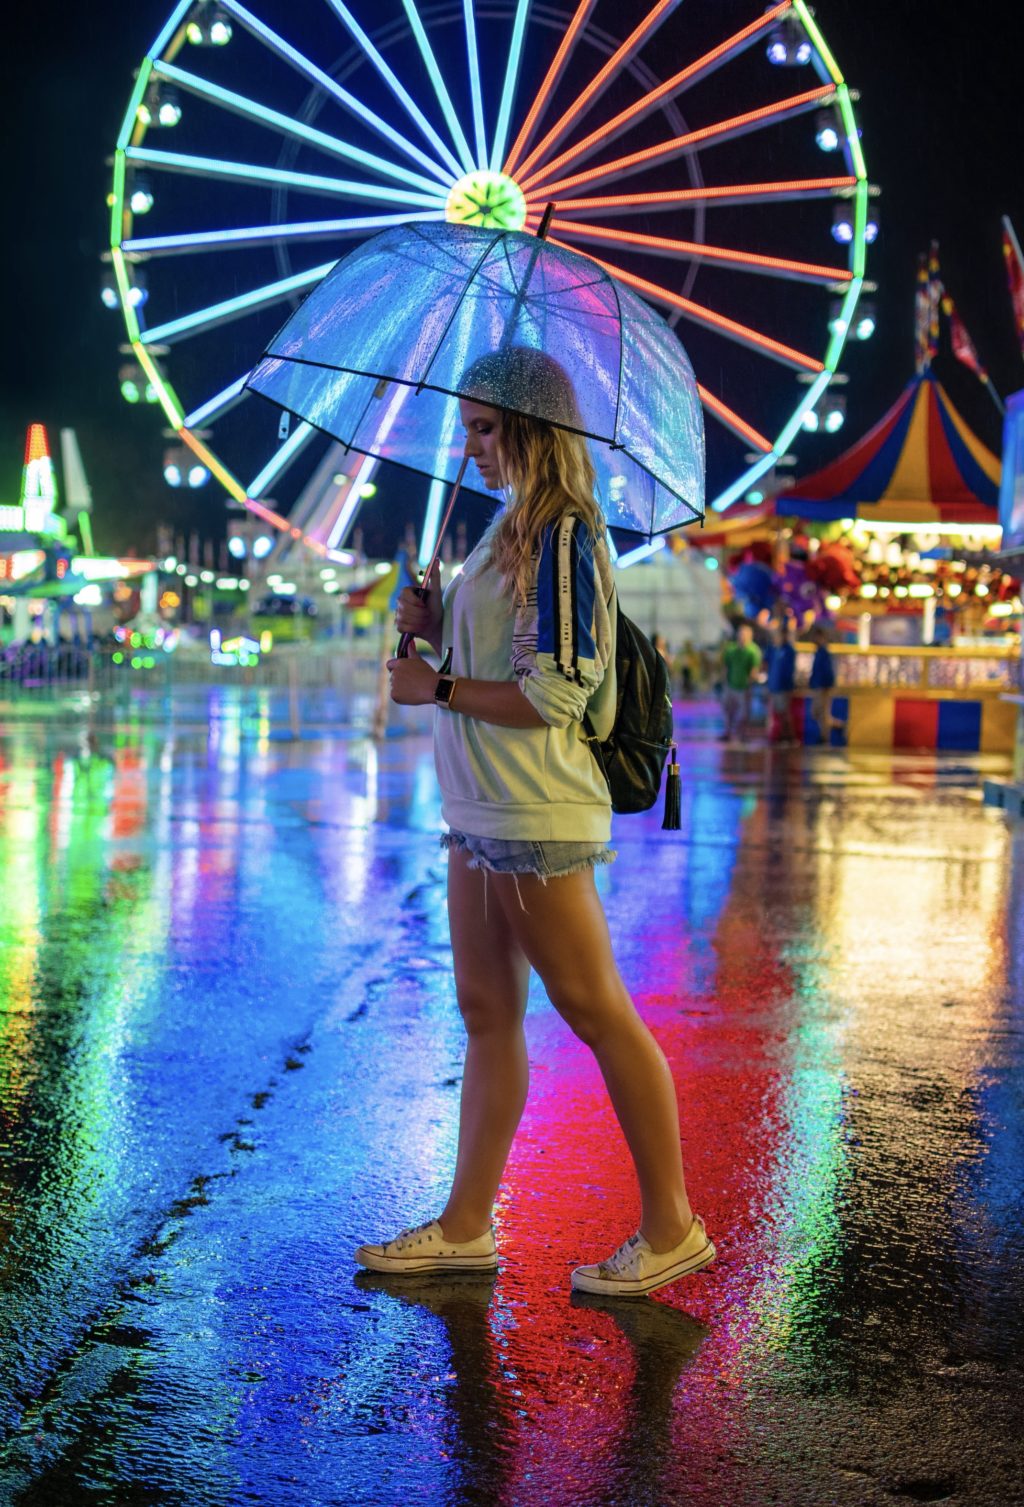
If you shoot rain photographs during the evening or at night, you should pay attention to bright windows, billboards, traffic lights, car headlights and other sources of light that can help you make more creative and more colorful images. Also, it can be quite hard to focus at night and these sources of light will help you avoid out of focus photos.
White Balance
However, you have to know that combining different light sources can be complicated because it’s hard to find the right white balance for such photographs. You should shoot in raw when you have combined light sources and edit these photos carefully. In case you shoot creative portraiture (such as fashion photography) even a wrong white balance can have a certain artistic value.
Use The Flash (But In Manual Mode!)
Have you been wanting to get truly creative with flash in your rain photography? In this case you should rely on using flash in manual mode.
You don’t have to rely on other sources of light if you decide to use flash. However, the automatic setting on your flash might be too harsh for rain photography, so you should use flash in manual mode and choose the exact intensity you want. If you’re still a beginner when it comes to flash photography, it can be better to rely on available light or take some time to learn how to use flash in manual mode.
Rear Curtain Sync
Moreover, you can play around with rear curtain sync if you decide to use flash in manual mode. This option can be particularly interesting if you decide to shoot street photography on a rainy day. Rear curtain sync creates an image with a sharp main subject but also captures the path of any ambient light, creating wispy light trails. This can lead to surreal night photographs – just add rain to them and they will be even more mysterious!
Rely On Manual Focus
If you let your camera choose the focal point for you while shooting in rain, you definitely risk focusing on an unimportant part of the scene. In order to avoid this common issue, make sure to use manual focus. In this way, you will be free to decide what parts of the scene you want to emphasize.
Tips For Shooting Rain Drops
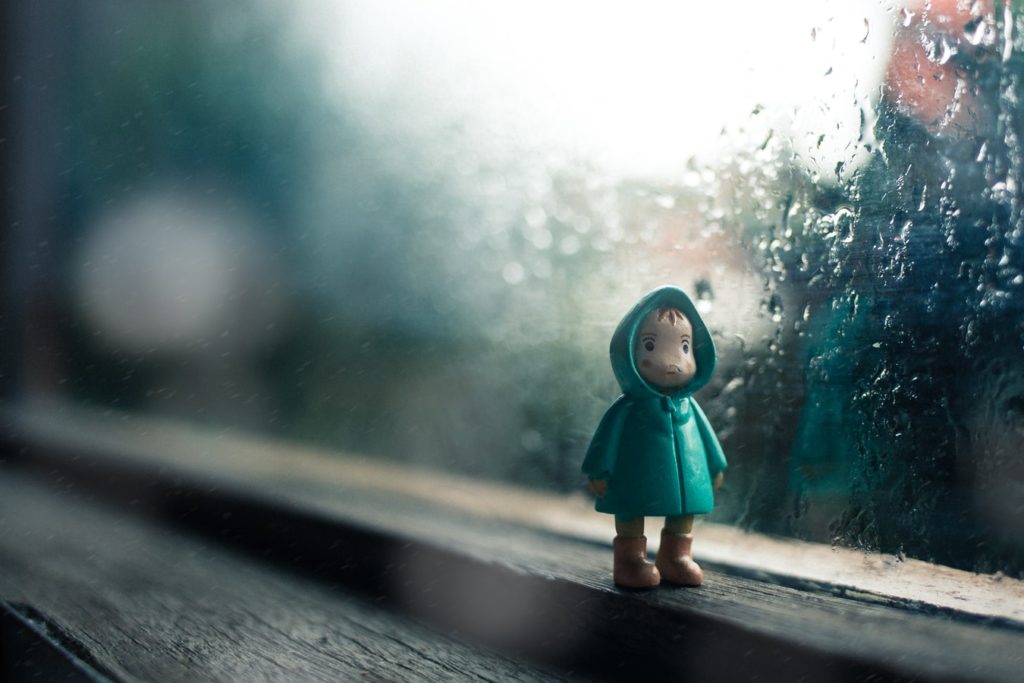
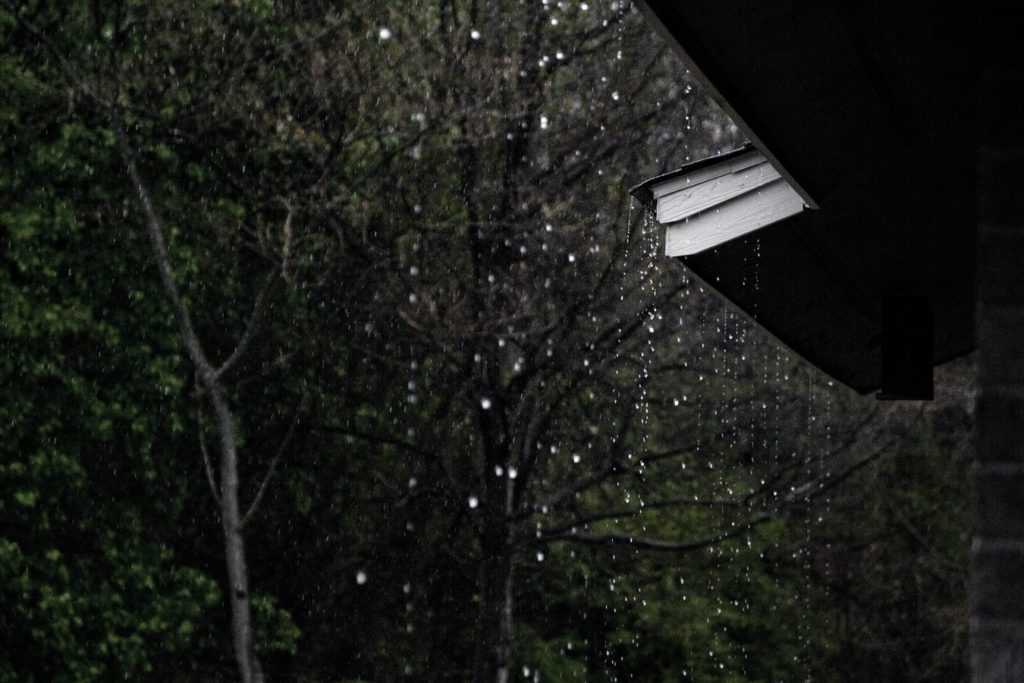
Manual focus is also important if you want to shoot rain drops – it can be challenging to do so with automatic focus. Most cameras in autofocus mode try to focus on large objects in distance such as buildings, and won’t focus on raindrops on the window, for instance. Because of this, using manual focus will allow you to determine exactly what should be in focus in your shot. Raindrops cling to plants and other surfaces so you can look for interesting objects dotted with raindrops – you don’t have to capture raindrops on the window! This can be a great occasion for macro photography too if you have a proper equipment.
Experiment With Low Key Approach
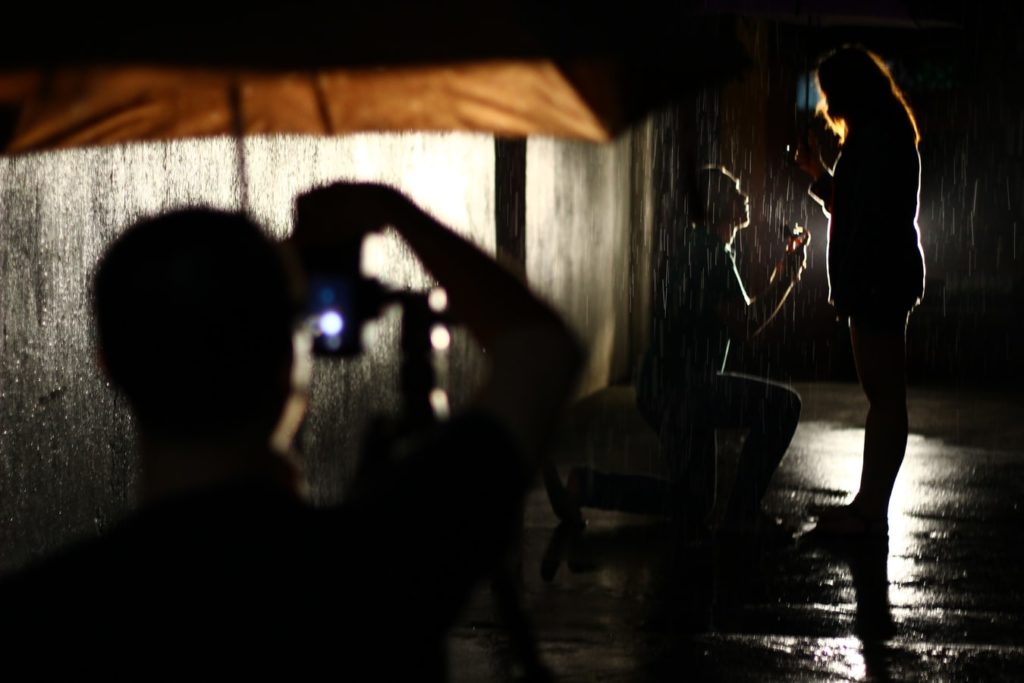
Low key photography is a wonderful way to capture moody scenes and portraits.
Feel free to read our comprehensive article on low key photography to learn more about it!
Using large areas of dark midtones and shadows can contribute to dramatic mood and make your images more powerful. If you enjoy cinematic vibes, this style of photography can also be an excellent choice for you. However, low key photography requires extra attention to exposure. You should always use manual mode and expose for the highlights – this will force the camera to correctly expose the bright areas and underexpose the dark areas.
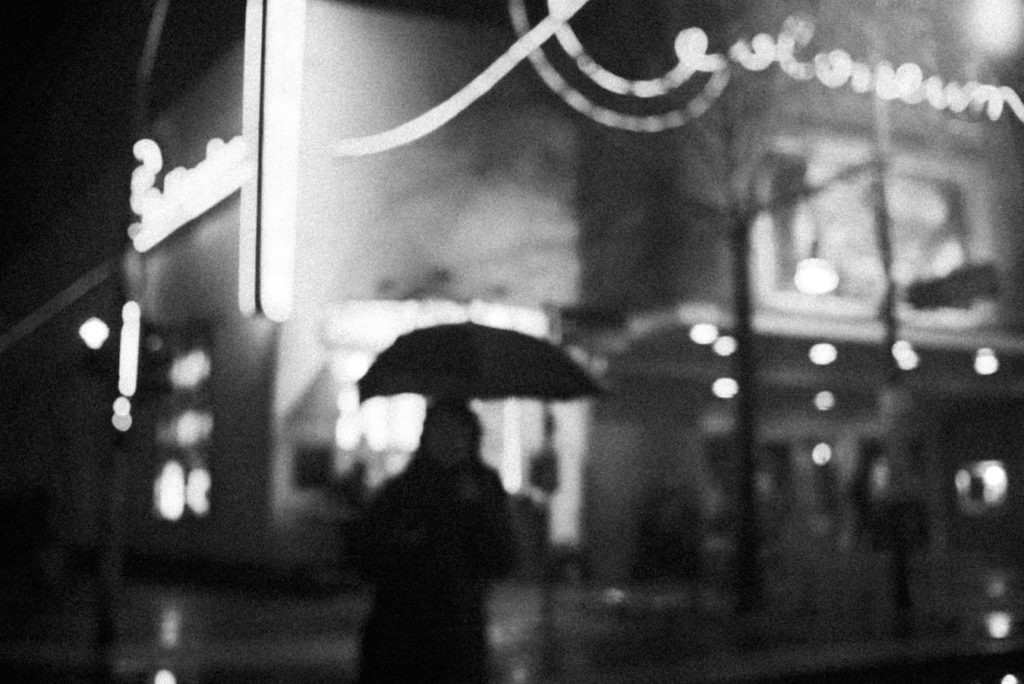
Shooting a rainy day in low key can also help you with storytelling, since the combination of darkness and rain easily evokes the feeling of sadness, nostalgia or longing in an image. You should also put efforts into choosing proper subjects for low key rain photography – streets, umbrellas, people, reflections, water.
Shoot Rain In Black And White
Rain photography can look pretty amazing in black and white, especially if you enjoy street photography and you want to give a certain vintage vibe to your photos taken on a rainy day . Giving up the colors means that you will focus on shapes, geometry, and contrast – this can be great for abstract rain photography too. Generally speaking, using colors doesn’t bring too many benefits when it comes to taking photos in rain. However, shapes, shadows, and reflections are really important. Black and white photography teaches you to work with just a few important elements and create complex compositions. It also adds character and drama to your images.
Careful Selection
But don’t convert your rain photographs to b&w randomly – select the beautiful pictures with the best tonal range and most interesting shapes and textures. Reflections also look splendid in black and white, so try to find them. A regular b&w scene can become much more beautiful with a reflection in it!
If you want to learn more about doing a photo shoot in the rain, check out the links below!


