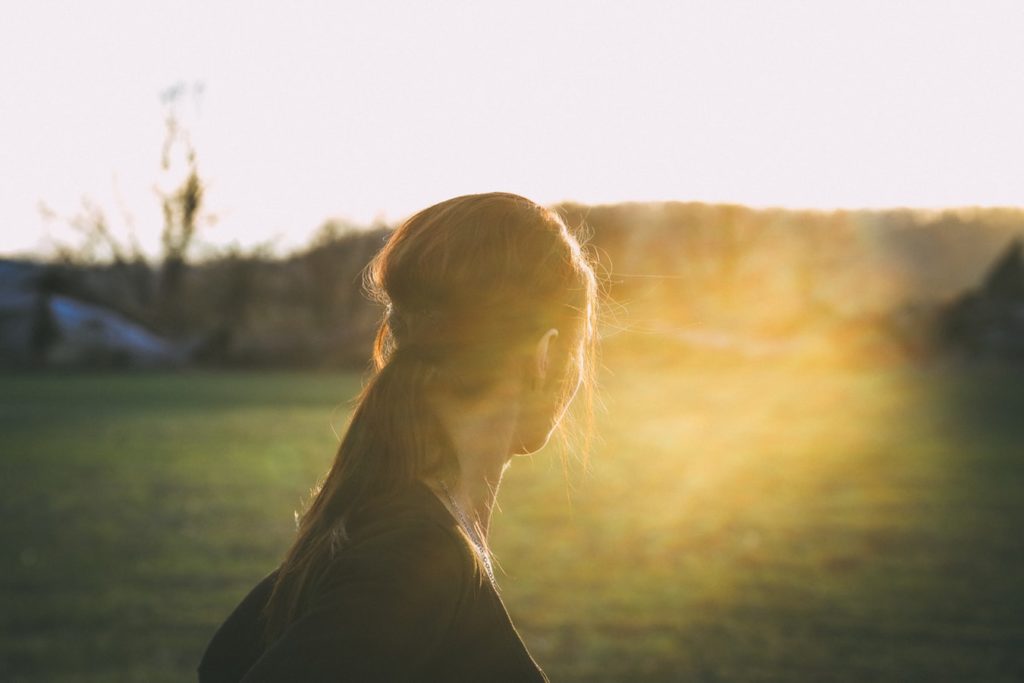
Lens flares in photography can be a good or bad thing depending on the type of flare. Lanes flare is nothing but the scattering of light in a lens system when bright light is incident on it. It happens mostly when the camera is pointed towards the light, that is when the subject is mostly backlit. This can create an unwanted effect in the image, washing away details and colors.
Lens flare manifests itself in two ways – as scattered artifacts or as glare across various parts of the image. The glare makes the image look washed out because it reduces contrast and saturation.
Unwanted lens flare can be the bane of an outdoor photographer's life. Yet on a sunny or glary day, it can be very difficult to eliminate and can ruin otherwise great photos. And while lens flare can also be a pretty cool effect, let's take a look at a few of the ways that a photographer can reduce or eliminate it altogether. Of course, in case you feel that lens flare gives a special touch to your images (especially portraits!) make sure to keep it. It can give a certain cinematic vibe to portrait images and it is often deliberately used to invoke a sense of drama.

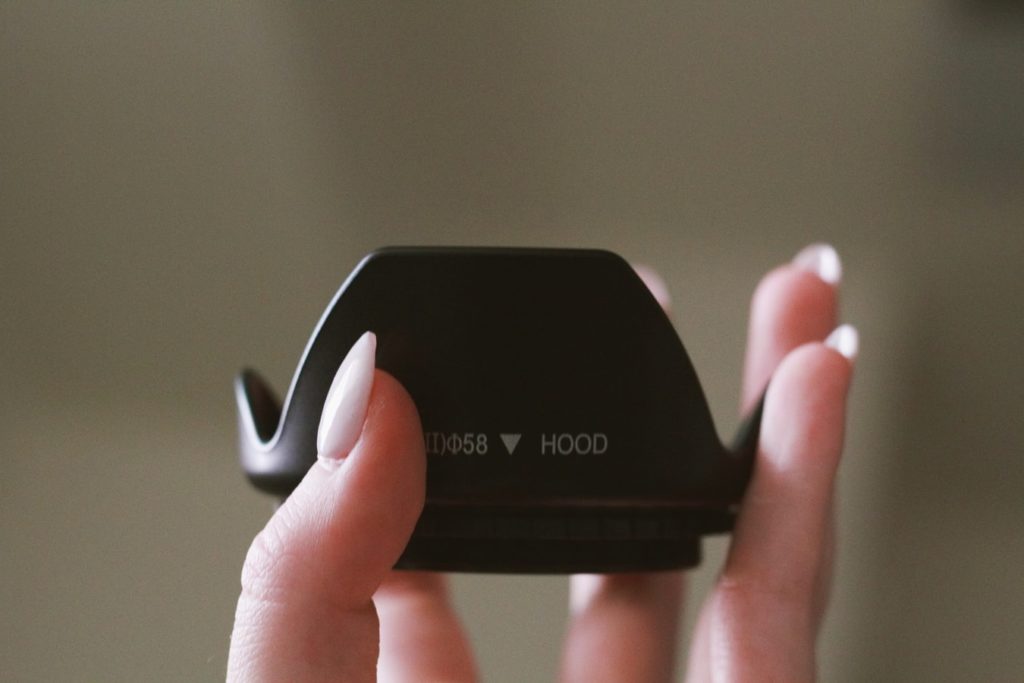
Use A Lens Hood
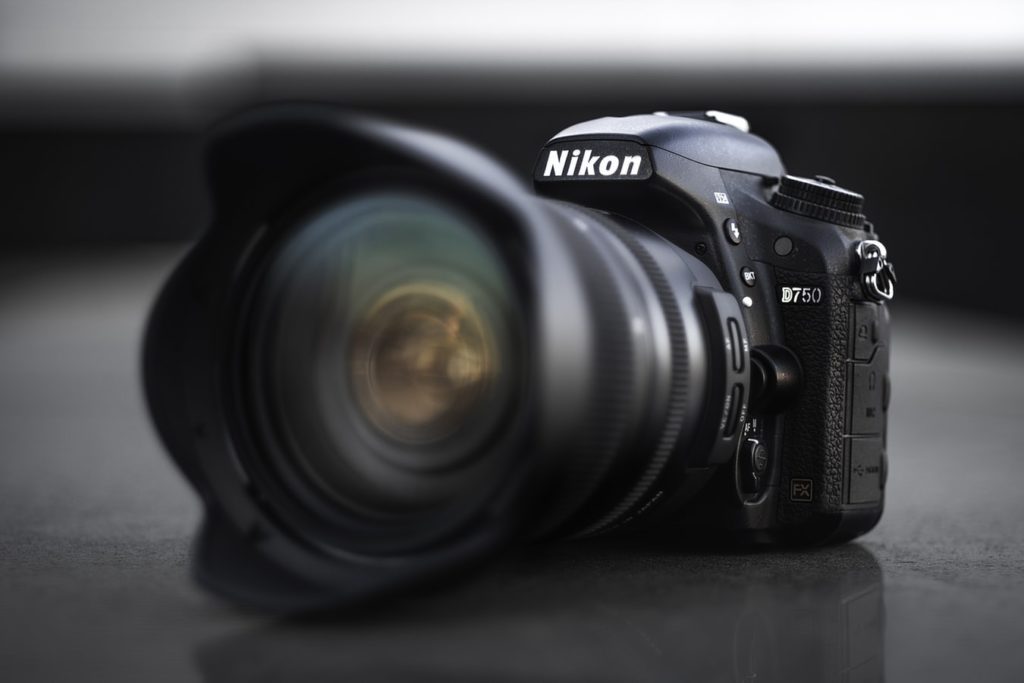
The easiest way to eliminate lens flare is to stop the bright light source (usually the sun) from directly hitting the front of your lens. The most convenient way to do that is with a lens hood. Lens hood is an inexpensive piece of equipment that anyone can purchase and use.
Most lens manufacturers include a lens hood with every lens they ship, but they are also easy to find and buy online and can save you a lot of headaches. Get a lens hood to match your specific lens – always check the lens diameter prior to buying lens hoods.
Lens diameter is the physical measurement of the diameter of the front-most part of the lens. With DSLR lenses, it’s often threaded to allow a front element (such as filters and lens hoods) to screw in. The common sizes for the diameter of DSLR lenses are 43mm, 49mm, 52mm, 44mm, 58mm, 62mm, 68mm, 72mm, and 77mm. For instance, a 77mm filter won’t fit on a lens with a 72mm lens diameter – you can use an adapter, but it’s much easier to buy the correct lens hoods for your camera lenses.
There are 3 types of lens hoods:
- Round
- Petal
- Square
The most common type of lens hood is round one and it is most often used with standard and telephoto lenses. Petal and square shapes are mostly used with wide-angle lenses because they prevent the hood from intruding in the picture and cutting off parts of it.
An added benefit of using a lens hood is that it serves as an additional layer of protection for the front lens element.While there’s no assurance that a lens hood can keep your lens safe when you drop it, there’s still a good chance that the hood will absorb most of the impact. Any photographer would rather have a cracked lens hood than a cracked front glass element.
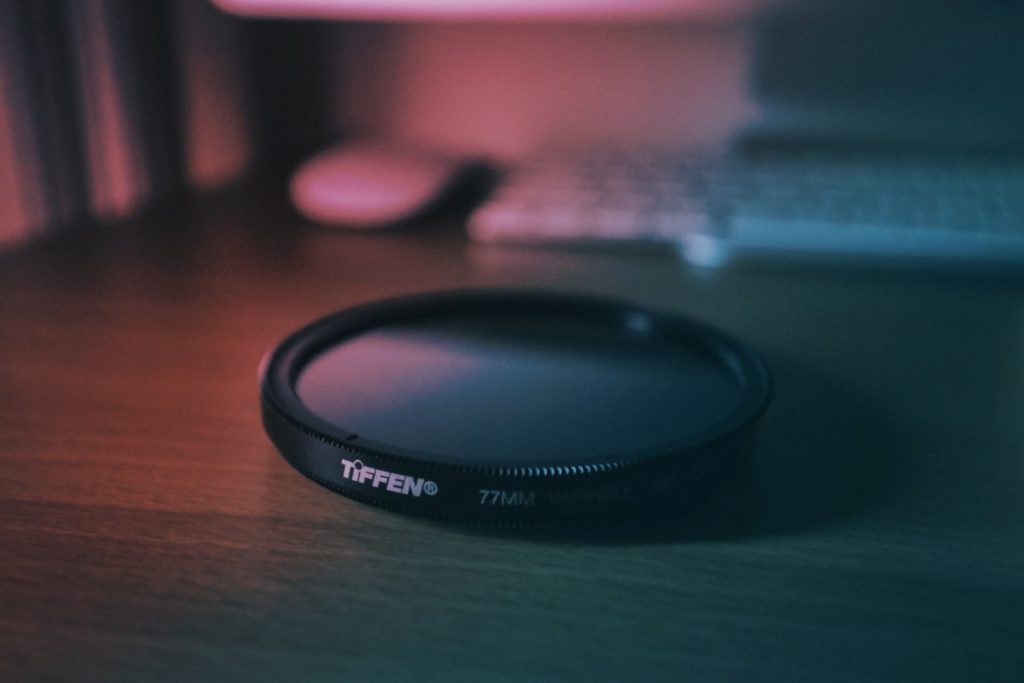
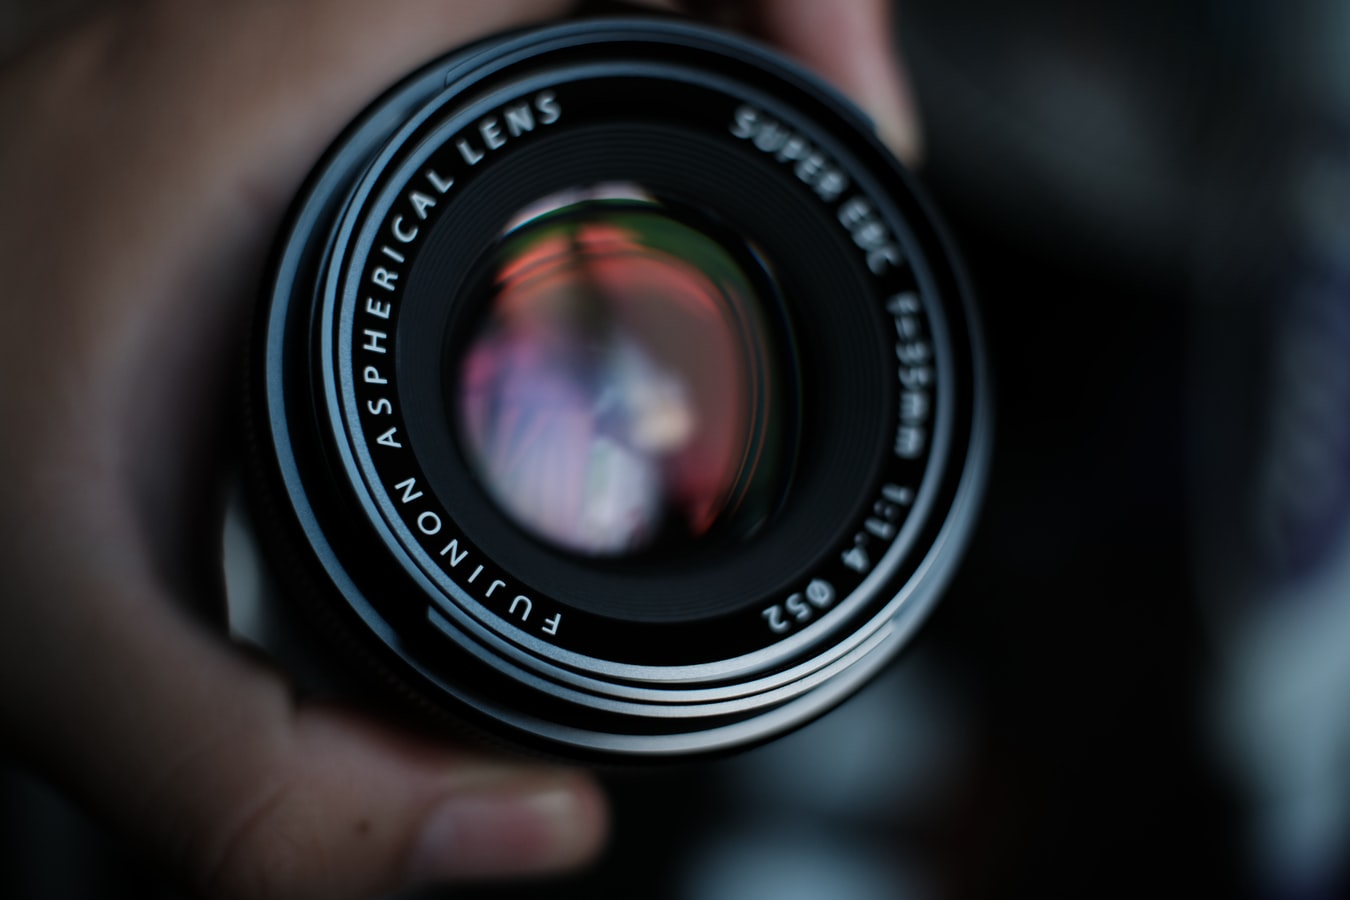
Filters
Filters are a hugely important tool for most outdoor photographers and can add a lot of control to the end look of an image while you're still shooting. But sometimes, extra glass can increase the chances of lens flare. In case you still want to use filters and avoid flare, you can buy coated filters. They cost a little more but they are usually effective at preventing lens flare. You can easily find UV, neutral density and polarizing filters with anti reflective coating for any types of lens.
If you're getting lens flare and you don't strictly need any or all of the filters you are using then simply take them off. It's one less chance for the flare gremlins to ruin your shot.
However, in case you’re interested in filters that can help you enhance the flare instead of reducing it, make sure to check out anamorphic bokeh and flare filters. These filters are ideal for use on medium to long focal lengths (50mm or longer) with wide apertures (f/0.95 to f/2.8 range). They are meant for use on prime lenses. Because of their unique aesthetic, including horizontal lens flares and oval bokehs, anamorphic flare filters are popular among arthouse and indie filmmakers.
Avoid Narrow Apertures To Minimize Lens Flare
When you photograph with a narrow aperture such as f/22, the lens opening becomes very small for the light to pass through. As the light enters the lens through the small opening, it bends and creates diffraction, which can easily lead to ghosting and flares. The bending of light can also result in starburst effect from the light sources such as the sun or the street lights. This is an interesting effect which certainly has an aesthetic value.
To avoid lens flare in your photo, try using an aperture value 1-2 stops less than the maximum available value in your lens. For instance, if your lens has a maximum aperture value of f/22, shooting at f/16 of f/11 will help you avoid lens flares.
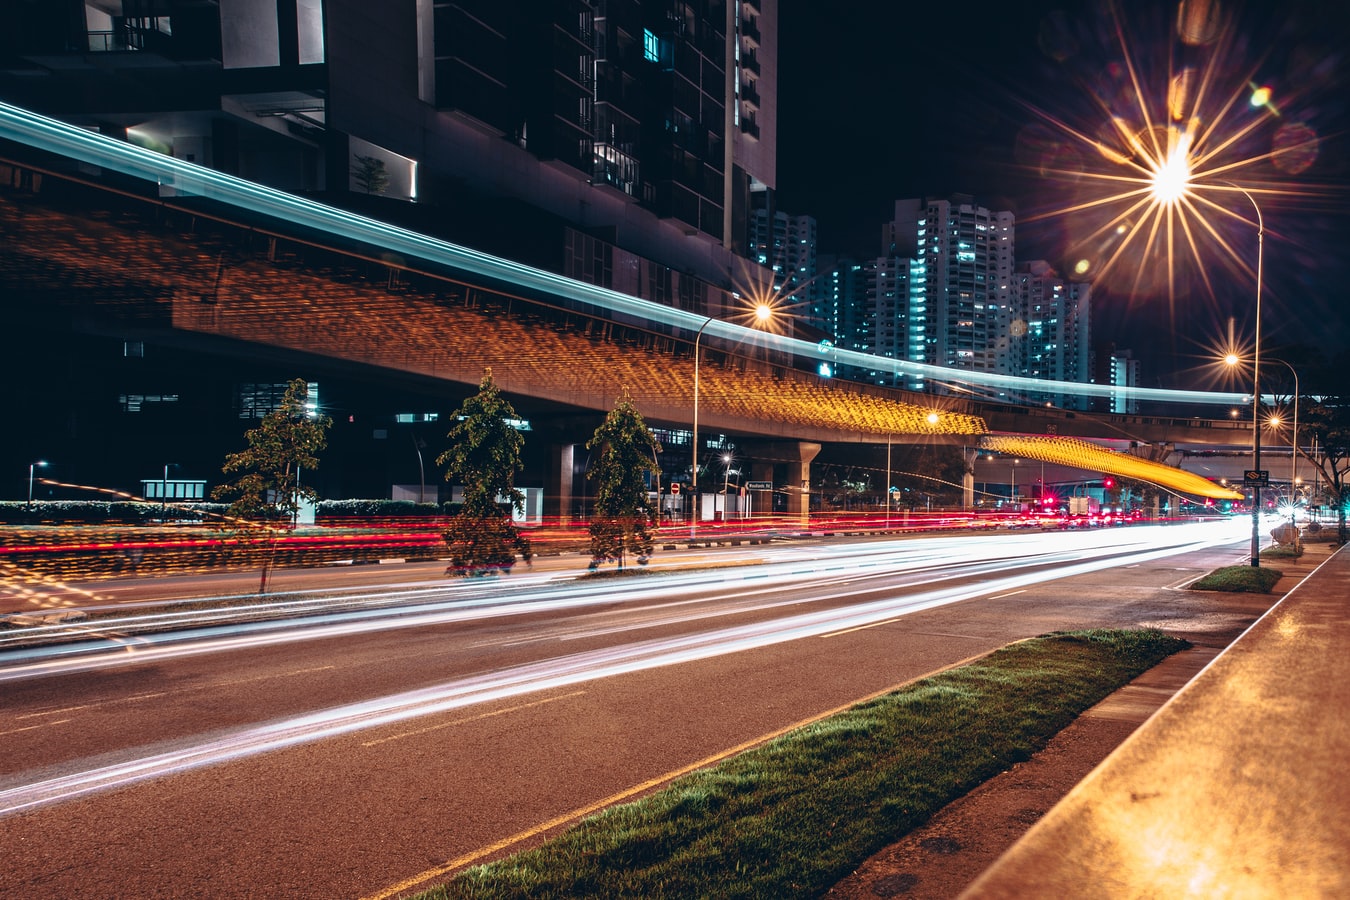
Photo by Isaac Benhesed
It's So Dirty
Dirty lenses increase the chances of lens flare. Shooting outdoors (especially in certain situations where there is dust like in the desert or salt film like in coastal landscape photography) increases the likelihood that your lenses are getting dirty enough to cause flare.
Keep them clean with a micro-fiber cloth or by whatever means you can think of.
Cleaning is easy! You can use a blower brush to remove dust and dirt or lens tissues with a lens cleaning solution. Check your lenses (and filters) regularly to make sure that they are clean. You can always shine a torch from your mobile phone or some other bright light source onto the front element to see if there is dust or grease.
Use Your Hand To Cover The Sun
This is probably the simplest way to reduce or completely eliminate lens flare. In case you don't have a lens hood handy, you can use your hand to block the light. By covering the light source (such as the sun), the lens won't be affected by flares and you won't get any circles or color casts in your image. This method is often used in landscape photography.
The easiest way to do this is to cup your hand around the top of your lens to cover the light. Once you've done this, you can adjust the shape and angle of your hand until the lens flare is minimized. Of course, you have to be careful – your hand shouldn't cause any unwanted shadows or interfere with focusing.
Angle Your Camera
Another great way to reduce lens flare is by adjusting the shooting angle or shooting location. Since lens flare is caused by direct light hitting the sensor, you can stand in the shade or angle your camera to prevent this from happening. You might need to get creative when it comes to choosing the correct angle, but this will affect your photography in a positive way and limit the light that reaches your lens.
Sometimes you can avoid flare by reframing your image and using trees, boulders, a mountain range, or architectural elements such as buildings and bridges to block the light source. This technique is rather creative and it will give you a perfectly composed image with less flare. You can also consider partially obscuring the light source, rather than blocking it out entirely.
There are many creative possibilities when it comes to adjusting the shooting angle and reframing your images – explore them thoroughly!

Lens Quality
While ebay is a great place to get cheap filters and cheap lenses (I am guilty on both counts) the fact is that poorly coated lenses flare more than good quality lenses. There is a reason that the old adage is to spend your money on glass before anything else – good quality glass makes your job of capturing good quality images easier.
For good-quality lenses and for most images (which do not have a bright light shining into the lens), flare is just a secondary effect that is widely distributed across the image and it is not visible, although it does reduce contrast.
One of the benefits (among many) is that good quality optics don't suffer from the imperfections that can lead to lens flare as much as cheaper optics.
Influence Of Lens Type
Bear in mind that fixed focal length (or prime) lenses are less susceptible to lens flare than zoom lenses. Other than having an inadequate lens hood at all focal lengths, more complicated zoom lenses often have to contain more lens elements, which makes their optics more complicated. Zoom lenses have more internal surfaces from which light can reflect and create issues with flare.
Wide angle lenses are often designed to be more flare-resistant to bright light sources, mainly because the manufacturer knows that these will likely have the sun within or near the angle of view.This is very useful for landscape photographers and anyone else who often uses wide angle lenses, such as interior photographers.
Of course, modern high-end lenses (just like filters) typically contain better anti reflective coatings which is helpful. It’s also interesting to mention that some older high-end lenses made by Leica and Hasselblad do not contain any special coatings and they can flare up easily even under soft lighting.Such lenses are a great choice if you’re into artistic portraiture.
Post Production Of Images With Flare
In case nothing else works, you can reduce or remove lens flare in post production. It might be complicated to edit out the haze that accompanies lens flare (and you don't have to do that because it can make the photo more appealing!), but you can certainly remove the brightest part of the light. You just need to use the spot healing tool or clone stamp tool to cover up or clone out those problematic spots.
Basically, there are 3 main problems you need to fix in post production when it comes to flare in images:
- Lack of contrast
- Washed out colors
- Strange color shifts
Without enough contrast, an image can look muddy and your subjects will likely struggle to pop and get lost in the photo. By increasing the contrast, the details in the image become more defined and allow the lens flare to complement the image rather than distract from it. You can also deepen the blacks in the image for additional contrast or use a radial burn, which helps direct focus to a specific area in the image.
In case you notice a strange hue shift in your images with lens flare (for instance, the skin tones appear too yellow) you can make carefully targeted adjustments with the HSL slider in Lightroom. If the skin tones appear too warm, you can fix them using the saturation slider for yellow, orange and red tones – just drag the slider down and these colors will begin to shift.

Now sometimes, no matter how many precautions you take, you're going to have a shot ruined by lens flare. It happens to everyone. So keep shooting, keep taking precautions and minimise the chances that a little lens flare can ruin your best image.
Also, bear in mind that a little bit of flare can actually improve your images. If you want to add lens flare to your images on purpose, check out the following tips and tricks:
- Remove your lens hood. This is the first thing you can do in order to capture some flare from the sun or other light source!
- Position your subject with his or her back to the sun. If you do this, you're basically inviting that stray light to produce some interesting effects!
- Adjust your subject's position and/or your camera angle. By doing this intentionally, you’ll be able to enhance the flaring effects of the light source.
- Take many shots even if your subject isn't moving. Lens flare is unpredictable – sometimes all you need is just a tiny change and the flare will appear basically out of nowhere.
- Experiment with metering. For instance, you can switch to spot metering. You can also shoot one image that’s properly exposed, one that's a stop overexposed and one that's a stop underexposed – one of these may result in lens flare!
To learn more about lens flare, check out the links below.
Further Reading:
- 17 Creative Uses Of Lens Flare
- 5 Simple Ways To Use Lens Flare
- How To Prevent Lens Flare
- How To Eliminate Lens Flare
- What Is “Lens Flare” And How Do I Avoid It?
- 5 Ways To Avoid Lens Flare With Studio Lighting

Use A Hood
The easiest way to eliminate lens flare is to stop the light source (usually the sun) from directly hitting the front of your lens. And the easiest way to do that is with a lens hood.
Most lens manufacturers include a lens hood with every lens they ship, but they are also cheap and easy to buy online and can save you a lot of headaches. Get one to match your specific lens and it will be covered (literally and figuratively).

Filters
Filters are a hugely important tool for most outdoor photographers and can add a lot of control to the end look of an image while you're still shooting. But sometimes, extra glass can increase the chances of lens flare.
If you're getting lens flare and you don't strictly need any or all of the filters you are using then simply take them off. It's one less chance for the flare gremlins to ruin your shot.

It's So Dirty
Dirty lenses increase the chances of lens flare. Shooting outdoors (especially in certain situations where there is dust like in the desert or salt film like in coastal landscape photography) increases the likelihood that your lenses are getting dirty enough to cause flare.
Keep them clean with a micro-fiber cloth or by whatever means you can think of.

Use Your Hand
This is probably the simplest way to reduce or completely eliminate lens flare. In case you don't have a lens hood handy, you can use your hand to block the light.
The easiest way to do this is to cup your hand around the top of your lens. Once you've done this, you can adjust the shape and angle of your hand until the lens flare is minimized. Of course, you have to be careful – your hand shouldn't cause any unwanted shadows or interfere with focusing.

Angle Your Camera
Another great way to reduce lens flare is by adjusting the shooting angle or shooting location. Since lens flare is caused by direct light hitting the sensor, you can stand in the shade or angle your camera to prevent this from happening.
You might need to get creative when it comes to choosing the correct angle, but this will affect your photography in a positive way.

Lens Quality
While ebay is a great place to get cheap filters and cheap lenses (I am guilty on both counts) the fact is that poorly coated lenses flare more than good quality lenses. There is a reason that the old adage is to spend your money on glass before anything else – good quality glass makes your job of capturing good quality images far more easy.
One of the benefits (among many) is that good quality optics don't suffer from the imperfections that can lead to lens flare as much as cheaper optics.

Post Production
In case nothing else works, you can reduce or remove lens flare in post production. It might be complicated to edit out the haze that accompanies lens flare (and you don't have do to that because it can make the photo more appealing!), but you can certainly remove the brightest part of the light.
You just need to use the spot healing tool or clone stamp tool to cover up or clone out those problematic spots.

Now sometimes, no matter how many precautions you take, you're going to have a shot ruined by lens flare. It happens to everyone. So keep shooting, keep taking precautions and minimise the chances that a little lens flare can ruin your best image.
To learn more about lens flare, check out the links below.


10 Comments
You can use your hand too. Make a C with your forefinger and thumb and place them at the end of the lens, then adjust until the lens flare goes away. I have one of those ‘cheap’ lens hoods that came with the lens and when I get frustrated with it…out comes the hand.
nice way Sherrie…. 🙂
Thanks a lot for these wonderful info on lens ways to reduce lens flare
Very informative as are all your articles
What if you have picture taken with that lens flare ?
I have been facing flare problems in particular with filters – not sure if the UV multicoated fiters are up to stopping flare – it seems that they add to flare!
QuIte informative but could you post one regarding removing lens flare in post production.
Lens flare can appear as a general haze across the picture that lightens it reducing contrast. It can also appear as streaks across the picture or shapes, usually circles, in the picture.
I find similiar tutorial about understanding and how to avoid lens flare when take a shoot… just for share
https://photograpyreview.blogspot.com/2011/10/understanding-lens-flare.html
I have a great picture but, it have a lens flare. How can I removal this flare?
You can use the Haze slider on Adobe Photoshop CC or maybe CS6 to reduce and remove all Haze if it is not too intense.