Those of a certain age may well remember films being shot in Cinemascope. In fact, even today when we see these films on TV you will still see the Cinemascope branding at the beginning. But what was Cinemascope and why is it relevant to a review of the Sandmarc Anamorphic Lens?
Just to clarify, Sandmarc reached out to me to review their lens, they have provided it free of charge. I am not getting paid by them to write this review, nor have they insisted on any say in the review.
Cinemascope films were produced using an anamorphic lens. That lens squeezed a much wider field of view onto a 35mm film frame. The result of this was that each frame looked as if it had been squeezed in from the left and right sides.
Of course, this would not be acceptable when projecting the film in a theatre, so to “de-squeeze” the film, projectors had a special lens adapter. The result was a very wide aspect ratio film of 2.66 to 1 and very immersive experience.

Anamorphic Lenses Today
Fast forward to now and while Cinemascope is a long-discarded relic of mid-20th-century filmmaking, anamorphic lenses are still an important part of the filmmaker’s toolbox. Until recently, however, they were hideously expensive and designed mainly for high-end cinema cameras.
Like many things in video, this has changed. Ultra high-quality video content can now be produced on smartphones, award-winning films have been produced on iPhones. Because of this, a whole sub-genre of cinematic tools for smart devices has cropped up, one of them being the Sandmarc Anamorphic Lens.
What’s In The Box?
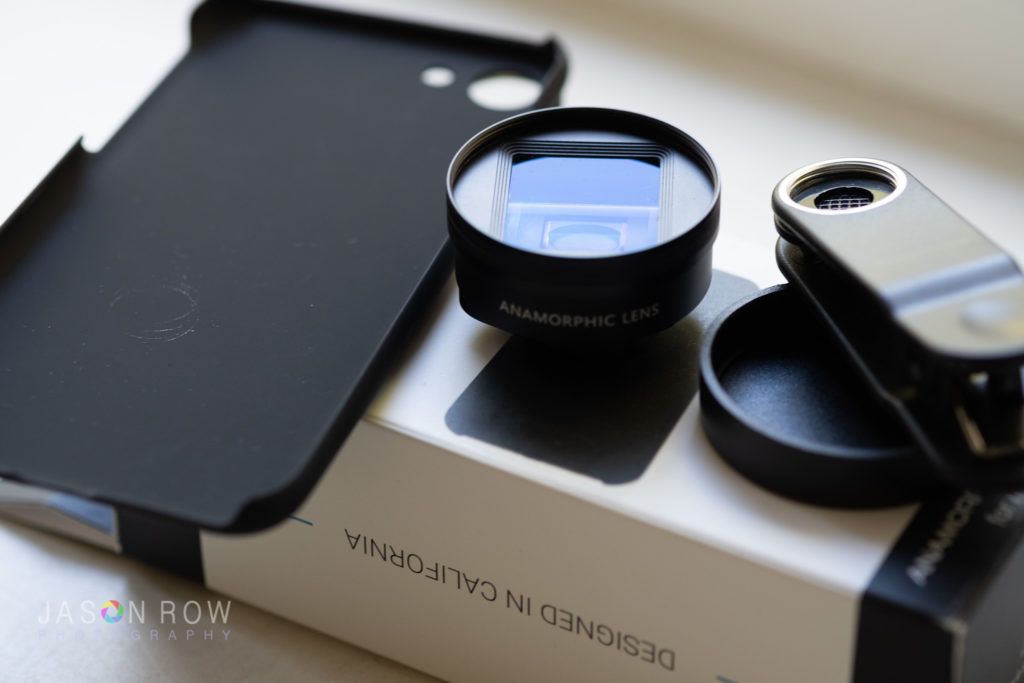
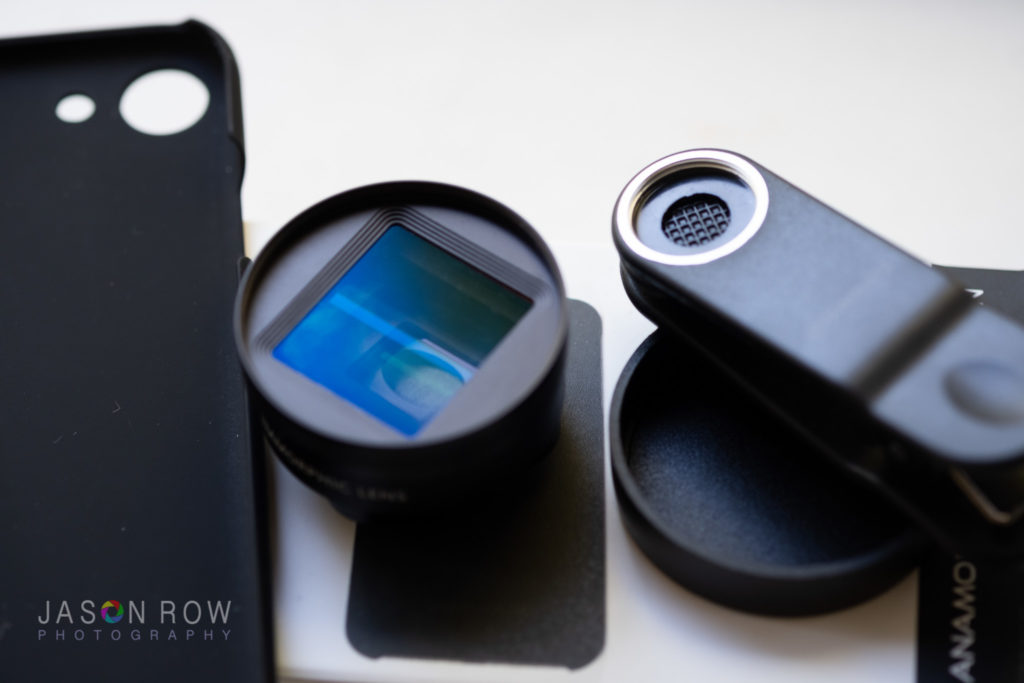
The Sandmarc Anamorphic Lens is currently available for iPhone models from the 7/8, 7/8 Plus to the XS Max. In the box, you get the lens itself, complete with front and rear lens caps and enclosed in a soft black tie bag. This doubles up as a cleaning cloth for the lens.
There are two ways to mount the lens to your iPhone.
The first is via a special iPhone case that clips onto the back of the phone. This feels sturdy, well made and does not distract from Apple’s design aesthetic. There are two holes on the case, one that has a screw-in mount for the lens and the other to allow the iPhone’s flash to work. All the side buttons of the phone are still accessible through notches in the case’s sides.
The second option is a spring clip that attaches to the lens area of the camera. The clip’s pads are rubberised so as not to damage the phone however it the clip does obscure a small section of your phone’s screen. This was not a major issue for me.
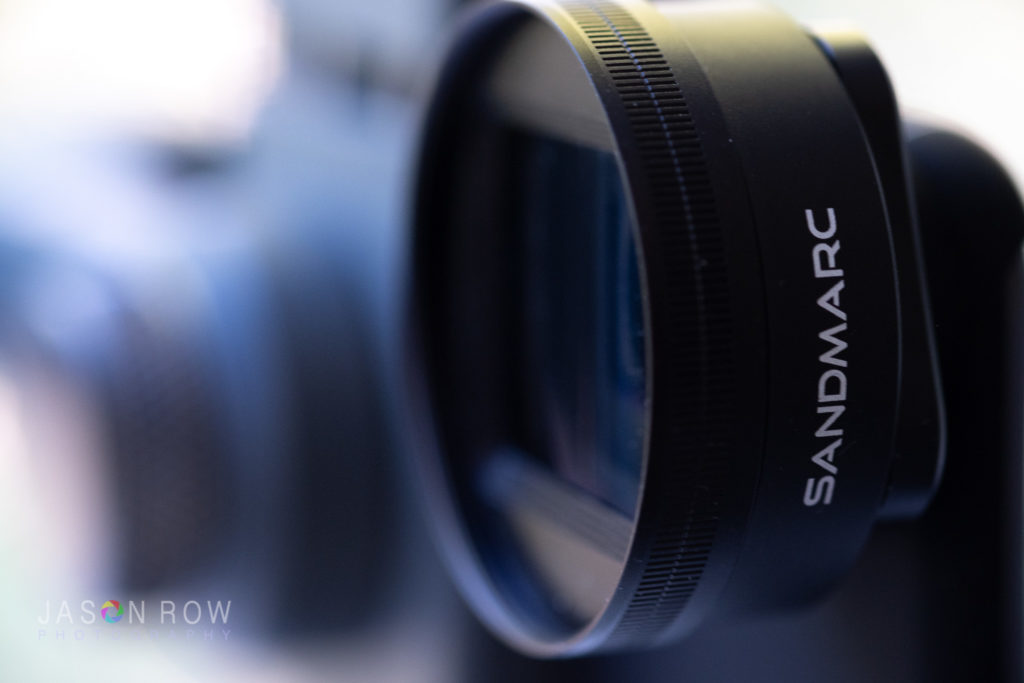
The lens feels very sturdy and well made. It's not excessively heavy in the hand but if mounting on a gimbal it can cause some imbalance, more of that later. The lens squeezes the image by 1.33 times and is designed to be dropped onto a 16:9 timeline. It features multi-coating and a 42mm filter thread, useful for adding ND filters.
Shooting With The Sandmarc Anamorphic Lens.
Once you have screwed the lens into either the case or the clip, you must rotate it to the right direction. The lens is an oval shape and this must be in the up/down axis of the video frame. On the lens is a handy mark. Rotating the lens until the mark is at the top will ensure that it is in the correct position. On the case, there is also a handy alignment mark to aid you.
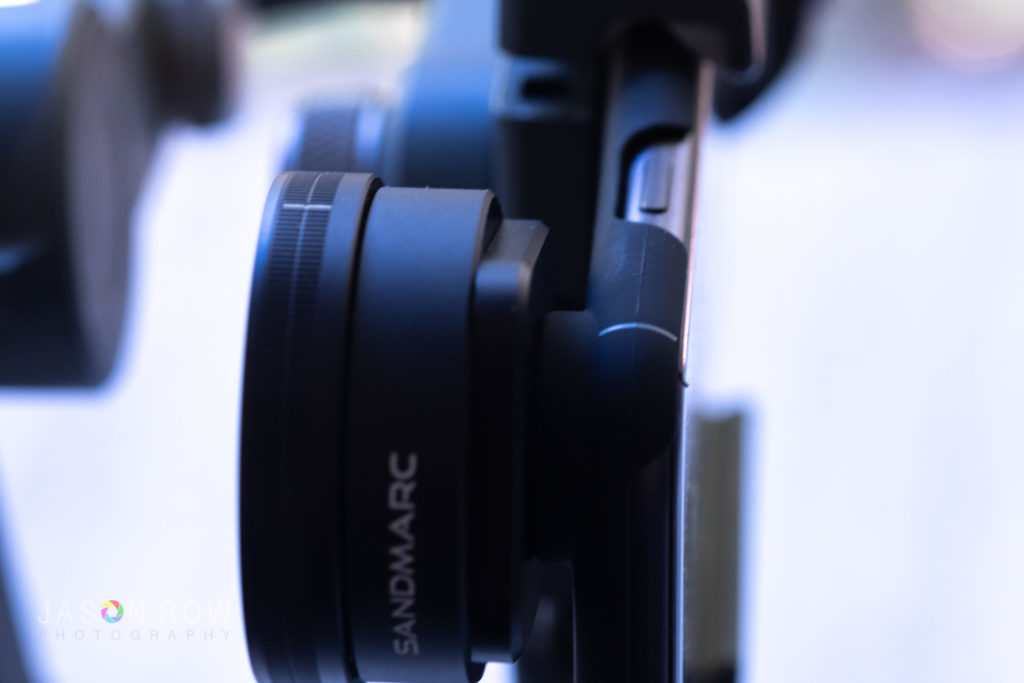
Unlike some anamorphic lenses, the Sandmarc is easy to rotate, there are no screws to be undone, its a simple matter of turning the lens into position.
The Sandmarc does not come with a native shooting app but there are plenty of options out there. For my tests, I used Filmic Pro. Not only is this a high-end cinematography app for shooting but it also contains a de-squeeze tool. This is not specifically for this lens but I chose to use it to de-squeeze the preview only. This meant that what I was seeing on the iPhone’s screen was a close representation of the final shot. It also made composition much easier.
For my tests, I mounted the iPhone on a DJI Osmo Mobile 2 gimbal. There are some issues with this set up although more related to the gimbal itself rather than the lens.
The biggest issue is that due to the very wide aspect the lens produces, when the gimbal is in the upright position, it’s front arm clips into shot. This can be countered by angling the Osmo forward about 30 degrees. It’s something you need to be aware of when shooting.
The other issue is balancing the iPhone with a lens on the gimbal. Although I could balance the phone on the lateral axis, the weight of the lens means the Osmo cannot balance in the rotational axis. However, the motors are strong enough to hold the phone and lens in most situations despite not being fully balanced. I found that I got a slightly better balance using the clip compared to the case.
The Results.
Shooting with an anamorphic lens is very similar to shooting with an ultra-wide lens. That is, you have to understand the limitations, in particular with distortion. The Sandmarc lens works best if the iPhone is not pointing either up or down too much.
One of the selling points of using an anamorphic lens is to use lens flare as a part of the composition. Testing the lens towards a setting sun produced a nice looking flare line leading to the sun along with some subtle flare spots. It’s an attractive and cinematic feel.
In terms of sharpness, there is some loss as would be expected. The edges are noticeably softer than the centre but this is contributed to by edge distortion.
To de-stretch the clips, I used a 1920x1080p timeline in Final Cut Pro. I then reduced the Y-axis (1080 pixels) to 75%. This gives the familiar ultra-wide aspect clipped top and bottom by black bars. The overall effect is very cinematic especially when shot in the right light.


In Conclusion
The Sandmarc Anamorphic Lens is a very nice addition to any iPhone filmmaker’s kit bag. While you probably do not want to create a full production with it, it can create some very good looking cinematic cut scenes for your productions. Priced at $160.00 with worldwide shipping, its a fraction of the price of a dedicated anamorphic lens for larger cameras.
Overall I have enjoyed using the lens and can see a lot of creative possibilities with its use. From a few years ago where “Cinemascope” was the preserve of high-end productions, we have come a long way to the point where virtually anyone with a smartphone and a little creativity can produce high end looking productions.


