There are endless reasons why your photos aren't turning out as sharp as you want them to. While missed focus and “soft” photos can be a result of poor performing equipment, more often than not those blurry photos are result of user error. That may sound discouraging at first, but don't beat yourself up – improving the sharpness of your photos is actually pretty simple to fix, so be ready to say goodbye to soft photos. Using at least one of these fixes should help you see the sharp results you were shooting for all along.

How Using Back Button Focus Can Sharpen Your Photos
Digital cameras are pretty incredible, they can do a lot of things a lot quicker than a human can – focusing is usually one of those things and, in my case, auto-focus is usually more accurate than what my eye thinks is sharp when I'm trying to squint through a tiny viewfinder to compose my image.
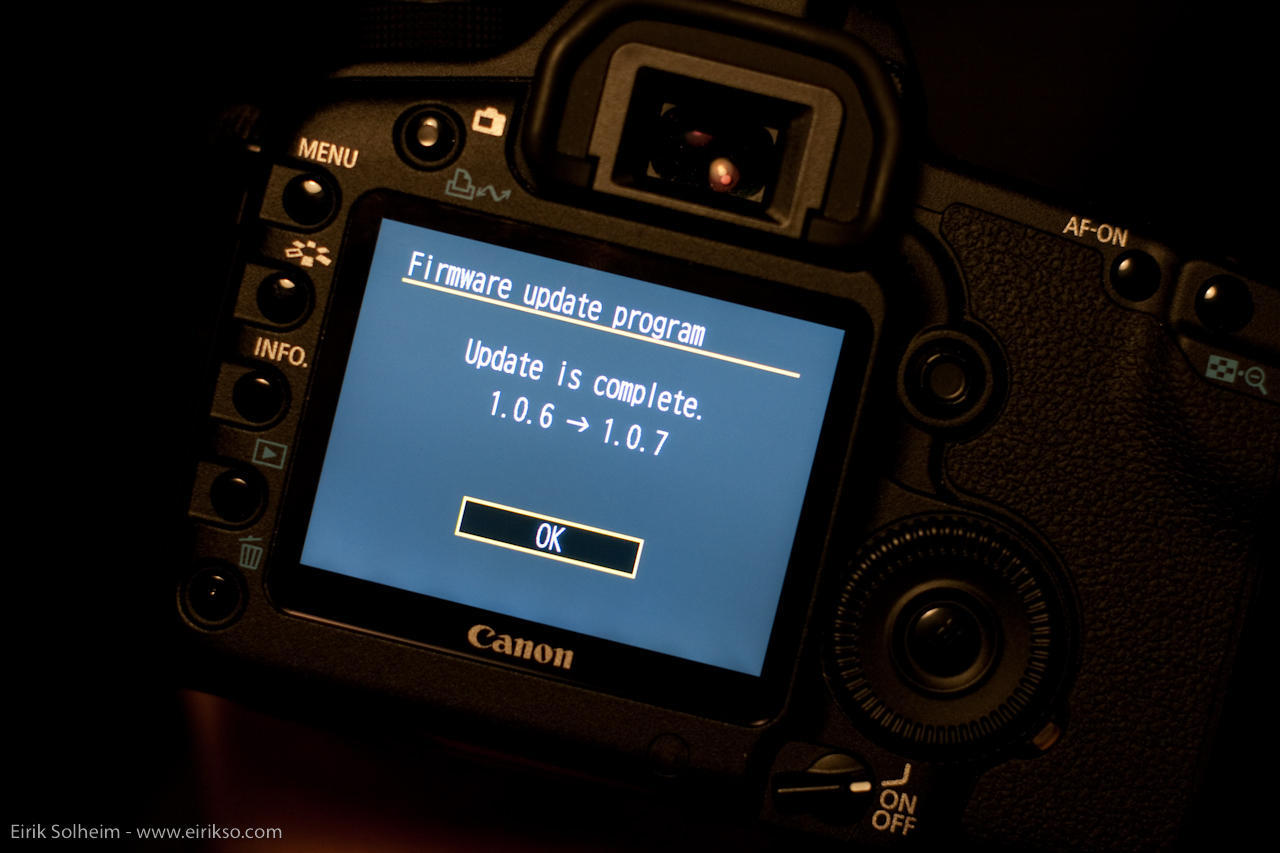
One way I combat that is by magnifying my LCD screen. It's one of my favourite ways to get tack sharp photos (I'll tell you why in minute), but it does take time to pull off and time is one thing we photographers seldom have enough of. So, when I'm shooting potentially fast moving subjects, such as sports or moving wildlife, I almost always turn on the auto-focus which I have assigned to the special AF ON button located on the back of my camera. (Note: On some cameras, this button is labeled AE-L / AF-L).

Typically, auto-focus is assigned to the shutter release button – when the shutter release is pressed halfway down, auto focus kicks in and does its job; the photo is taken when the shutter release button is pressed all the way down. However, by separating the auto focus from the shutter release, you can actually focus and shoot multiple frames much more efficiently.
It may take you a minute to practice the new focus setup – you'll be using your thumb to operate the auto focus, while using your pointer finger to fire the shutter. It may require a tiny bit more dexterity than what you're used to, but it's nothing you can't handle. Especially for the drastic increase in control you'll gain over continuous auto focus. Almost all digital cameras can be set up for back button focusing, just take a look at the user manual for directions for your specific brand and model.
Take A Closer Look

As I mentioned before, magnifying my composition on the rear LCD viewfinder when I'm adjusting for focus – either auto or manual – is the most accurate way to get tack sharp photos every time. To do so, simply frame your composition, turn on the LCD viewfinder, then press the magnify button on the back of your camera – mine looks like a magnifying glass with a + sign on it – using the arrow buttons or wheel to navigate what I see in the viewfinder to my subject or intended point of focus. Once I have a close up view of my subject, I'll then fine tune my focus so it's perfectly sharp. There is no need to “zoom out” before you take the photo. The magnification takes place only on the image preview screen, your lens is not actually zooming in on the composition.
I use this technique quite often and have become pretty quick with it – I can usually zoom in, nail the focus, and snap a picture in just a few seconds. But, as you all know, a few seconds can be a lot of time in which many shots are missed altogether. I magnify my LCD as often I can, but I am also very selective about when I should be using it.
Use A Hyperfocal Distance Calculator
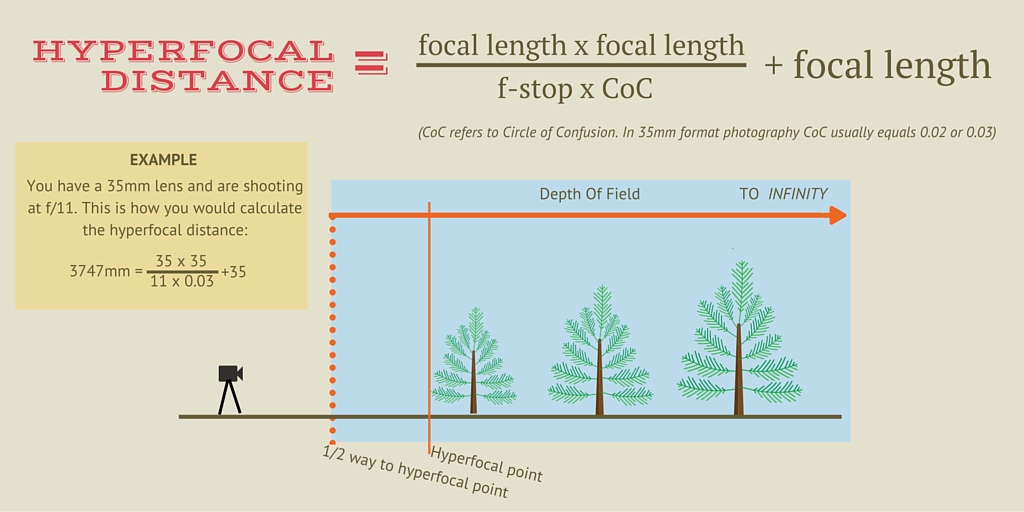
For landscape photographers, understanding how hyperfocal distance works can make a world of difference in their photos. Though, it's difficult to summarize it in a paragraph, hyperfocal distance is a specific point in your composition which you can use as a focal point to optimize your depth of field. This is especially important when you want your foreground and background to be sharp, which is often the case in landscape photography. Once you have calculated your hyperfocal distance (using the equation below), you can focus your camera at that distance, set your focus to infinity, and rest assured everything will be in focus starting in from distance that is halfway between your camera and hyperfocal distance.

The math can be a bit tedious for some, but there are also a many different apps and websites you can use that will do the calculating for you, if you prefer. Lightsalking's Jason Row and Jason Little have both written great articles on hyperfocal distance, I encourage you to check them out to learn more about this game changing method.
Conclusion
All the above tips being said, it's worth pointing out the term “quick fix” seems a bit like an oxymoron when you're talking about learning photography. Though the above methods may help you achieve the results you are looking for without having to put much effort forward, there really is no substitute for the knowledge you'll acquire through time and experience alone.


