While not an exciting post processing action, using the spot removal tool is a necessary step in cleaning your photograph. From dust on the sensor to a distracting imperfection, an image can go from ‘great' to ‘ok' as a result of not paying attention to details. We'll explore when and how to use Lightroom's spot removal tool to eliminate dust spots and distractions.
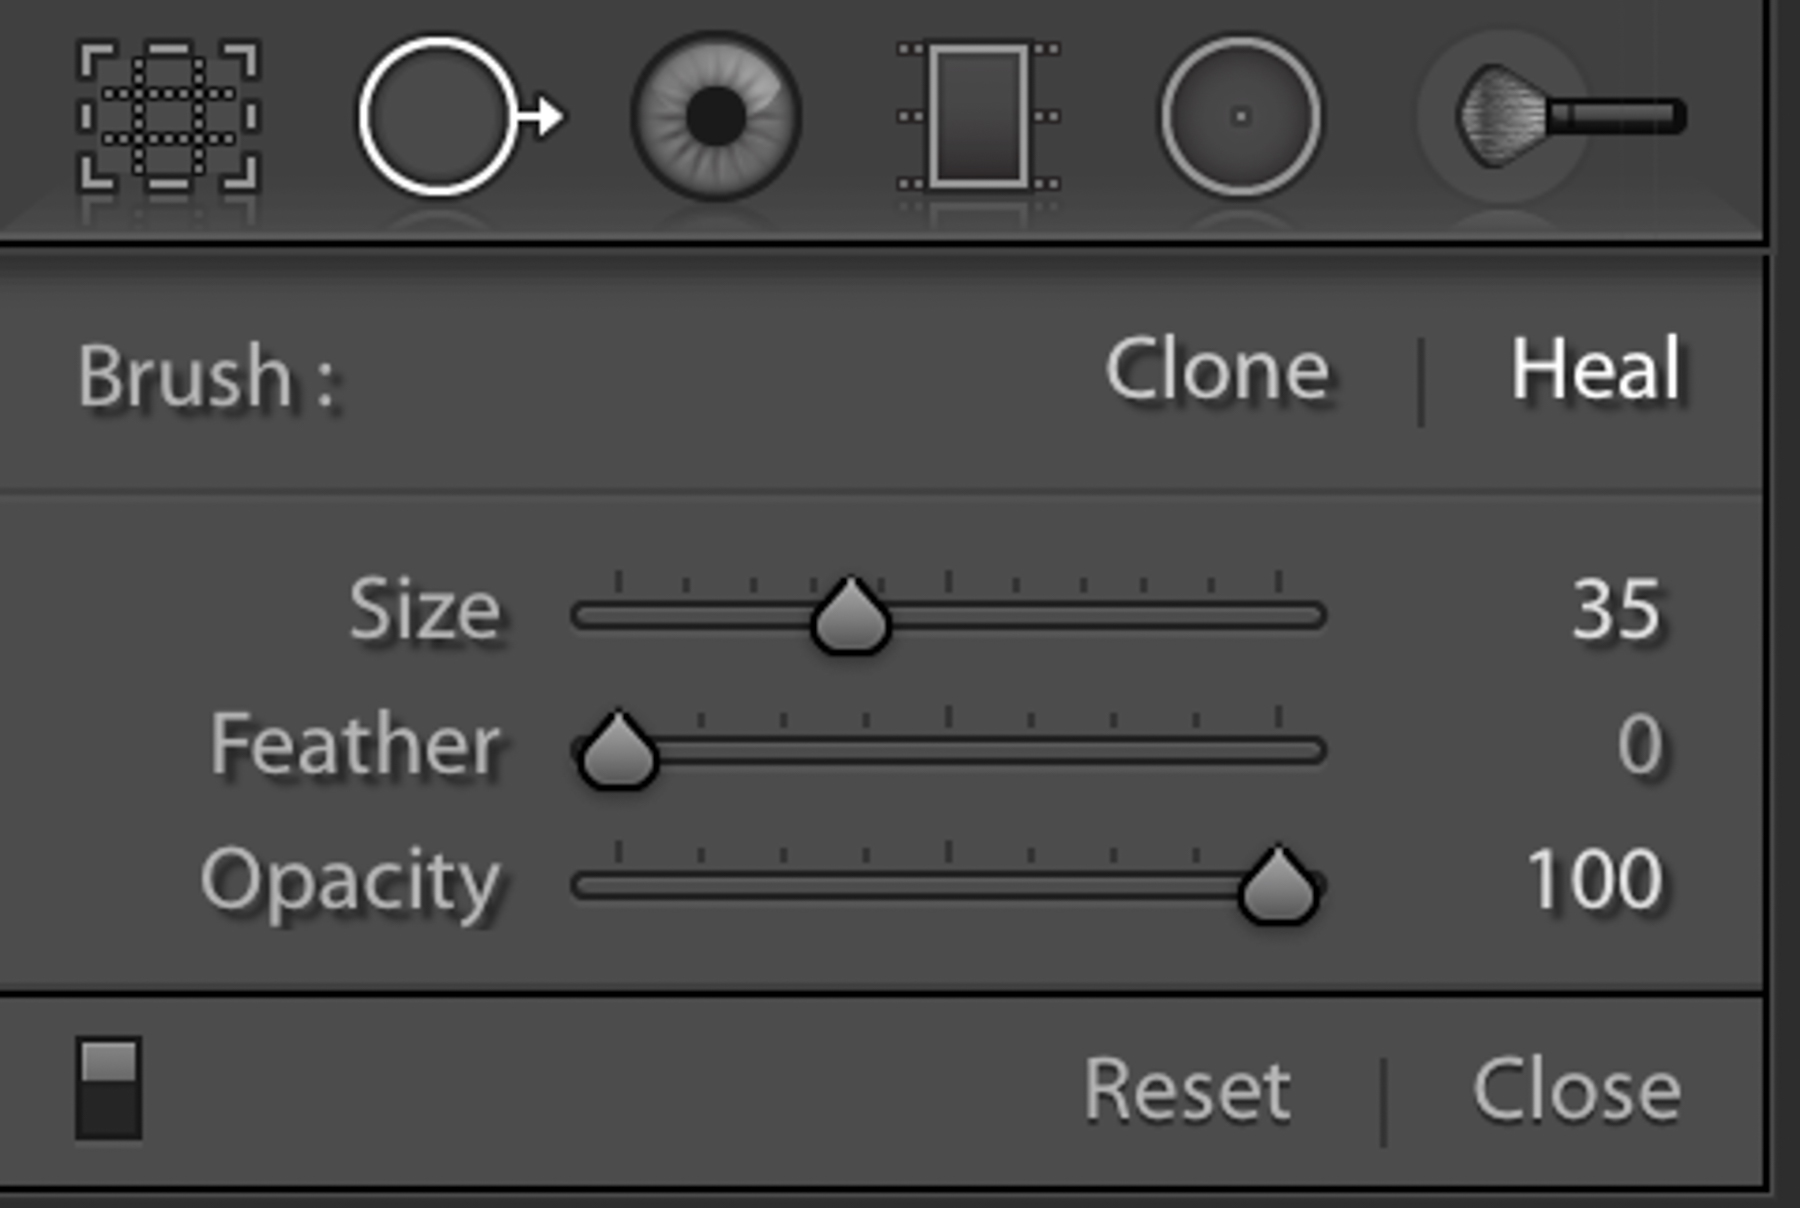
When the spot removal tool is selected, there are three sliders. These include:
- Size – adjusts the size of the circle (spot correction) or width of the brush stroke
- Feather – 0 means that it's a complete copy. By moving the slider to the right, two circles appear. The center circle is where the correction is the most dense. The outer circle is where the correction increases transparency as it radiates outward
- Opacity – 100% is complete coverage. As you move the slider to the left, transparency increases. An example would be minimizing fine lines and deep wrinkles on a portrait. At 100% it may look unnatural. With less opacity, the appearance may look smoother but still natural.
When is the Best Time to Use the Spot Removal Tool?
I've found that one of the most productive times to apply the spot removal tool is at the beginning, right after I've cropped to desired composition. This is followed by processing in the Basic, Tone Curve, HSL/Color/B&W, Detail and other panels.
The reason is simple. First, Lightroom is non-destructive. Post processing adjustments are applied without changing the original file. However, these adjustments are linear. You can undo adjustments multiple times back to the action you want to change, or just click on the action you want to change. All of the changes made after that action will not be saved and will need to be redone.
A real world example would be to adjust Temp, Shadows, Highlights, then use the spot removal tool. You decide you want to go back and make a modification to the Temp and Shadows. You click back to the Temp adjustment to move the slider, all of the adjustments after that action will be removed including the detailed spot removal actions. If you had a lot of sensor dust spots, these will have to be redone.
How to Clean Dust Spots & Small Imperfections
The three screenshots below show the dust and imperfection areas where the correction tool was applied. The first file shows a pale sky and circles where sensor dust had appeared along with more dust that needs to be removed. The next two screenshots show before and spot correction in process.

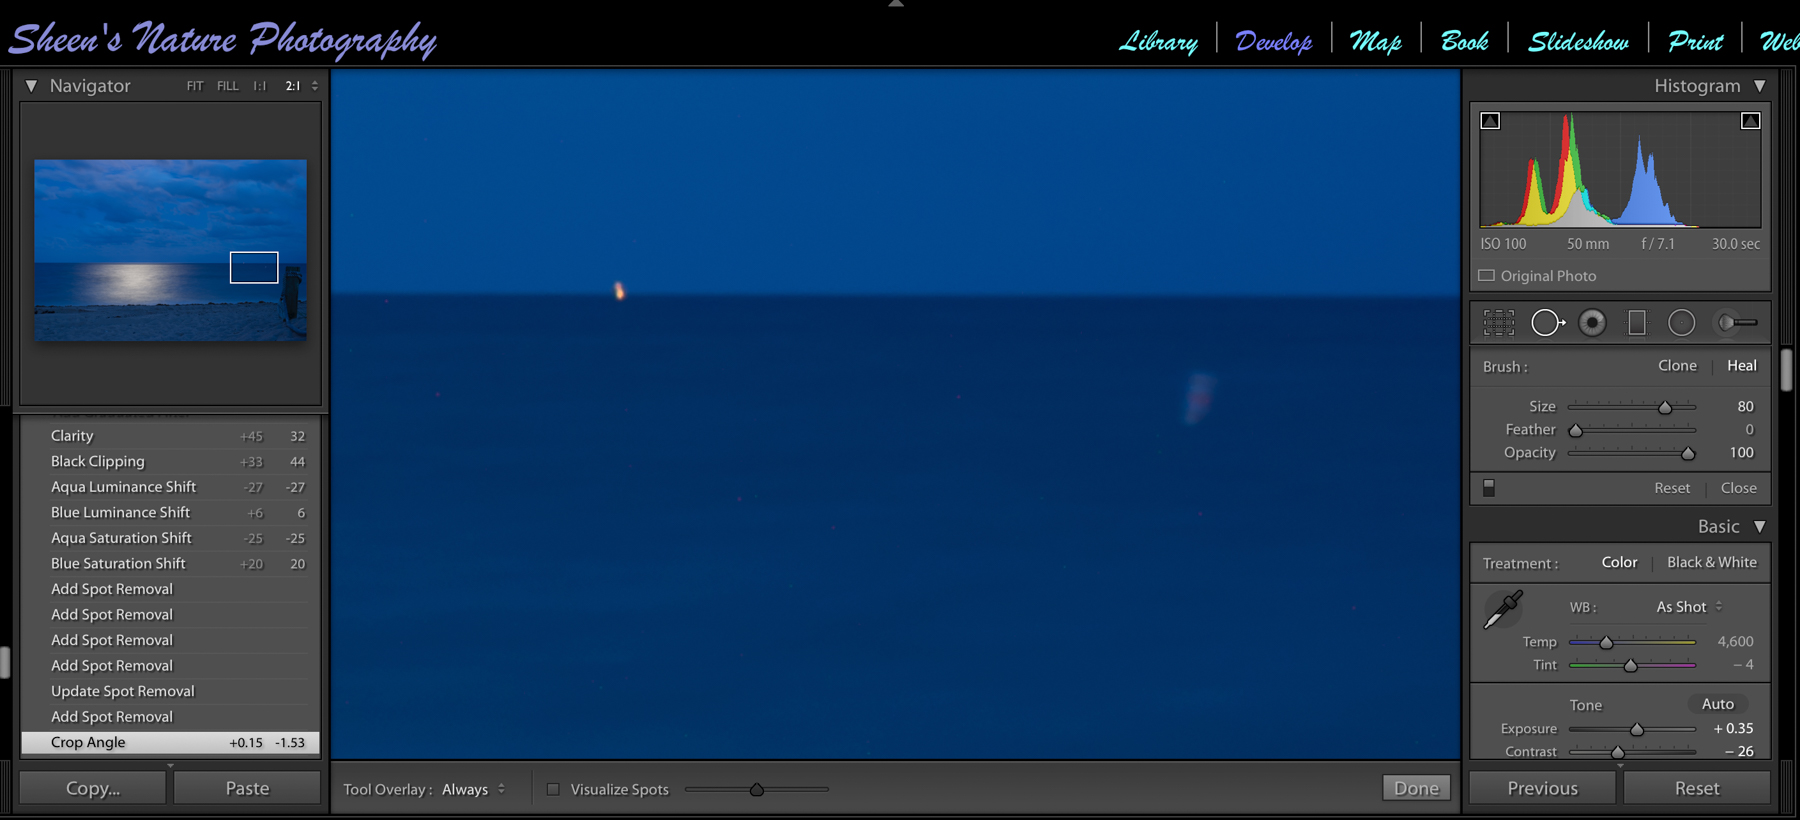
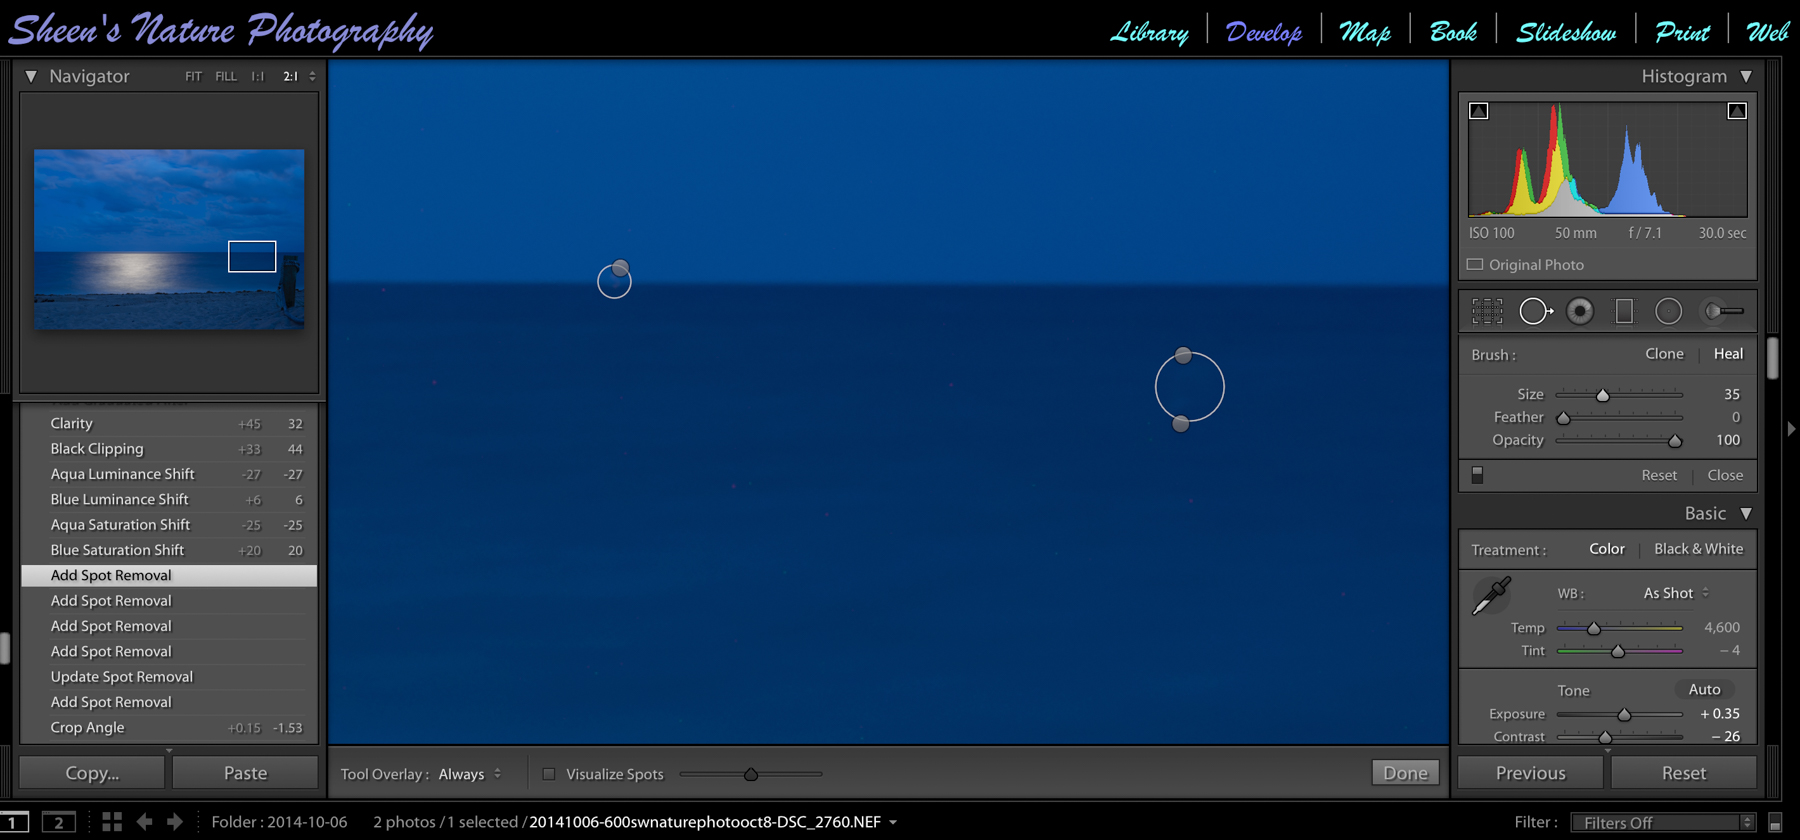
Sensors accumulate dust over time and these spots show on your photographs. To eliminate these from your photo:
- Select the Spot Removal Tool (next to the square cropping tool) and choose Heal
- Zoom in 1:1 or 2:1 so you can see the areas up close
- Adjust the brush size to the desired width
- Place over the dust spot and click
Lightroom will correct the spot by matching the color and texture from a source (sample area) and applying it to the destination (target area). If you want to redo or delete one of the changes, select the little circle and hit the delete key.

How to Eliminate Imperfections
To eliminate larger imperfections, adjust the slider to the desired size then drag your mouse to highlight the area then release. Lightroom will automatically apply an adjustment. If you don't like the appearance you can take the area it chose and move it around to find the right correction.
Healing or Cloning?
Heal mode is typically preferred. Heal samples the color and texture. Lightroom then works to automatically blend for a clean correction. Clone mode is a straight copy of the pixels.

The Sandhill Crane above shows the raw file before and after Lightroom adjustments were applied. Because of the tight framing, cropping would have not produced the desired composition. It started with a combination of spot removals then applying other adjustments in Lightroom.
Lightroom's spot editing tool is easy to use, improves quality and as in the case above, desired composition.


