Light is the main ingredient in the mix of elements that make an image. Content, composition, technique will all pale if the light isn’t “right.” But is there a “right” light? It all depends on the photograph you are taking.
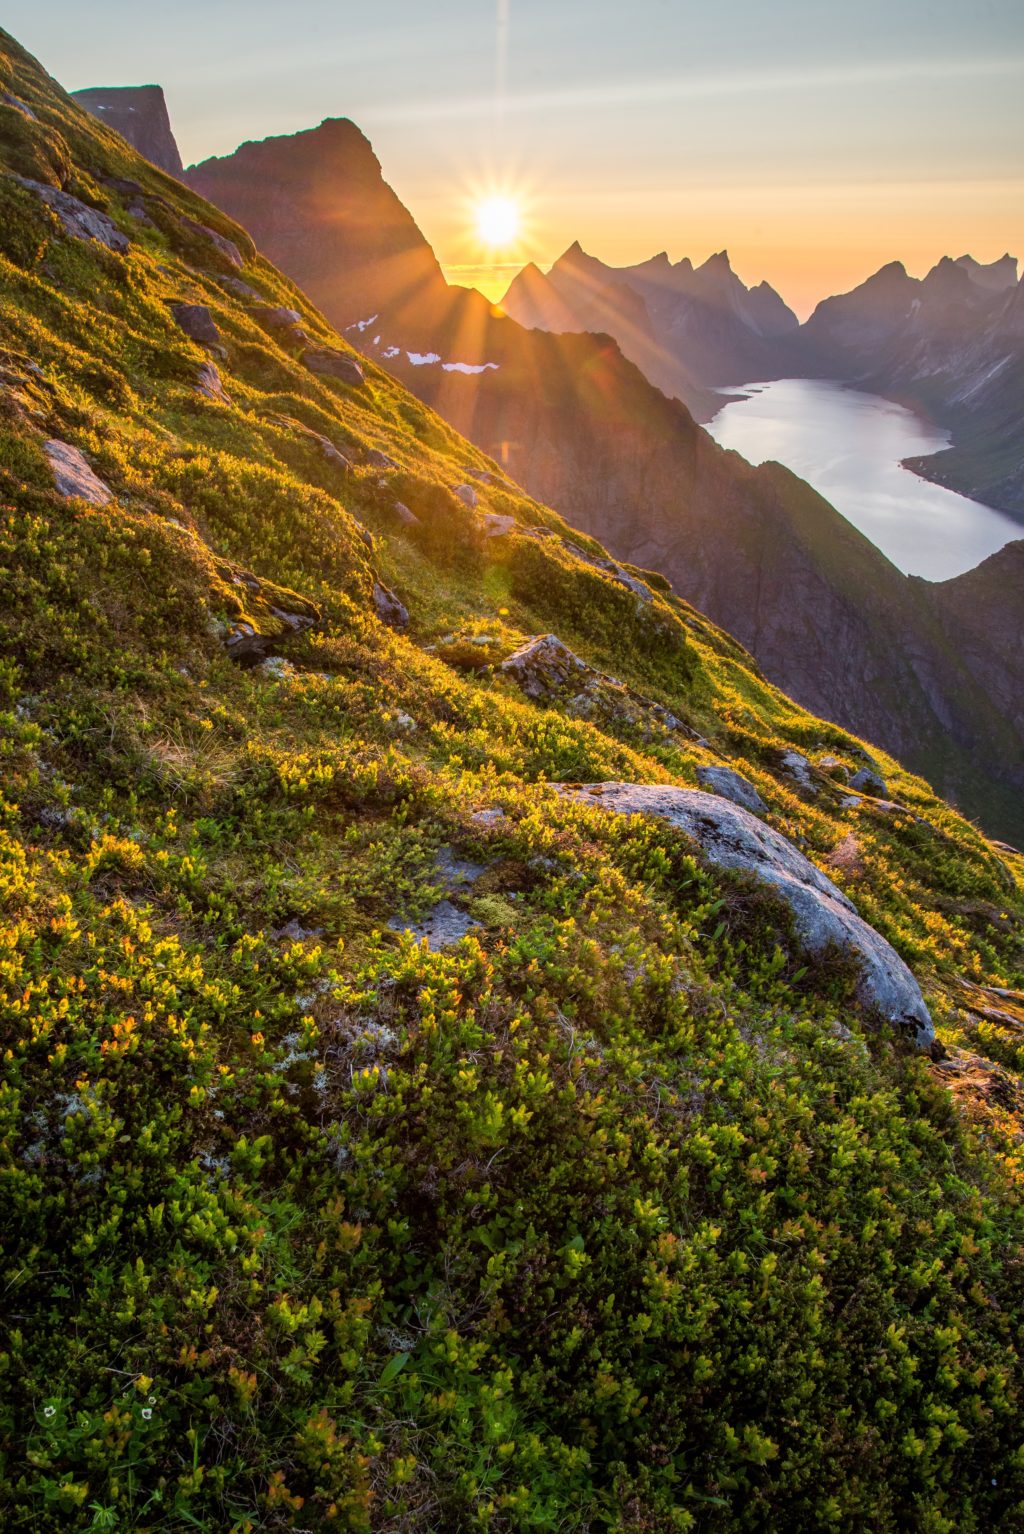
Most photographers tend to focus more on their subjects and the framing giving more importance to them only to find out later that it was all ruined because light was not used properly. Light can transform a dull image into a brilliant one and this light needs to be used wisely depending on the type of light, intensity of light, direction of light and time of the day.
While there are many types of lighting that can be used in photography both indoors and outdoors, most of the indoor photography can be done by manipulating, directing or changing the light using artificial lights or light modifiers. In this article, we will focus on some types of natural lighting conditions that can be used effectively and creatively to make compelling photographs.
Here are some common lighting situations that could help you create compelling shots. Stalk the light, and you will see your images increase their wow factor.
Light can be soft, hard or of other varying intensities depending on the type of light, weather, time of day, etc. Let us look into what soft and hard light are before delving into the other types of lights.
Soft Light:
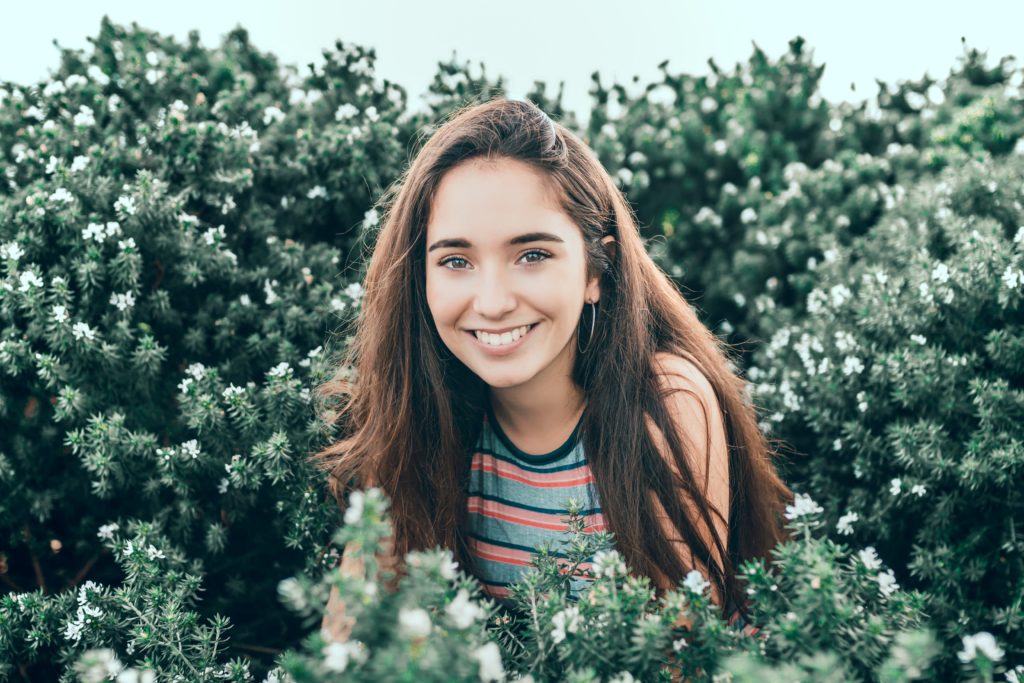
Soft light is light that is of less intensity and that does not cast strong shadows. It is also called diffused light and can be used to create images that are soft with less contrast. Overcast days are days with diffused light and this light can be used to make portraits and other nature photography and the colours recorded are brilliant under this type of light.
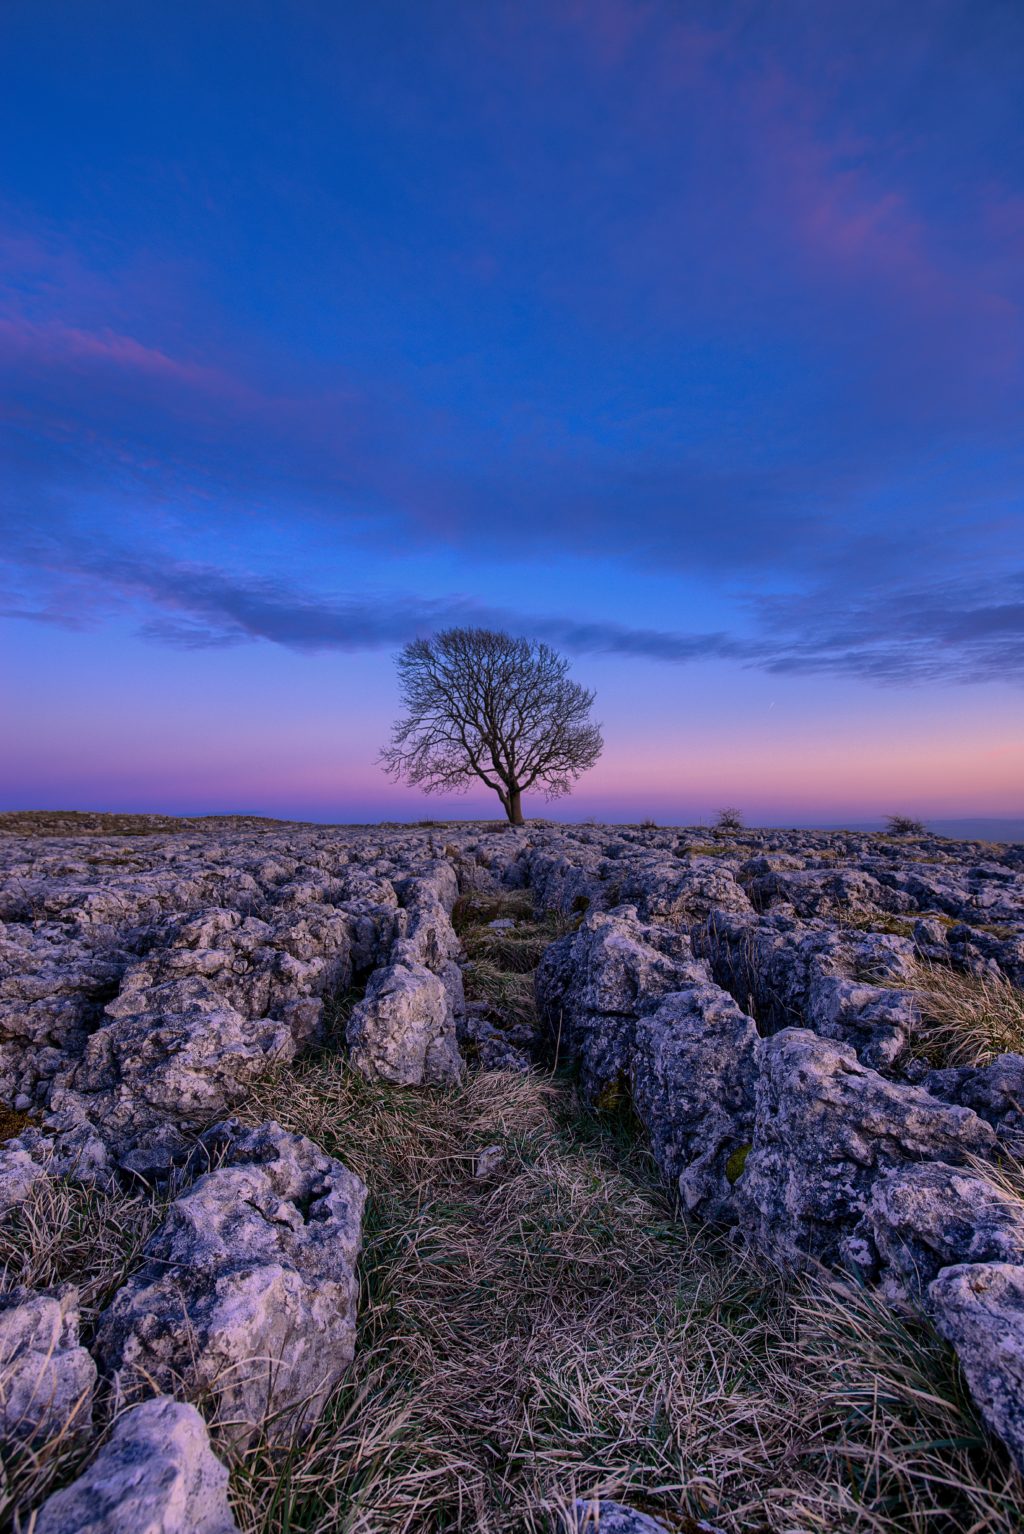
Light during the blue hour and golden hour are also soft lights and these can be used to photography beautiful images. Light during the golden hour can be used to make striking portrait and landscape images whereas light during the blue hour if used creatively can also help make dreamy portraits and stunning cityscapes, landscapes with blue, purple and pink hues.
Hard Light:
Hard light can be highly intense, which means very bright and can cast very strong shadows. There will also be very high contrast between the light and shadow regions and need to be used wisely. Light from the midday sun is very hard and care should be taken to use this light creatively for compelling photographs.
Backlighting:
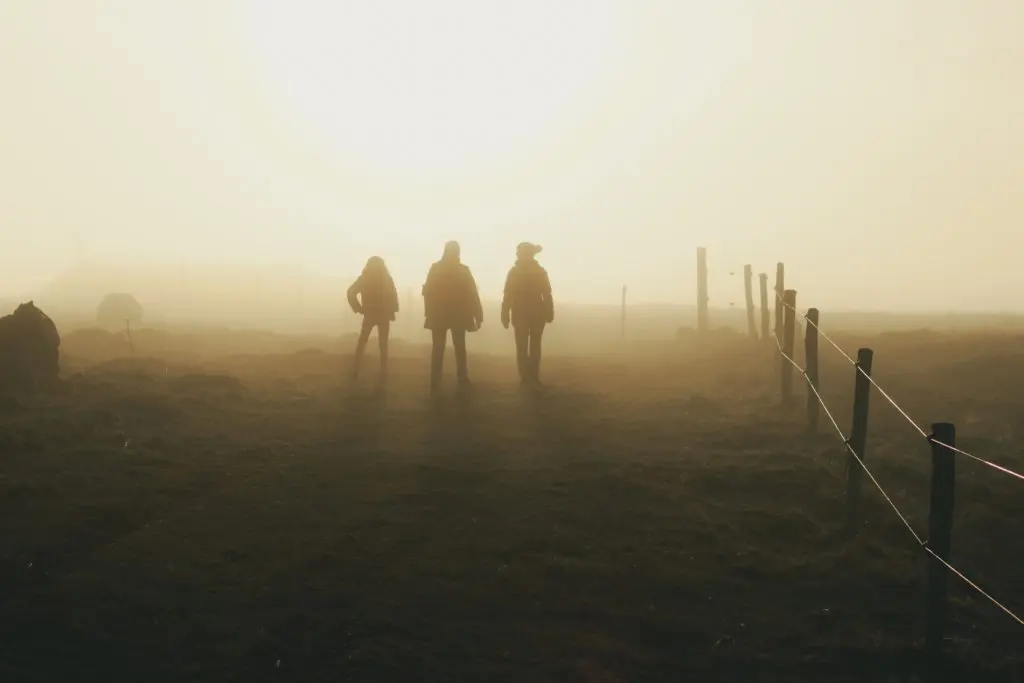
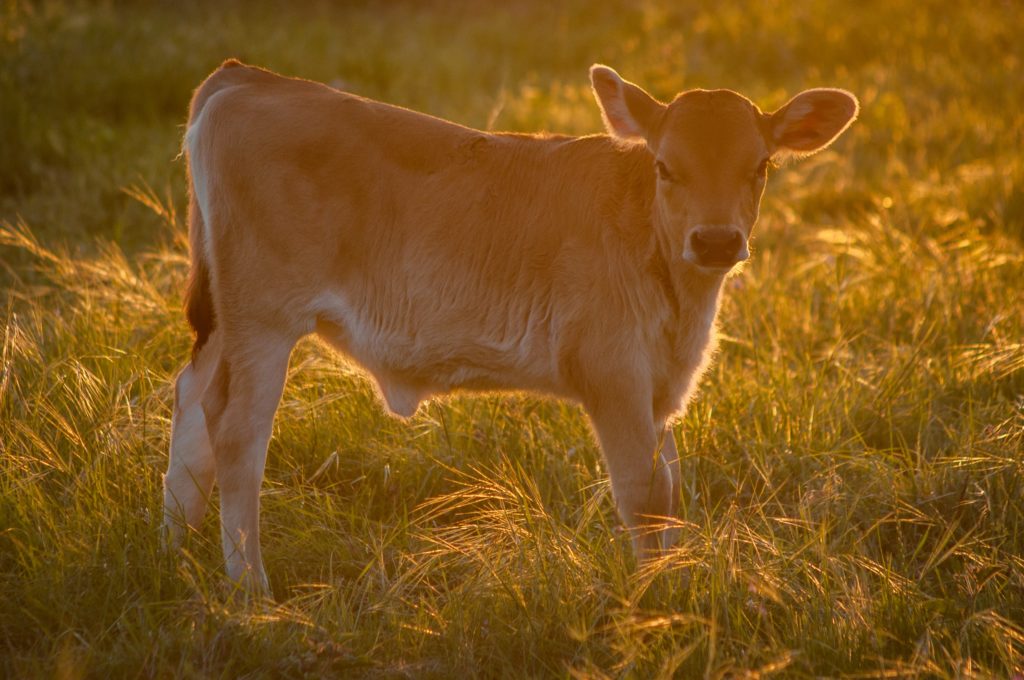
Backlighting happens when the light source is behind the subject – for example light during the golden hour when the sun is lower in the sky almost closer to the horizon. Window light indoors can also be used to naturally backlight a subject indoors.
This means that the light is directly in front of the camera, with the subject in between. This light can most of the time create silhouette with a hazy feel and not much details on the subject, depending on the intensity and atmosphere present. You will also have some long shadows that can create a dramatic effect in the image.
Rim Light:
If backlight is slightly moved (or the photographer moves to an angle when it is natural light) to fall from an angle, then this will show details of the subject instead of a silhouette and will have a rim light. Silhouettes also will have a rim light when light is used effectively, but the details in the subject will be lost with a lot of highlights showing up in the edges.
Rim light can beautifully light the edges of your subject separating the subject from the background. Reflectors can be used to add some light to the subject so you get a properly exposed at the same time backlit subject with rim light.
The photo below of the dancer sitting was lit with two windows behind him, lighting him like a halo around his head and body. This line of light around a subject is called “rim light,” as it creates a rim of light outlining the subject.
To shoot this kind of shot, use exposure compensation, overexposing to making sure you have a balance between the bright light you want to capture, and the subject’s features.
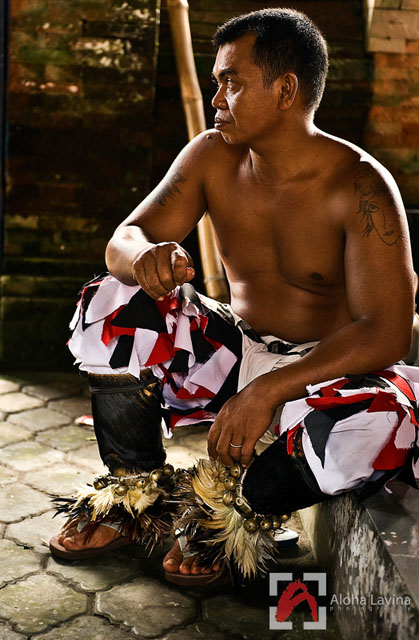
Rim light on a Balinese dancer. Copyright Aloha Lavina
In cases of really bright light behind the subject, like in this shot of colorful spools of thread in by a window, the patterns created by the light and shadow make for an interesting picture.
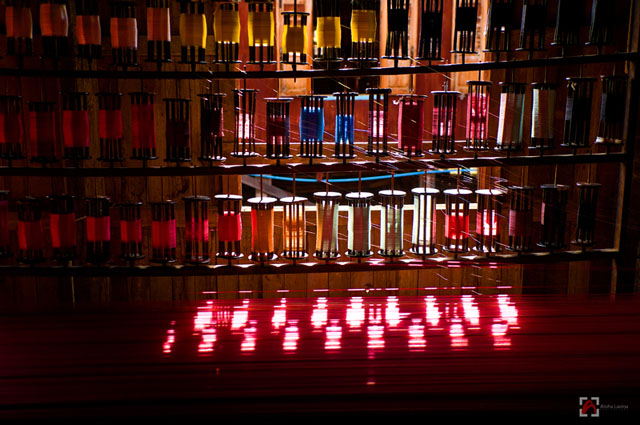
Back light creates interesting shadows. Copyright Aloha Lavina.
Front Lighting:
When the light is right in front of the subject, it is easier to photograph, but if the light is directly in front of the subject, it may result in a “flat” photo. “Flat” lighting is light that evenly spreads on the subject and is not at all a desired one for portraits. I try to avoid this because it makes a photo look two-dimensional; it is the shadows in a photo that create a three-dimensional effect.
In the photo of the dancers putting on makeup, their light source is directly in front of their faces. I could have taken the shot with the light behind me, but I broke away from that and instead focused on the mirror one of the dancers was holding. My thinking was, the composition was more interesting with the dancers echoing each other’s postures. But most importantly, the light from the window was reflected on their faces into the mirror, and the mirror’s image was thus well lit for my camera to capture.
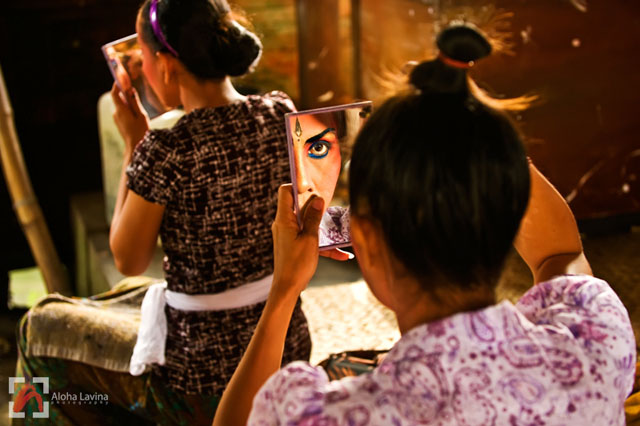
Lighting Balinese dancers with front lighting. Copyright Aloha Lavina.
Light from Above:
Light from above of course is quite common. When you travel, mostly the sun is your light source, and most of the day the sun is right above your subjects. So it’s important to know how the light from above will affect your images, and what you can do to minimize the shadows that the sun from above will invariably create in your subjects.
Early mornings and late afternoons are great because the sunlight is more orange; the angle of the light is also more from the side, especially at sunrise and sunset. But also in the hours right after sunrise and the hours just before sunset, the light is not as harsh as in midday.
Having said that, though, one of my favorite shots from Burma was taken at around 11 am. This man was sleeping in his cart while his oxen were grazing. The shadows were harsh, but it worked because the content of the photo made for a good contrast. To get this shot, I had to close up aperture and used exposure compensation to get details in the sky and the immediate subjects in front of me.
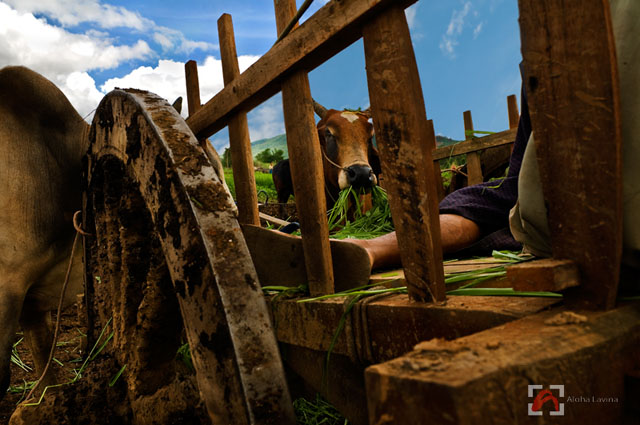
Light from a high sun. Copyright Aloha Lavina.
Side Lighting:
This is arguably my favorite kind of light. Side light is light coming from the side – that is the left or right of the subject. It was used by the masters of painting—Rembrandt used side light in his paintings to give the picture a three dimensional effect. When the light falls on one side of the subject, the other side is in shadow. The shadows are what give the picture a 3D look.
The monk walking past old wooden doors shows how shadow and light can create the contours that make the subject look three-dimensional.
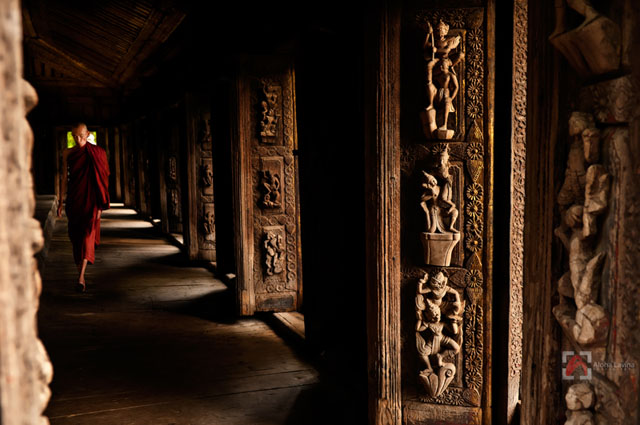
Side lighting. Copyright Aloha Lavina.
Like every skill, seeing the light—its direction and quality—takes practice. But with some basic knowledge of lighting situations, any person with a camera can “practice the right skill” and do what photographers do: stalk that light, capture it, and make it look fantastic.


3 Comments
Gorgeous photos as always, Aloha! Very useful tutorial as well. Thanks!
The ability to make an image to communicate with an audience (generally using only the visual senses) is a talent… the ability to create a visually pleasing image is also a talent… the technical stuff about cameras can be learned. Therefore, photography utilizes talent.
Problem with lighting you can decide with help ring llights. I strongly advice it for make-up artists and photographers. Every professional vlogger uses a ring flash for taking stunning and eye-catching videos and photos. This kind of flash provides a lot of advantages and makes any photo or video unique and flawless. We have picked the best 5 ring lights so that you can become a top vlogger!
“A bright and quality ring lamp is an indispensable tool for creators from the beauty industry! Make better photos, use a lamp to work with a client – all this will help you raise your income.”
If you will be interesting , I check it here text