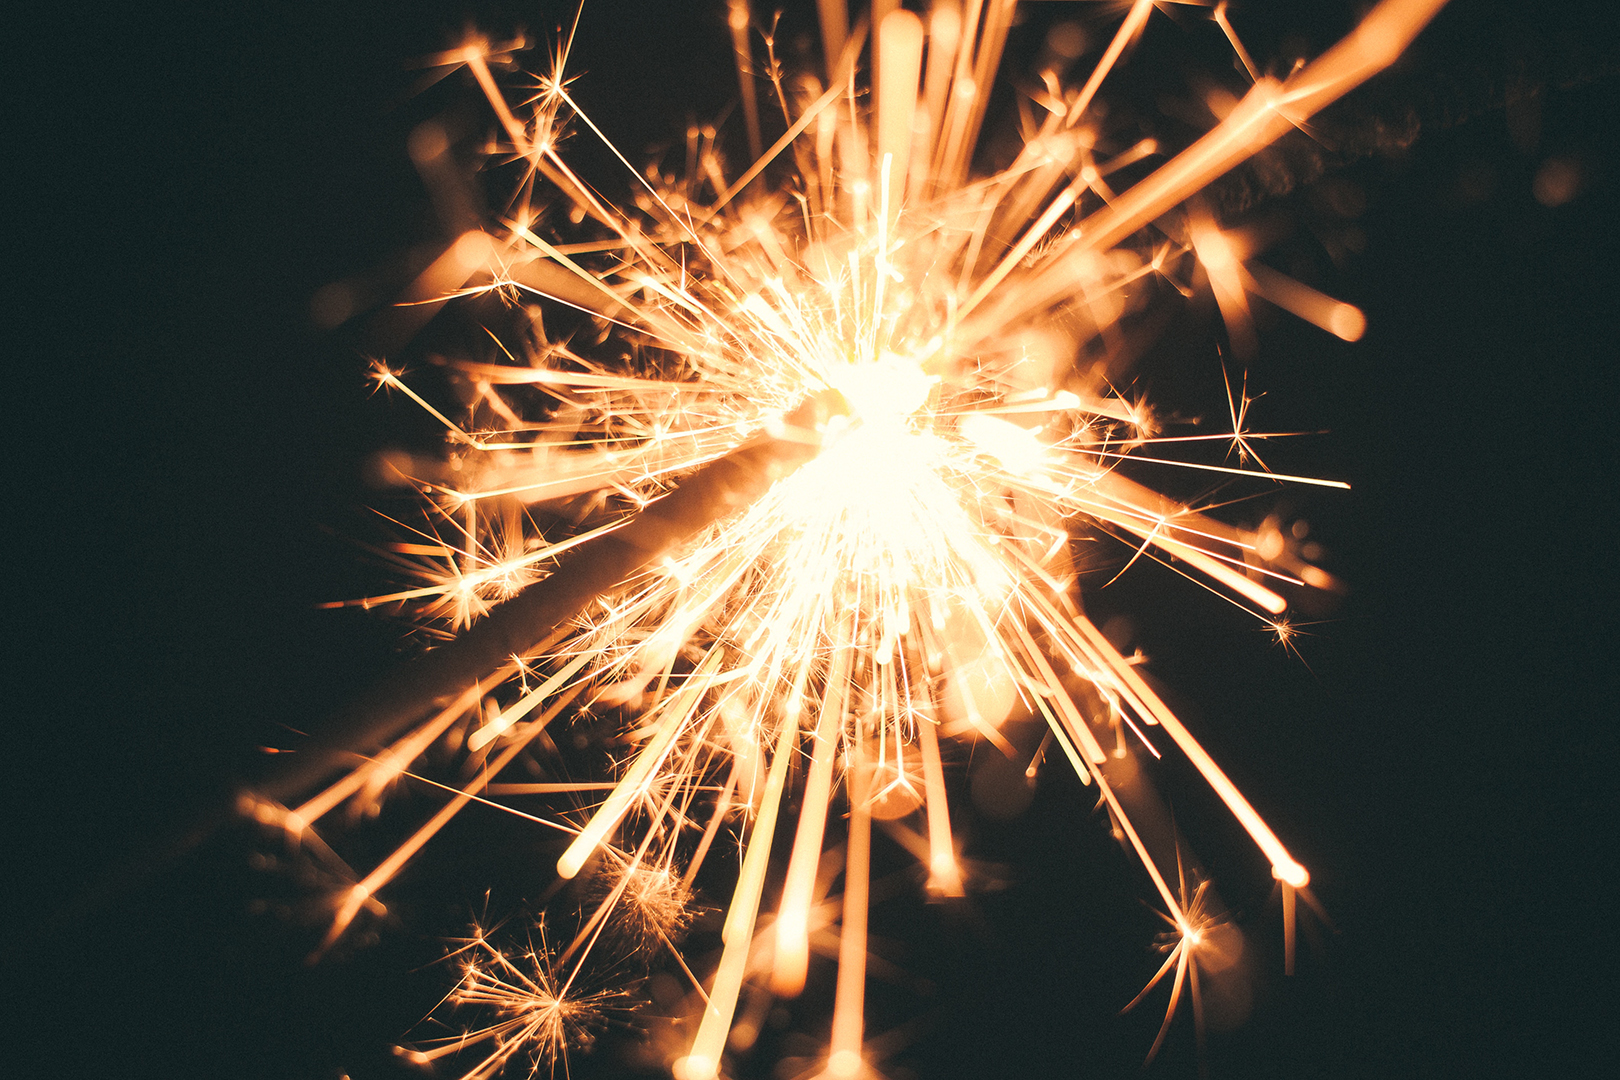
One important thing to remember is that photography is, in essence, the capture of light – a photograph really is the recording of light and shade (and color!). So understanding how light behaves is essential.
Have you ever needed to move people from one place to another because they appear too dark in your photographs? Well, if your answer is yes, you are already aware of light's direction, and that means you are part way there.

The Very Basics Of Light
One of the biggest challenges for me in understanding the characteristics of light was actually understanding how the types of light can affect a photograph.
So here are some things to know:
- The broader the light source, the more diffused or softer it is: So what does this mean? Think of a big window with lots of light shining through it or even a very overcast day. Here the light rays are scattered, ie diffused, and so all the shadows are softened and you get an even illumination across your image.
- The narrower or farther away from the light source, the sharper and darker the shadows: If you think of a torch, spotlight or even the sun on a sunny clear day – this kind of direct light all creates shadows.
In a practical sense, this means that you can get wonderful portraits if your subject is beside a big window with beautiful diffused light – ironically, every bride and groom should be praying for a cloudy wedding day…their photos will be better!
Of course, this doesn't mean shadows are “bad”. Shadows create a sense of three-dimensions. They add depth and volume to an image. As always, it is about what you wish to achieve with your image, so experimentation is key with both natural light or modified light.
Something Else To Consider – Light Direction
The direction of light can also have a profound effect on your images. The basic directions of light are:
- Front Light: Front light is the light that is hitting directly your subject or object, illuminating the most “viewable” angle of it from your camera's perspective.
- Sidelight: This kind of light usually contours the figure of what you are photographing, it comes in a perpendicular angle from your camera's point of view.
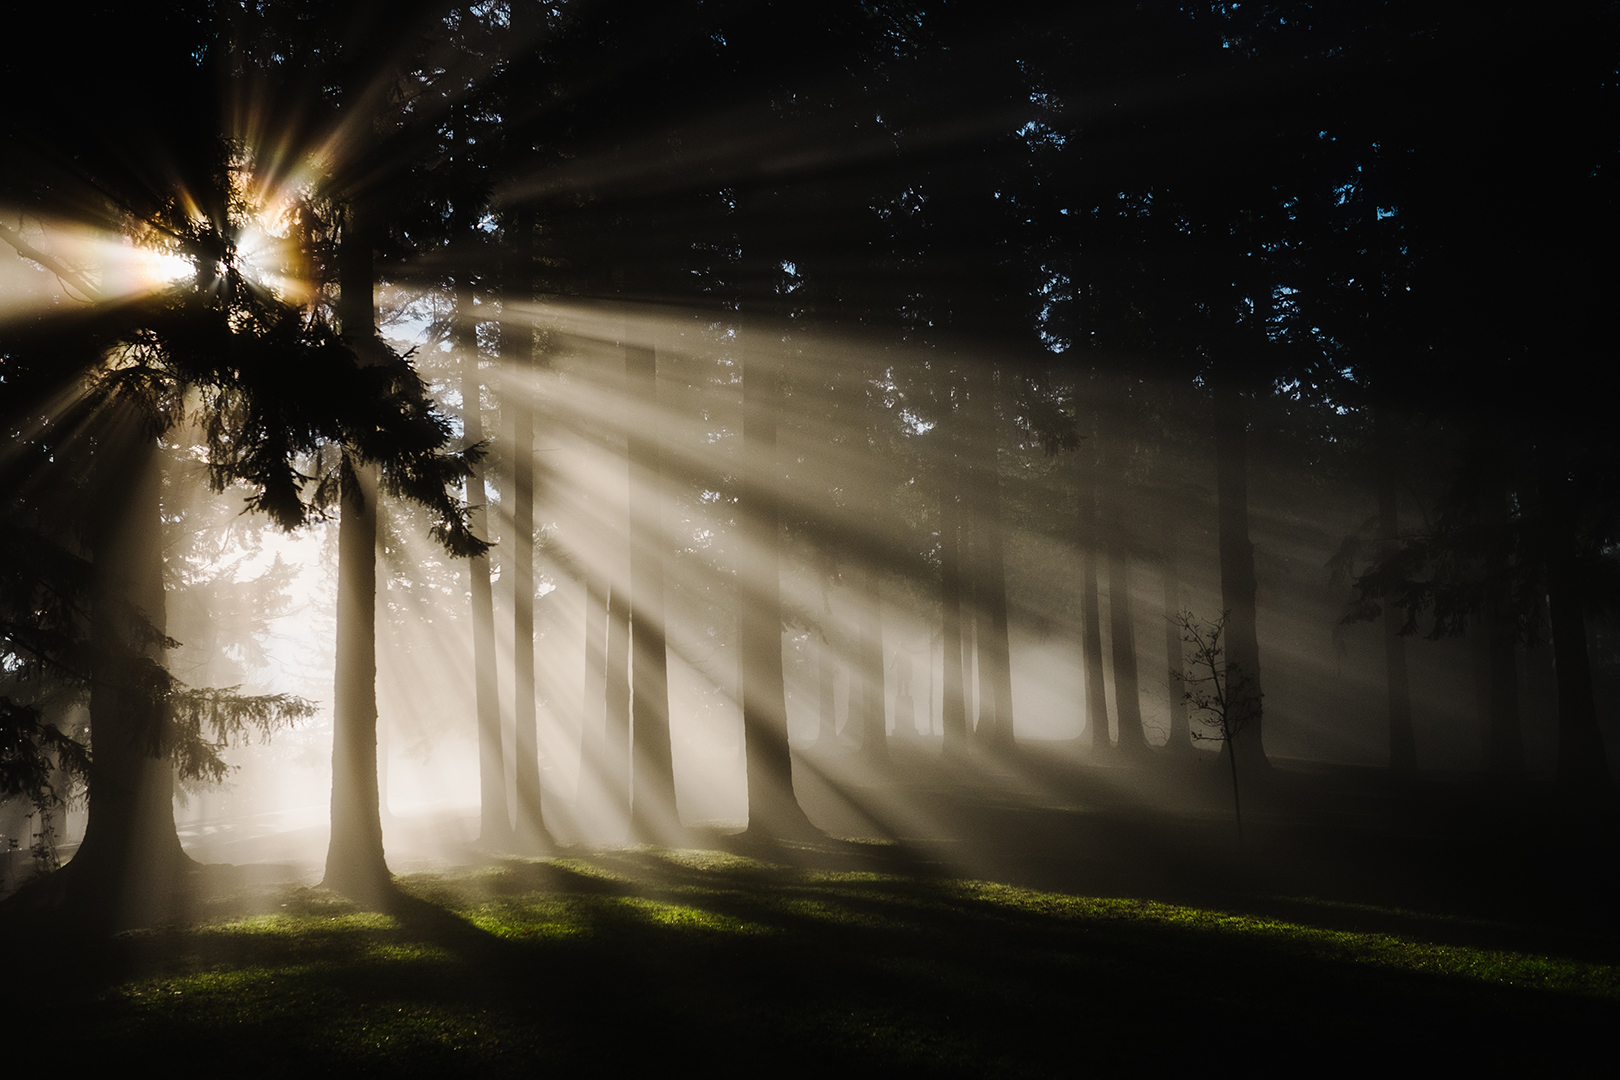
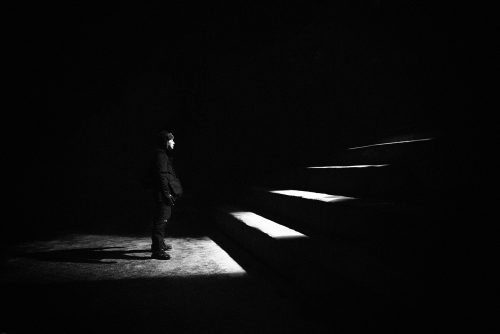
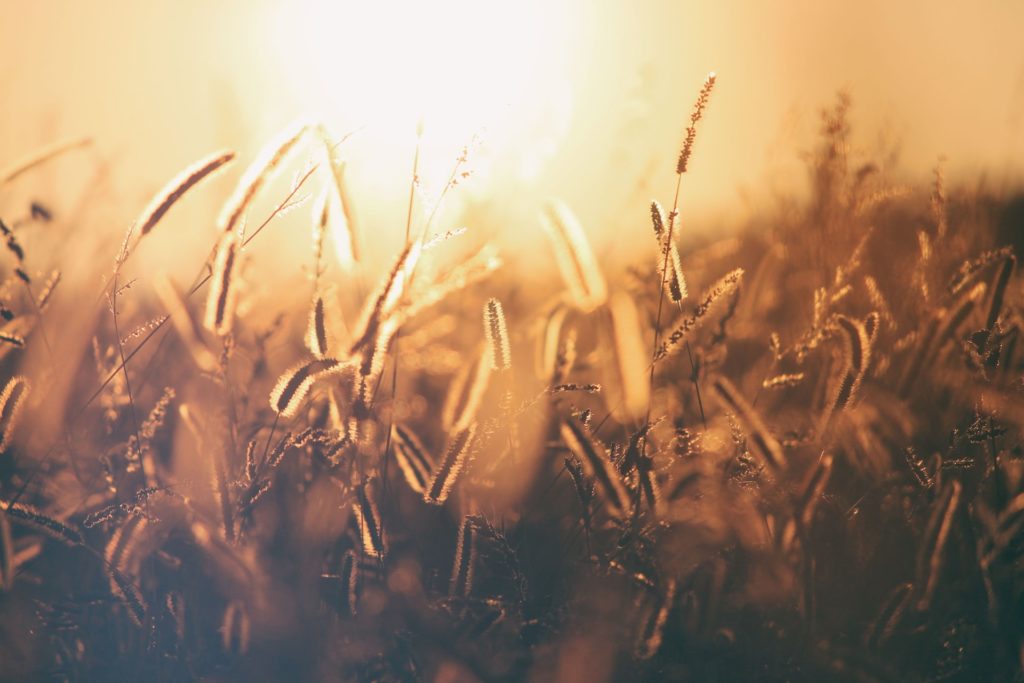
- Backlight: This light usually helps photographers to capture silhouettes, but is tricky to master because it tends to fool our camera's exposure meters.

Common Setting For Light – Sunny Sixteen And Beyond
So there is a very common rule called the “sunny sixteen” rule – and, you know what, it works!
The sunny 16 rule is a quick, easy, memorable method of achieving the correct exposure when shooting outdoors.
- Set your aperture to f/16
- Set your ISO; exactly what you set it to will depend on how sunny it is, but let’s just set it to 100 in this hypothetical scenario.
- The final setting to deal with is shutter speed. According to the sunny 16 rule, shutter speed is to be set to the reciprocal (or inverse) of whatever ISO is in use. Thus, in this example, the shutter speed would be 1/100. If you decided to use ISO 400, then you would set your shutter speed to 1/400.
- EASY!
A subject will always be bathed by light in all directions, but some of them will be stronger than the others, creating volume and drama on pretty much anything your camera captures. Also important for you to know, the quality of light must be considered since harsh lights create undesired strong shadows and vice versa.
Light is really complex, but it is a lot of fun. But understanding how light behaves will make you a more creative photographer.


