Wildlife photography is perhaps one of the most evocative and yet difficult areas of our art to master. Great wildlife photographs are a wonderful addition to anyone's portfolio and will illicit positive comments from photographers and non-photographers alike. So what sort of equipment do you need to pack in order to start out in wildlife photography?
What Camera Do You Really Need?
Let's start with the camera. I am not going to dwell to much on cameras, as most of us are not going to buy a new body for wildlife images unless we intend to get serious about it.
Despite the current march towards full frame sensors, the owners of APS-C and Four/Thirds DSLRs have a small advantage here, the crop factor of the smaller sensors, makes the lenses effectively between 1.5 and 2 times longer than those on full frame. In other words a 300mm on a APS-C sensor will have the equivalent image size of a 450mm on a full frame camera.
Other factors to consider in your camera body is good low light capability, reasonable continuous shooting speed and a fast and large buffer. The latter will allow more images to be saved to your card, and quickly.
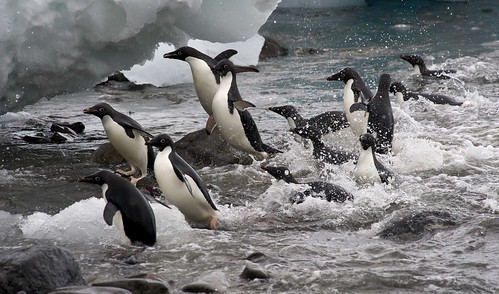
A fast shutter speed, continuous shooting and high ISO was needed for this shot by The Odessa Files
Let's Talk About the Best Lenses for Wildlife
Lenses are probably the most important part of a wildlife photographer's armory. Wildlife for the most part is shy, so you are going to need long (telephoto) lenses, 300mm being a minimum starting point in most cases. If you are on a tight budget, and cannot afford the fast professional lenses (and how many of us can?) then consider slower zooms but with image stabilization, to help overcome low light situations.
Try to avoid the super zooms, i.e. the 18-300mm, rather look for something in the 70-300mm range.
Another important factor to consider in your lens, is its focusing speed. You need a lens that will focus fast with your camera – unfortunately for us photographers, wildlife has a habit not sitting still for too long. Those of you on bigger budgets will be able to look at the fast prime telephotos such as the 300 and 400mm 2.8s.
How About Teleconverters?
One very useful piece of kit for the wildlife photographer is a tele-convertor. Sitting between the camera body and the lens, a convertor will increase the focal length of your lens, usually by 1.4, 1.7 or 2 times. There is certain caveats though, firstly, you will reduce your maximum aperture by the same amount, so a f2,8 lens will become an f5.6 lens if used with a 2x convertor. This is important because as a lens drops below f5.6, it’s autofocus abilities are reduced. There is also a loss of image quality with tele-convertors.
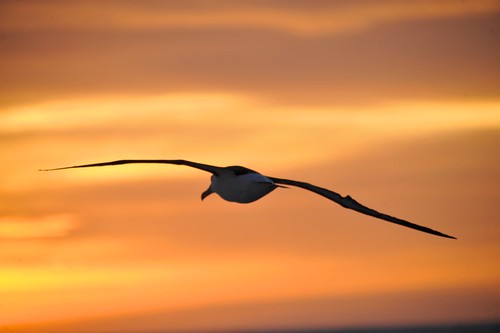
A 1.7X tele-convertor was used to pull in this black browed Albatross. Photo by The Odessa Files
And Macro Lenses?
Another very useful lens addition will be a macro lens. Macro lenses allow you to focus closer to smaller wildlife such as insects. Some zooms claim to have macro capabilities, but for the most part, a dedicated macro lens will get you much closer to the action.
For the budget minded there are a couple other options. Close up rings – these are effectively filters that sit on your lens and magnify the image. They are low cost but will degrade the image sharpness. The other option is a lens reversal ring. These are really only suitable for prime lenses and work by allowing you to attach the lens to your camera back to front, as it were. This in turn allows for much closer focussing but with the loss of any exposure or autofocus ability. Check out our article on cheap alternatives to a macro lens for more details in this area.
So what other kit should the wildlife photographer consider?
A tripod is a very useful tool, especially if using long lenses in an environment where you are waiting for wildlife to appear. Look for a good quality tripod, sturdy enough to support your camera with a large lens. If you can afford it, consider a carbon fiber tripod, wildlife is rarely where you parked the car so when hiking to the shooting locations, the lighter weight might be a bonus.
In terms of a tripod head, you need to be looking for a ball and socket head to allow fast movement of the camera and lens. A more expensive option would be a gimbal mount which allows quick and free rotation around three axis whilst still supporting the camera, although they can be quite heavy. A decent quality monopod is a useful alternative to taking a tripod.
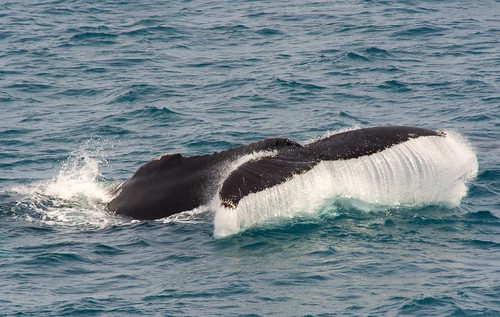
A Monopod and 1.7 Convertor used to keep this image sharp. Photo by The Odessa Files
Don't Neglect to Think How You'll Carry Your Gear
To protect your equipment, look for a good quality bag, either over the shoulder or backpack. Try to get one with muted colors to help you blend into the background and also make sure it’s waterproofed. You should pay the same consideration to your own clothes, use muted colors and avoid fabrics that rustle when you move. Canon shooters with the white pro lenses, might also consider lens camouflage covers, this will help blend your lens into the background.
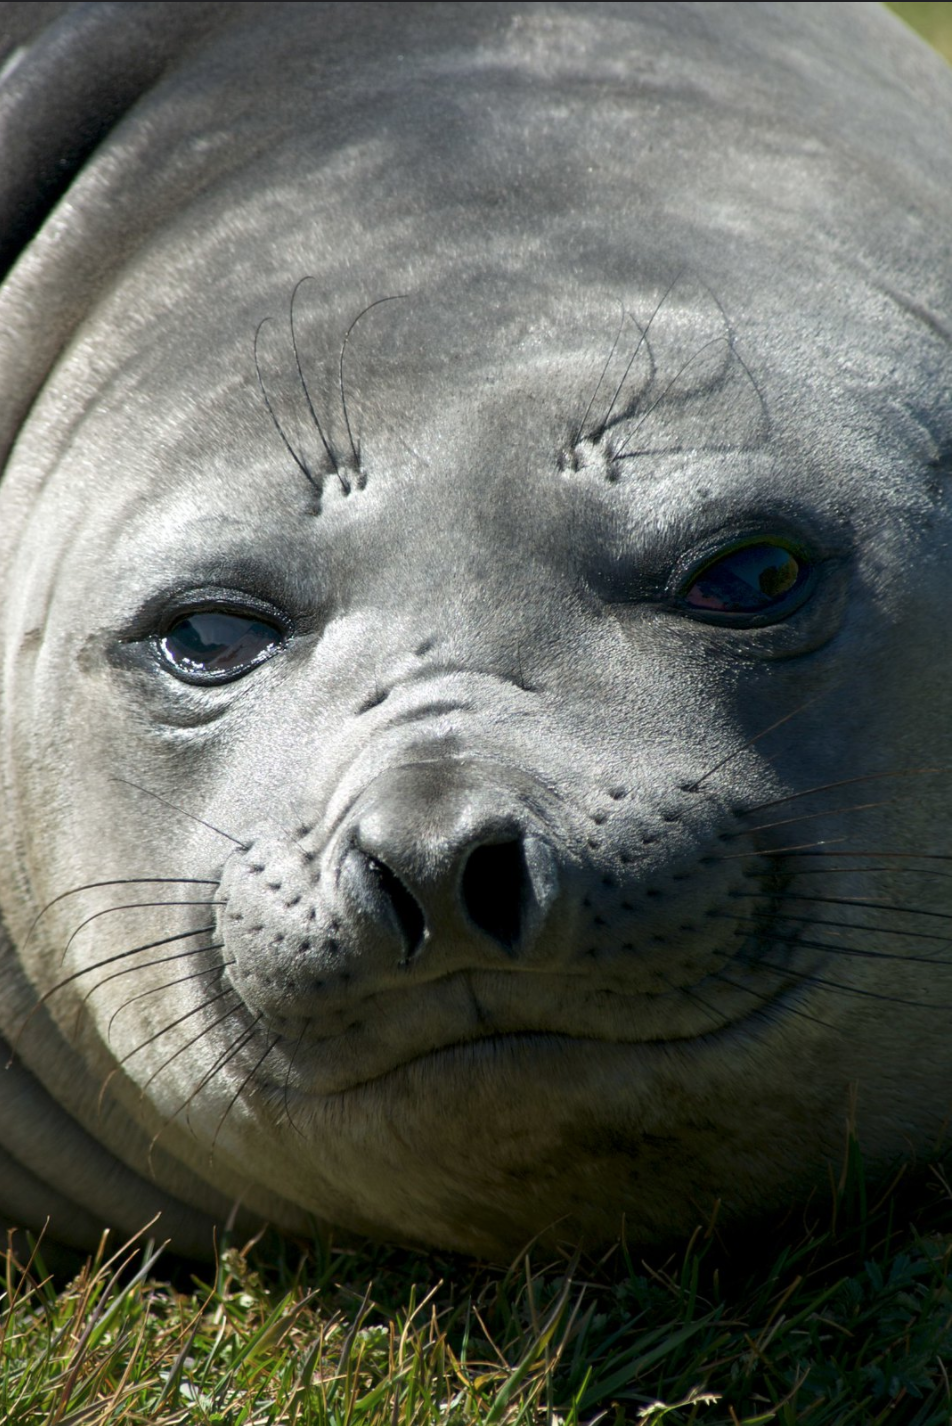
An adult Southern Fur Seal in South Georgia. Photo by The Odessa Files
Wildlife photography can be extremely rewarding. If you are new to it, then the lens will be your most important consideration. As your abilities develop and images improve then you can build up your kit to improve your possibilities.

3 Comments
Very useful info, I’ve been getting into bird photography and I’ve seen some pretty impressive wildlife photos taken with Sigma’s 150-500mm lens. My 70-300mm, while nice, doesn’t quite have the reach I’d like (on my Nikon D3100). Any thoughts on this?
Good article. Re macro photography: you did not mention extension tubes. I have two of different lengths. I’ve even stacked them. There’s no glass, so no distortion. But I recommend manual focus since depth of field is almost nil. I use my 70-300 zoom with extension tube; getting good results but I’m still playing with them.
You can also opt Vanguard Quovio or Supreme series camera bags. All these are great options for professional photographers.