Have you ever noticed how much an image's quality decreases when stacking a bunch of filters in front of the lens? No? Well, that's because nobody in their sane judgment tries to decrease stops of light with such a dumb technique.
But I did.

Stack Stack Stack… Oops
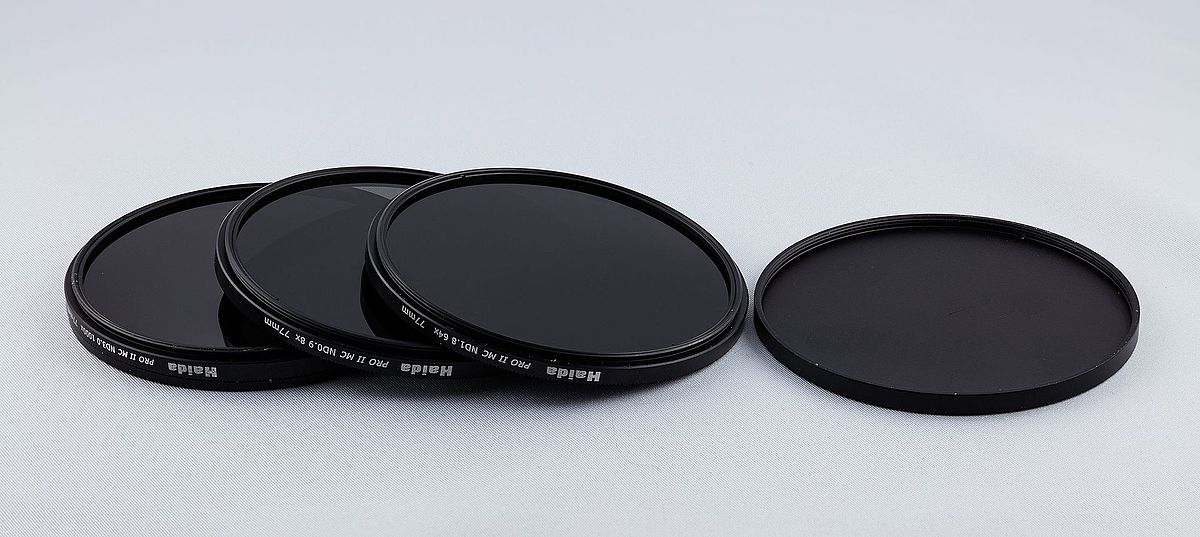
I had a really hard time finding a decent 77mm ND filter that allowed me to stop light down to 10 stops. So I had the brilliant idea of stacking 3 ND filters of 3 stops each and a circular polarizer that allowed me to get that extra stop to reach 10 stops of light reduced. After spending money on 3 poor quality filters and ruining some pictures, I began to wonder what was going on.
Finally, a friend of mine explained to me that even with high-quality filters stacked together, the beams of light passing through any lens began to fragment in a funny way. He also lent me a 77mm 10 stops ND filter when I went to Costa Rica. I was super excited because I wanted to capture some waterfalls with ghostly people surrounding the water.
After a few attempts, all I got were ugly overexposed photographs because I was rushing into things. And you know what was the saddest part? I didn't have time for making those pictures right because it suddenly started raining and I had to stop taking pictures.
The good lesson for me was that I shouldn't have taken ND filters for granted and I made some further research on how to actually use them.

6 Quick Steps To Using ND Filters
So how do we do it properly – particularly during the day? Here are some quick points to get you started:
- If you want long shutter speeds in daylight you are probably going to need a 10-stop ND filter – you can probably pick up a good one for under USD$50, so it is worth your time and money.
- You will need your tripod
- Lock up your mirror to minimize camera vibration
- Compose and focus – you'll need to do this manually
- Calculate the correct exposure – use the lowest ISO; aperture set at f/11 or f/16; use this mobile app to calculate the time (it does the mathematical thinking for you!)
- Use a remote shutter release
I hope you enjoyed reading about my first attempts with ND filters, but if you want to go further into mastering long exposure photography, then this guide is going to be worth looking at.
Please let us know in the comment section about any doubts about ND filters or successes you've had. Also, don't forget to share your work in the forums.


1 Comment
LOL! I’ve never done this but I can understand why someone would. Buying diffent filters is expensive. Lucky for me, before I bought my ND10 filter (77mm), I had read a few articles suggesting that combining filters was a compromise.
I found that, unless I want to do very long exposures, there is not much need for an ND filter after sunset (or before sunrise).
https://islandinthenet.com/manhattan-cityscape-fieldtrip/