Love it or hate it, the HDR technique is here to stay. Now, while some people may love the strong effects used by some HDR proponents, many don't even notice when they see an understated HDR shot. Wherever you fall on the spectrum though, using HDR is a useful skill to have in your repetoir, so let's take a look at a way to get a fast and easy result. HDR refers to the increased in the dynamic range of an image, which currently can only be achieved in post-processing. This is because our camera is still limited by the restricted dynamic range it can capture.

A common way of creating HDR image is by bracketing multiple exposure and merging it into a single file with HDR software. The advantage of that is easy and time-saving because HDR software automates the complex process of combining images and also helps you tone map image by giving you a selection of presets. The disadvantage of using HDR software is that tone mapping can go overboard to create an HDR image that is often oversaturated and lacks contrast.
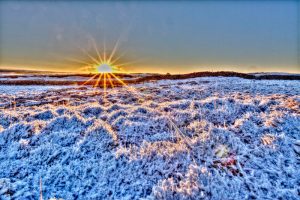
For beginner photographers who are using HDR software for the first time, the multiple sliders and technical terms in the adjustment panel can be overwhelming. This is on top of having to export the final tone mapped image for further post-processing in another image editing software such as Adobe Photoshop, which on its own has a steep learning curve.
Although the digital camera technology hasn’t allowed us to take a high dynamic range image in a single exposure, the software technology has managed to compensate that by combining the process of merging, tone mapping and further editing all in one place for us to create HDR with a more natural look.
Now that I have made you excited and fuelled with adrenaline, let us dive right into how you can do this yourself easily in Adobe Lightroom. I found this method to be the easiest and quickest way of creating realistic HDR so far.
Just to clarify, this uses the new built-in merge into HDR tool in Adobe Lightroom 6 and above. If you are using an older version of Lightroom, you can still do this but will have to merge into 32-bit HDR in Photoshop first.
How to Prepare for HDR by Bracketing Your Exposures
The first step to creating HDR is to shoot multiple exposures for the same frame to make sure you have captured the whole dynamic range of the scene. I won’t go into the details of how to do it but will highlight a few important points.
- Use a tripod whenever you can.
- If you shoot handheld, as a general guide, make sure the shutter speed in the brightest exposure is no less than the focal length. For example, if your focal length is 50mm, your slowest shutter speed should be no slower than 1/50 second to avoid camera shake.
- Check the histogram of your bracketed images to make sure there are no highlights clipping in the darkest exposure and no shadows clipping in the brightest exposure.
- Take a few more set as backup.

Preparing Your Images for Post Processing
The first step is to open your images in Lightroom. I normally start by preparing it for merging. My routine is to correct for lens profile, remove chromatic aberration, straighten the horizon and clean up any blemish with the clone or healing brush tool. All these can be done with tools in the adjustment panel in Develop module.
The Best Settings for Merging Into HDR Are…
Now select the images you want to merge. It can be 3, 5, 7 or even more. If all the images you want to merge are next to each other, you can click on the first one, hold down the shift key and click on the last one to select them all. If not, hold down the cmd (Mac) or ctrl (Win) and click to select it one by one.
When you are done, right click on your mouse and go to Photo Merge > HDR in the menu. This will bring out the HDR merge preview.
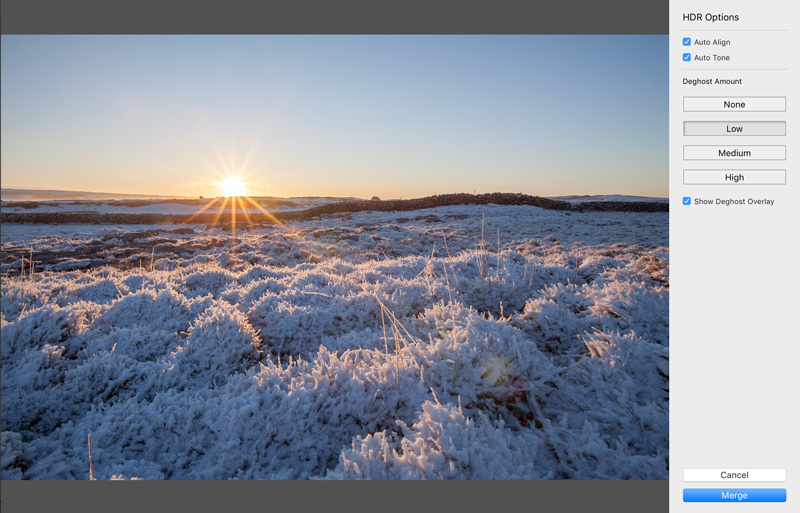
I would recommend keeping the Auto Align box checked for Lightroom to do the hard work. Auto Tone means Lightroom will apply tonal adjustment for you but you can change these if you don’t like. Lastly, the deghost tool which can remove any artefact caused by movement such as moving foliage or people. If you check the box for Show Deghost Overlay, you can see where Lightroom has done the job for you.
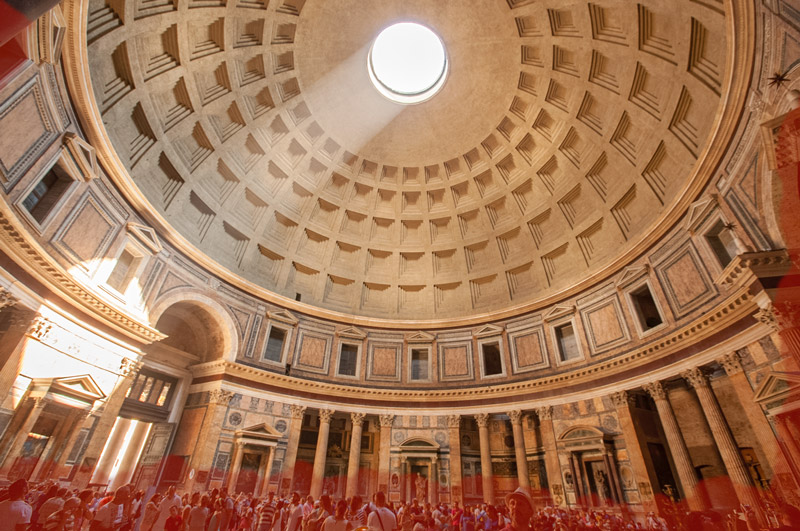
Before the introduction of deghost in Adobe's merge into HDR, you would have to remove it by layer masking in Photoshop and the process can be complex depending on how much is there to do. Photomatix Pro was one of the first pieces of HDR software I came across that had deghost and it was awesome at the time.
Click Merge when you are done and you should see your HDR image next to your bracketed images in the filmstrip saved in DNG format (raw file). Lightroom merges files into 32-bit HDR by default.
What is the benefit of 32-bit? If you go to the Exposure slider in the adjustment panel of the HDR file, you will notice that you can drag it down to -10 and up to +10 compared to -5 to +5 in a normal Raw or even less in JPEG file. That is a 10 stop increase in the luminance value! This gives you more flexibility to recover details in the highlights and the shadows that wouldn’t normally be possible in a single exposure raw image.
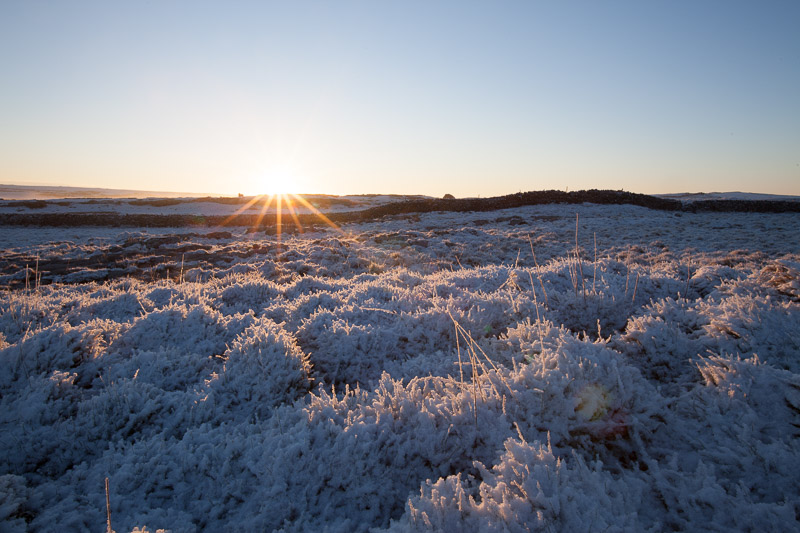
What You Should Know About Tonal and Colour Adjustment
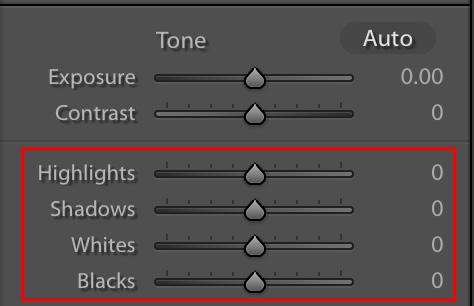
If you checked the box for Auto Tune, you will notice that Lightroom has already applied tonal adjustments for you in the adjustment panel. Not everyone likes the “preset” so you can fine tune it to what you want.
What I normally do is to focus on 4 sliders first: Highlights, Shadows, Whites and Blacks. Once I’m happy with these, I continue adjusting for clarity, hue, saturation, sharpening, vignetting and maybe applying a filter.
Don’t forget the Adjustment Brush at the top of the adjustment panel. Use it to apply local adjustments to make your image stand out even more.
Lack of Tone Mapping for Better Results Can Be a Problem
For those of you who have used HDR software before, the first thing you will notice is that there is no tone mapping. Has Lightroom over simplified post-processing for HDR?
Personally, I find this to be the one limitation of Lightroom’s merge HDR function. The controls for fine tuning an image to the effect you had in mind are fairly limited compared to tone mapping. I know that I’m contradicting myself because I mentioned at the beginning that one of the advantages of Lightroom’s HDR is without the overwhelming adjustment panel in HDR software. But the balance here seems to have pushed a little more towards simplicity.
So, Lightroom or HDR software to create natural-looking HDR?
The answer is Lightroom because it simply won’t let you over do it. The limitation without tone mapping remains as discussed but it is an easy and quick of way of creating HDR. It suits HDR beginners because of the more intuitive adjustment panel and a more gradual learning curve.
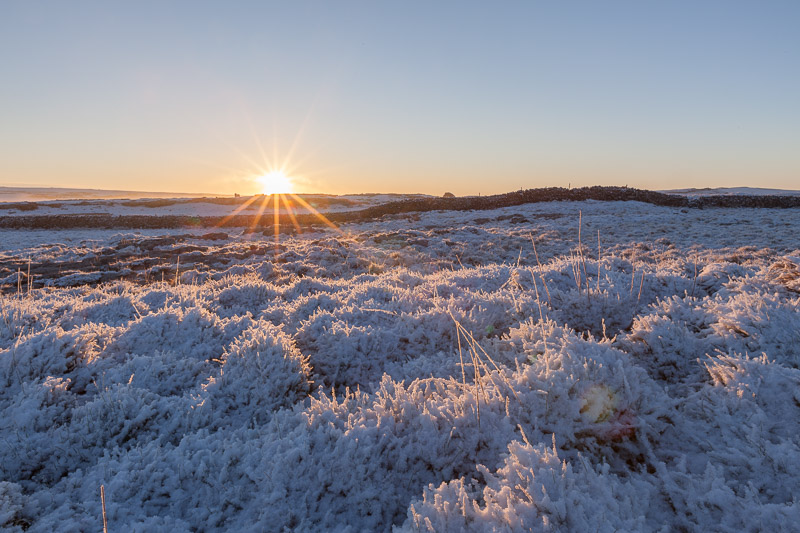
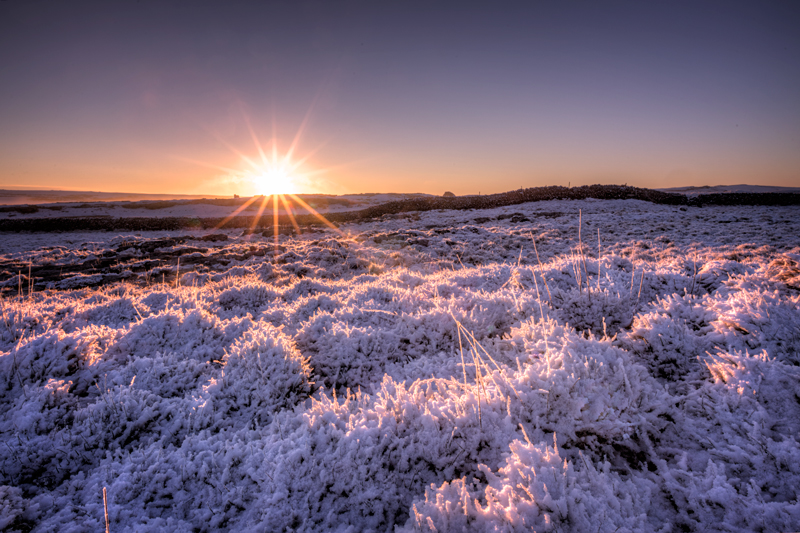
If you are an HDR aficionado then you might not like what Lightroom has to offer. In the example image above, I have processed it in both Lightroom and Photomatix Pro with Photoshop. I’m sure you would agree that the Lightroom’s version looks very clean and natural but it doesn’t quite pop as much as the one processed in Photomatix and Photoshop.
Conclusion
I use Lightroom as a quick and easy way to creating natural looking HDR. But I still use Photomatix and Photoshop if I want my image to make a real impact on my viewers.


4 Comments
Just wanted to point out that the Oly OMD-EM1 does in camera HDR. It takes a series of shots from one press of the shutter button, and merges them all into one. Hand held, tripod. All good. 🙂
Bit of a stretch calling LR HDR 32-bit…. From the Adobe Forum:
“the result of the HDR merge is a floating-point DNG file. The image data itself is stored as 16-bit floating point data. When you render that data using the Camera Raw controls, we internally use a 32-bit floating point image processing pipeline to handle the rendering.”
Jens – your right. How many people out there, including the writer understood your post – please raise your hand – :o)
I did.
Also, this is not a “HDR” workflow anyway.
It’s using AEB in order to locally “pick and choose” suitable exposures from the three images, to create this weird “compression effect” that most professional photographers dislike. I would call this a “local LDR merge effect”.
Creating a HDR image means using AEB to create HIGHER latitude in an image, restoring blacks or whites to their real world colour and value, and then saving them within a 32Bit float EXR file that may look just like the middle exposure but has more range for future adjustments or integration into an HDR workflow, like done in VFX or video games.