The topic of post-processing isn’t an uncommon one here at Light Stalking, and readers are treated to a relatively wide range of processing-related information, from how to use a particular tool to how to achieve a certain look to how to make post-processing a bit more bearable. You can also find reviews and discussions of various image editing applications such as Gimp, Pixlr and, of course, Lightroom. As you might have gathered from your readings here on Light Stalking and elsewhere around the Web, there is a healthy diversity of image editing software being used by photographers, but Lightroom is undoubtedly the most popular image editor out there, even recently surpassing Photoshop in popularity according to some reports.
Chances are you’re using Lightroom and getting along with it just fine. But, as is the case with nearly any application, there is always some “hidden” or overlooked feature that would certainly be beneficial if only you knew it existed or knew how to use it. So whether you’re a recent Lightroom convert or adoptee just getting acclimated to a new workspace, or a longtime Lightroom user who has simply been content to use the same few tools each time you work, I will show you 5 Lightroom tools that you may want to put to use on a regular basis.
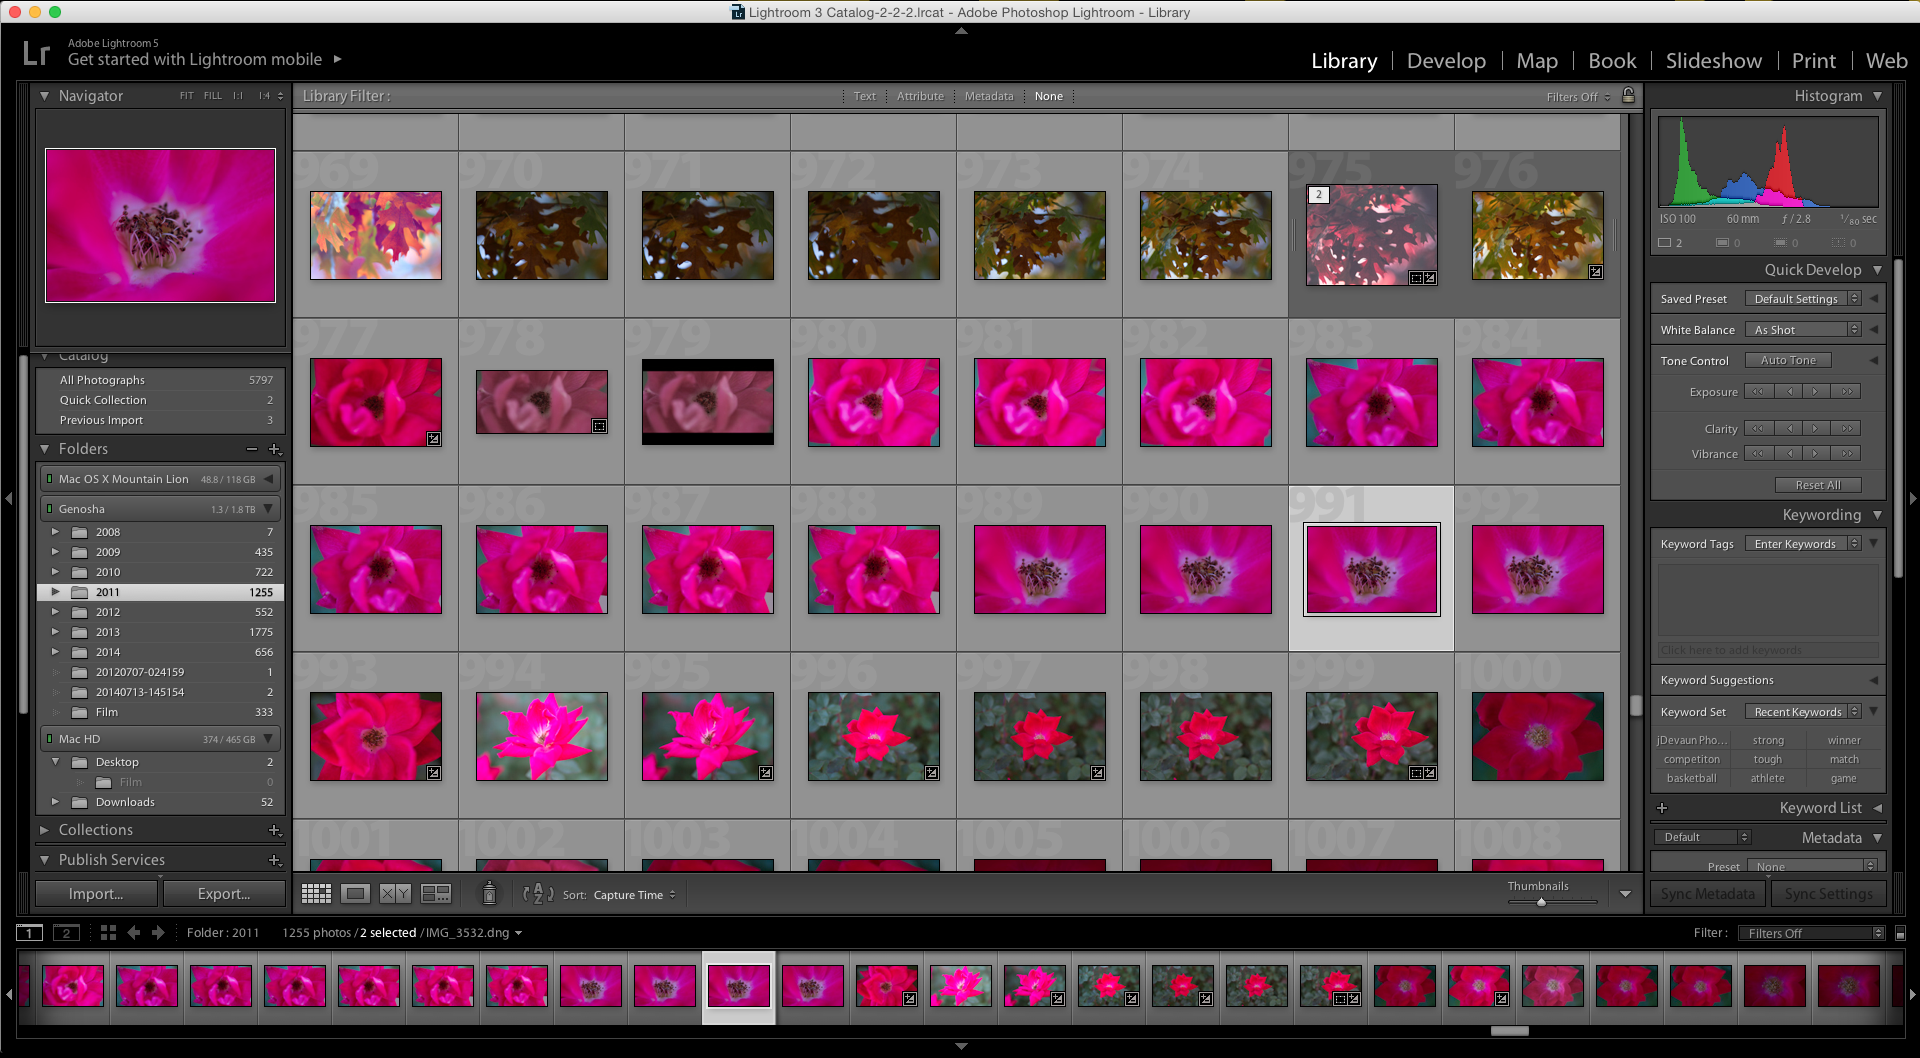
1. Spot Removal Tool
The Spot Removal tool was roundly hailed as a welcome addition when it was first incorporated into Lightroom. While it isn’t quite as powerful as Photoshop’s Healing Brush or Clone Stamp Tool, the Spot Removal tool is everything a Lightroom user needs it to be. In short, this tool allows you to do things like conceal blemishes, remove stray hairs, discard distracting objects, and replace any other unwanted areas of an image with a sample area of your choosing.
Press ‘Q’ or click on the icon highlighted in the screenshot below to bring up the menu for the Spot Removal tool. Select “Heal.” Ajust Size (of the tool), Feather, and Opacity to your liking and let the healing begin by simply drawing over problem areas. Sample areas can be moved afterward if you find a newly healed section doesn’t quite match its surroundings.
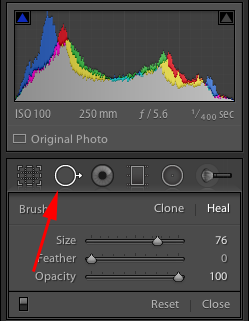


2. Straighten Tool
Fact: Sometimes photos turn out crooked. Of course you can try to avoid this by paying attention to your framing making sure you hold the camera level, but you’re still going to get the occasional lopsided shot. Don’t worry, there’s a Lightroom tool for that.
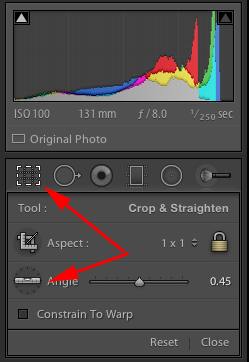
Click on the “Crop Overlay” icon as shown below, or press ‘R.’ Now that you’ve got the “Crop & Straighten” menu active you can go about straightening your image in one of three ways:
- Click and hold a corner of the photo and rotate it until it is level.
- Adjust the slider located next to the “Angle” icon (see screenshot).
- Click on the “Angle” icon and draw a line across your image.
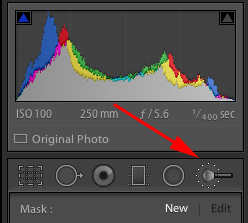
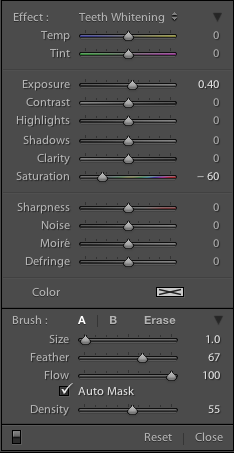
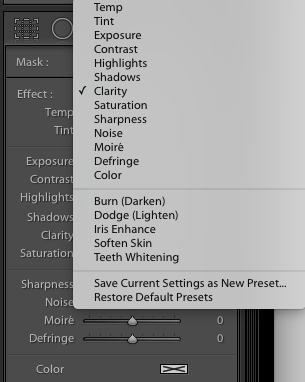
3. Adjustment Brush
I have encountered more than a few Lightroom users who have never used the Adjustment Brush. That’s unfortunate because those individuals don’t know what they’re missing. The Adjustment Brush is, perhaps, Lightroom’s most versatile and powerful tool. With it, you can selectively manipulate exposure, sharpness, saturation, and so much more. You can even create custom brush settings for tasks such as whitening eyes/teeth, sharpening eyes, and smoothing skin. Just click on the icon shown in the screenshot or press ‘K’ to bring up the menu and see all the options available to you. Please don’t neglect the Adjustment Brush!
4. RGB Curves
The average Lightroom user may not reach for this one very often, but it’s there if ever you need it. What is “it”? The RGB Curves panel, introduced in Lightroom 4, allows you to individually adjust the red, green, and blue color channels so that you can fine tune white balance or create cross processing and other stylized color effects. Best of all, it saves you a trip to Photoshop.
By default your Tone Curve panel will probably look like this:
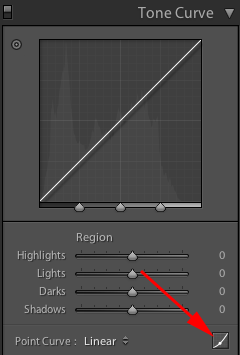
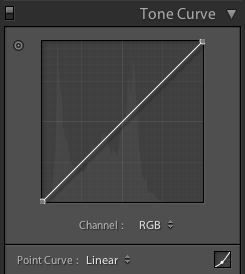
Click as indicated by the red arrow to reveal the RGB channels.
Learn more about how to work with RGB channels in Lightroom here.
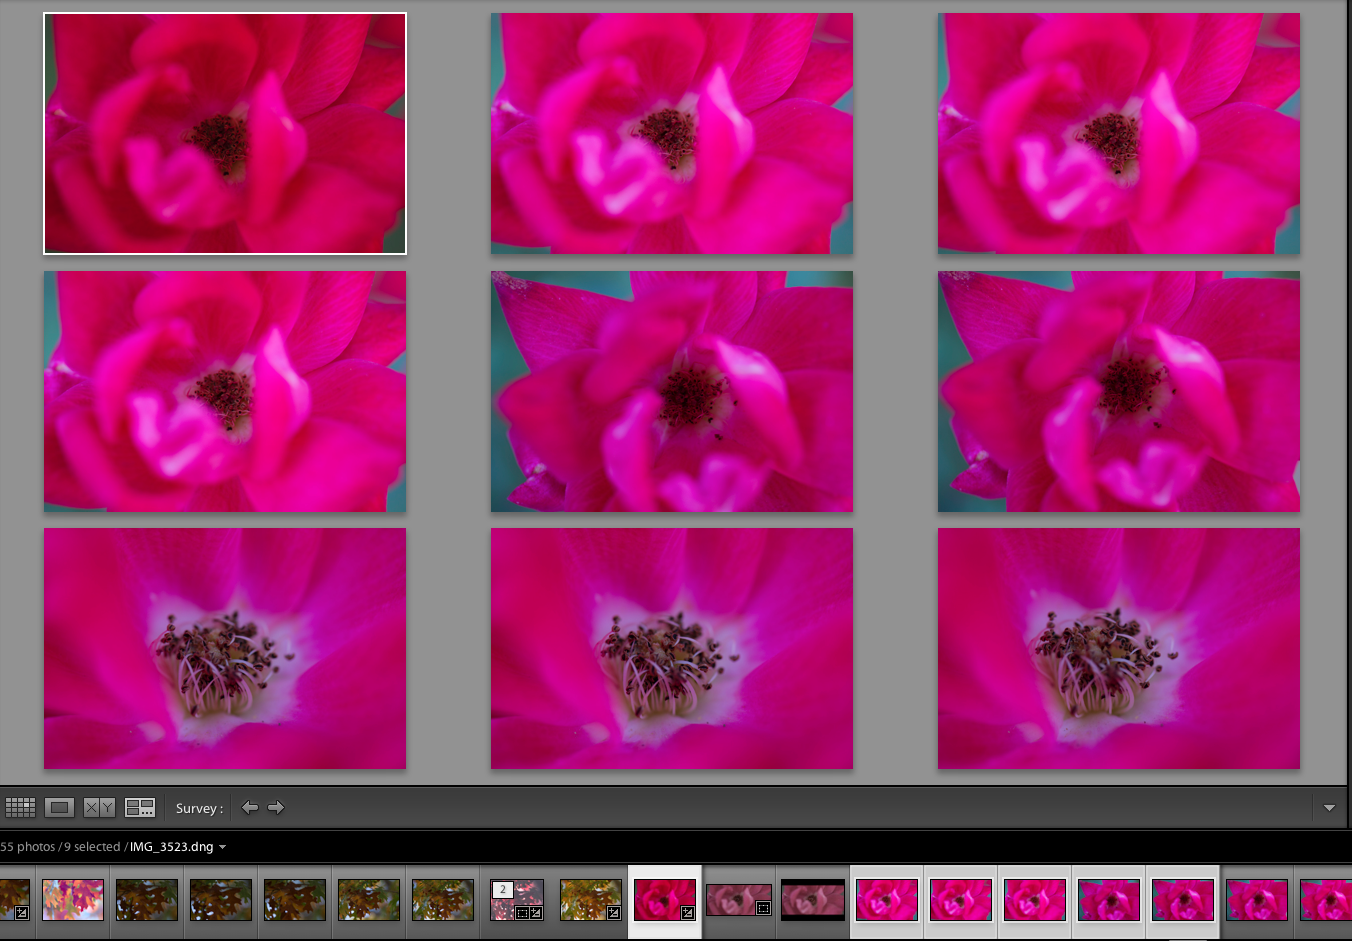
5. Survey View
This tip has nothing to do with performing actual edits but, instead, is offered as a way to gain some perspective and help you make better decisions about editing. If you’re like the average Lightroom user, you probably work in Loupe mode 99% of the time. There’s nothing wrong with Loupe mode, as it allows you to isolate an image on your screen and gives you as much real estate as possible while you edit. But there is another way to view your images.
Survey View is especially useful when you have a number of similar images you want to compare before choosing which one(s) to keep. With your images selected, press ’N’ to enter Survey View. It will look like this.
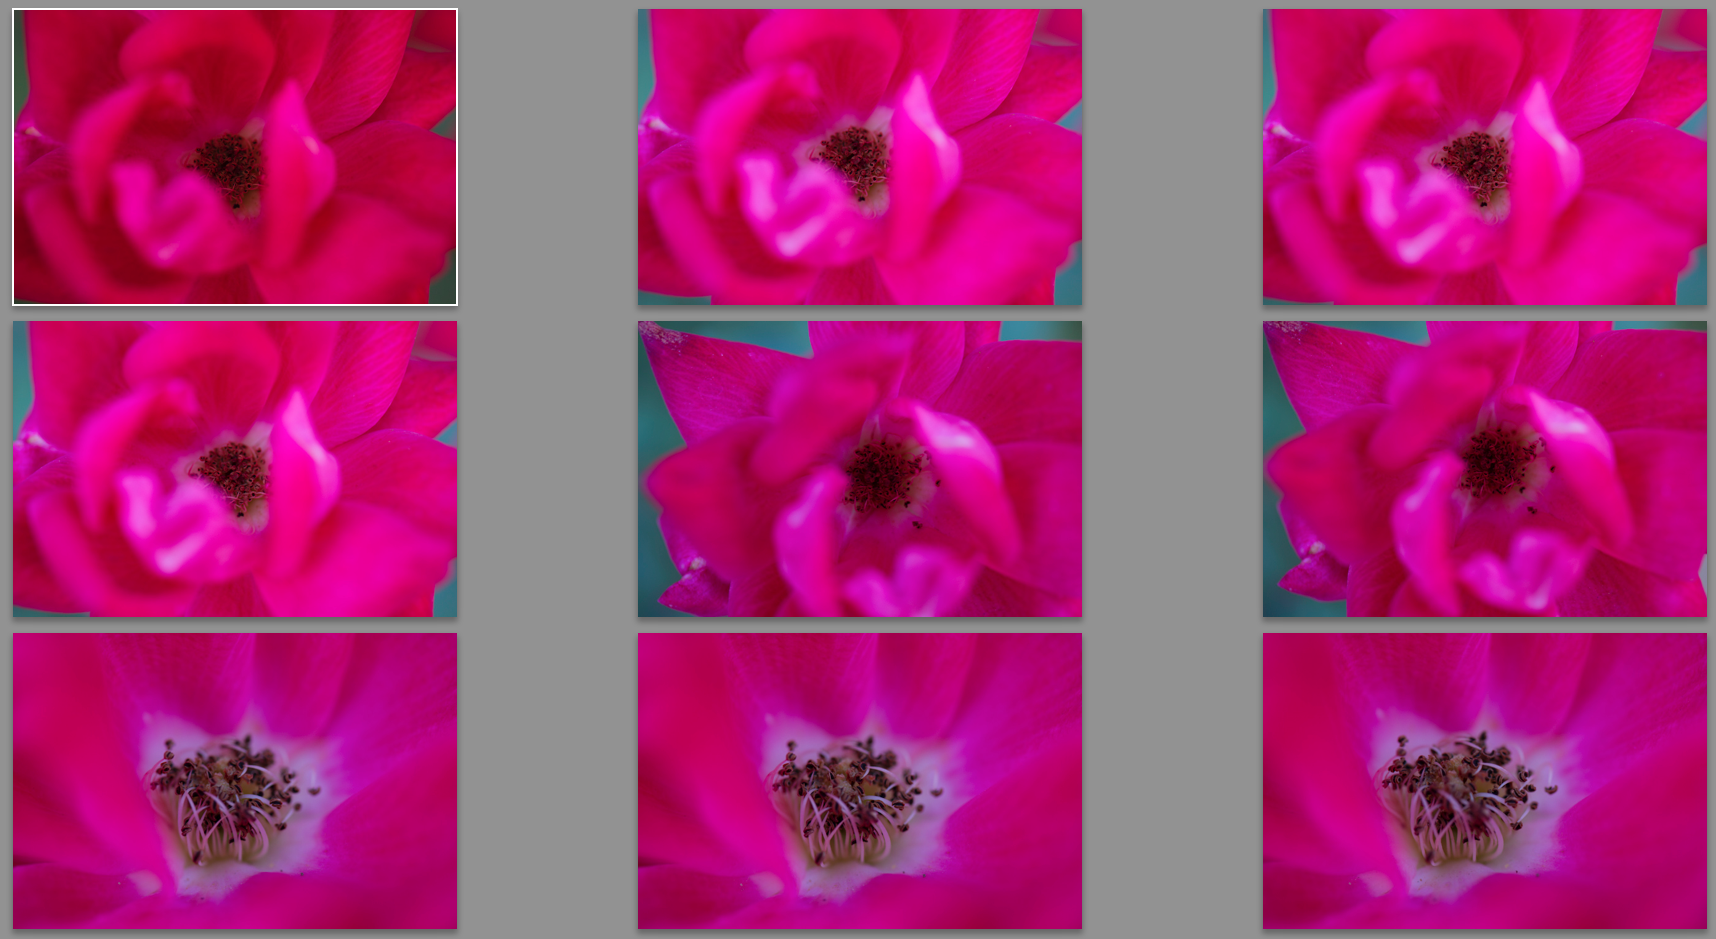
Here you can rate, flag, label, or reject photos just as you normally would. Press Shift+Tab to hide Lightroom’s menus, if you’d like.
After you’ve decided which image you want to work on, select it by clicking on it, then press ‘D’ to go directly to the Develop Module which, of course, puts you back in Loupe View.
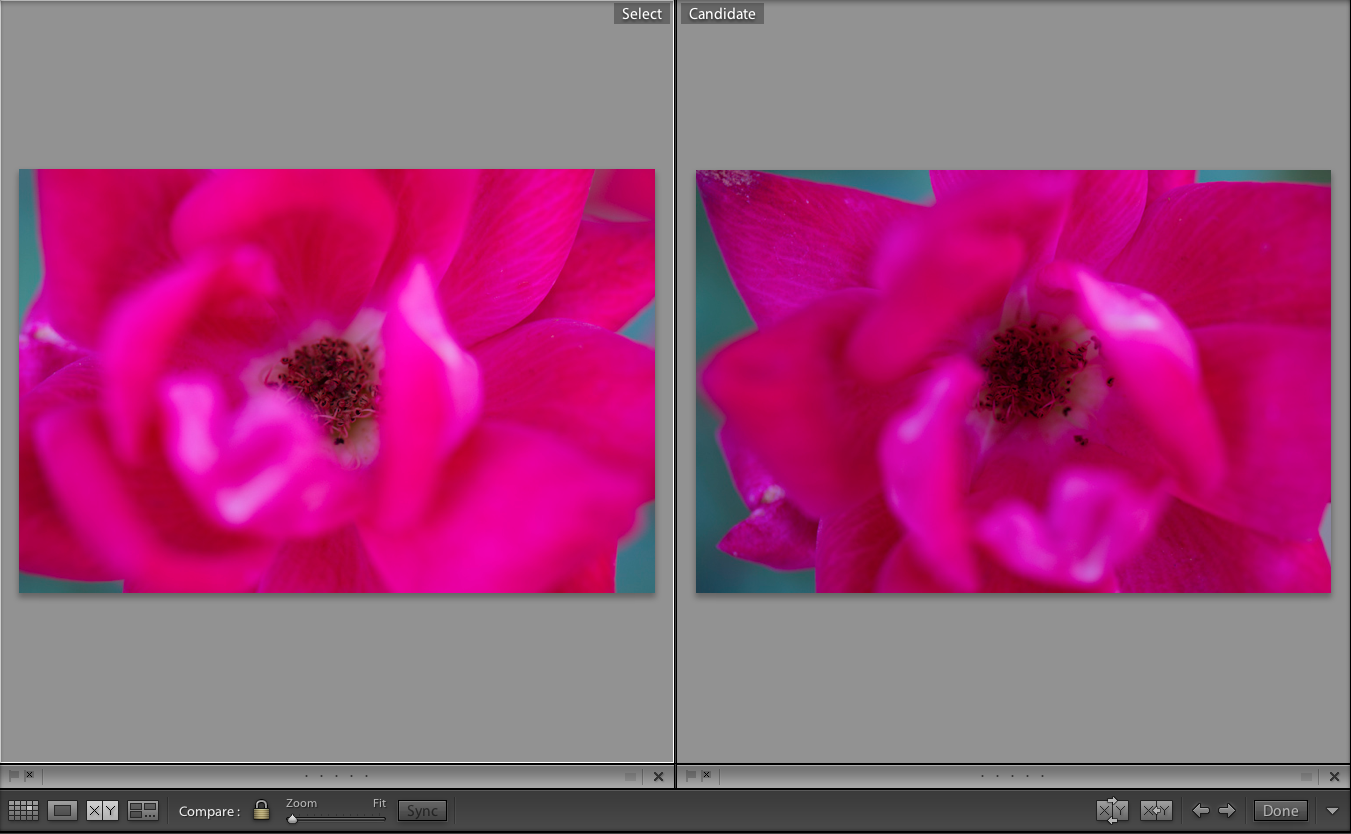
An alternative to Survey View is Compare View. In Compare View, instead of assessing several images at once, you can evaluate two images side by side. Again, pressing ‘D’ will take you to the Develop Module.
Bonus Tip: Presets
Adobe has hidden a lot of great time savers and creative options in its Lightroom software from batch editing through to brushes and presets which offer a few creative opportunities for your photography. One of our favourites are presets that allow you to instantly change the look of an image. Now, once you have used the preset you are still free to keep editing the photo as you normally would or leave it and move on. Here is an example of what we mean.


That outcome was achieved with one of the presets from our Pop Pack collection that you can check out here. Either way, presets are a great way to save time and open up those ideas for edits you may not have previously considered.
Grab the Pop Pack Presets Here.
Final Thoughts
Just how little known the tips in this article really are will certainly vary from one reader to the next. But the overall point is that Lightroom has a lot to offer — more than can be covered here. Hopefully you will not only take these ideas and put them to good use, but also let them inspire you to discover (and share) more ways to maximize your workflow.


18 Comments
These are all good, but I don’t know if “little known” should be used for these tools. These seem to be the most basic tools that are introduced in LR.
They maybe ‘Basic’ but to the beginner they are not.
Great tips to newbies using lightroom for the first time.
Excellent explanation of these tools. Thank you
Paul
Thanks, Paul.
Thanks for letting me know about these. I plan on using them as needed. Great info.
Once again….Thanks.
thanks, for enlightening tone curves.
I use LR almost everyday and didn’t know about points 4 & 5. Thanks!
I’m a big fan of Survey View! : )
I have used all except the Survey View. I’ve used the Comparison View. Thanks for all the information you share. I have been using Lightroom for about 4 yrs and am still learning all the things it can do. I haven’t mastered Photoshop yet. I’ve tried but I keep going back to Lightroom for 99.9% of my processing. I do have a goal to at least be able to do some enhancements in Photoshop by the end of the year. Learning is a good thing. My college counselor always said “Repetition is good for the soul”
And your GPA!
Good article, one comment though for straighten, I would use the new tools found under lens corrections at the basic tab.
Good and helpful article. Thanks
Excellent,simple explanation of tools. I want to start using L.R.I am totally new to this. Thanks a lot for such a nice article for newbies like me.????
DR. Mukund Umra.
I’ve been using LR for about 12 months as a hobby photographer and I’d never heard of survey view or Compare view. As I read your article I was editing an 8 shot panorama view for which the light had changed as I moved the camera across, Survey view helped me to see where tweaking was needed. Having edited the first photo I used Compare view after I had edited the next photo to check the editing between the two was consistent. – and so on throughout the batch. Having merged very little needed to be done to complete the job. I was delighted with how easy your article made it.
I have been using LR for quite some time. And till date I never knew (or escaped my mind) of Survey View. I used to manually sift through multiple images in loupe view before I flagged the ones I required and chuck the remaining ones out. This one will definitely help me save time going over photos in one glance. Of course for minute detail comparison I may have to use Compare View but atleast by then major chunk of work would be completed. Thanks for the useful tip!!
I still don’t use Survey mode and curves in LR as much as I probably could
Thanks for the LR info
Needing lots of chemo, my brain seems to “overlook” so much of what I have learned over time, these tips have given me a visual of some great tips, a couple of which I think are quite new to me.
Thank you, they are little gems to me !