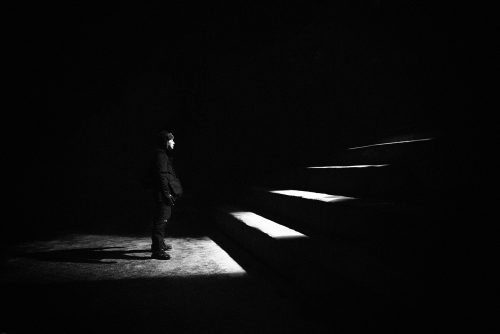
When our cameras register light, shadows are inevitably present to some degree. Shadows can enhance a figure's or subject's volume but also produce undesirable results.
Shadows are often candidates for reduction or elimination so that our images can appear to be nicely lit. The following five solutions can help you eliminate harsh, ugly shadows in our images. Some solutions happen inside the camera; others can be done in post-production.
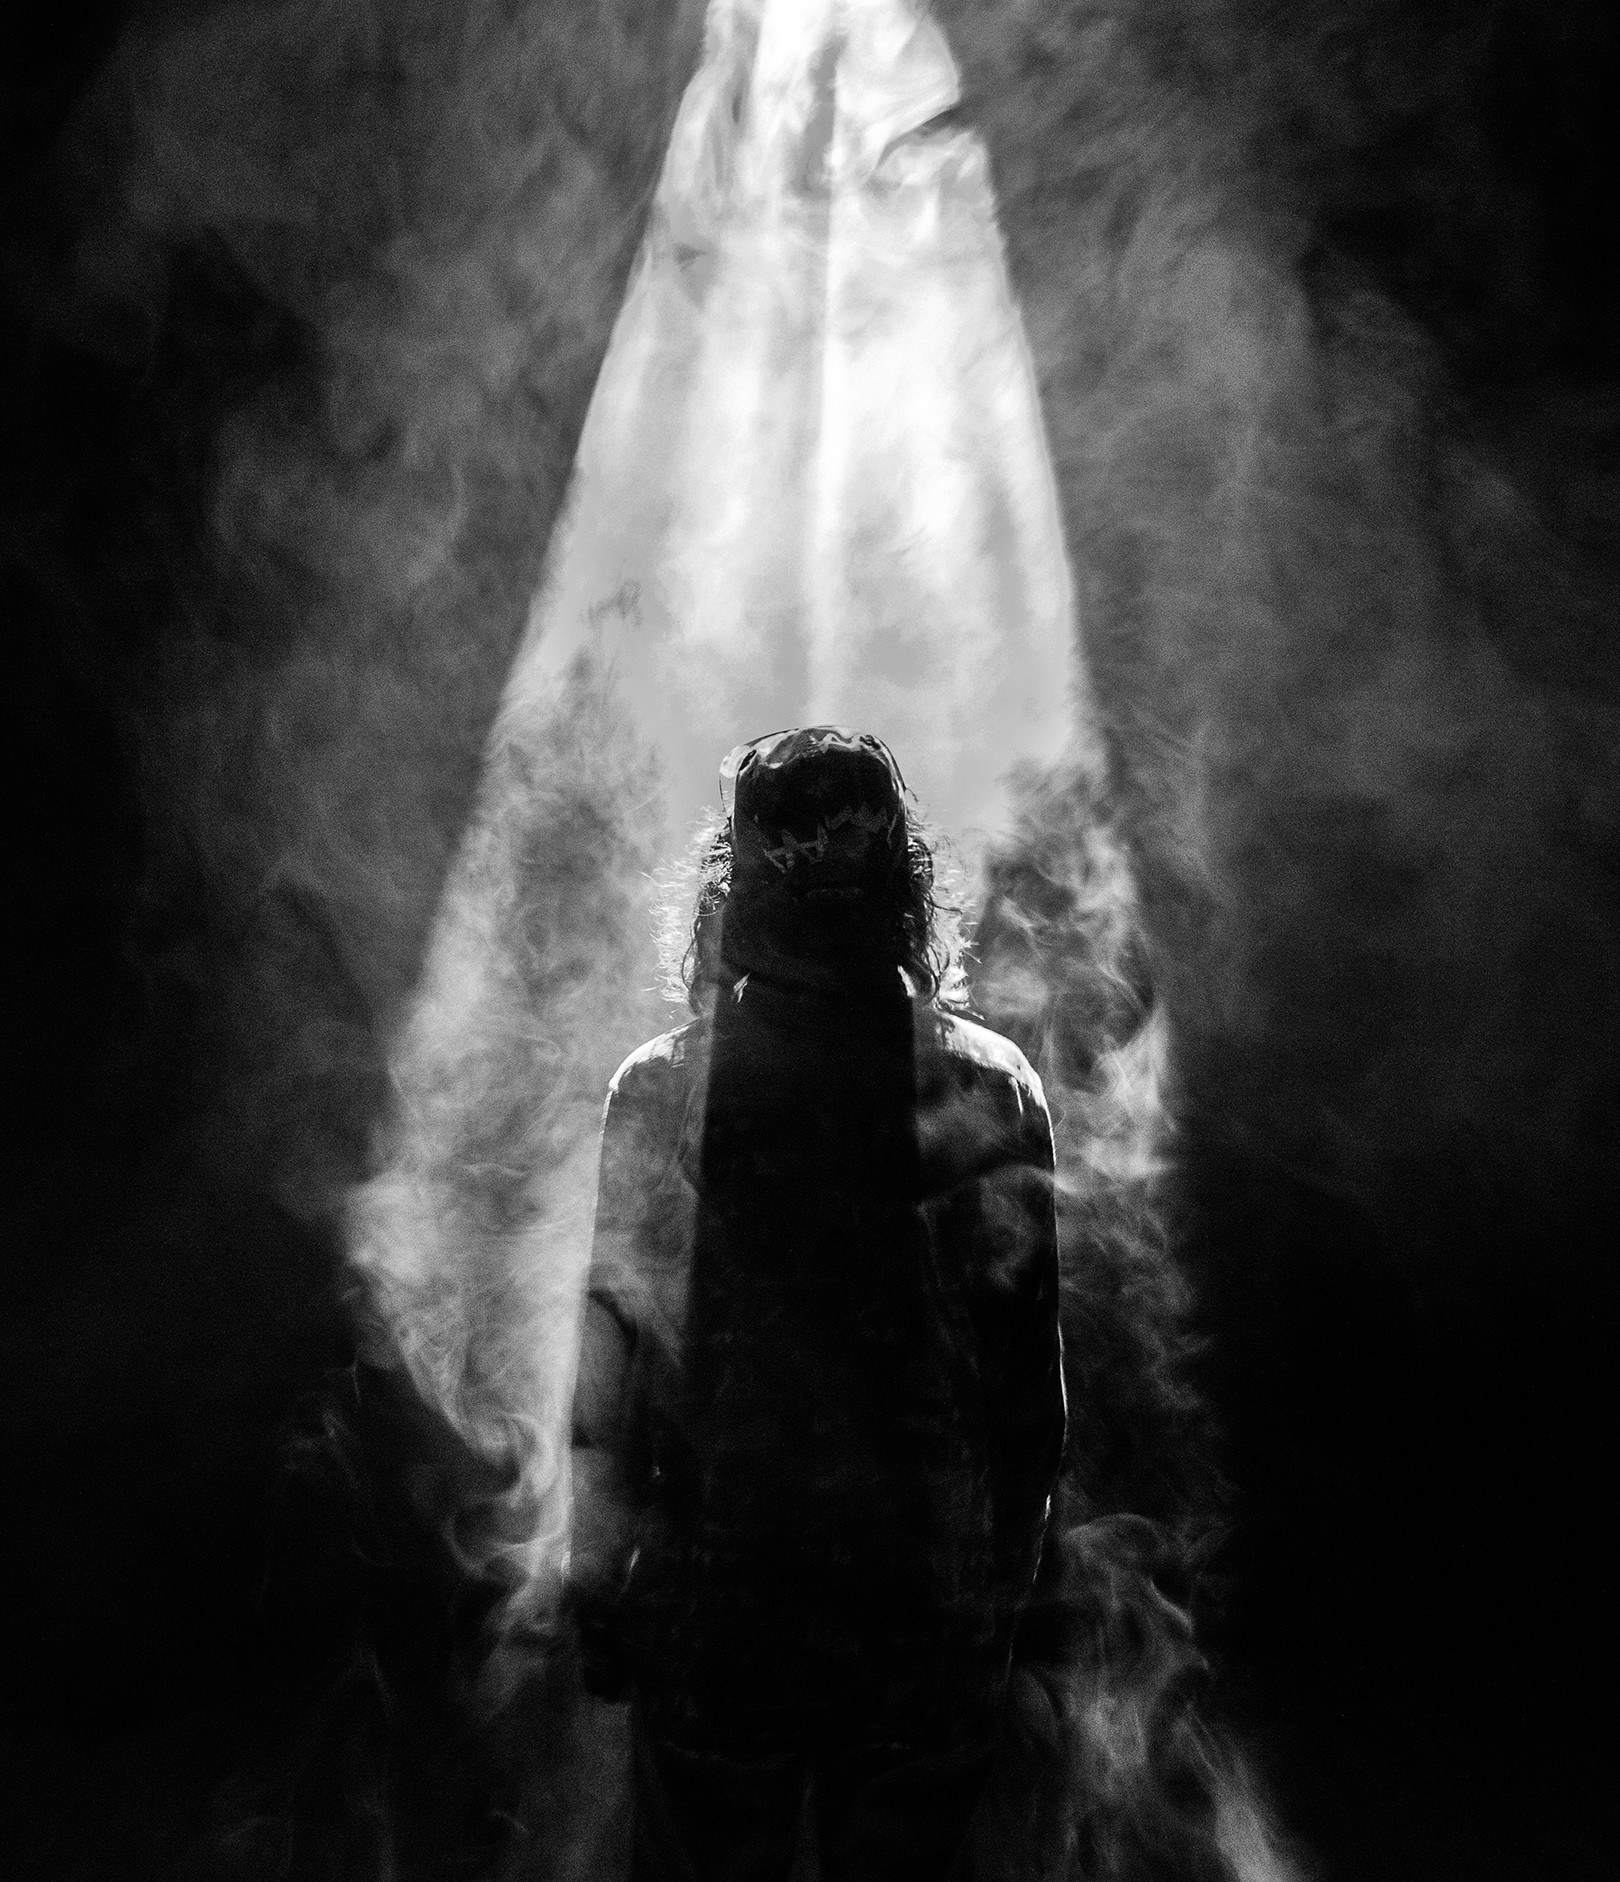
Fill Light
Fill light is the first solution you can use to avoid or reduce ugly shadows when photographing something. This kind of light doesn't refer to your “key”, or main light. It is used to light the rear of the subject and reduce the overall contrast in the scene. Another great gift of working with fill light is that it enhances the subject’s tridimensional nature.
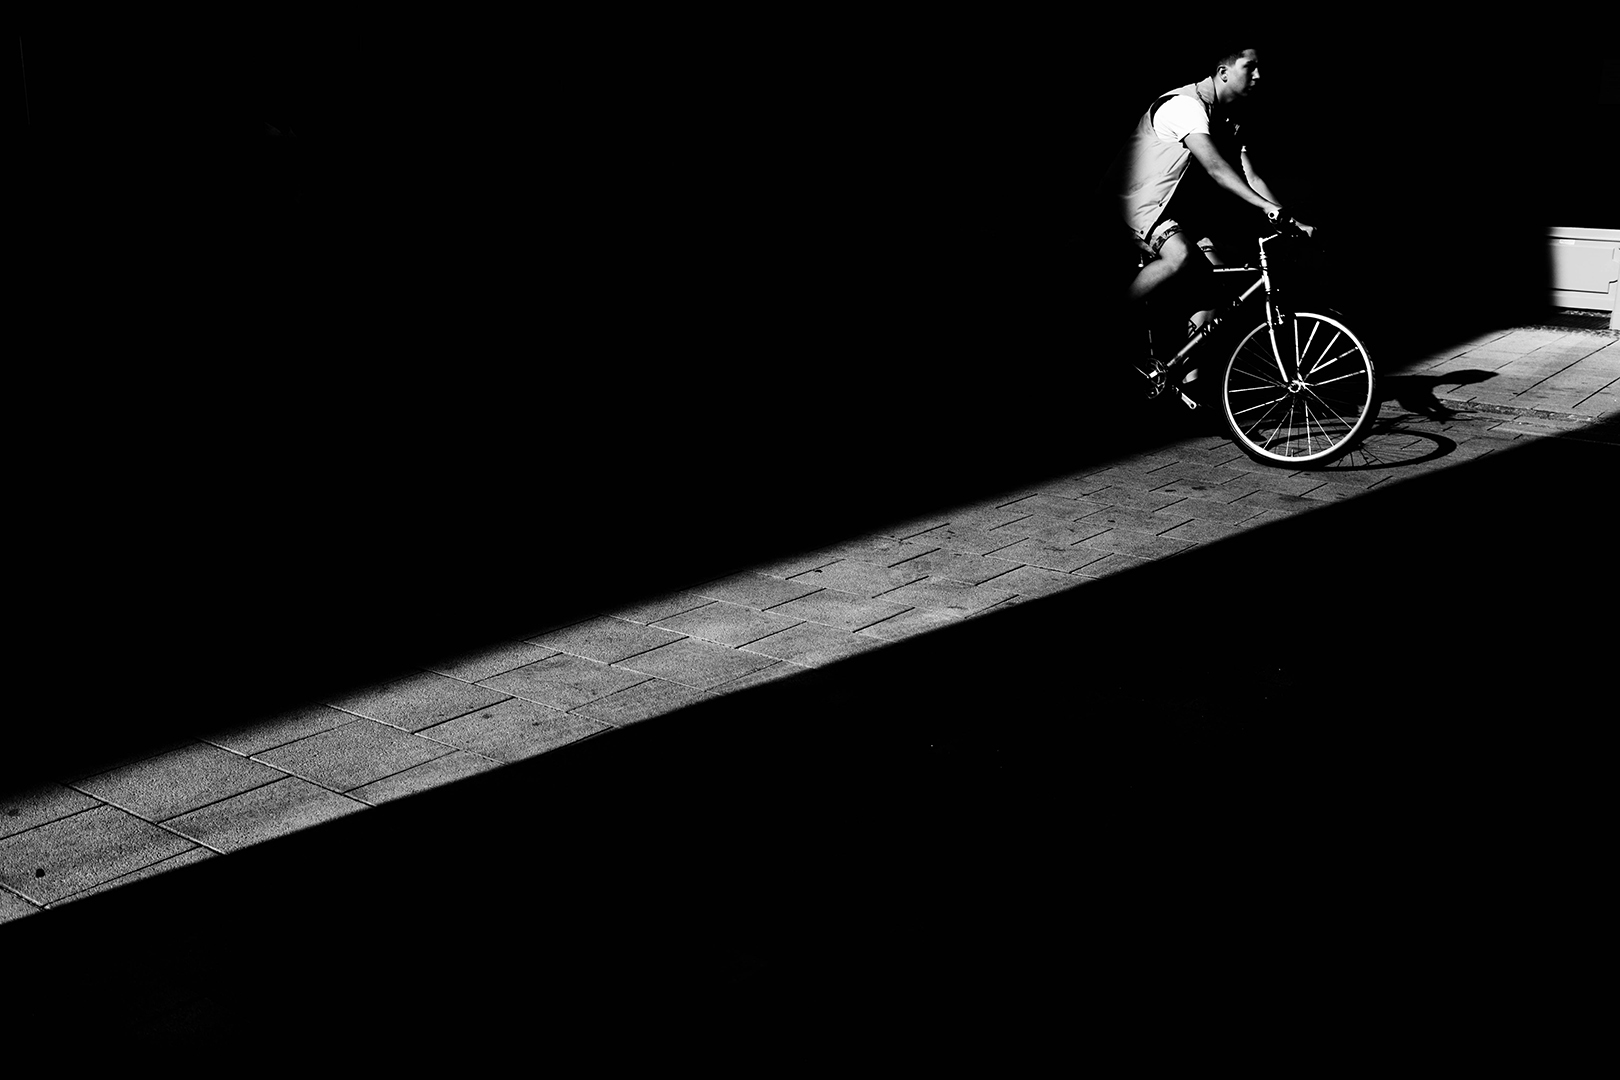
This light can originate from strobes, flashes or even reflective surfaces – like a reflector or even a light colored wall or surface.
The main goal is to have a light beam perpendicular to the direction of the light entering our lens. The intensity of the fill light will depend on the hardness of the light. Less-diffused light is harder; more diffuse light is softer. By experimenting with fill lighting, shadows will become more pleasant than if you shoot with a single key light.
Flash
Flashes are very useful when available light is at a minimum or doesn't quite fulfill the photographer’s requirements. They also empower photographers with “permanent” lighting. Many cameras come with built-in flashes, but the best flash illumination happens with separate flash units that can be directed to achieve specific lighting results.
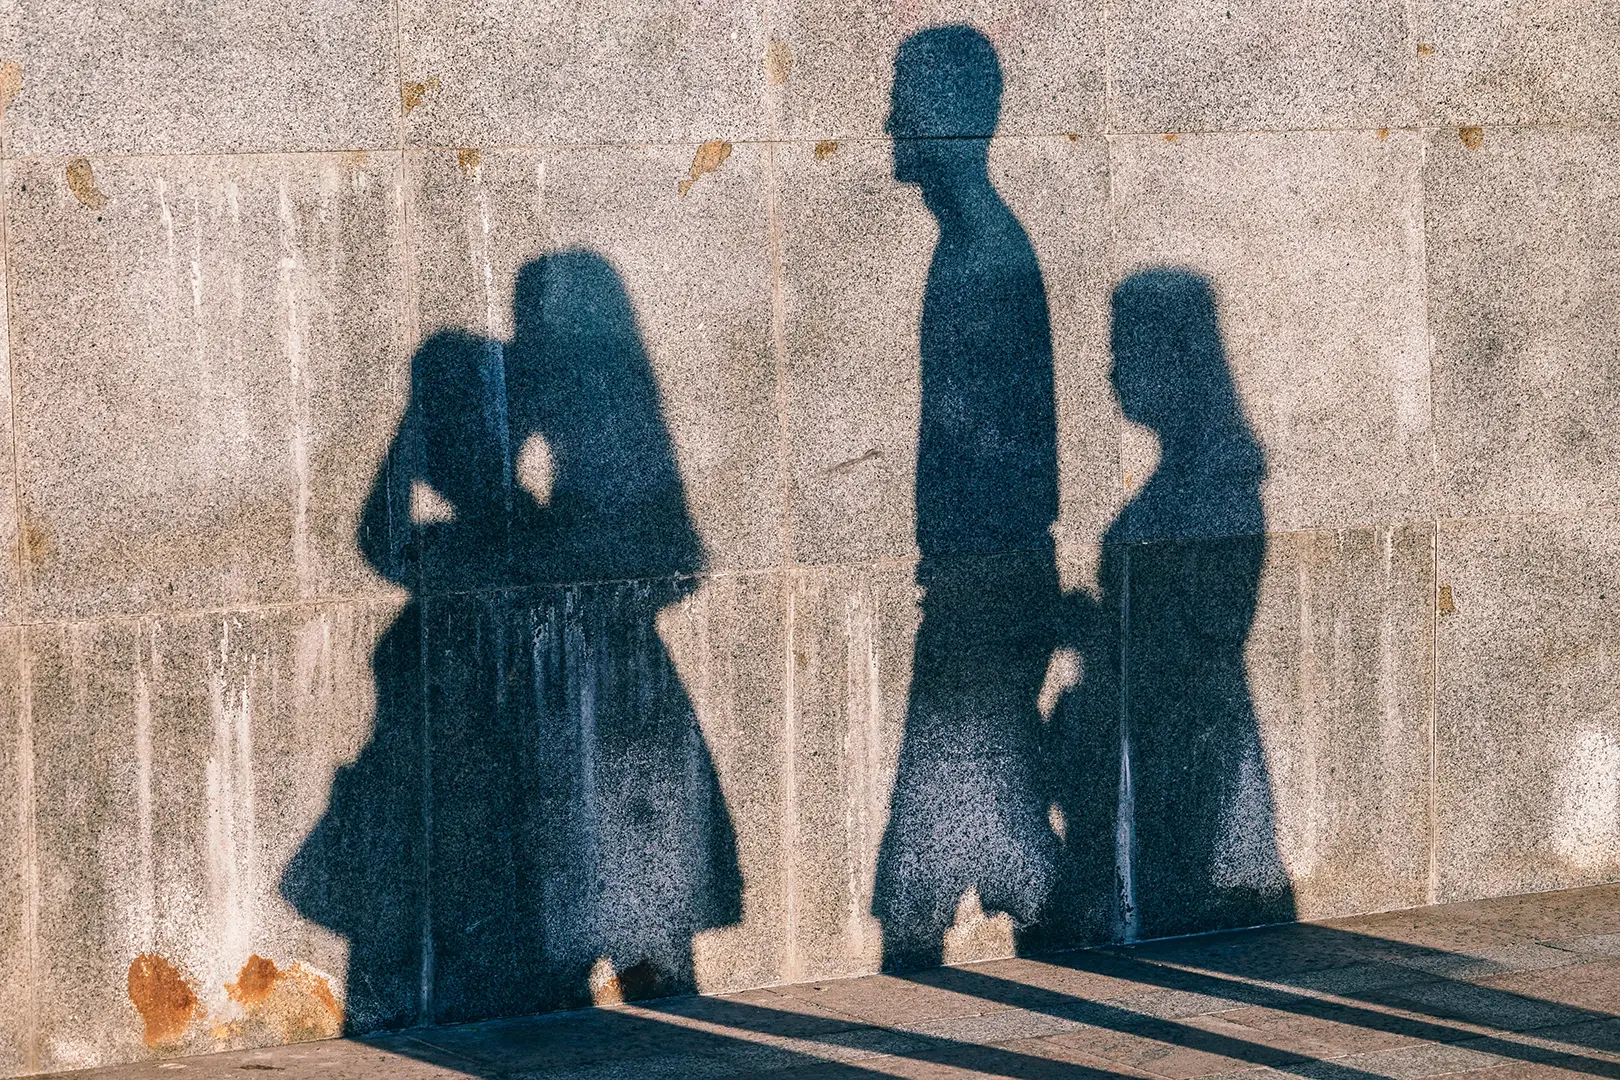
The direction of the flash is very important, as are the power settings, to reduce unwanted shadows in your photographs. There is no exact recipe. Anticipation will be your best friend if you want to achieve fast results, but the ability to anticipate the light the flash will cast on the subject can only be achieved with tons of practice.
One of the best web resources for understanding light is The Strobist Blog – an old-timer indeed, but awesome for any photographer who wants to understand artificial light in a broad way.
Overexposure
Digital sensors have evolved impressively over the years, and they will evolve even more. Nowadays they allow us to easily gain 3 stops of light, and in some cases up to 5.
Digital photography works the opposite to analog photography when it comes to exposure. With film, underexposure allows photographers to recover shadows and dark tones without messing too much with the lighter areas and highlights.
With digital, overexposing allows us to recover highlights and lights in post-production without getting odd results in darker areas of the image. This is because sensors capture more information in what corresponds to the right side of the histogram – hence the overexposure method.
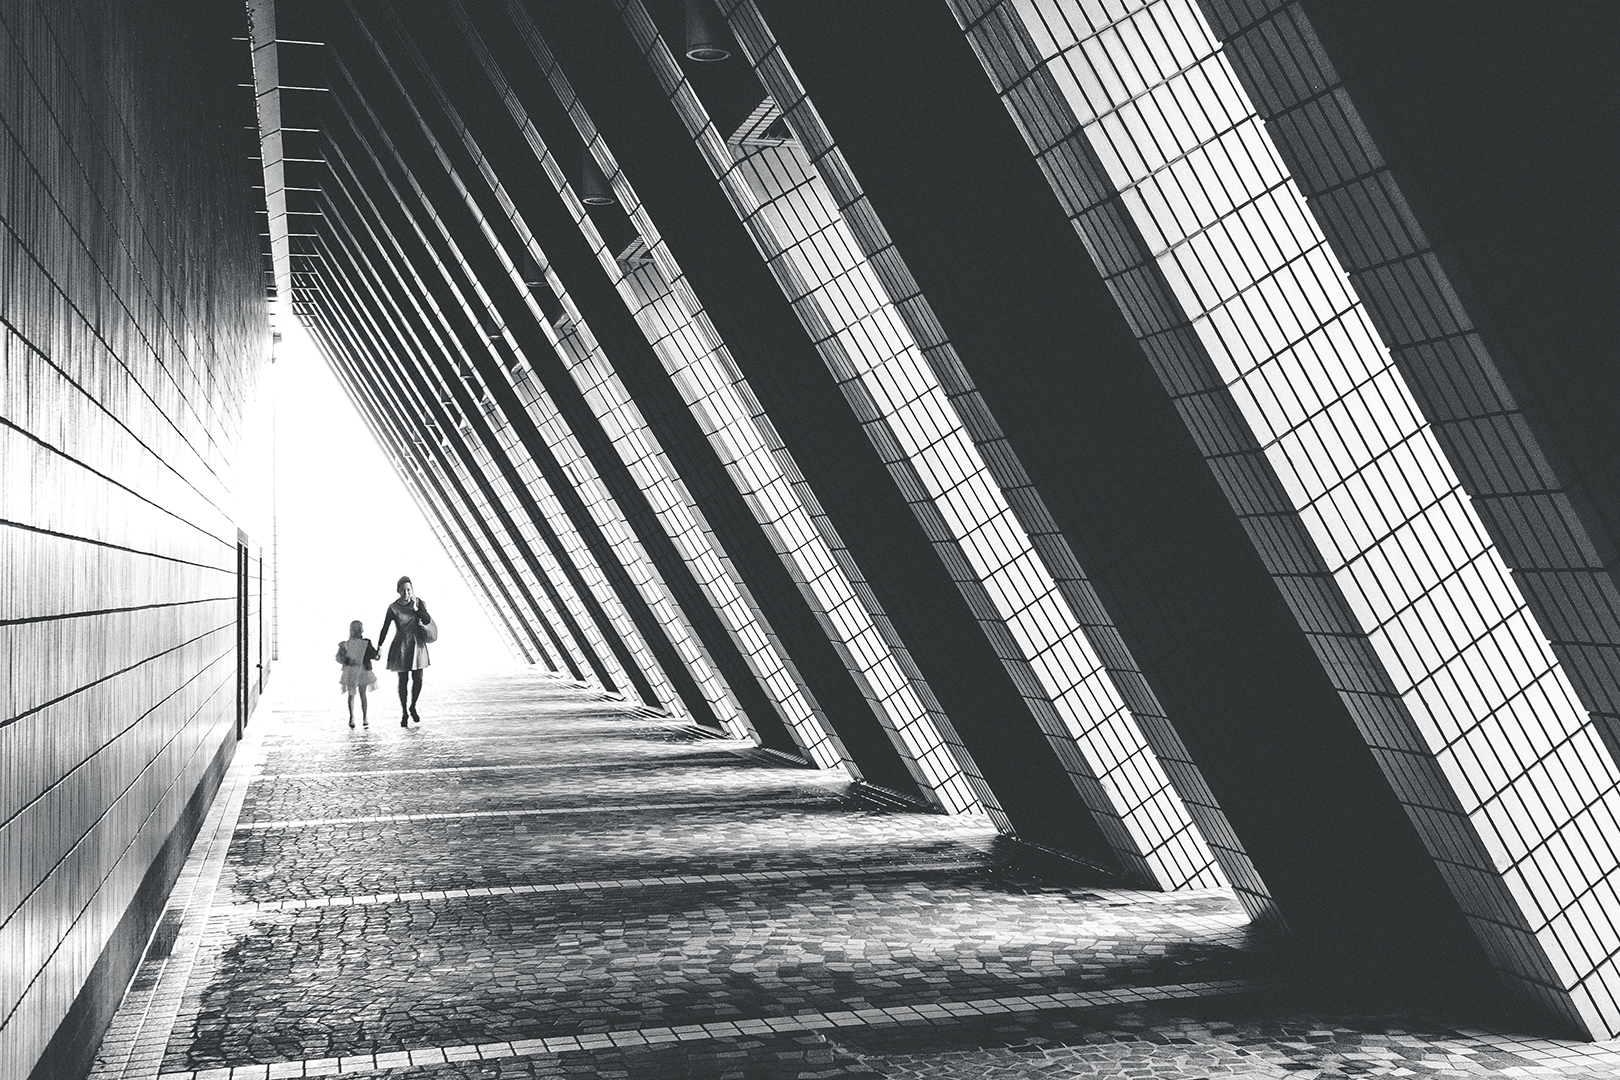
Do a test, and overexpose an image by one stop. You will be able to recover the blown-out zones easily because even when they are excessively lit, they contain a decent amount of information, and you will also retain detail in the shadows because they will be filled with light, too.
Shadows In RAW
Always shoot in RAW. It doesn't matter if you end up with massive files; RAW ensures that you shoot less, but get better shots, just like when you shoot with film. By working with a RAW file, you'll have all the information your camera can give to you – and after all, you paid for that powerful device.
So get the best out of it! Lights, highlights, exposure, and brightness are values you can tweak in RAW development, and you can also enhance shadows, darks, and blacks.
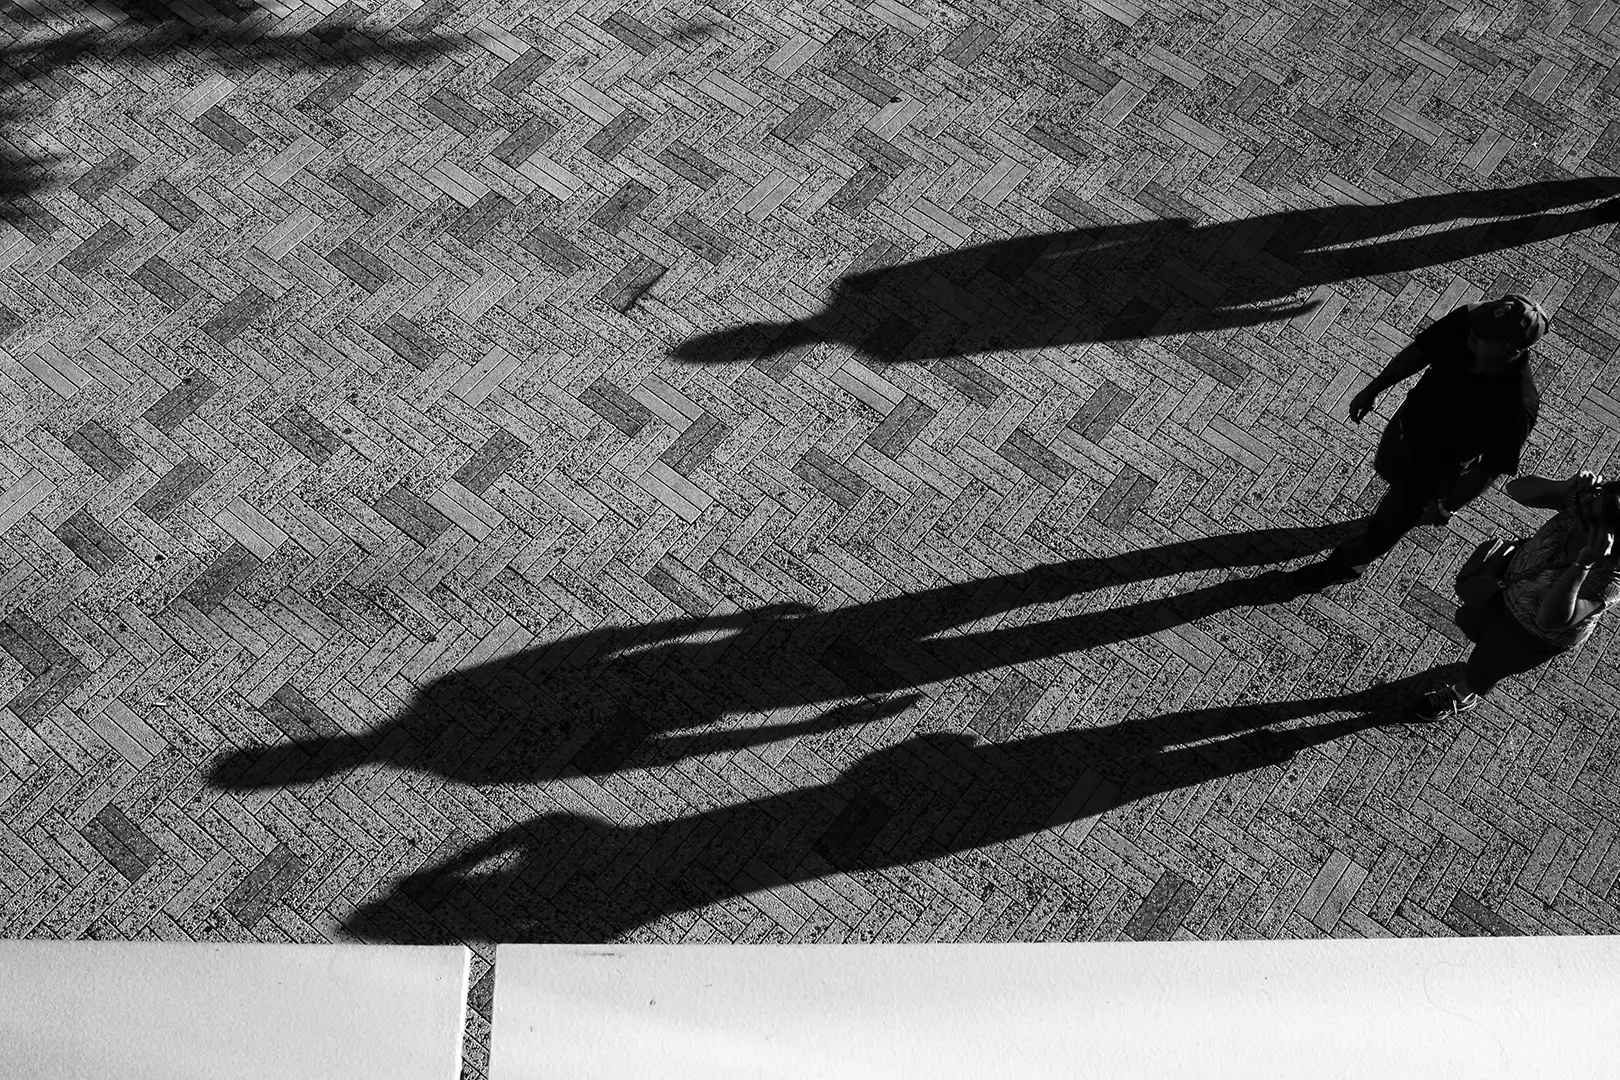
By increasing the value of those specific settings, you will gently lighten things up and reduce the harsh nature that some shadows can create. Again, there is no exact recipe for this, so all images must be treated uniquely according to your own taste.
Local Adjustments
Many types of RAW development software have built-in local adjustment capabilities. They allow you to tweak precise zones in an image (which are usually masked by the person developing the image with a brush) separately from the overall image.
This requires some patience, but the results are worth it. By selecting a specific shadow, you can work things out almost as if you had a dedicated flash targeting that particular shadowy spot in the scene.
Some people use graphic tablets instead of traditional mice or trackpads, which takes the post-production experience to a completely different level.
Planning Images With Light Schemes
Leaving a bit of room for improvisation will result in better images, and the best way to do this is by planning your photographs, especially during photo shoots. Street photography is harder to plan, but anticipating the lighting will help you avoid ugly shadows in any scene.
One habit I always recommend to photographers is to work with light schemes. Working with a planning mindset beats any of the previous solutions mentioned above. You can use basic and traditional stuff like paper and pen, or the free tool available at Lighting Diagrams. There, you can create your own diagrams and browse among examples that many photographers have uploaded for free.
Shadows can become an important element of anyone’s photographic style – therefore, they should be treated with care, just like light. Shadows can be responsible for the drama in your images and shouldn’t be completely eliminated, but shaped into what we really want to show in our photographs.
Here Are Some Great Tips If You Are Interested In More On Light
Bite Size Tips: Understand These Concepts of Light for Better Photographs – see Dalia's tips on some basic lighting concepts
15 Stunning Photos That Will Make You Appreciate The Visual Appeal of Shadows in Photography – for inspiration see these beautiful photos posted by Ritesh
Understanding Light – head on over to Photzy for this great guide to Understanding Light


