When we photographers capture images, we all want out images to stand out and for it to have a magical quality. Photographers work hard on their skills to make their work stand out and hence will not hesitate to use their creative thinking or techniques to capture the shots. Moreover, a photographer's work is a reflection of their personality.
That’s not asking too much, is it?
Not at all. It might feel that way sometimes. You read tip after tip, article after article; you might even enroll in a photography class, seeking out that one elusive thing to really usher your work to a higher level.
But no matter how much good advice you receive concerning how to improve your panning technique, how to sharpen your photos in post processing, how to compose a group portrait, you must remember that photography is all about light. And the quality of light is the one thing that can make the difference between an “ok” photograph and a “stunning” photograph.
If it’s stunning photographs that you’re after, you’ll want to get familiar with something professional photographers refer to as “the golden hour.” Here are some golden hour photography tips, so you can capture the stunning golden hour light.
The Golden Hour Defined
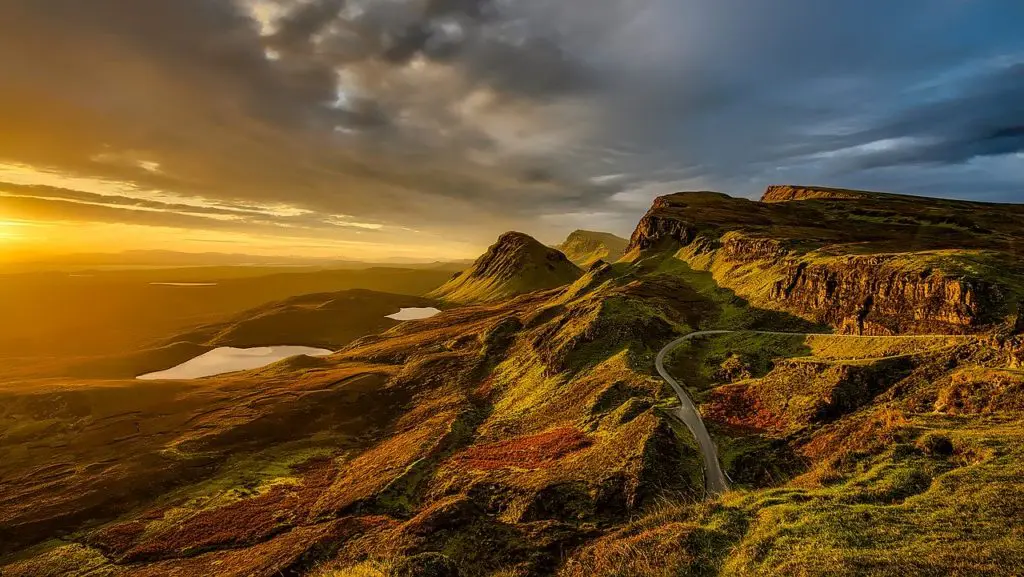
In very informal terms, the golden hour is simply the first hour of light or the golden hour light that happens after sunrise (usually the hour after sunrise) and the last hour of light before sunset (usually the hour before sunset) and the length of golden hour varies with seasons and the latitude you live. Of course, when exactly this occurs and how long the golden hour lasts, will depend on where you live and will vary with the seasons.
What Makes It Magical?
There’s a reason — several reasons, actually — why the golden hour is also known as the magic hour.
1. The Light is Soft:
During each golden hour (morning and evening during sunrise and sunset), you will find that the sun is low in the sky; when a light source is larger and closer relative to the subject, soft, diffused light is produced. Soft light is preferable for virtually any subject, as it doesn’t create harsh shadows and tends to be very dynamic-range-friendly, meaning you won’t lose any details to extreme shadows or blown-out highlights.
Note: During midday (again depends on the seasons and where you live) the sun is overhead and very bright. This can create harsh and dark shadows and bright highlights making it a not very favourable time for outdoor and portrait photography.
2. The light is Warm:
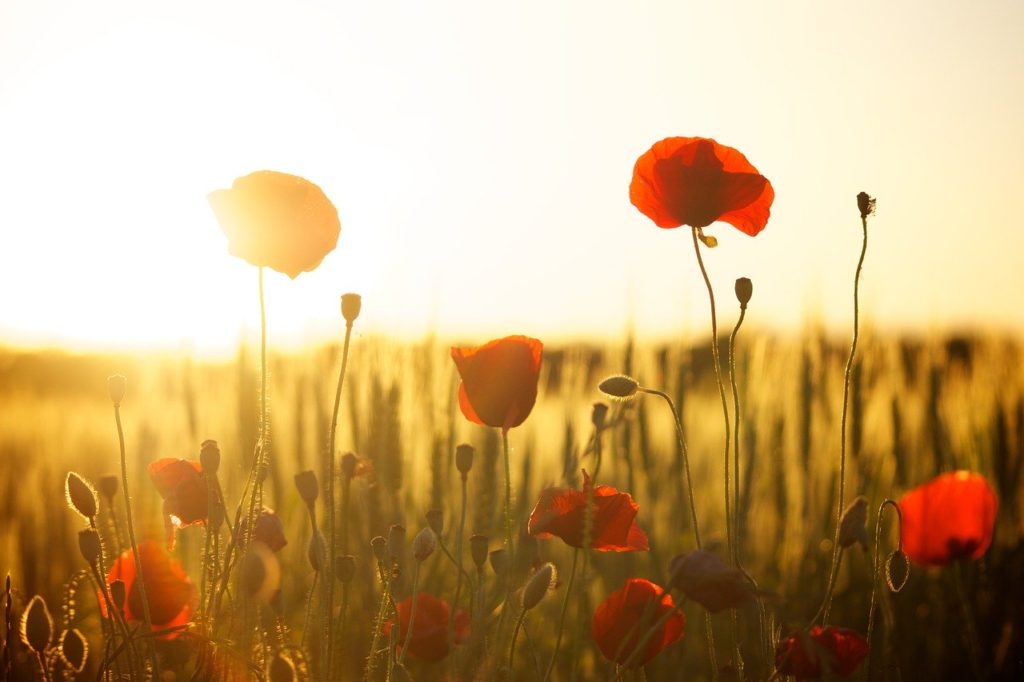
Since the sun is at a lower angle slightly above the horizon during sunrise and sunset, the light passes through the atmosphere scattering off the other colours. So, let’s not forget that warm, golden glow or the golden hour light, as it gives you a striking colour palette to record – some warm yellows, oranges, and reds. Images taken during this time tend to look happy, warm and cheerful.
3. The light is directional:
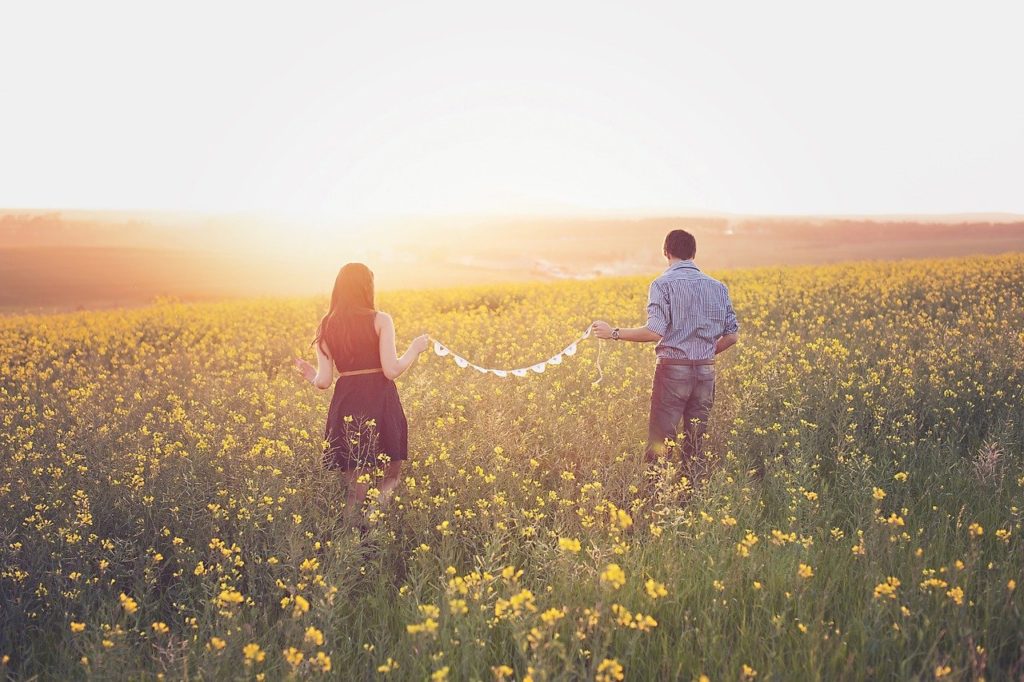
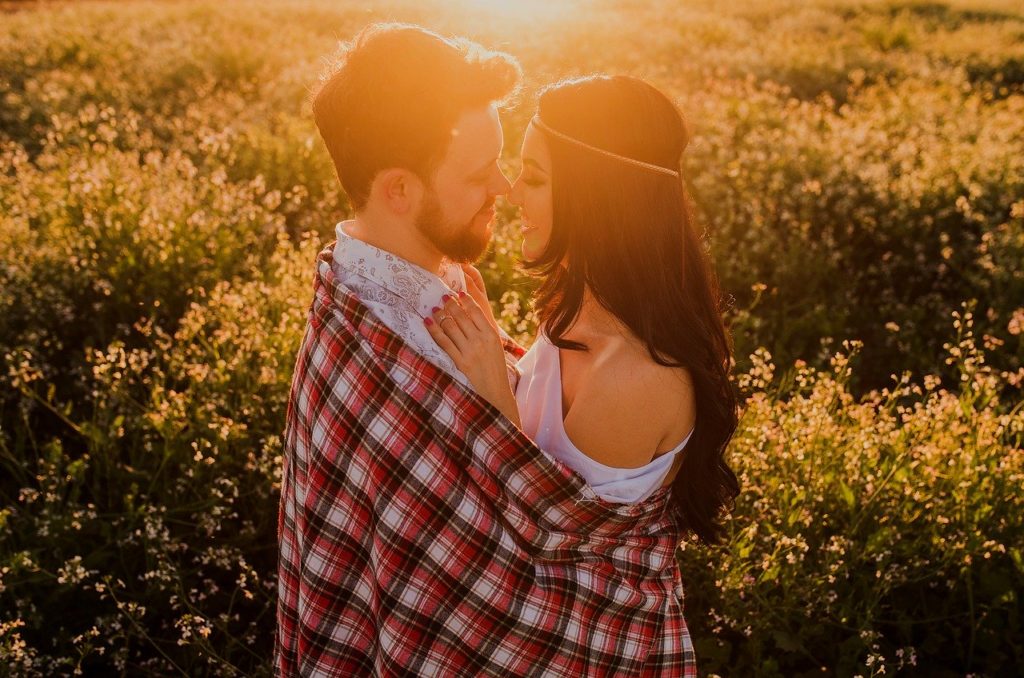
Since the light falls on the subjects from a side, it is directional and creates beautiful effects on the scene you are photographing. So you can creatively use this golden hour lighting to illuminate your subjects from the front, side or back, creating magical images.
4. The light Creates Long Shadows:
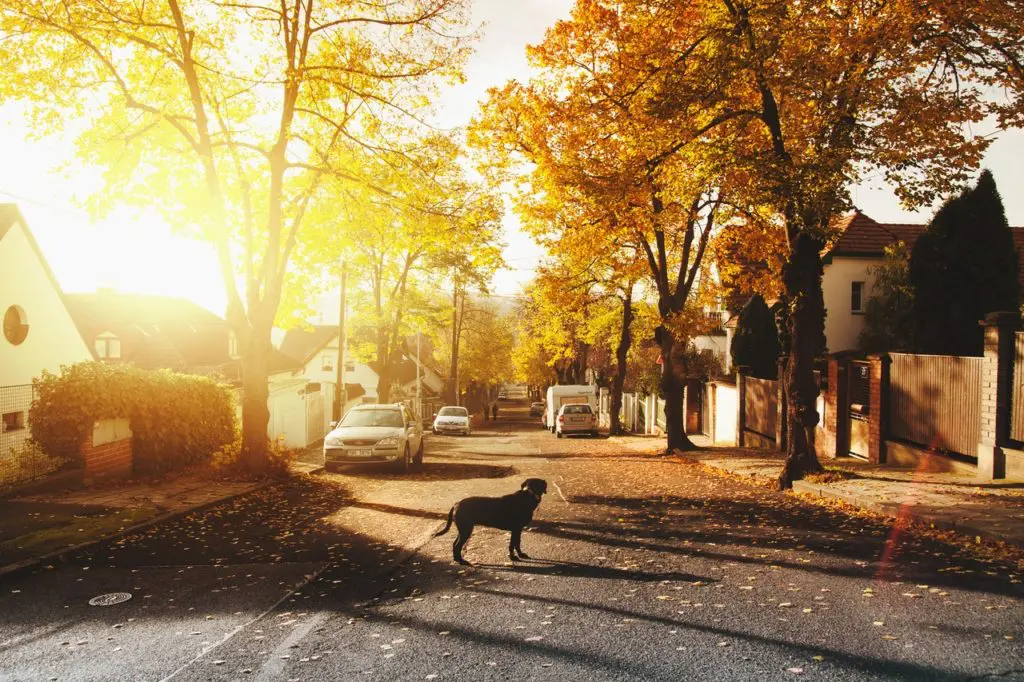
Shadows themselves, though, aren’t necessarily a bad thing; the long shadows created by the sun at these times of day can help add texture, depth, and ultimately, interest to your final product.
You’re not afforded any of these benefits when shooting under an oppressive midday sun.
What Kind of Photography is it Good for?
The short answer: any kind. Landscapes, cityscapes, portraits, even macro and general still life photography. Pretty much everything seems to look better when subjected to the warmth of the golden hour. And you’re not limited to working exclusively outdoors. You can get some beautiful natural indoor golden hour lighting by letting in some of that magic through a large window.
A key thing to remember is that golden hour photographs often look amazing on your wall. If you're going down the path of printing then take a look at what we regard as the best photo printer for getting amazing prints.
Quick Tips for Shooting During the Golden Hour
1. Shoot Fast:
Don’t be in so much of a rush that you fail to use good technique, but remember that you’ve got a relatively small window in which to take advantage of this gorgeous light. Depending on where you live, the golden hour window can vary – for example, it can be longer as you move away from the equator. It also depends on the seasons. You can use a tripod to have the setup before the golden hour and then shoot quickly at the right time when the folden hour is on.
2. Calculate Your Golden Hour:
You can help maximize your golden hour efficiency by planning ahead. Know your destination, have an idea of what subjects you want to shoot, and calculate precisely when the golden hour occurs where you live.
3. Use a Wide Aperture:
If you don’t typically shoot wide open, the golden hour presents a great opportunity to do so. You will be awed by the beautiful “points-of-light” bokeh created during these times of the day. But, if you are shooting architecture and landscape, you may need to pay attention and narrow down the aperture to get all the parts of the scene in focus.
4. Stay With the Light:
Changes in lighting during the golden hour occur pretty fast; the landscape you shot when first arriving at your location will probably look significantly different 10 minutes later. So keep shooting for the whole hour and be sure to capture as many variations as possible.
5. Adjust White Balance:
Auto white balance or color temperature isn’t your best choice when shooting during the golden hour. Set your white balance to “Shade” or “Cloudy,” otherwise you risk neutralizing the wonderful golden glow. AWB may make the colours cold in your image, so if you are going to be setting up your white balance or color temperature manually, choose between 3000 and 4000 Kelvin so that you get the warm colours in your image. Always shoot raw so that you can change the white balance later while post processing if you did not get it right in your camera.
Camera Settings for Shooting during Golden Hour:
While shooting during the golden hour, you need to be careful with your camera settings as the ones you normally use would rather not help and may either overexpose or underexpose your scene. Here are some settings that need to be considered for golden hour photography.
- Always shoot in manual mode to make the best use of the camera settings so that you get the best images.
- When shooting backlit portraits, it is best to use spot metering, so that the camera knows to expose for the area where the focus point is. Without this, your camera will read exposure based on the entire scene and underexpose your subject.
- In some cases, using the above setting can sometimes lead to a loss of details in the background. In these situations, use a golden reflector to bounce some light back to the subject’s face or use flash with a diffuser to fill in a little bit of light in the darker areas of your subject.
- When using a flash, if you are looking for more natural fill lights, go for the yellow or orange coloured gels to match the light in the surrounding scenes. Bear in mind, the settings always depend on the situation, the amount of light and the direction of light.
- If you are shooting portraits, you can shoot at wide apertures and increase the iso as the sun goes down to compensate for the exposure.
- When shooting landscapes, you need to use aperture values between f/7 and f/16. Make sure you use the value at which images are sharp for your particular lens – your lens’ sweet spot. Since as always recommended, you will have your camera on a tripod for landscape images, you can use lower iso and slower shutter speed as the sun goes down and the light intensity decreases.
- If you are shooting landscapes or cityscapes during the golden hour when the sun is low in the sky and if you feel that there are regions that may be too under or overexposed, bracket shots (3 or 5 depending on the dynamic range in the frame) and combine them while post-processing. You will need to use a tripod to get this right. This should help you create beautiful golden hour photos with the whole frame correctly exposed.
- When the sun is lower near the horizon, the light will be less and the scene will be dark. Shoot using a tripod and lower iso values. This is also the right time of day for long exposures, so a tripod will be a good accessory when shooting during the golden hour.
How Can You Use the Golden Light Creatively?
Golden hour starts usually an hour before sunset and an hour after sunrise and is the is the best natural light to take advantage of for beautiful photos. This is also the time when the light changes quite rapidly and so you need to be quick with the settings and get the shot. With the golden hour photography tips in this article, you will be able to capture some dramatic photos using the golden light.
1. Side Lighting:
During golden hours, that is, sunrise and sunset, the sunlight hits the subject from one side, meaning it can be creatively used to make dramatic golden hour photos that have well-defined textures and depth that the side lighting creates. Since the light is soft, the shadows that define these textures are not harsh.
2. Backlighting:
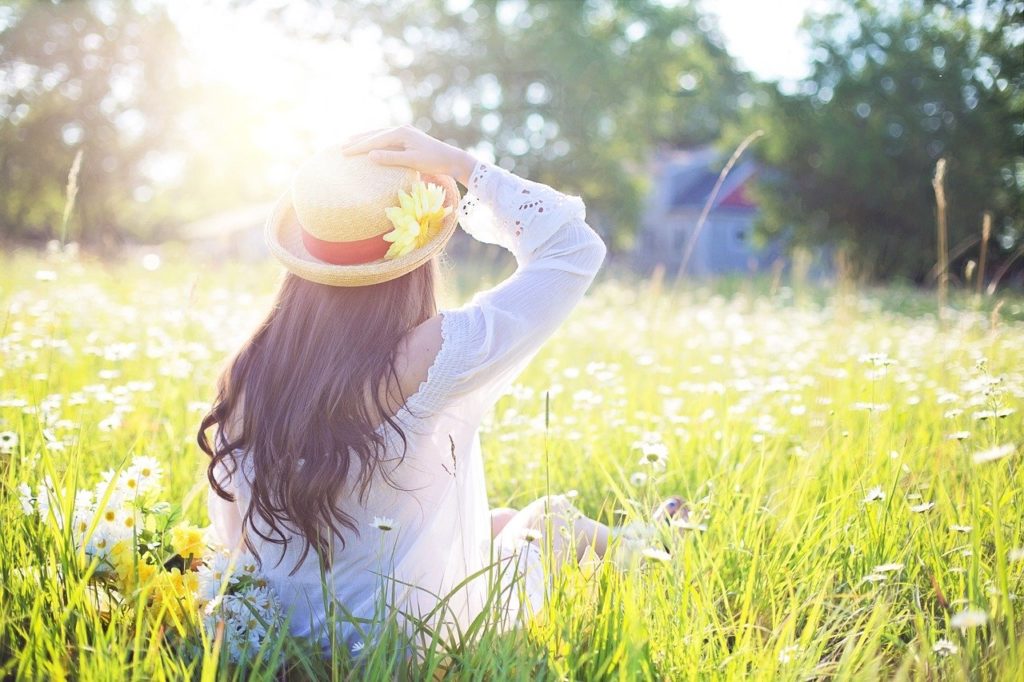
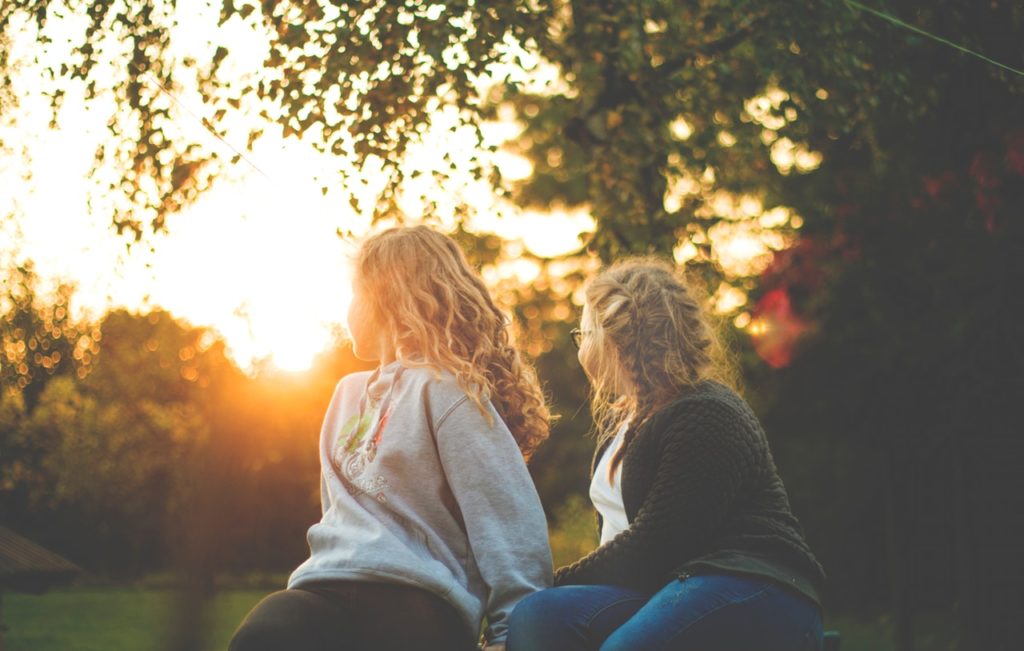
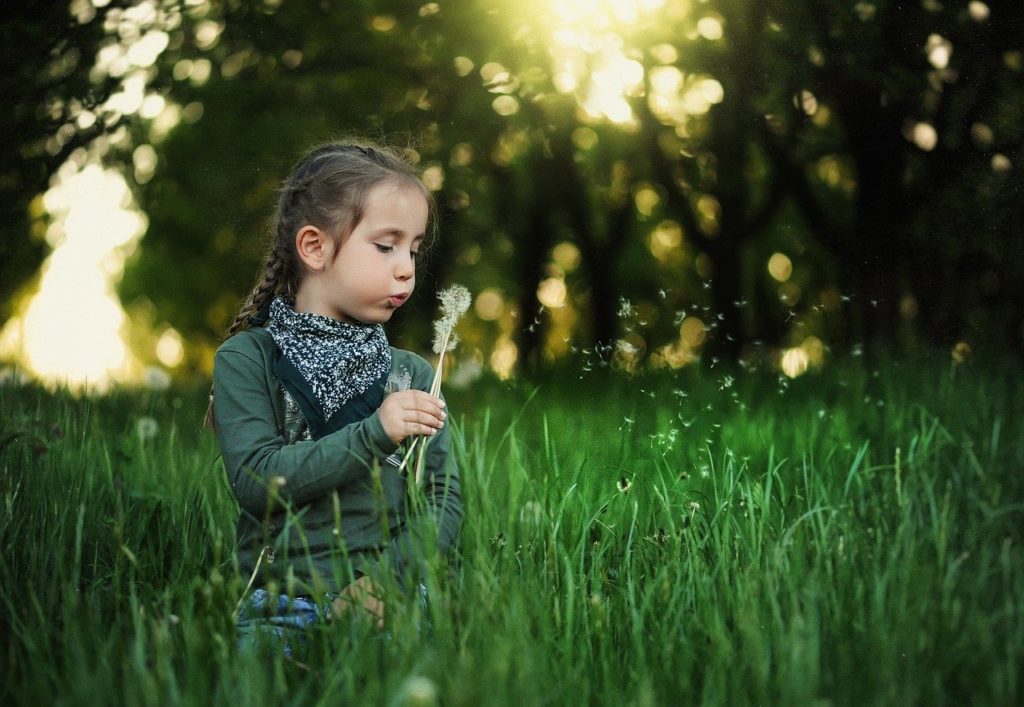
Golden hours are the best time of day to create backlit photographs as the light falling from behind lets the photographer create artistic images. For example, when photographing nature, leaves, flowers, grass, dry vegetation, dew drops, they seem to glow and create a magical feel. Portraits will have a soft beautiful glow.
3. Rim Lighting:
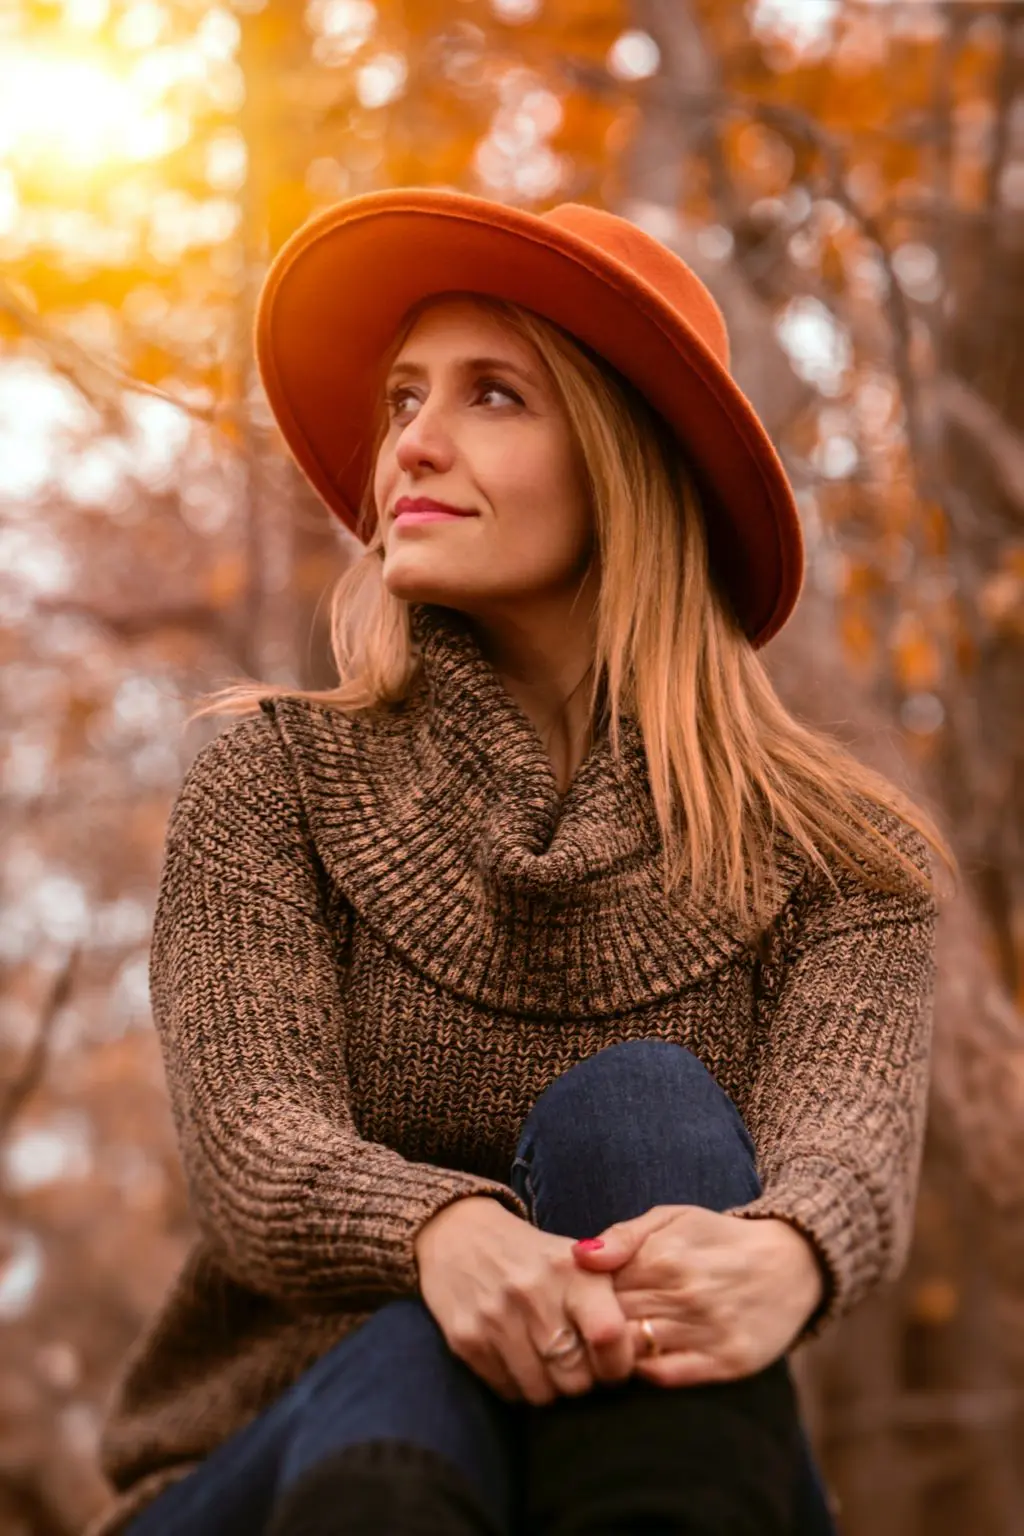
This is also backlighting, where you have the sun right behind the subject positioned in a way that it creates a halo around your subject – you will need to have a dark background for the rim lighting to be evident in your images. For example, it is the best time of day to create golden hour photos that glow, meaning, the translucent areas of the subject are illuminated with a golden glow whereas the opaque regions appear darker. When photographing portraits, you get a golden glow on the hair and translucent areas of the clothing.
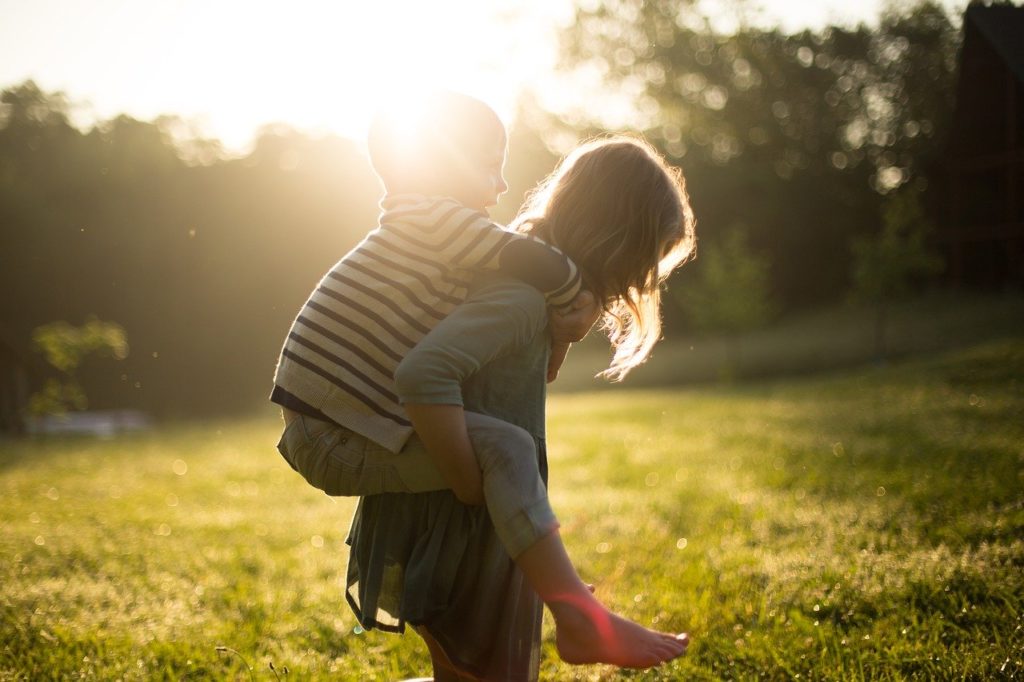
4. Lens Flare:
Flares are created when light directly hits your lens and this is something that photographers will want to avoid in their images. During golden hours, lens flares can be used to create visual interest in your photograph with the beautiful rainbow colours they can display.
5. Silhouettes:
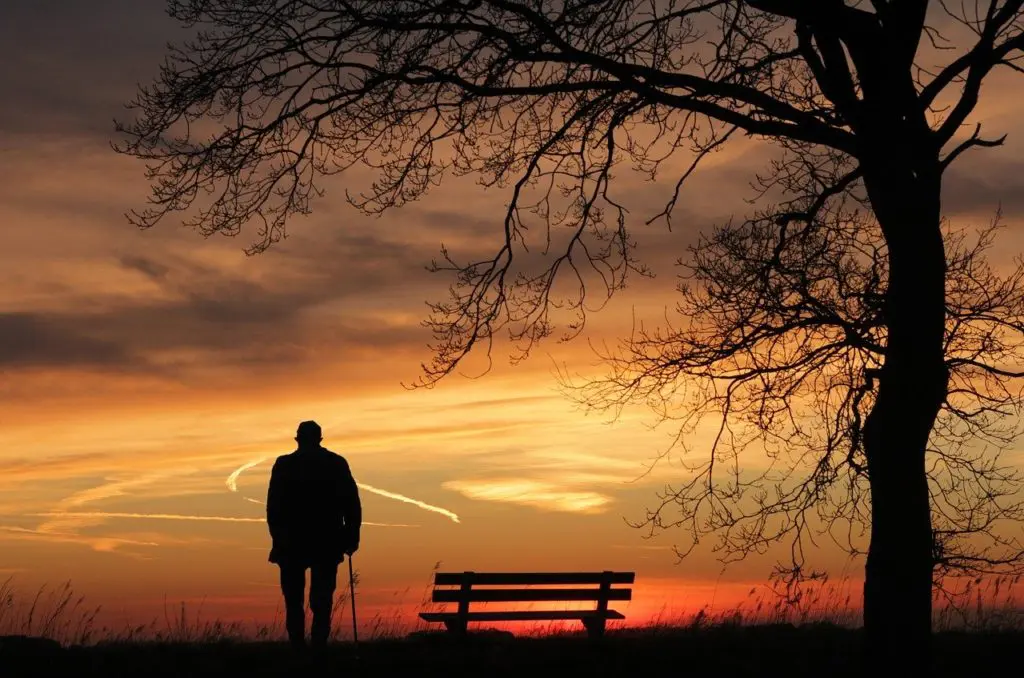
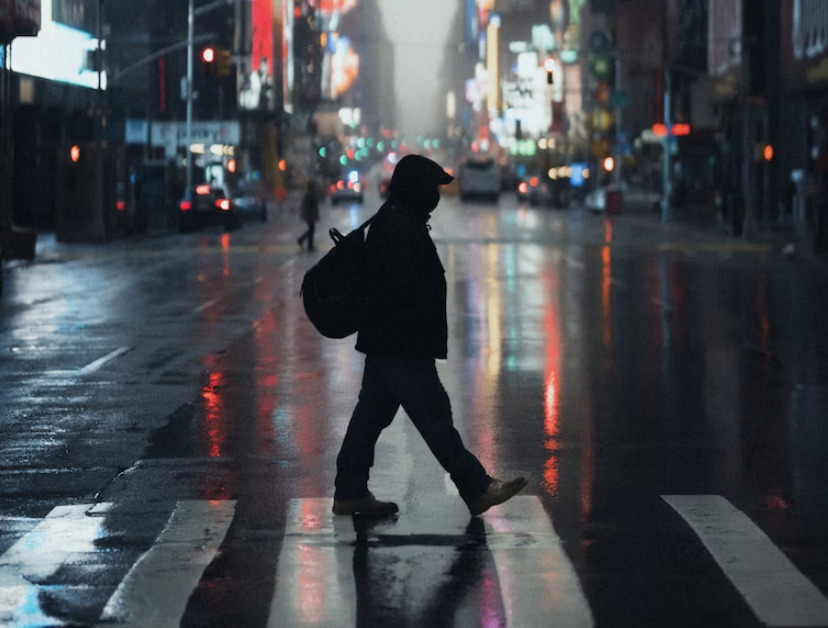
Golden hours are the best time to create silhouettes when you can have your subject really dark against an illuminated golden hued background. Since there is a huge contrast in light between the subject and the background, the golden hour is a time when you can create dramatic silhouettes, but make sure you set your exposure so that the brightest part of the scene you are photographing has the right exposure – otherwise the colours will be washed out. Set the exposure for background and focus on the subject.
6. Sunburst:
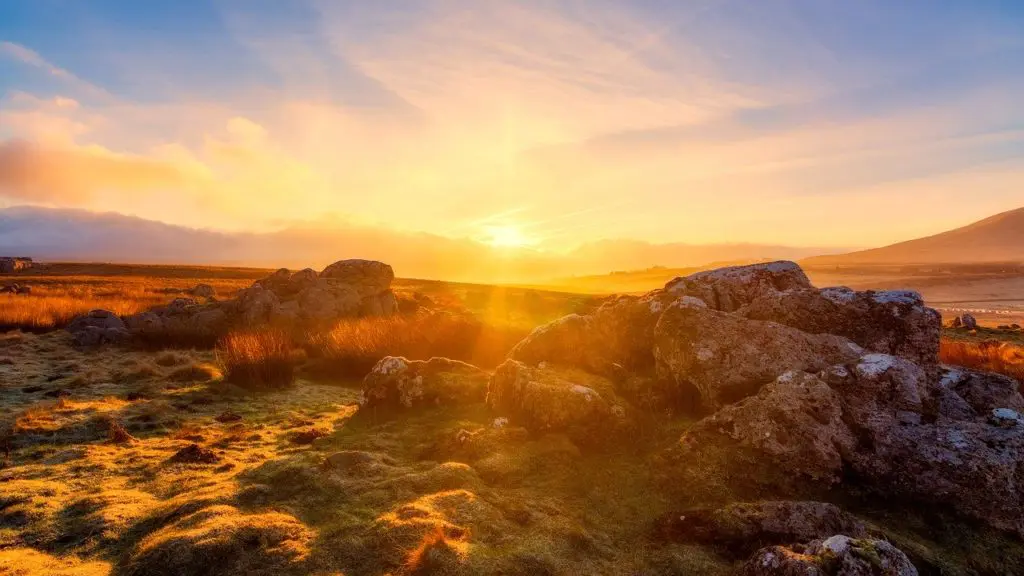
Golden hours are the best times to capture sunbursts as these can add to the already creative golden hour photos you are capturing. Sunbursts go well with landscape shots, but you do not have to limit yourself to that. You will need to have a very narrow aperture between f/16 to f/22 and the sun needs to be covered a bit by an object – something like a mountain, rock or any other subject in the frame. Pay attention to the iso and shutter speed when using narrow apertures, in order to avoid blur due to camera shake.
Note for safety: Be careful when pointing your camera at the sun because the lens concentrates the sunlight onto your camera and can cause damage to your camera and eyes.
7. Shoot Architecture:
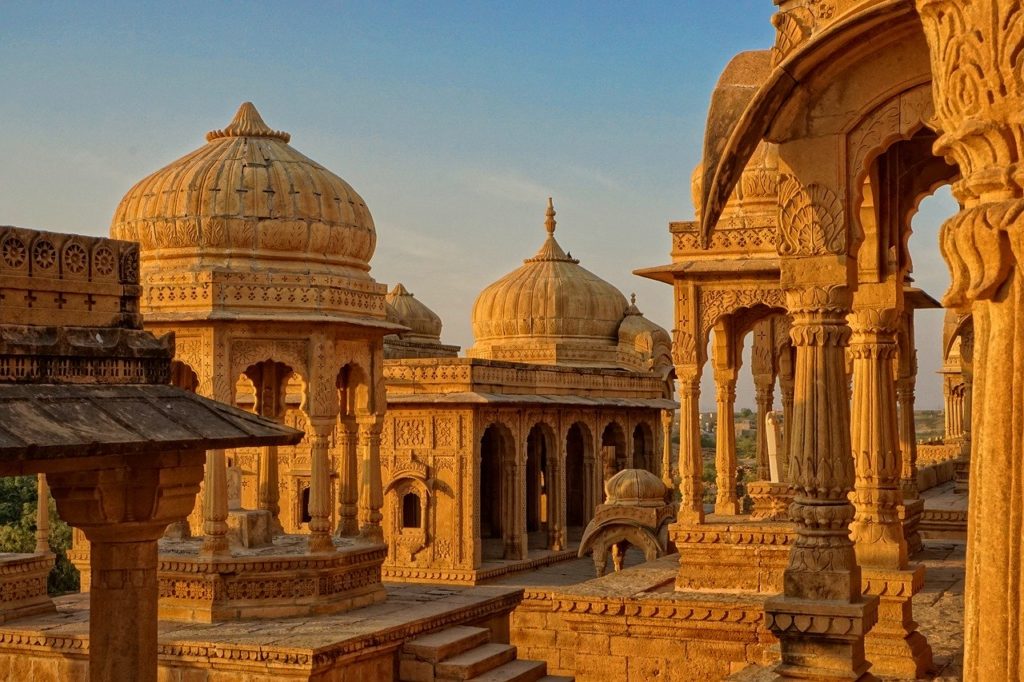
Golden hour is the best time to illuminate the buildings or structures with a side light so that the shadows add depth to the structures. It is also one of the best times when you can capture reflections of anything, especially in glass structures.
When capturing glass structures, make sure that the reflections are not distracting or glaring. Choosing angles wisely will help you achieve that.
Some of the Tools for Golden Hour Photography:
- The Photographer’s Ephemeris – This app helps outdoor photographers to plan their outdoor shoots in natural light by letting them see how the light will fall on land during any time of the day and on any location on earth. They have a web version and is also available as an app for both iOS and Android.
- Goldenhour.com – This website tells you when the golden hour will start for your location. You can also check for the golden hour for future dates and different locations.
- PhotoPills – This app is available for iOS and Android. Using the “Sun” pills, you can check to see when the golden hour starts and ends. You can check this for future dates and different locations.
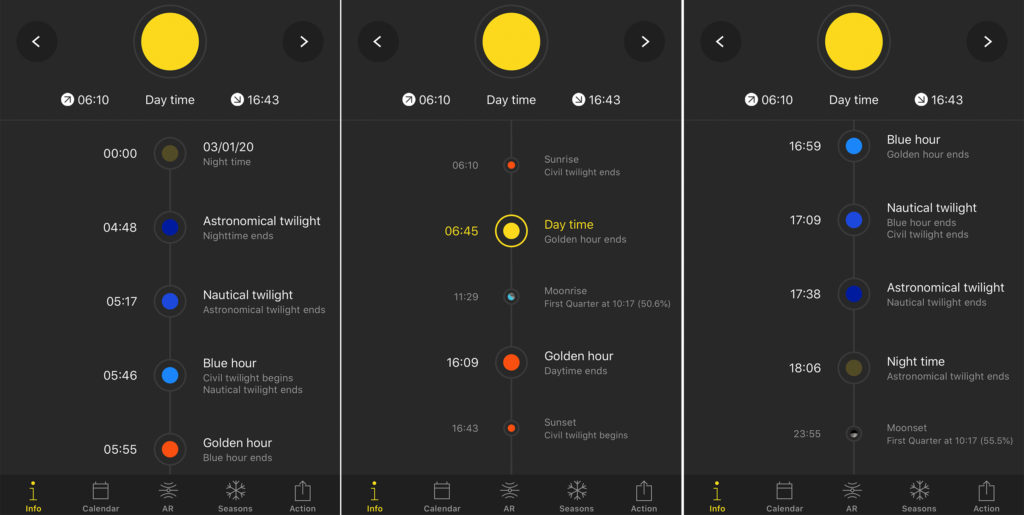
- Helios – Magic Hour Calculator for iOS – This app lets you know the best time to get out and shoot by determining the golden hour for you and notifying you. It has the sun path diagram, light meter, calendar and can be used anywhere in the world.
- Blue Hour Solar Photography Calculator for Android – This app although has the name blue hour, lets you calculate the golden hour so you can plan your photo shoots around this time. It also has a weather forecast option, which is a very good thing.
- Magic Hour for iOS – this app makes it easy for photographers to plan their schedule by alerting them when the golden hour is and how much time you have left once it begins. The app uses your location and provides weather forecast as well.
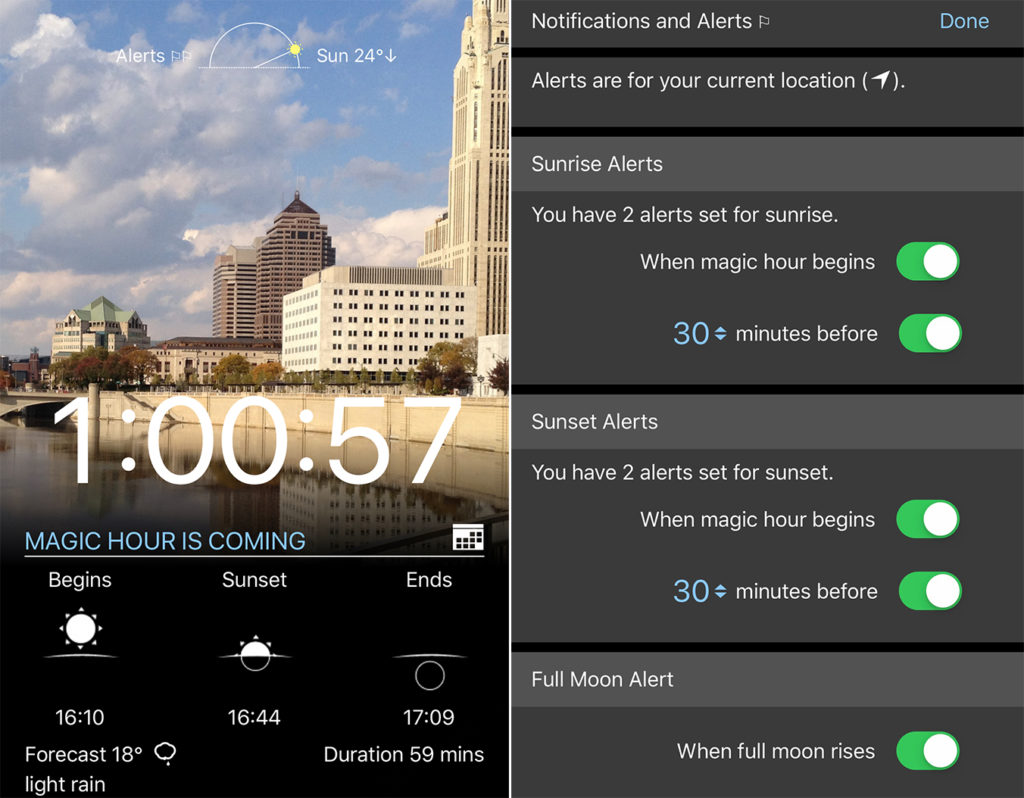
- Golden Hour for Android – This app is a great one for anyone looking to photograph during sunset and sunrise as it shows sunset and sunrise times plus the duration of the events.
- Sun Surveyor for iOS – This app helps photographers scout the best locations and plan effectively to get a perfect shot.
- Sun Seeker for Android – This app provides a 3D view of the solar path, sunrise and sunset times so that you know the direction of sunlight in a particular location.
What are the Advantages of Shooting During the Golden Hour?
- First and foremost, golden hour is the time for beautiful sunrises and sunsets. Every sunset and sunrise is different and it is a time when one can capture glorious moments be it portraits, landscapes or macros.
- Golden light is one of the easiest to work with where you can avoid darker shadows and blown out highlights.
- If you are shooting the golden hour in the morning, it is a time when most of the people are indoors, so you get to be away from the crowd and get cleaner golden hour photos of the areas you are looking to shoot without much people or anything around.
- Longer shadows during the golden hour are another advantage as they can help create compelling and dramatic photographs. Examples are the sand dunes where you can create drama where one side of the sand is illuminated and the other side is dark.
- Some stunning aerial golden hour photos can be created during the golden hour where you can play with the light and with some creativity create stunning images with long shadows that can actually create an illusion.
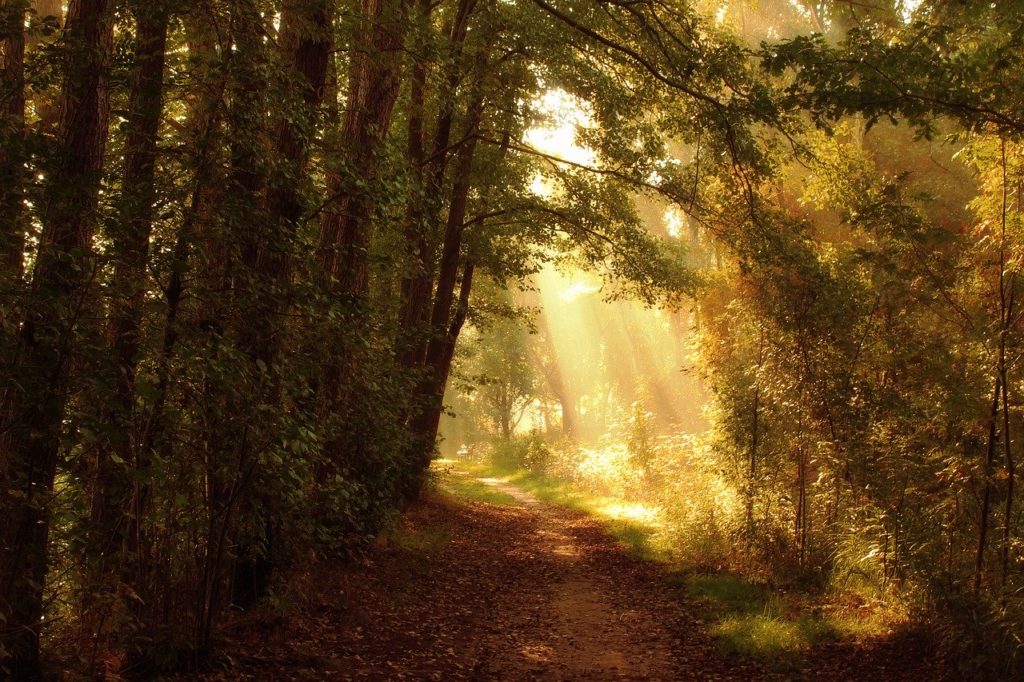
- Early morning mist is another scene that you can capture during the golden hour when the sun rays streaming through the mist can lead to beautiful dreamy photographs.
Things to Take Care of When Shooting during the Golden Hour:
- Location scouting is of foremost importance depending on where you live. For example, if you live along an east coast, shooting in the morning during the sunrise will yield better golden hour photos than when you shoot during the sunset. But if you are in a location where you are able to get a glimpse of the setting sun, then it should not be a problem.
- During the Golden hour, the shadows can be quite long. So when you are shooting a scene or even portraits, make sure that unwanted shadows do not fall into the frame and ruin your shot. In these situations, move around to adjust how shadows fall.
- Make sure that you arrive at the location early enough to make the most of the golden hour as the sun will quickly disappear down the horizon.
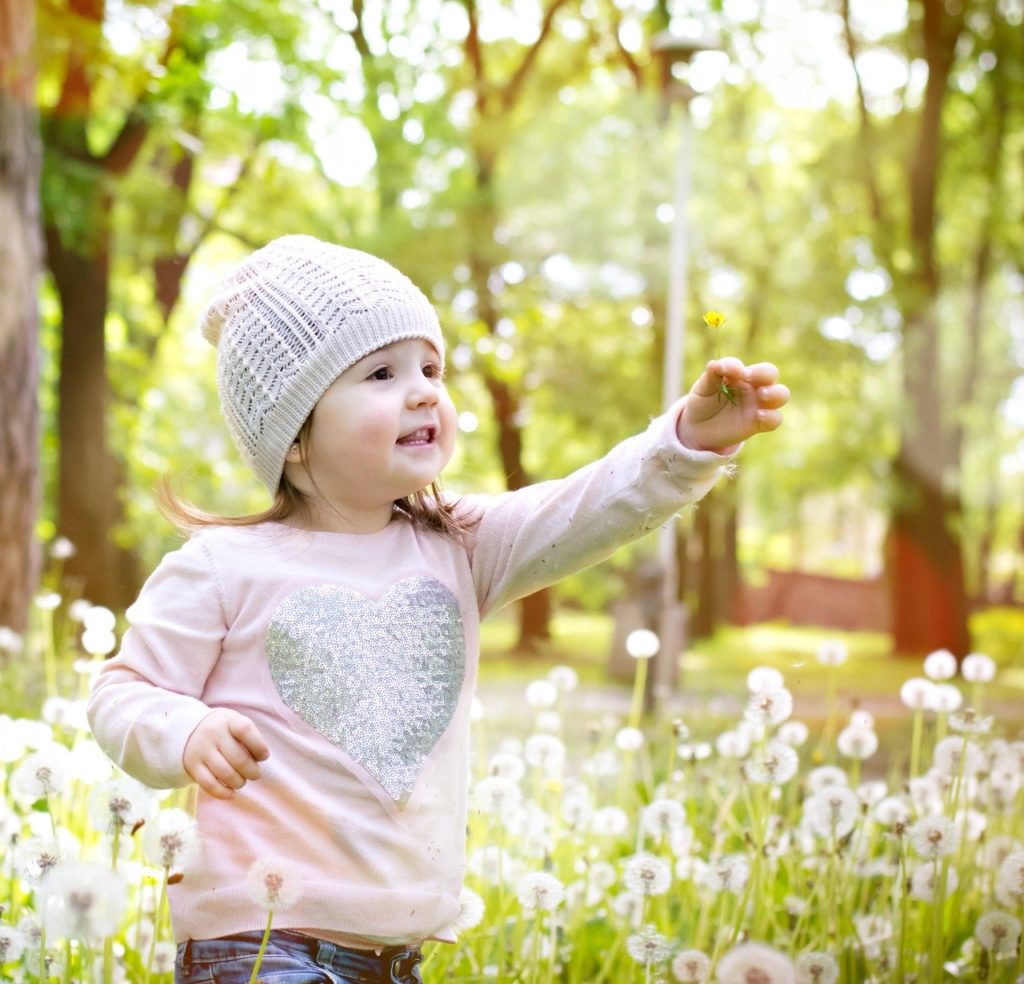
- When shooting portraits, make sure the sun is to one side or towards the back of your subject to get a glorious glow. Most of the time front lighting works well during the golden hour, adding colour to the skin tones and your subjects do not squint their eyes much as they would otherwise do when looking at a bright sun.
- For all other scenes, place the sun in front of your subject, unless you are shooting silhouettes.
- Shoot as many photos as you can as you will see that the colours and the scene in front of you will be changing each minute with the movement of the sun.
- Watch out for the clouds as these tend to form close to the horizon in the morning and during the evening reducing your golden hour as the sun goes behind the clouds.
Shooting during the golden hour can be inconvenient; you may have to sacrifice your cozy bed to shoot early,or unglue yourself from your regular spot on the sofa to shoot in the evening. But you will be dearly rewarded, as the impact of shooting at these magical times of day can be truly transformative. Get out there and try it for yourself. Prepare to be amazed.
Further Landscape Photography Lighting Resources:
Landscape Photography Lighting is our main guide on the craft. It covers most of the lighting situations you will need to shoot in so make sure you take a look.



5 Comments
Once again you have deliver yet another amazing article thank you Light stalking
Great article, what I found most helpfull with shooting during the golden hour is good planning. As time is of the essence here, make sure you know exactly when the golden hour will be. Also know exactly where and what/who you will be photographing. Planning such a shoot has on many occasions saved me from missing a great photo.
sometimes golden hour depends on the surrounding objects for example trees and other tall objects like buildings around a lake or other locations block that golden light and cast shadows over a large area one wants to shoot. Always scout an area first if possible. Look when and where light gets cut by such tall objects. I shoot an hour before golden hour always arrive 3 hours in advance you will still have the sun behind you anyway.
Hi there, I am writing a short post on this subject and how I would like to expand it into ‘Magic Hours’ I have included a link to your post as I thought it is a good post, my own article appears here if you are interested:
Great rundown on capturing and getting the most out of Golden Hour-Half Hour-Ten Minutes, mate.
Biggest takeaways for me are 1)getting the the color temp/WB setting correct that runs between 3000 and 4000, or sometimes even slower in some countries and 2)spot metering.
I’ve seen Auto WB’s neutralize the living hell out of that golden light and returning it back to white/daylight.
We never stop being students on this art.