When it comes to landscape photography light, many non-photographers have heard of the terms golden and blue hour, and almost all photographers know what they are.
For those of you who are not photographers and for those who are in the early stages of learning photography, let's elaborate on the basic concepts.
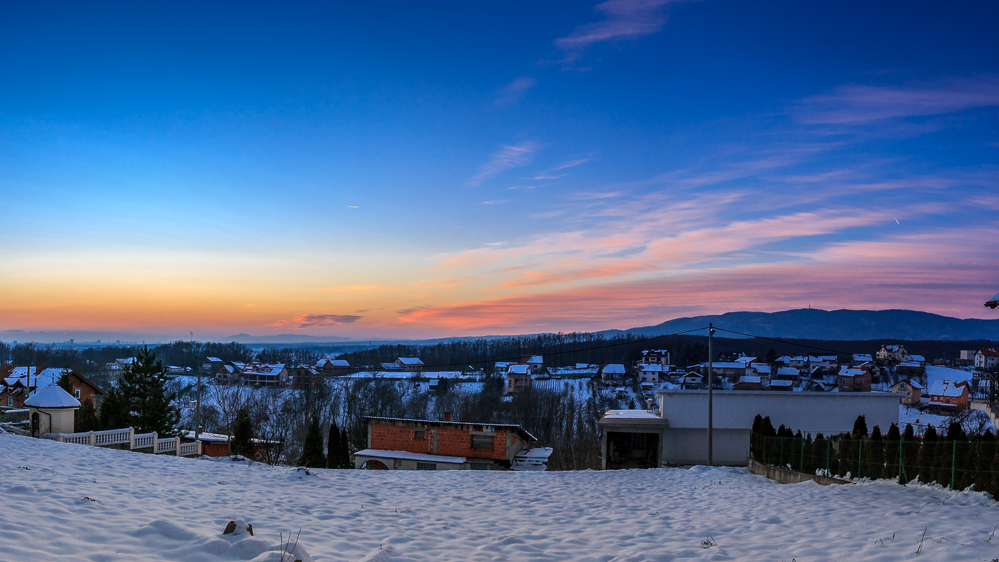
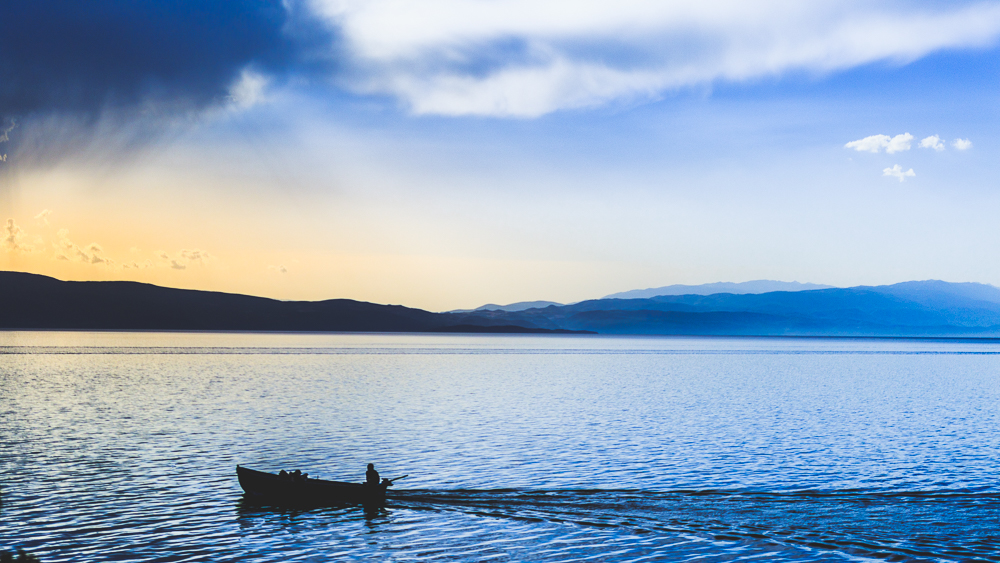
In the morning, when the sun is about to rise, the sky is blue and the light produced is also blue. This occurs after sunset as well. The light has a blue tone, so the occurrence is called the blue hour.
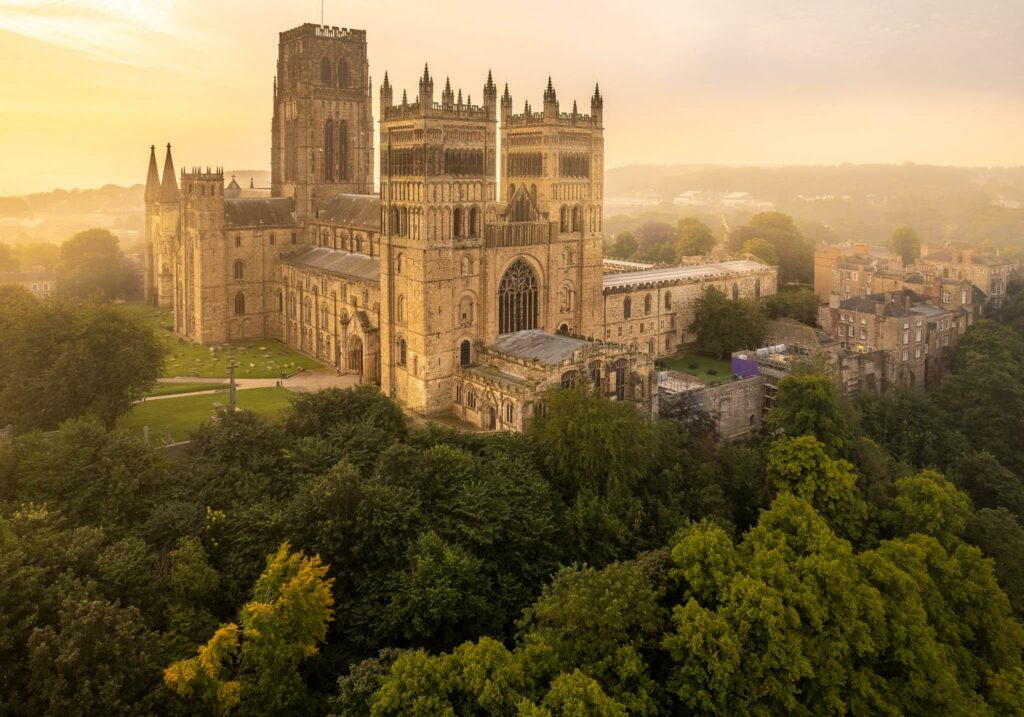
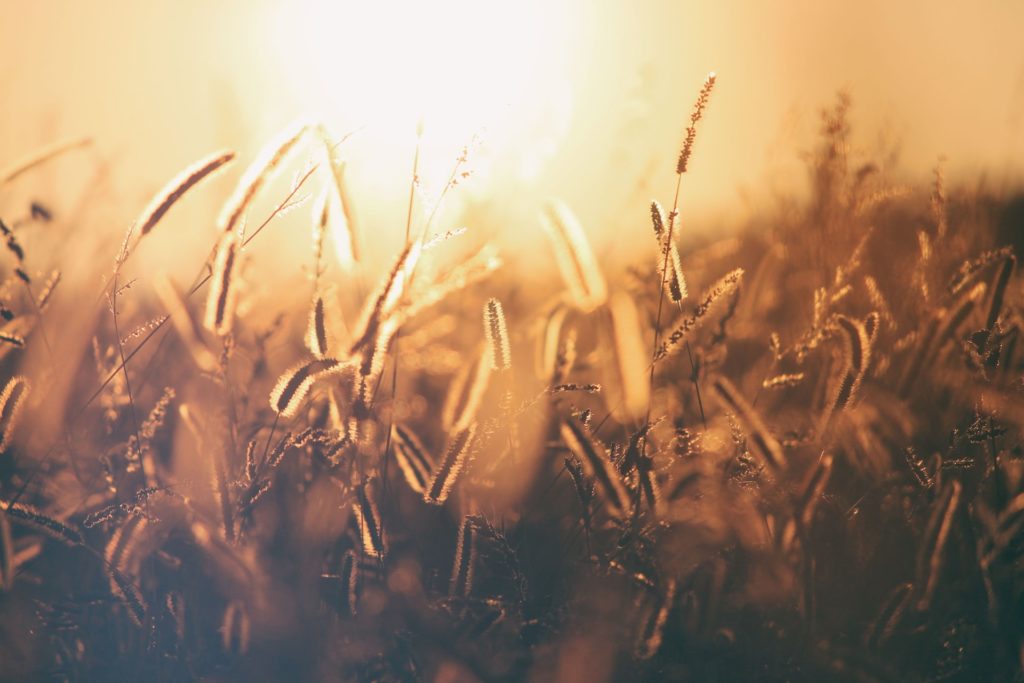
Right before sunrise, during sunrise, during sunset, and right after sunset, the light has an orange/golden tone because the sun strikes at an angle. Thus the name golden hour.
These periods are called hours, but that is just an approximation. The time you have that light available will vary based upon geolocation and the time of the year.
The Benefits of The Golden Hour
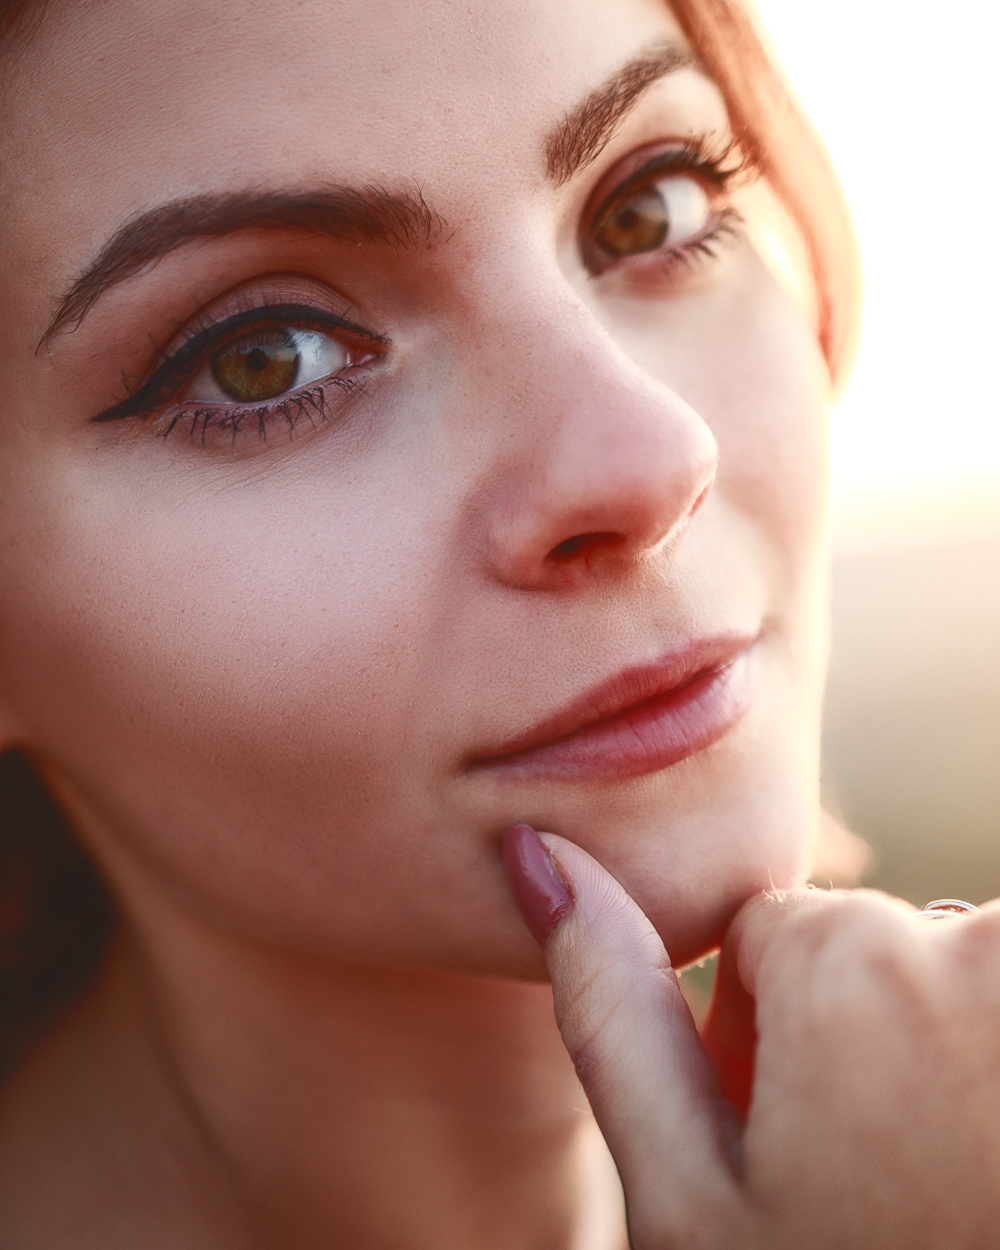
During golden hour, the sun is low on the horizon and gives off an angular light. Besides this, it naturally creates a balance between complementary colors where the orange/golden tones from the sun contrast with the blue tones from the opposite side. If you are careful enough, you can use this to your advantage.
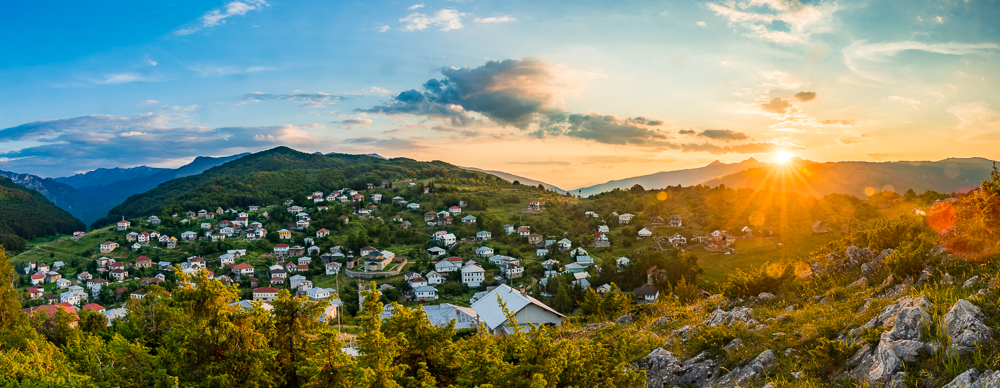
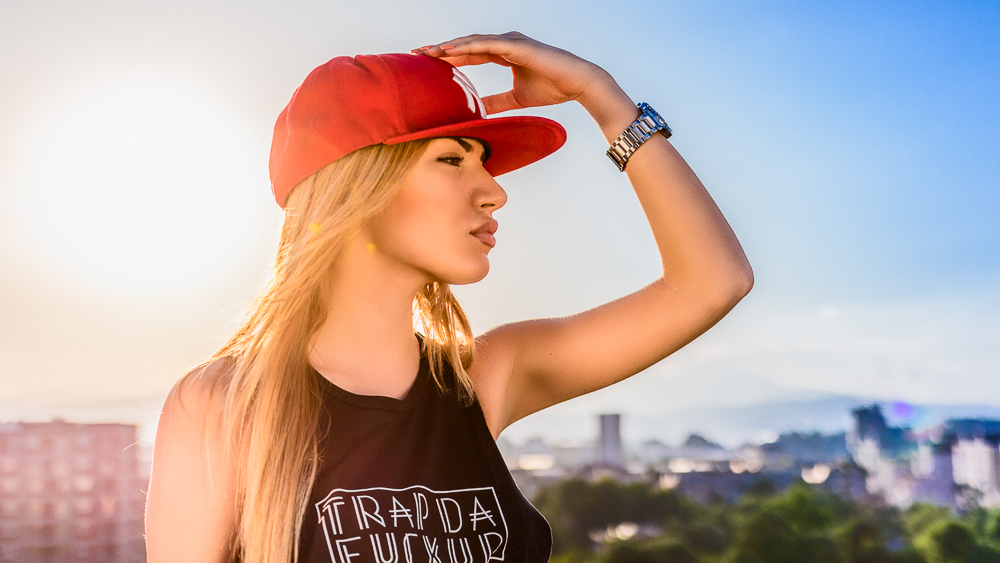
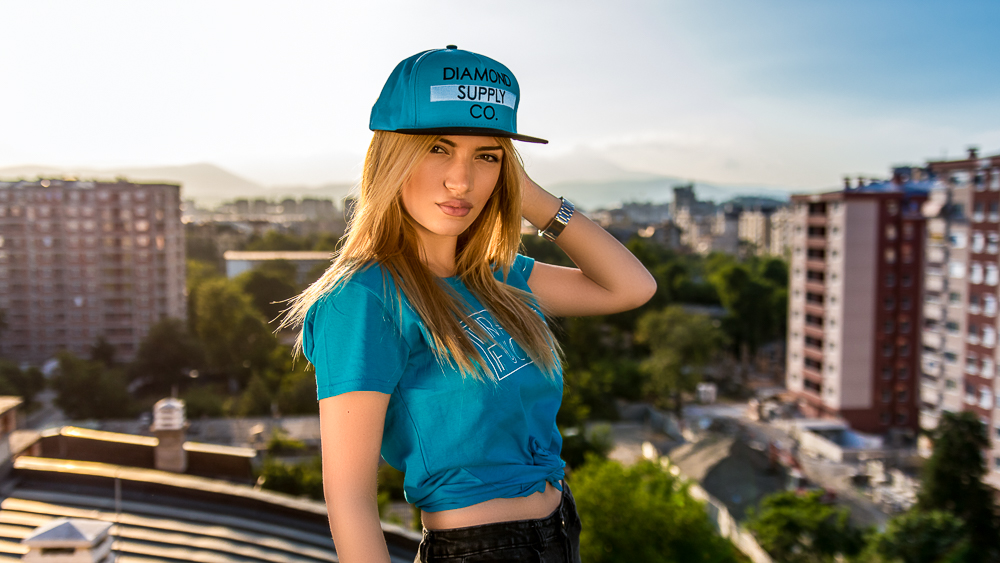
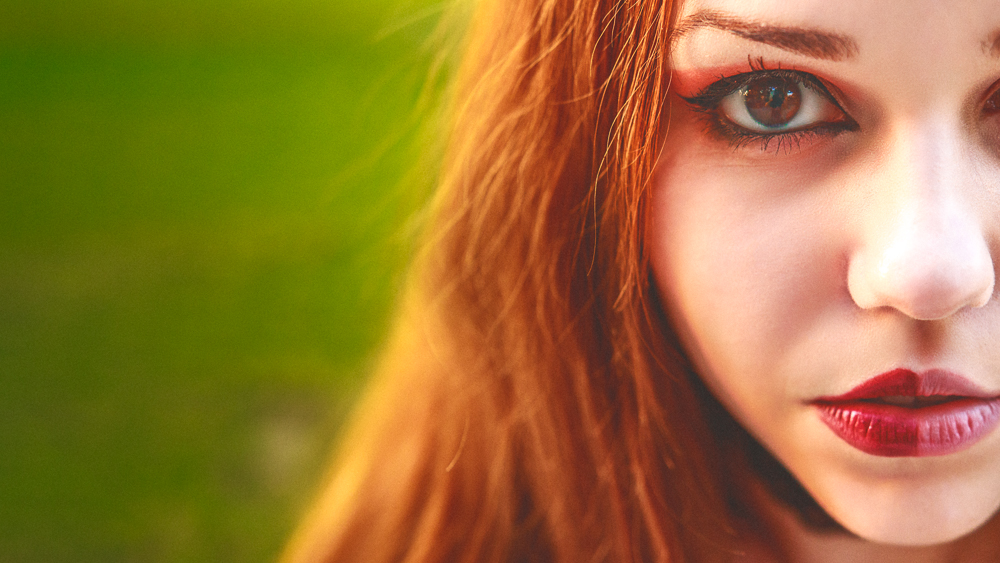
That angular light can be used extensively and especially when it comes to portraiture. Add one light reflector as a fill light and you'll have some great dynamic light on your portrait without needing to bring any flash. You can technically use the sun as a rim light and a main light at the same time just by using reflectors. The brightest part can be the sun itself as a rim light, one reflector placed close to the model can serve as the main light, and another reflector located farther away as a fill light. If you want, you can use a third larger reflector pointed top down in order to create a catch light. This gets a bit complicated, but if I've done it, then you can too.
Here are some examples:
The Benefits of The Blue Hour
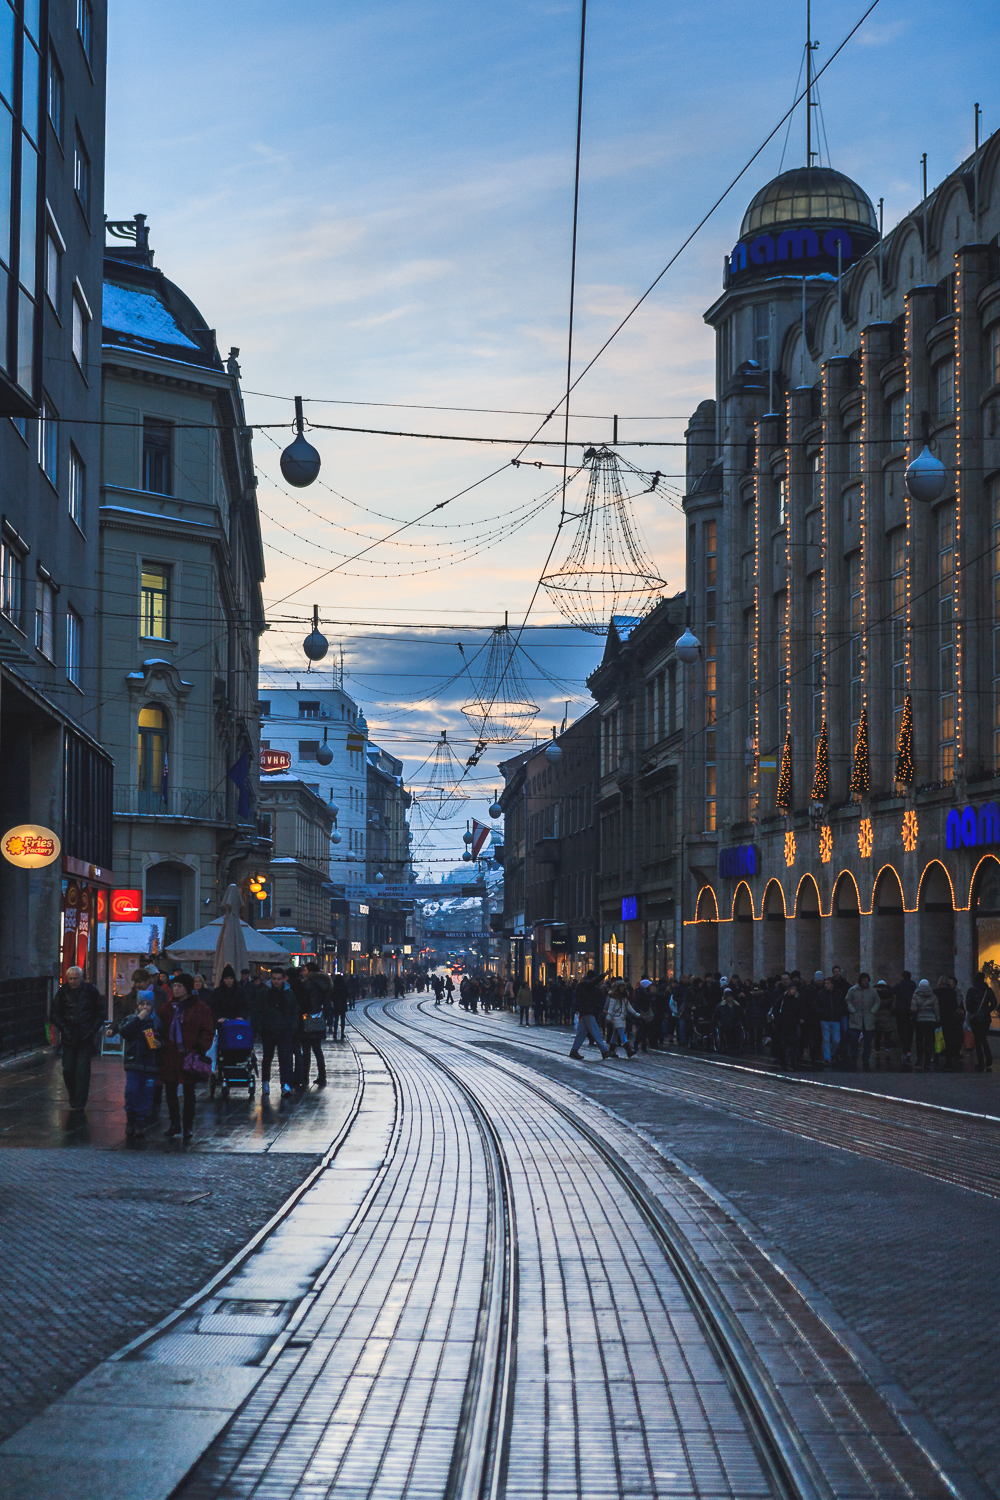
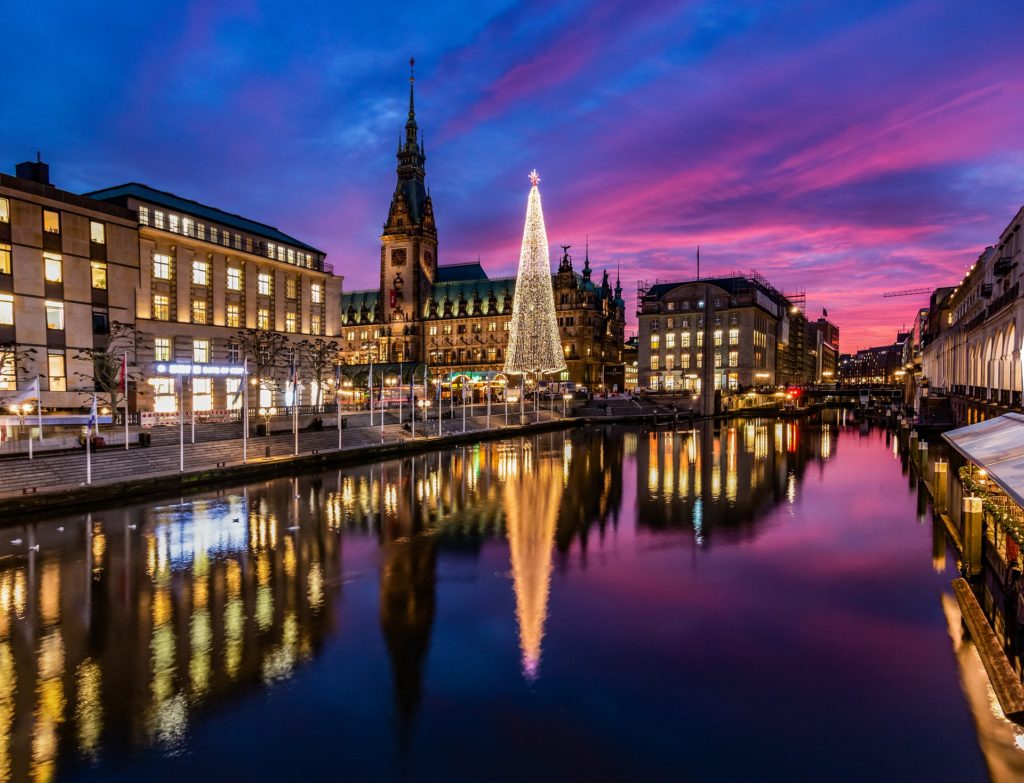
Blue hour is kind of the exact opposite of the golden hour in that the light isn’t strong and angular, but rather is completely diffused, soft, and blue. You'll rarely see the complementing tones occur naturally in the sky unless you aim to shoot between the golden and blue hours.
The blue hour doesn’t do much good for portraits unless you like soft, flat light. But it is really great for landscapes, cityscapes, street photography, light trail photography, architecture photography, and so forth. You can combine the city lights with the natural light in order to create some interesting combinations. If you do this at midnight, for example, then the sky will be black and your subject won't stand out well at all. By shooting during the blue hour, you still have the light in the sky (and some texture if there are clouds) while capturing all the city lights, as well. This makes for a more dynamic and natural-looking photo.
For portraiture, you’ll probably need some artificial light to counter the flat light (unless you are aiming for flat light), but a blue hour will guarantee you a decent background. This is because you'll have a nice blue color that complements the skin) and bokeh from all of the light sources in the background. Make sure that you have your white balance in order. For portraiture, it should tend towards the blue end, because if you correct it perfectly, then it will ruin the effect and you would end up with just a flatly-lit picture. White balance doesn’t have to be perfect every time.


Summary
After reading this article, you might want to go out today and try to shoot something under the conditions we just discussed. Once you see that you can use them to your advantage you’ll start making the most of those times of the day in your photography.
However, since most other photographers will be doing the same, you’ll be forced to think outside the box in order to avoid being stuck doing what everybody else is doing. Yes, often times you’ll find out later that something you did has already been done before, but that is not the end of the world. Ideas are limited and everything is essentially a remix, but don't let that discourage you.
Get out there and shoot to improve your abilities. Study the light available to you every single day. When you learn how to handle that light, you’ll be able to modify and add even more light in order to go deeper in the execution of your complex ideas. That is how you transition between natural light to available light.

1 Comment
Inspiring and informative.. and not silly complex easing in perfect thanx…………………