Have you ever tried to take a photo in a dimly lit situation only to have it come out as a grainy, blurry, discolored mass of pixels? And to make matters more frustrating, you’ve seen other photos taken under similar lighting conditions that turned out beautifully. So you begin to wonder if those people have better cameras than you; maybe they’re just superior photographers. It’s possible that one or both of those conclusions may be accurate for any given photographer, but neither is particularly relevant. Why? Because anyone can make better low light photographs. Here’s how.
Use a Wide Aperture
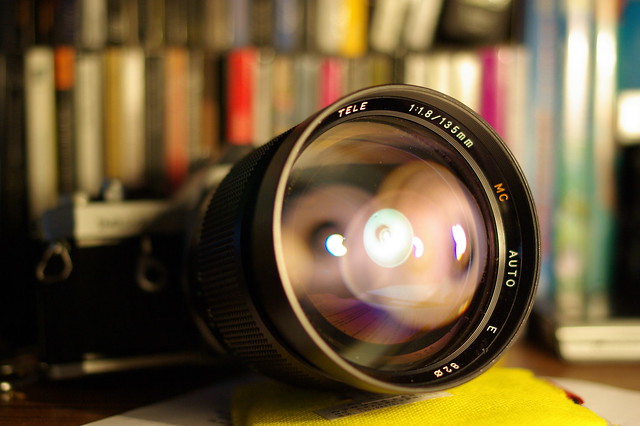
Use the widest aperture available on your lens — this will allow more light to hit the camera’s sensor. For this reason, so-called fast lenses are advantageous for low light photography. If you are using an interchangeable lens camera and you plan to do a lot of low light work, you will want to invest in a lens that has a maximum aperture of, say, f/1.8 or f/2.
Use a Slow Shutter Speed
If using a wide aperture alone isn’t sufficient, you will need to slow down your shutter speed. Like opening up a lens’ aperture, using a slow shutter speed is about collecting more light. The longer the shutter is open, the more light reaches the sensor. This, combined with a wide aperture, should allow for a satisfactory exposure (though the slower shutter speed may cause moving subjects to appear blurry), but there is one more component of the “exposure triangle” you will want to keep in mind.
Increase ISO
ISO refers to a digital imaging sensor’s sensitivity to light. ISO 100, for instance, is what you would set under good lighting conditions, as you don’t need the sensor to be overly sensitive. In a low light situation, however, you may need to set an ISO of 800 or even 3200. The overwhelming majority of digital cameras on the market today can go well over ISO 3200, but you may not often need to go that high.
While increasing ISO may allow you to use a slightly faster shutter speed and reduce motion blur, there is a good chance of introducing noticeable noise (digital “grain”) into the image. It’s not something you should be preoccupied with, though — most newer cameras handle noise rather well, and there are numerous software solutions to help you deal with with excessive noise.
Stabilize Your Camera
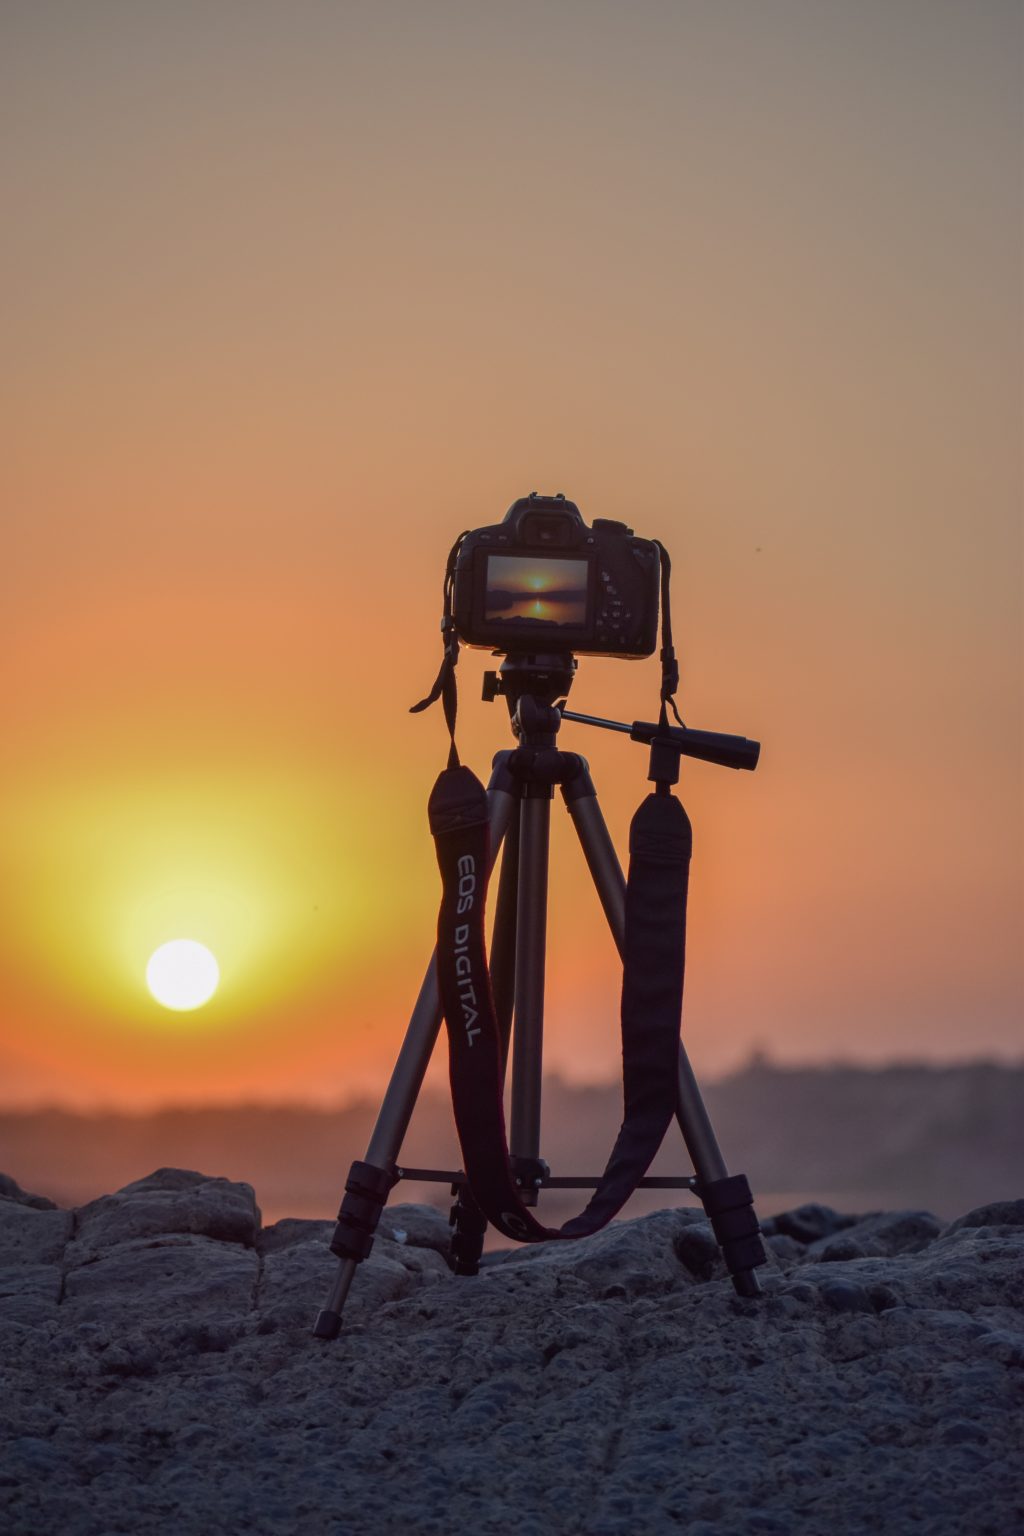
Successfully hand-holding your camera while using long(ish) shutter speeds is a tricky proposition — it’s certainly not impossible, but it takes some practice to acquire the proper technique. So you’ll want to use a tripod or monopod when attempting to do long exposure photography. If you find yourself needing to make a long exposure but you’re without a tripod, just look around for a makeshift solution — just about any solid surface will do. The ultimate goal is keeping your camera as steady as possible.
Thankfully, camera manufacturers have provided more tech savvy solutions to minimize camera shake in the form of image stabilization. This technology is either built into the lens or the camera body itself and using it is as easy as flipping a switch. Some implementations of image stabilization are more effective than others but all work reasonably well.
Focus on Focusing
Basically, don’t rely on your camera’s autofocus system to get it right in low light conditions. Autofocus assist lights and pre-flashes notwithstanding, manual focus is probably your best bet. Many cameras have focus aids such as focus peaking and magnification to help achieve precise manual focus.
Flash or No Flash
Of course, flash is always an option, but results can vary wildly. Depending on what you’re photographing, there are times when a flash will be utterly useless as it won’t be powerful enough to illuminate very large or distant subjects — you won’t be doing any landscape or architectural photography with a simple burst of flash. And if you don’t have a way to bounce flash light, your attempts at low light portraiture may end up being just as disappointing. So, while there are creative ways to use flash for low light photography, most beginner photographers will probably prefer to stick to longer shutter speeds.
Shoot Raw
In contrast to a JPEG file, a raw image file captures and retains far more information and, thereby, allows you more freedom in post processing. So, if you find you’ve gotten a decent low light exposure but certain areas could still use some improvement, you can easily restore detail, for example, in underexposed regions of the image.
Whether you’re shooting at night or you simply find yourself in a situation with poor lighting, there’s no reason to not accept the challenge before you. The tips above will help you achieve winning low light photos.


20 Comments
“Use a wide aperture. Use a slow shutter speed. Increase ISO” Well duh!
Congratulations Henry, your comment is such a positive contribution to this article. It’s wonderful that some people are willing to so freely impart their knowledge via these types of websites so beginners and interested parties have the ability to learn. It’s a pity that your parents never taught you the golden rule. “If you can’t say anything nice, don’t say anything at all.”
You seem to know a lot, where is your website/contribution……….this is it?
Thank You for your article Jason, keep up the good work.
Perfectly said Simon! Let me know when YOU have your website up henry… lol
Thanks Simon. You’re right, not everyone who visits the site has years of knowledge and experience under their belt. We try to include things for all levels of photographers. Thanks for reading!
Thanks for the info even though I knew all of it is nice that you put that out there for the people that don’t know. Like Henry he needs to learn a lot I think but he most likely uses a point and shoot or a phone camera. Just saying
thank you simon! i’m a beginner and these info are invaluable to me.
yeah henry, show me your work! i’m sure they are awesome and amazing and fantastic! *rolleyes*
Well said Simon.
your’e an ass, henry
You also may want to bracket your exposure. Most digital cameras will allow you to preset the values for three shots. If you shoot in RAW (and in low light you really should) you will be surprised how much you can do in PP.
The trick is stabilization. Assuming a tripod is not available, look for a two dimensional brace, such as a window opening. PP can correct many problems, but not blur.
I carry a little bag of rice that I use to set on a car hood or what ever. When its cold outside I put the bag by the car heater then under the camera helps a bit
thanks for the information. well appreciated by a beginner like me
Thanks for the great information. I have a question though: what about the lense’s “sweet spot”? Shouldn’t one take that into consideration? Sometimes opening as wide as the lens can isn’t good enough or am I wrong? i have read that there is a point in your aperture where the lens loses sharpness but maybe I don’t have this very clear. Anything, Henry? Want to contribute?
Thanks Jason. Your post is great even for some seasoned photographers.
You’re absolutely right that shooting wide open doesn’t always give the sharpest results. At the opposite end you start to lose image quality due to diffraction, usually starting around f/16 (give or take) and higher.
My Olympud OMF-EM1 has a wonderful technique called “Live Bulb” (located one click passed Bulb. You can watch the image ‘cook’ on the LCD screen and stop the exposure when you like what you see. What a great feature! Tripod required, of course, as well as many of your other tops.
sorry for the typos. Should be Olympus OMD-EM1
Low light shooting especially around the holidays also offers the interesting accents of decorative lights. For me anything over 4000 ISO ( on my camera) is too grainy.
1) I shoot Raw and very rarely use extra light (flash). I will turn on extra room light or move subjects closer to better light if convenient.
2) Set camera to Aperature Priority mode and set aperture to widest level. ( 1.4, 2.8)
3) if shutter speed is under 80 I make an exposure adjustment ( negative) until shutter speed is at least 80 or more. Shutter speeds under 80 make clear pictures difficult without extra stabilization. Even then your subjects must remain very still.
4) If shooting more than one person I will lock focus on each person and take one shoot for each head in the portrait that is not clearly in the same plane. I also reset the camera to same spot. This is helpful if you want/ have time to make head swaps in Photoshop.
5) I use Exposure and white balance adjustment in Lightroom or Photoshop
The 4th item is to deal will narrow depth of field in the wider Aperature settings. This can be an issue if shooting portraits close up. To avoid compositing heads together from different shots, I try if practical to get my subjects faces ( you are going for eyes ) into the same plane ( same line)! Otherwise you will be watching YouTube videos on how to do basic headshot swaps in Photoshop.
Ok, but.
The article says how to get rid of pixels, noise, etc. If I wide my apperture use a fast lens and a new Alfa with 18k iso or more… sure I will get great low light images.
Hmmm, I must be doing everything wrong according to this article yet I achieve “fine art quality” low light captures, but then I use film photography techniques with a digicam. I often employ ISO 100, f/10 +, SS > 10 sec but I be working majic for long time.
I’ve been taking low light photos for more years than I care to admit. Remember slides and film? I NEVER use a flash or carry a tripod because I am on the go traveling and in so many museums. These are very good suggestions and comments. Everyone can brush up and review all over again. My best photos have always been low light. Often the best light both indoors and out.
I use a bean bag too but mine is filled with polystyrene packing chips/peanuts. It takes a little more settling the camera into it to get the camera completely stable but my goodness is it lighter to carry!